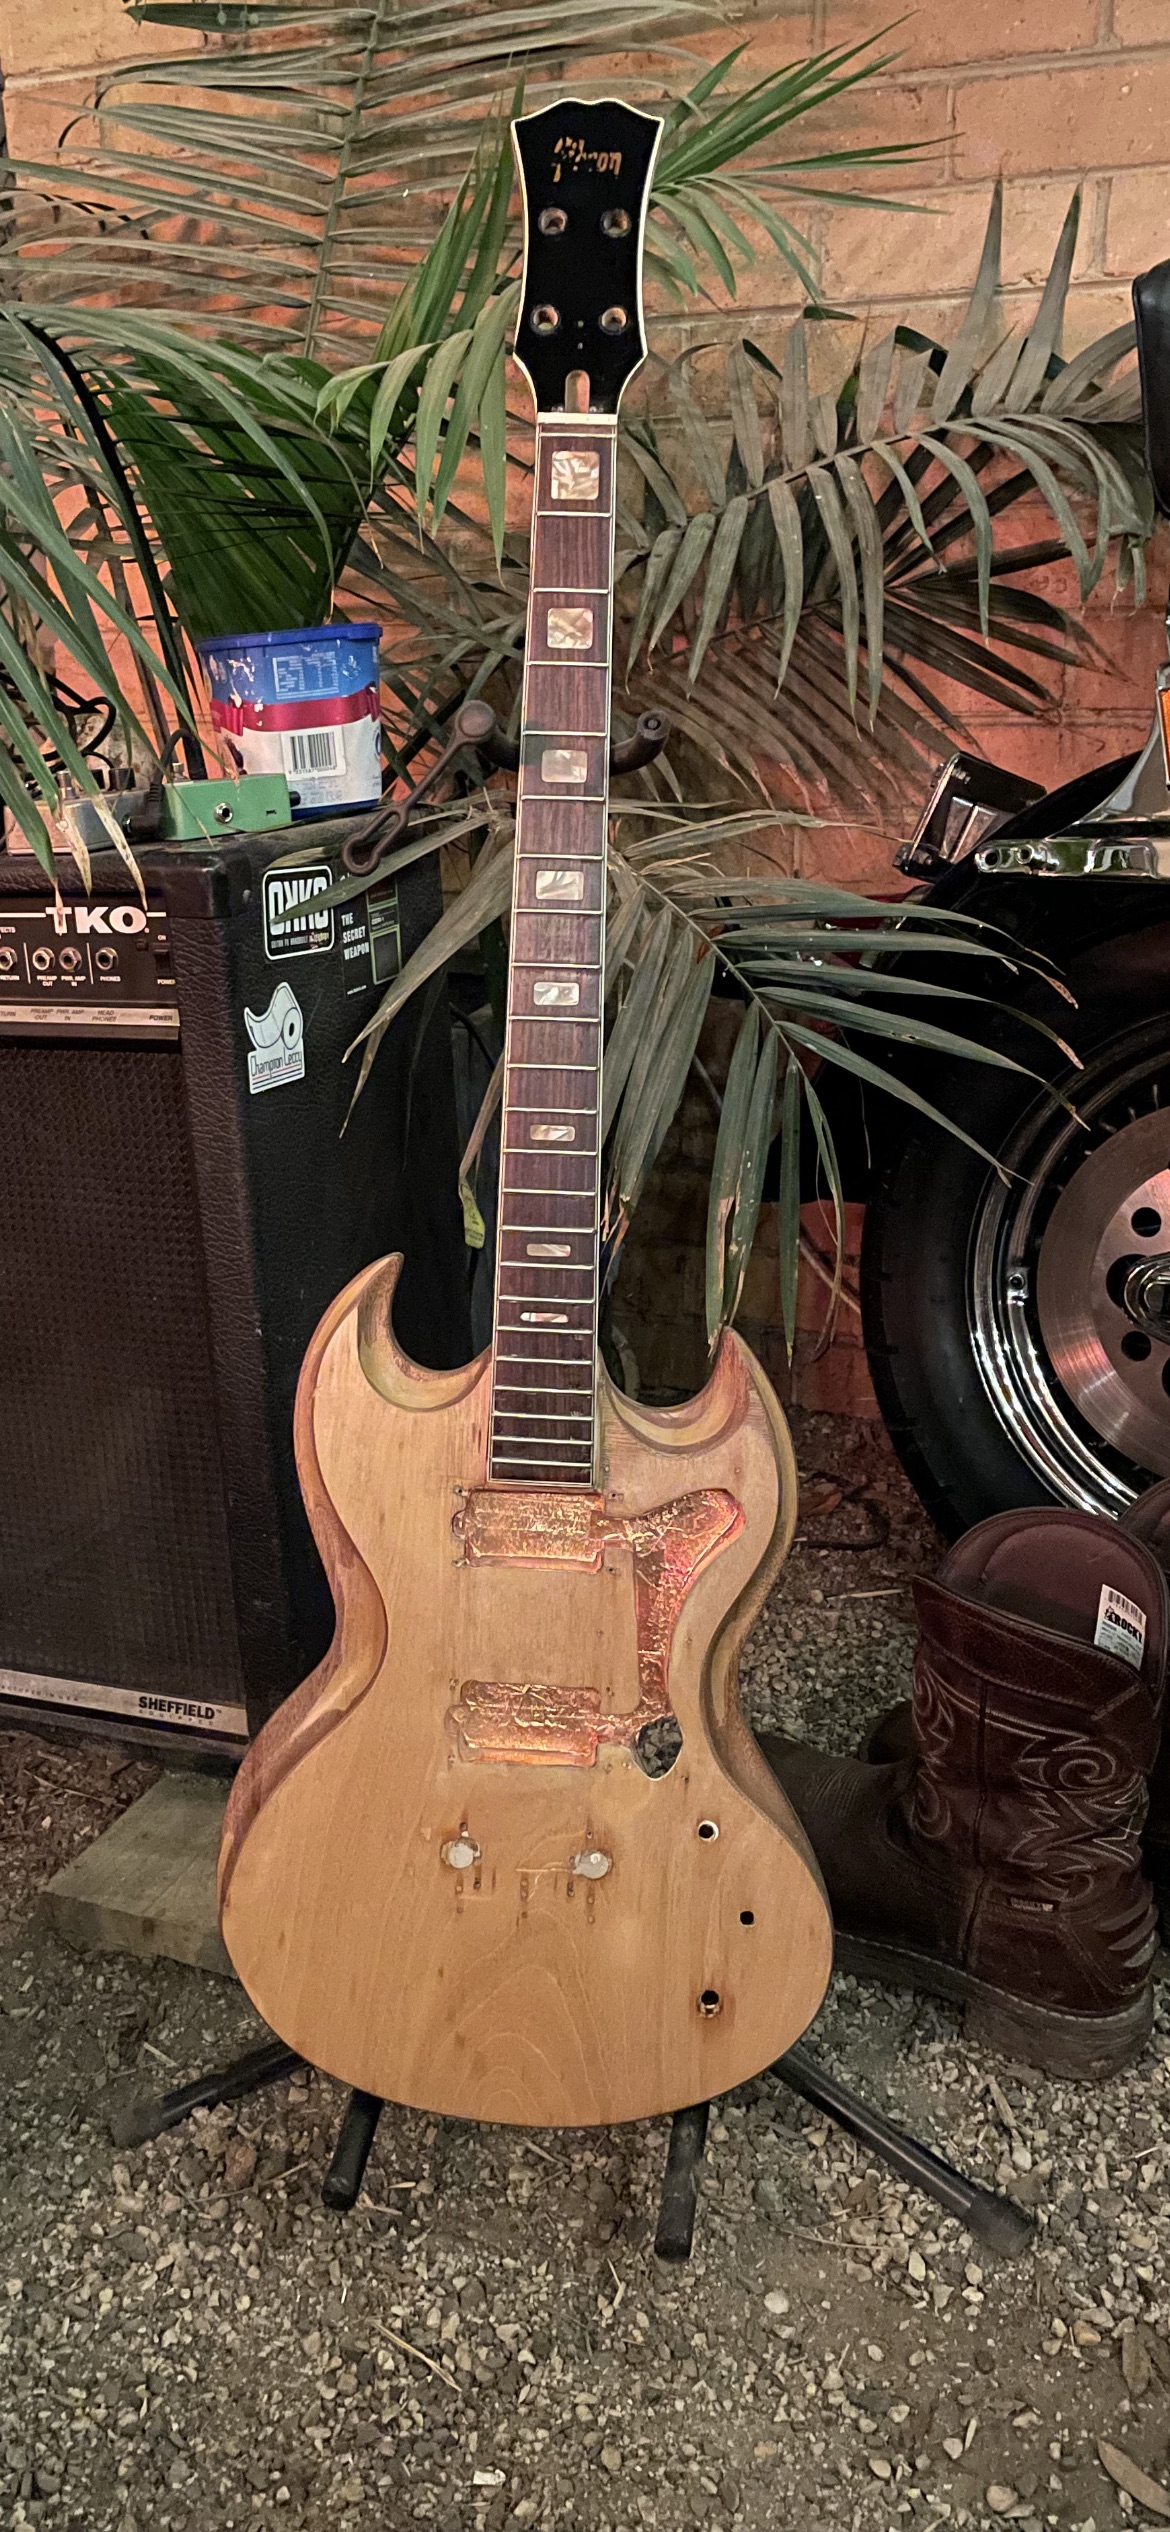
To this
Very roughly sanded ready for another attack tomorrow
I love sanding the guitars body. Not! Lol.
When I’m sanding anything, I’m really glad that I don’t have a bacon slicer handy. The reason is that it’d be a very tough choice to either sand or stick my foot in the bacon slicer.
Actually it’s not the sanding for me, it’s the leveling afterwards.
I suppose it’s because sanding is a super dirty and very thankless task. You work like mad, generate dust that goes EVERYWHERE and you can’t really see your progress.
I don’t mind sanding as much as putting a finish on bodies @Al1885 and @MC-Canadastan .
I’m not too bad with stains and oil finishes but having to paint outdoors really is a pig of a job 
Staining is so cool and forgiving not to mention cheaper. I don’t know why I don’t do more. You can option of oil or lacquer finish. I vow to do more stain finishes from here on.
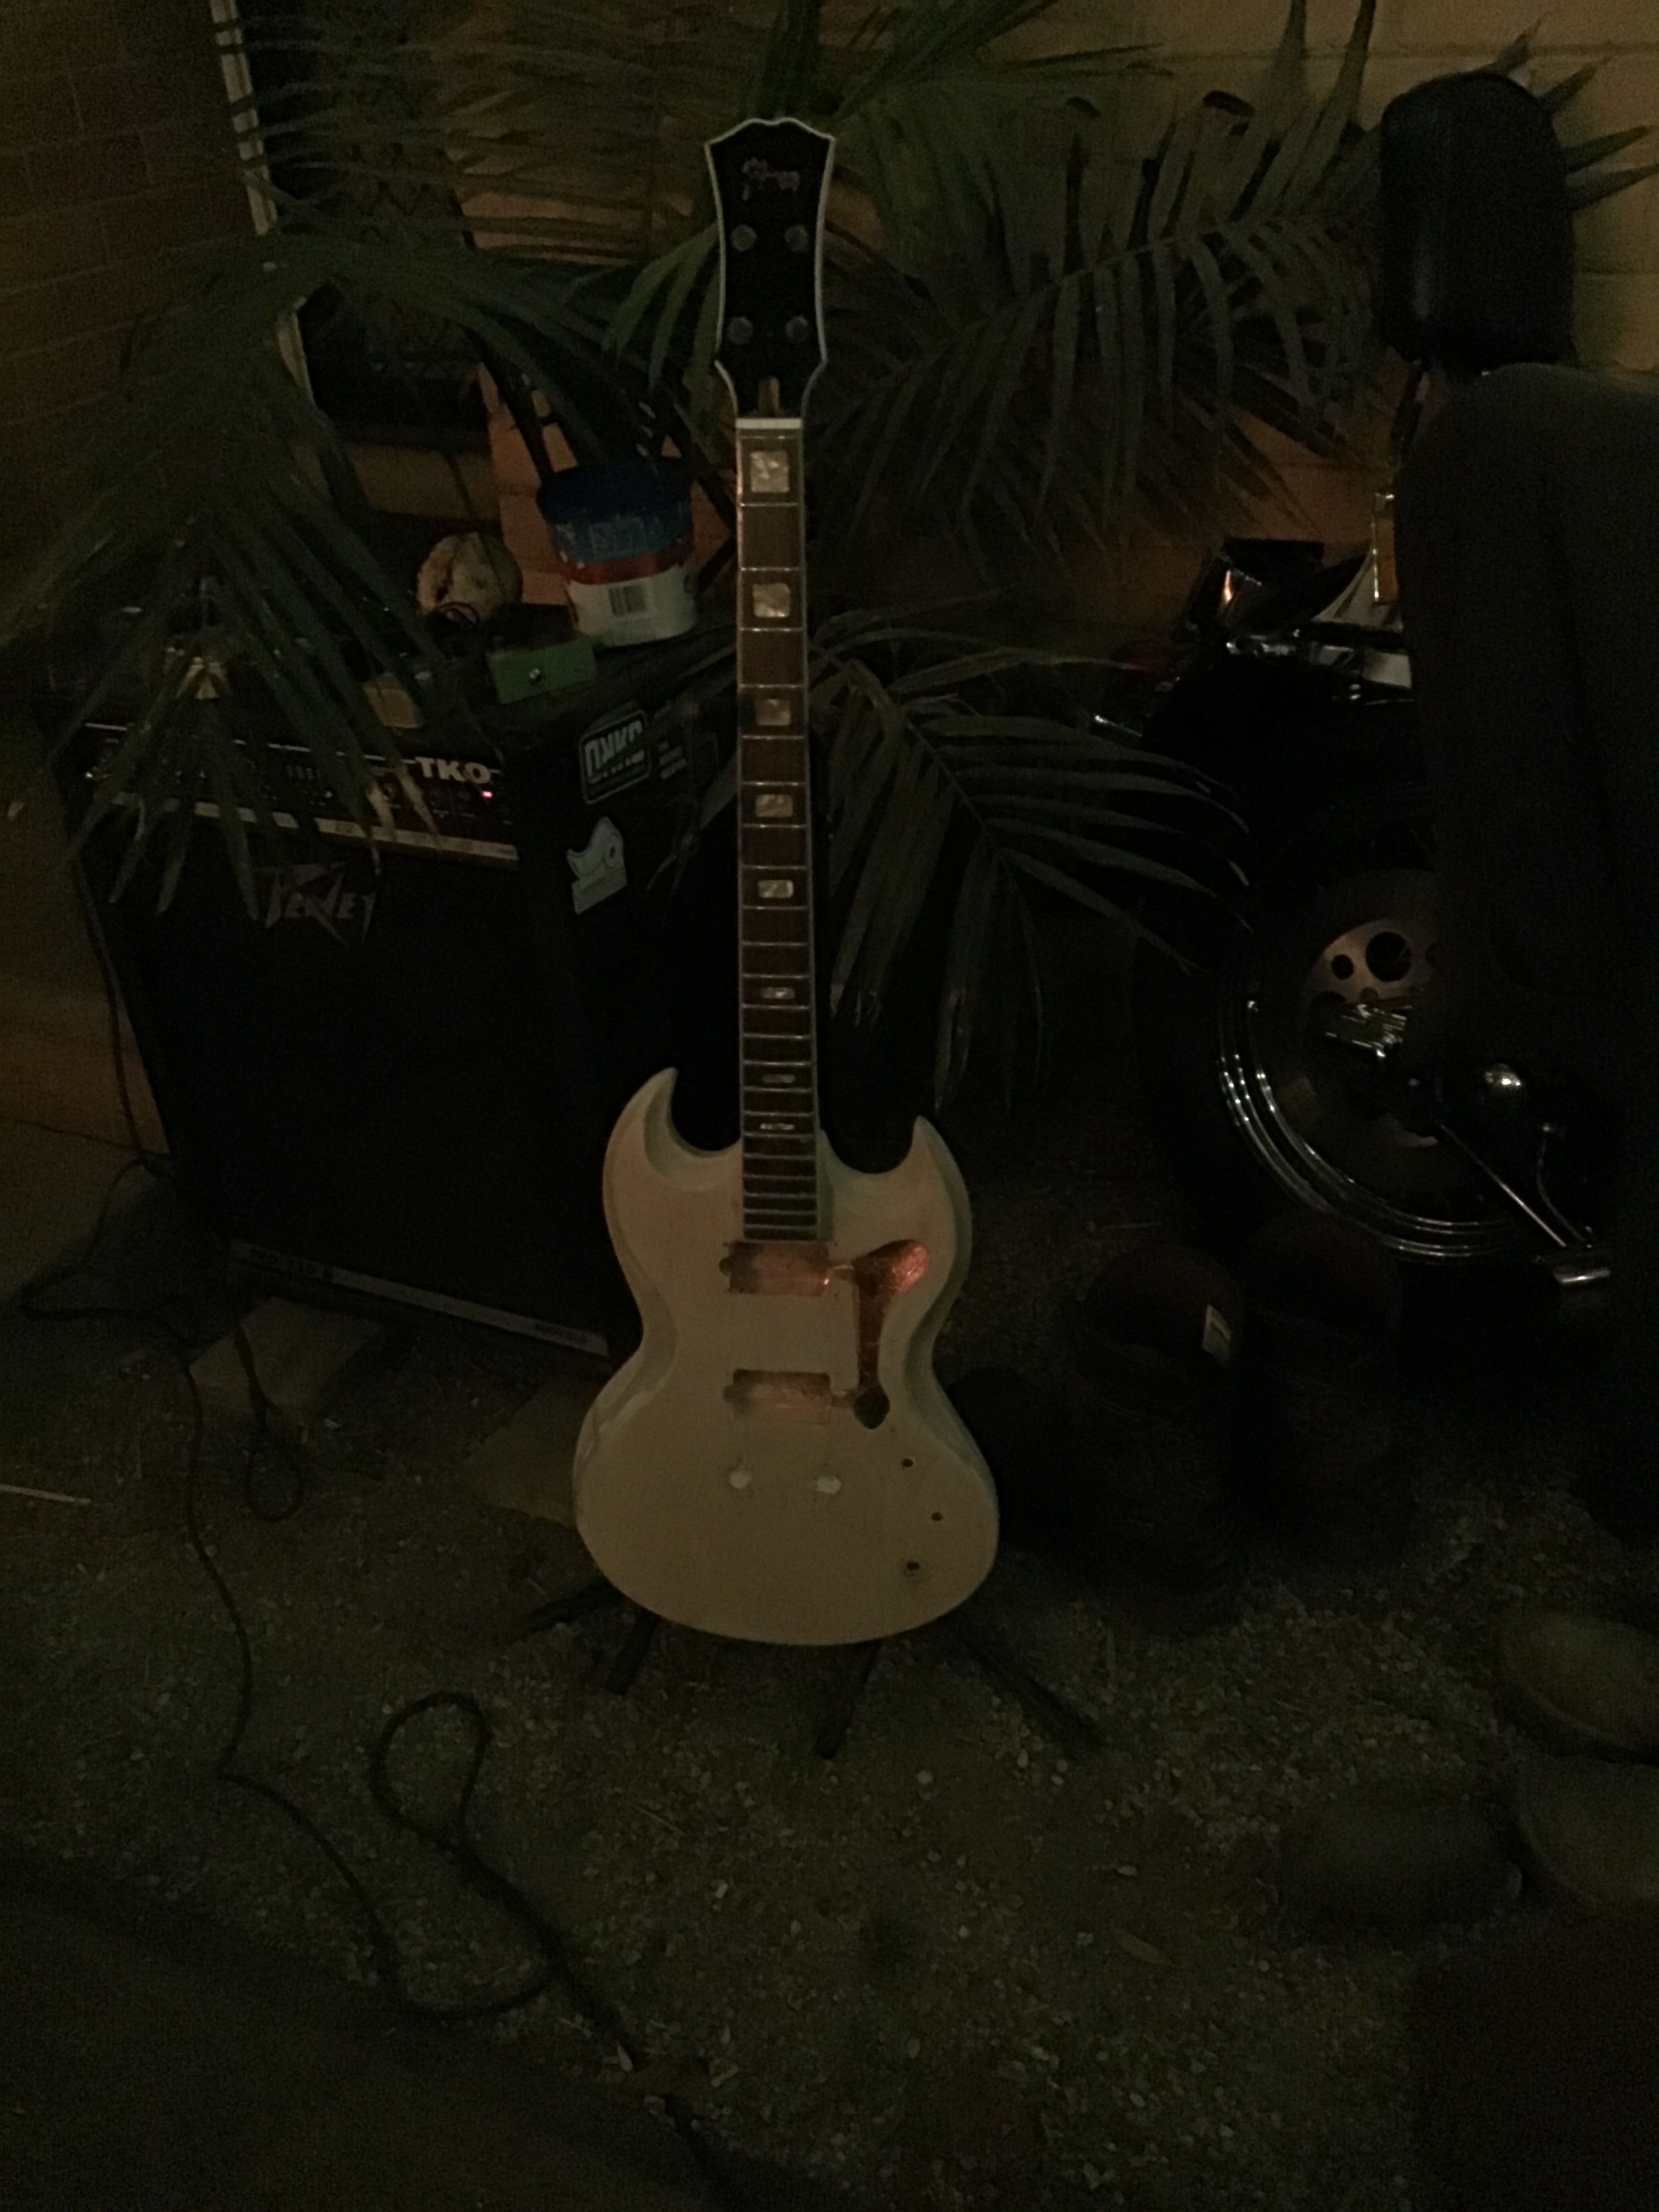
One coat of light stain/oil and a strange thing has occurred! I’ve used the same stuff and one coat over the entire bass has resulted in this …….
That looks pretty cool IMO
Regardless of whether you paint or stain (lacquer or poly coated stain) you can cut down on sanding if you use a clear sanding sealer and brush it on in between sanding sessions.
Alternatively, if you want to stain and lacquer but leave the wood grain visible you can dust the surface with FFF-grade pumice (i…e dental or artist’s FFF pumice) as you rub in the stain. The pumice abrades off loose fibres and fills in deeper pores. Then, after the coat of stain dries, you give it a quick hit with 400-grit and repeat 2-3 times.
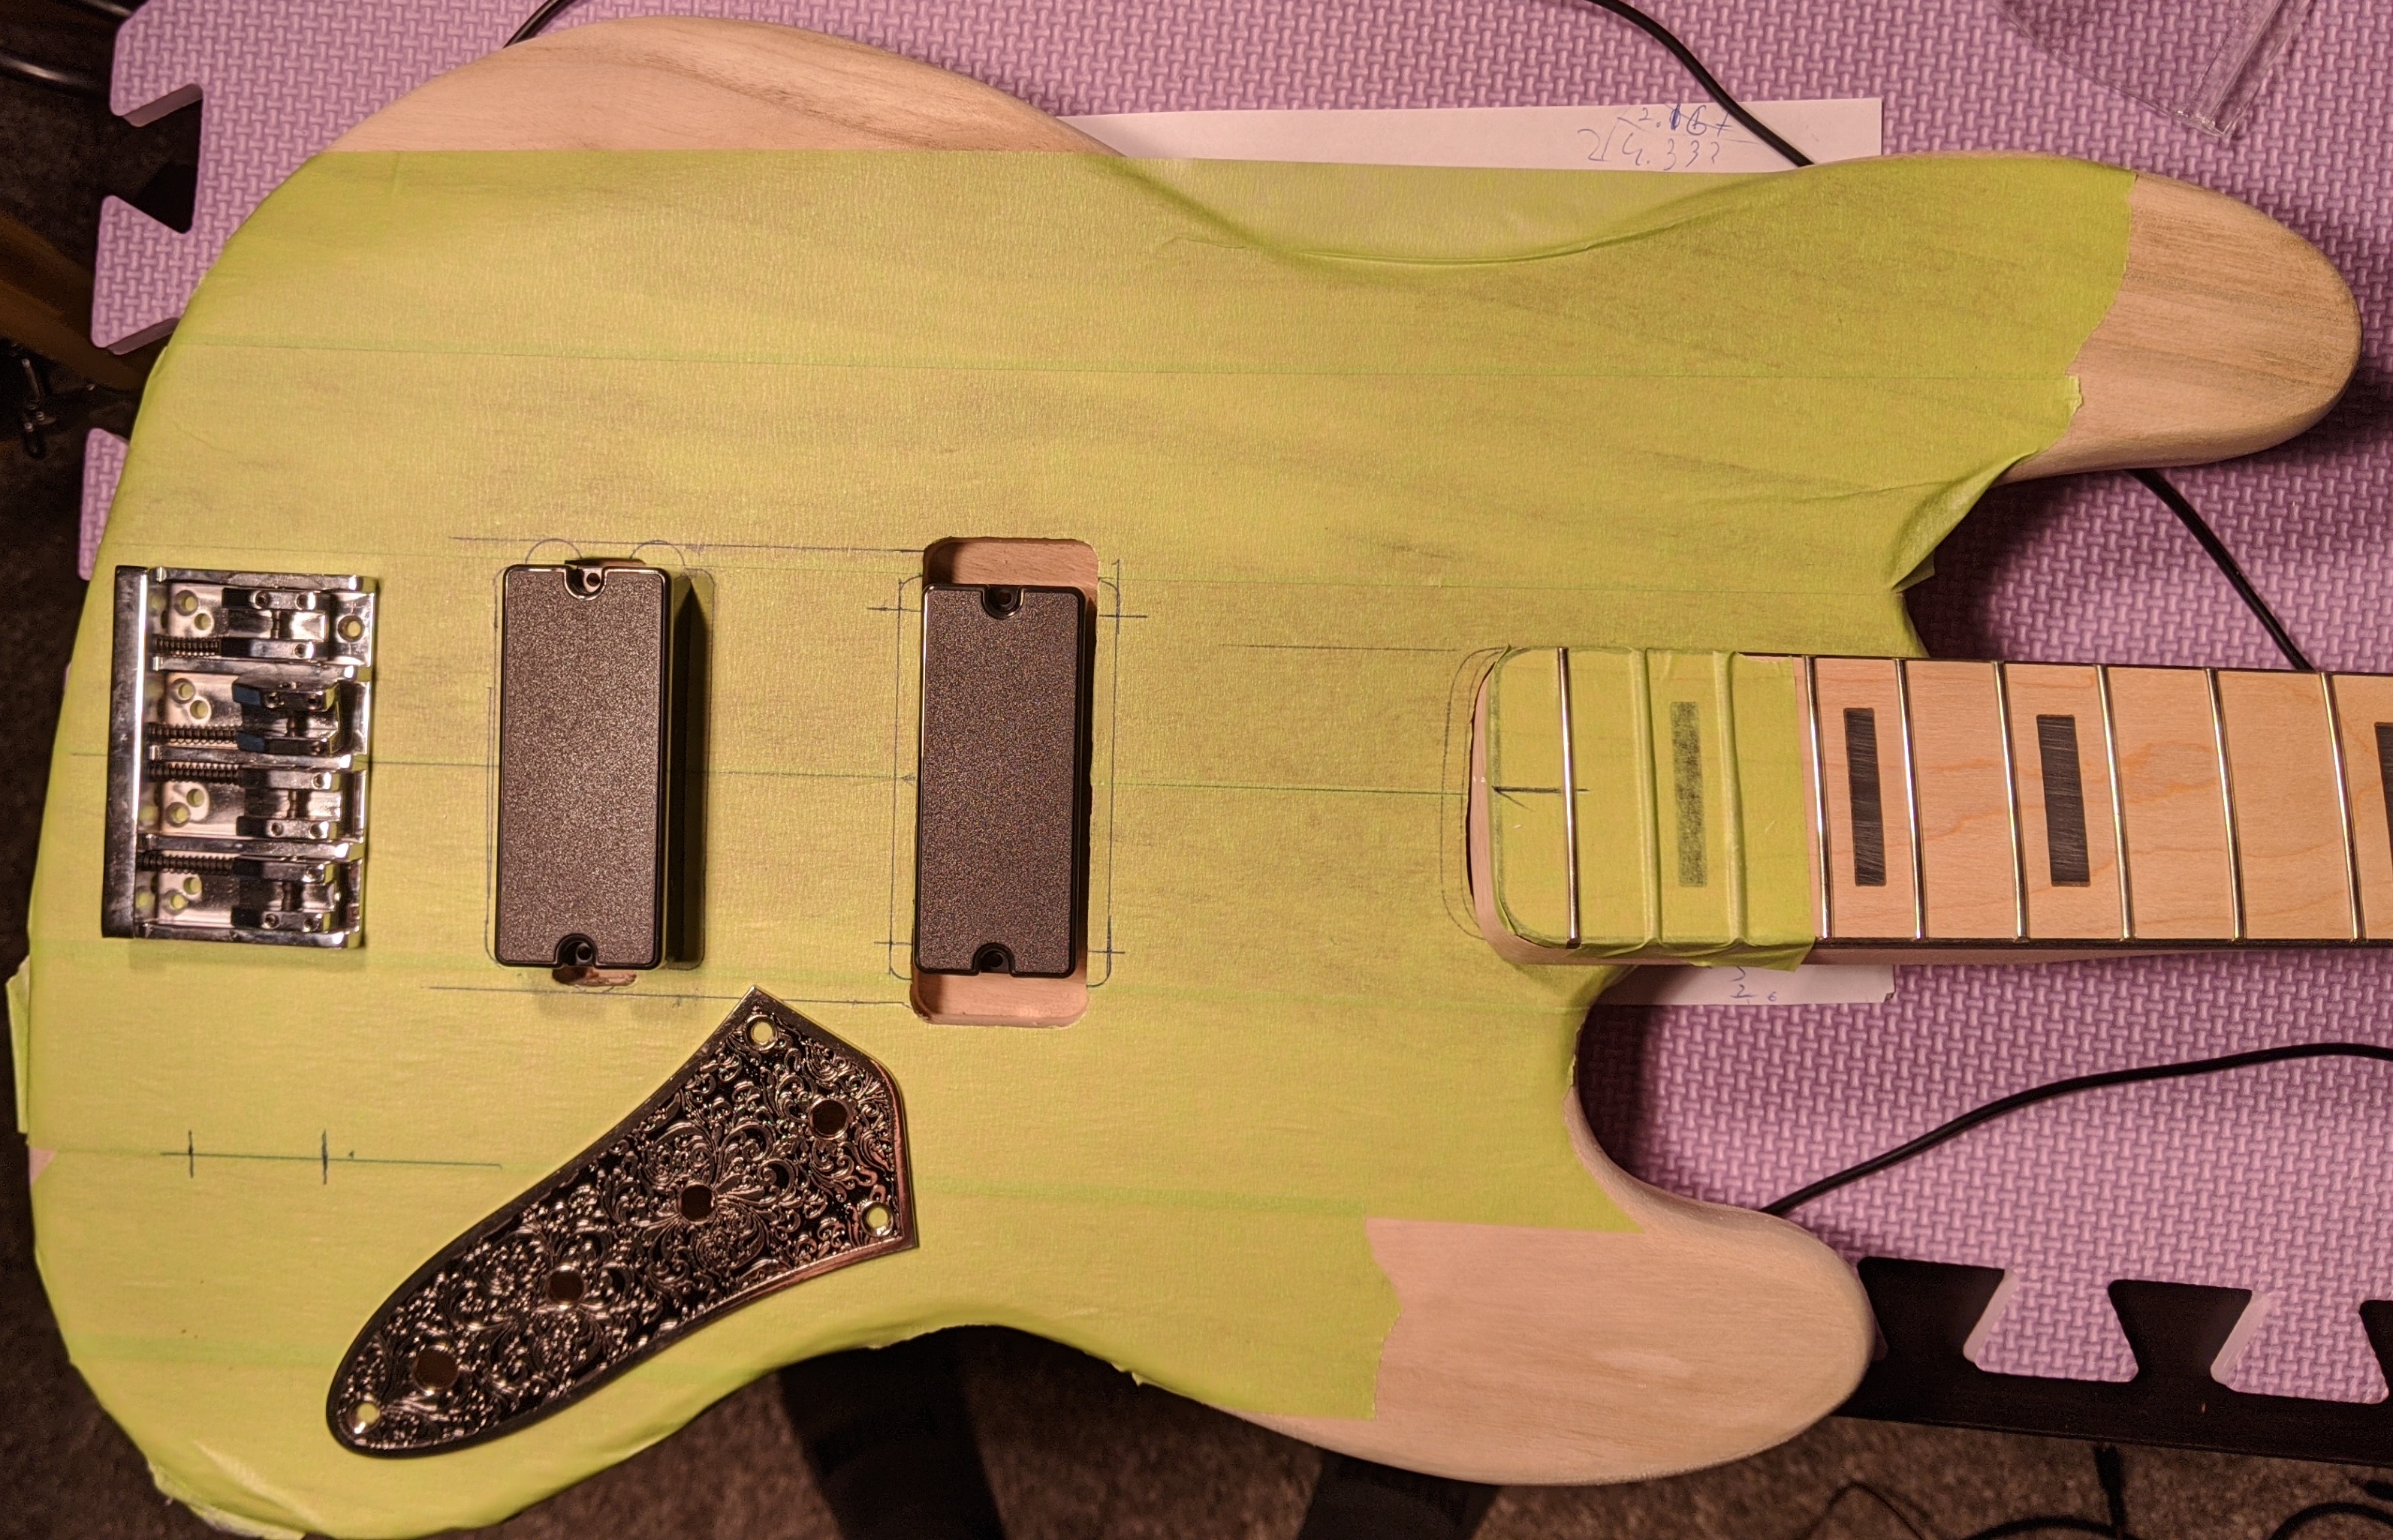
Pickup question. So, I’ve been busy measuring out center lines and tool paths, and hovering over my project bass with router in hand.
However, since I’ve ordered the MM clone from Thomann, I’ve run up against a dilemma.
If any of you remember, the original project is an active HH P-neck FrankenJazz with two MM-style humbuckers wired through two on-on-on three-ways (parallel, single, serial). The purchase from Thomann makes this a bit moot, however. Moreover, in the meanwhile, an order for some thought-to-have-been-lost soapbar humbuckers (clones of SD active soapbars) has arrived.
So, now, before I cut into the bass, I’m having revision anxiety.
Whomsoever wishes to pursue the bass, prithee, must chooseth one of these options three (well, four):
The one consideration is that the MM-styles have more tonal possibilities because of coil split. However, the soapbars are of a much higher quality. Ahhhh, almost forgot, routing for one precludes the other without major reworking.
I love fretless so that’s my vote. Depending on the tone you are after a single bridge mm should be awesome already. What kind of soapbar you have in mind?
So route for the Soap bar pups, and see how it goes.
If you don’t think it is quite what you want, then open them up for the MM pups.
Fret or fretless, I leave that to you. Fretless would be fun, IF you are satisfied you have what you want from this bass covered in your other basses that are fretted, if so, go fretless.
If you don’t have this covered with your other basses, leave it fretted.
Again, you can go fretless, AFTER going fretted, but it will be harder, although not impossible to put the frets back in, after you pull them.
That said, you could get both fretless and fretted necks, and change between them as you wish.
Just food for thought.
@Al1885 , so the basic bass is being built on a budget. The soapbars are a Korean knock-off of EMG 35 soapbar humbuckers (either from the CS or the DC range), right down to the 3-pin solderless connector.
Yes, I’m inclined to go with fretless, and I have a set of Thomastik Jazz flats to go on it.
That’s what I’m going to go with. And 90% fretless.
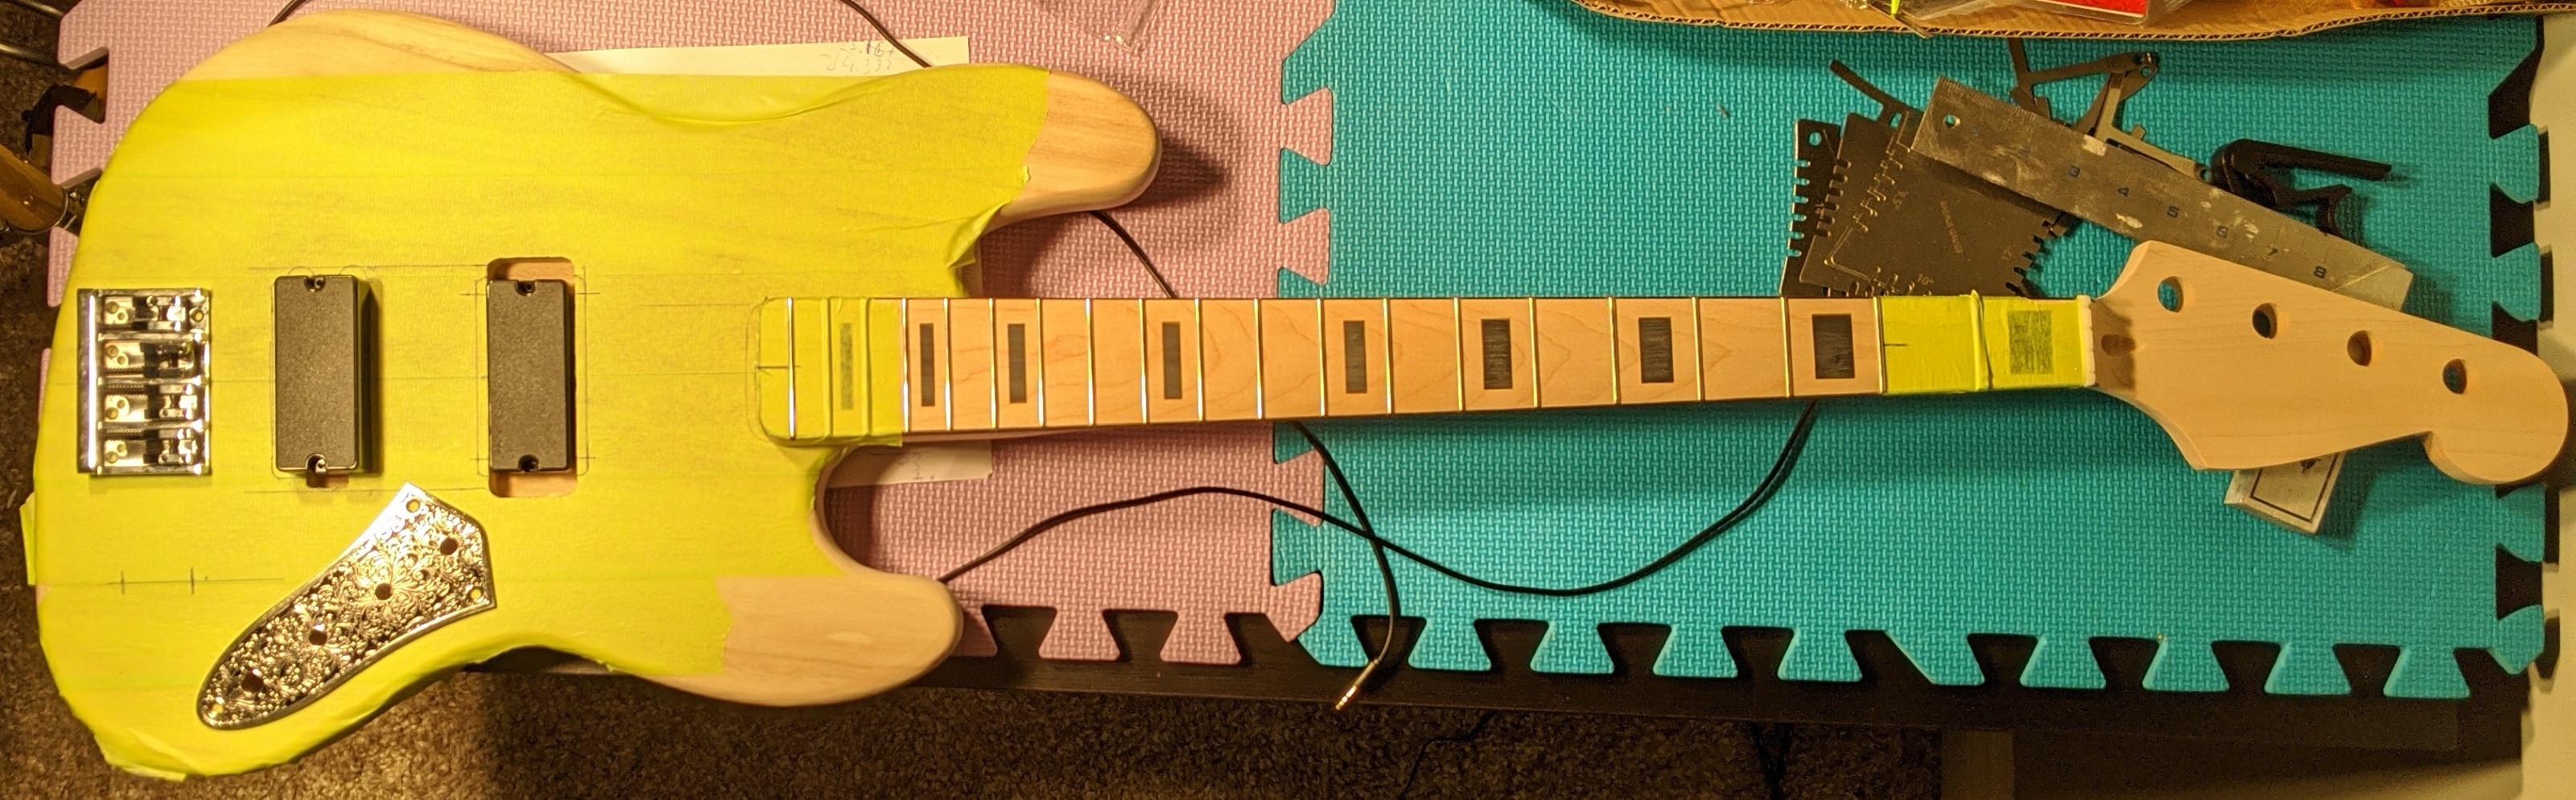
Ok, after after the sage advice of @Al1885 and @T_dub and some meditation, the bass is going to be the following:
Active, soapbar HH, V-V-T controls, jazz body, fretless P-neck (maple on maple). I’m going to reshape the headstock to be more like a Harley Benton one. Color: the current plan is blue stain with metallic blue burst edge, gloss finish, matching headstock. The neck will be finished clear, I’m just wondering whether I’ll attempt to do something with the inlays as they don’t really go with a fretless.
The layout is as below:
Next steps:
Stay tuned
T_dub is the sage, I’m oregano. Lol. Sorry chef joke.
Well, this looks like a great build. Yeah the jazz inlays are going to require some attention, but that’s not only going to be a pain but it’s another can of worm altogether.
What kind and how many clear coats will you be putting on your bass, do share.
So, I’m planning to do 10 to 15 thin clear coats. I’m still vacillating between poly or marine spar varnish. I’m making my own acrylic-based stain (sounds fancy, but it’s just acrylic paint, methanol to 70% and 2% glycerol as a flow agent), and I don’t know whether oil varnishes will grab it. I’ll need to test. Either way, I’d prefer the outer coat to smell like cancer. That’s usually a sign of better longevity, at least I think so.
I also considered doing the initial clear coat in epoxy and topping it off with varnish, but I also read that guitars aren’t boats 
The fingerboard will be done in 'poxy for toughness.
NICE! I would like to do this one day.
Was it hard or did you damage anything pulling them out?
It wasn’t very hard. Those blue side cutters are super helpful. There was a little bit of minor tearout, but because it’s getting 'poxied, that’s no big deal and it’ll sand out prior to 'poxying. One little trick to limit tearout is to is to pry up both ends of the fret before lifting it out.
I think I’ll leave the inlays alone. Too much work to remove and replace them, and they’ll look OK under epoxy.
EDIT: BTW @John_E the fretboard is raw and unvarnished, so removing the frets is easy. With varnished fingerboards you’d also get into chipping and cracking of the varnish itself. I’ve never done that, so you’d probably need to read up on some tips n’ tricks.