Build Kit Documentation (Harley-Benton P-Bass)

30€ of the money I spent more were so I can take a dremel from the shelve. They did not have the 3000 in stock so I took the 4000 after half an hour of deliberation wether I should just order the 3000 online.

4 Likes

not very important, it’s a very useful tool you have for several years !

4 Likes

I got the 4000 as a gift from my wife. Perfectly happy with it.

6 Likes

Yes! And I recommend it for everyone who wants to do shaping work. Pretty sure the money was well spent. It’s just that I also would have been perfectly fine with the 3000. But the quoted reason is how I could square it with myself to spend extra $$$

4 Likes

Let the sanding begin:

Another question about applying the oil: do I do one side and let it rest and then the other or the whole thing at once? If the second option: how do I store it so it can absorb the oil? I can’t just leave it lying on one side can I?

Edit: Wood guy seems to know his stuff. The one paper he handed me is the one I have to start with - seems it is already sanded to a degree because 120 and below makes the surface rougher instead of smoother.

1 Like

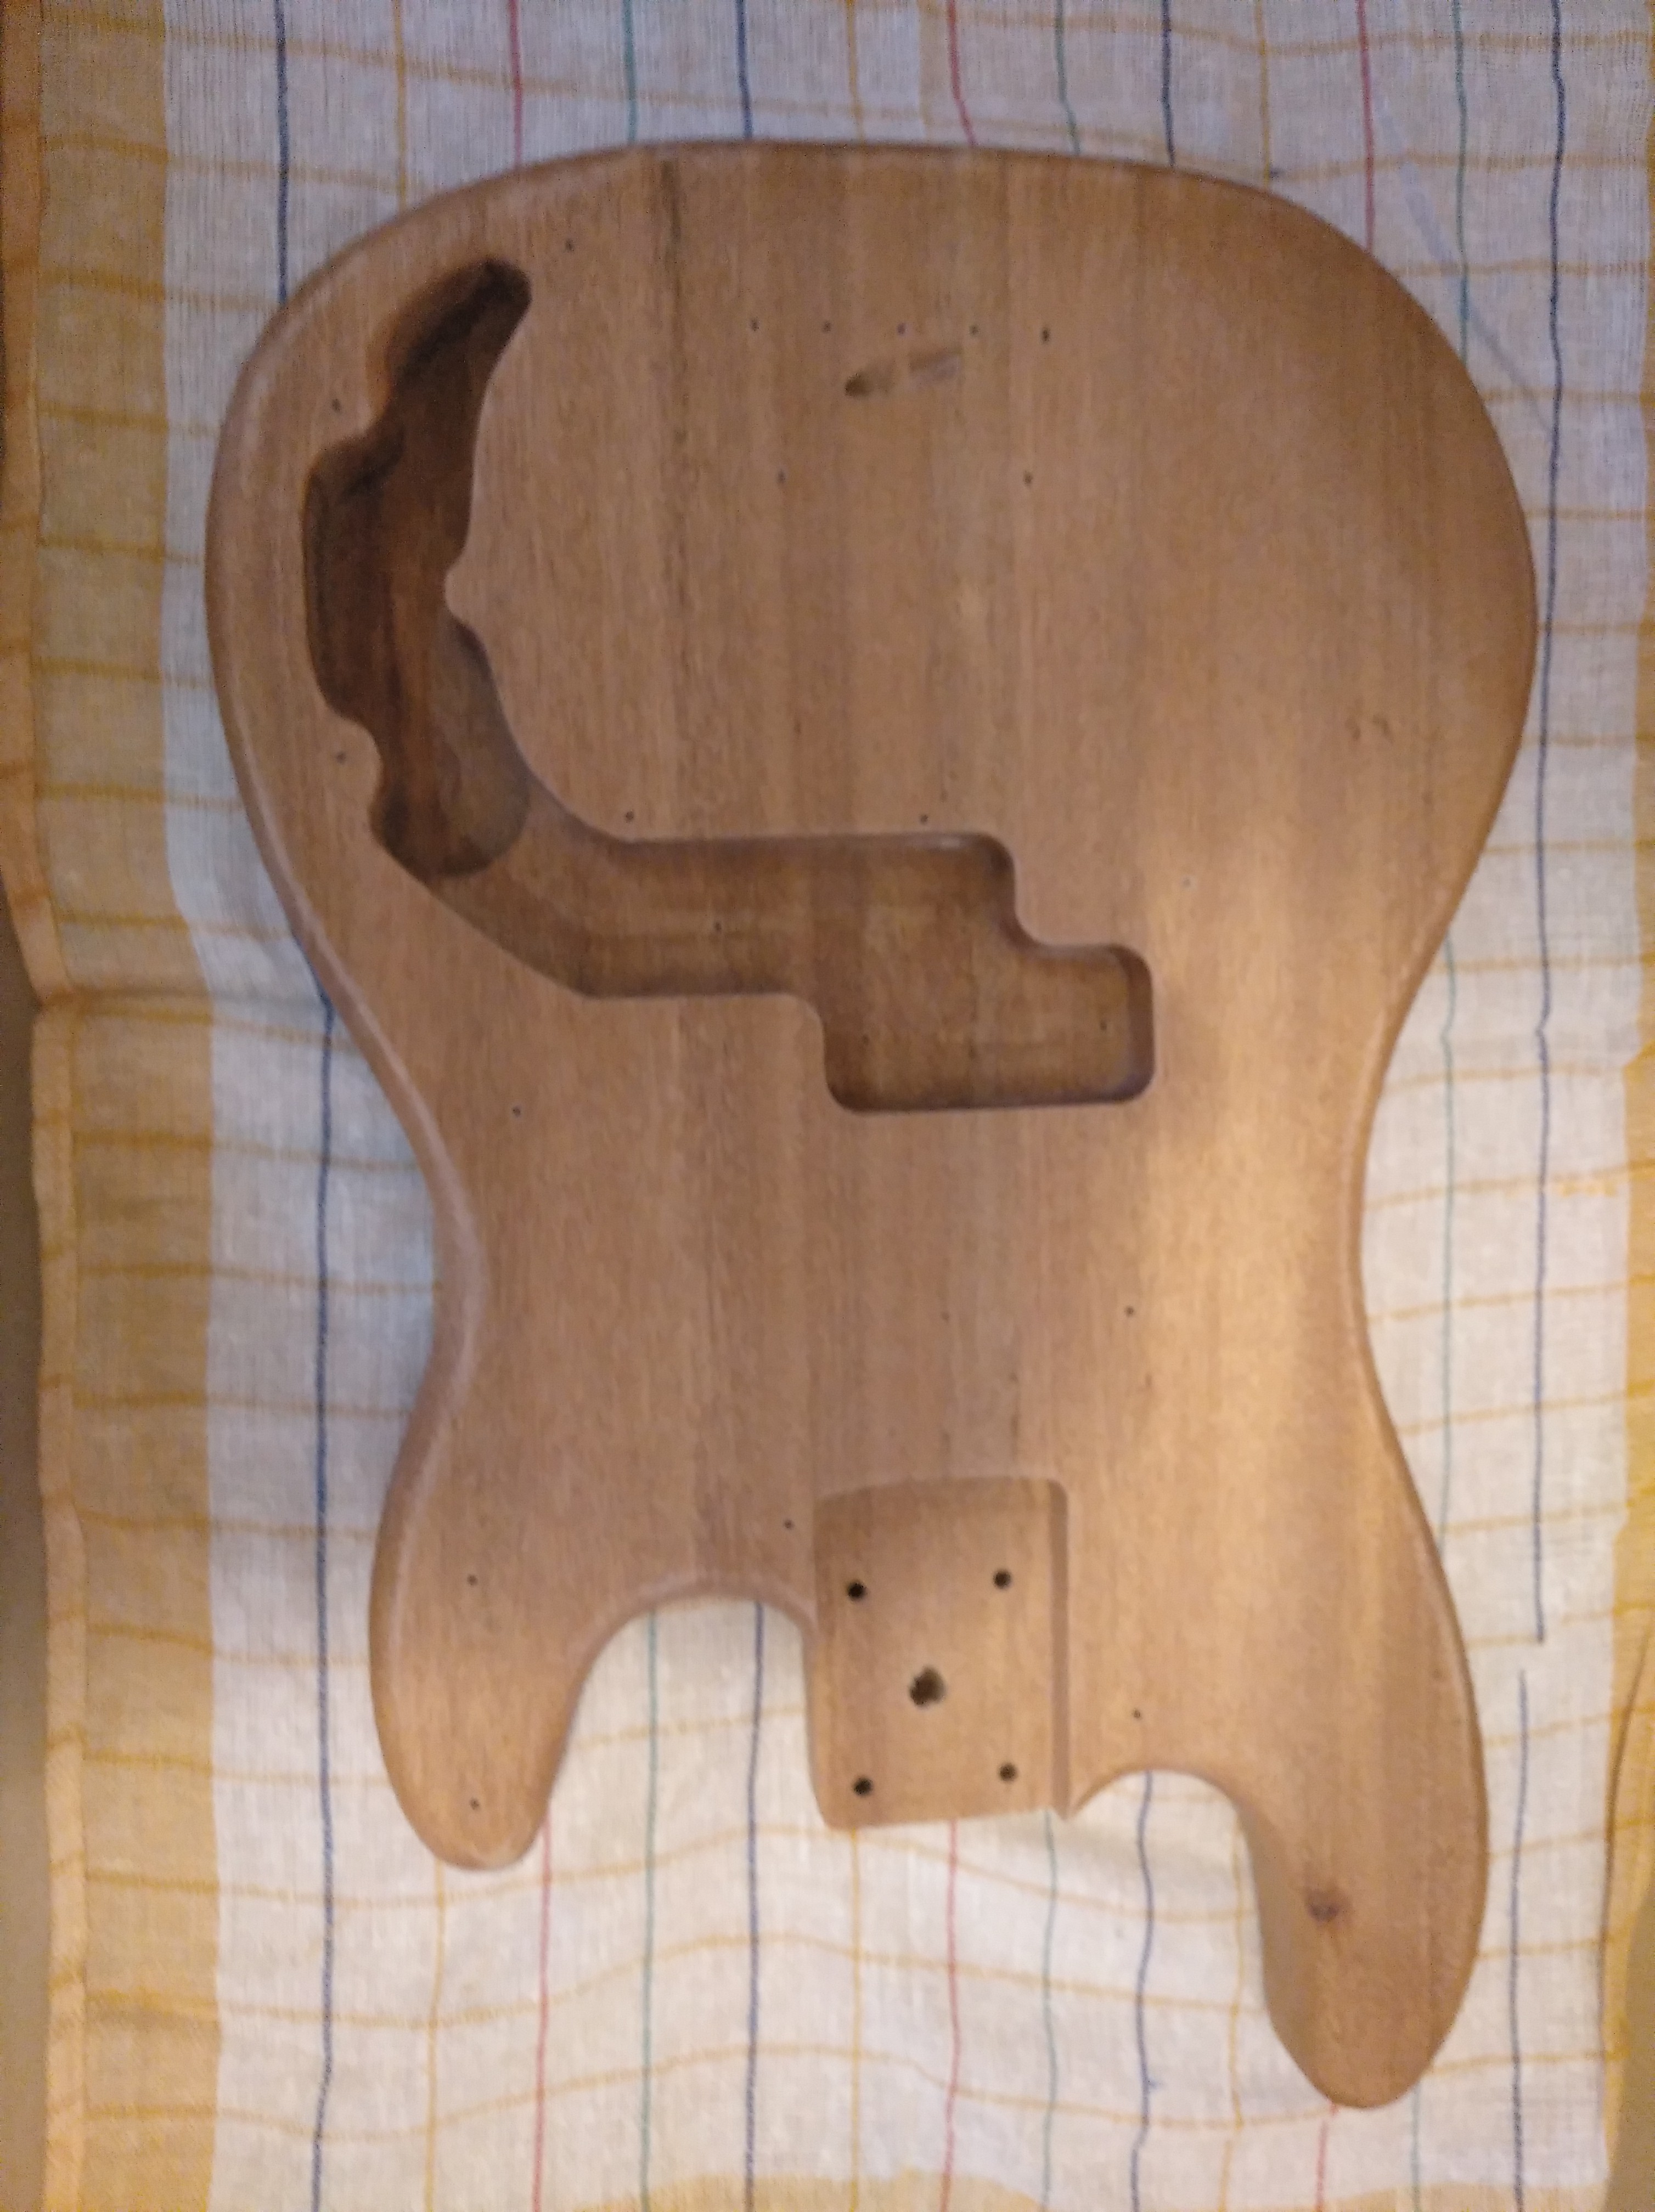
Sanded one time with 240 grain and 3 times + feeling and fixing missing edges:

First coat of oil:

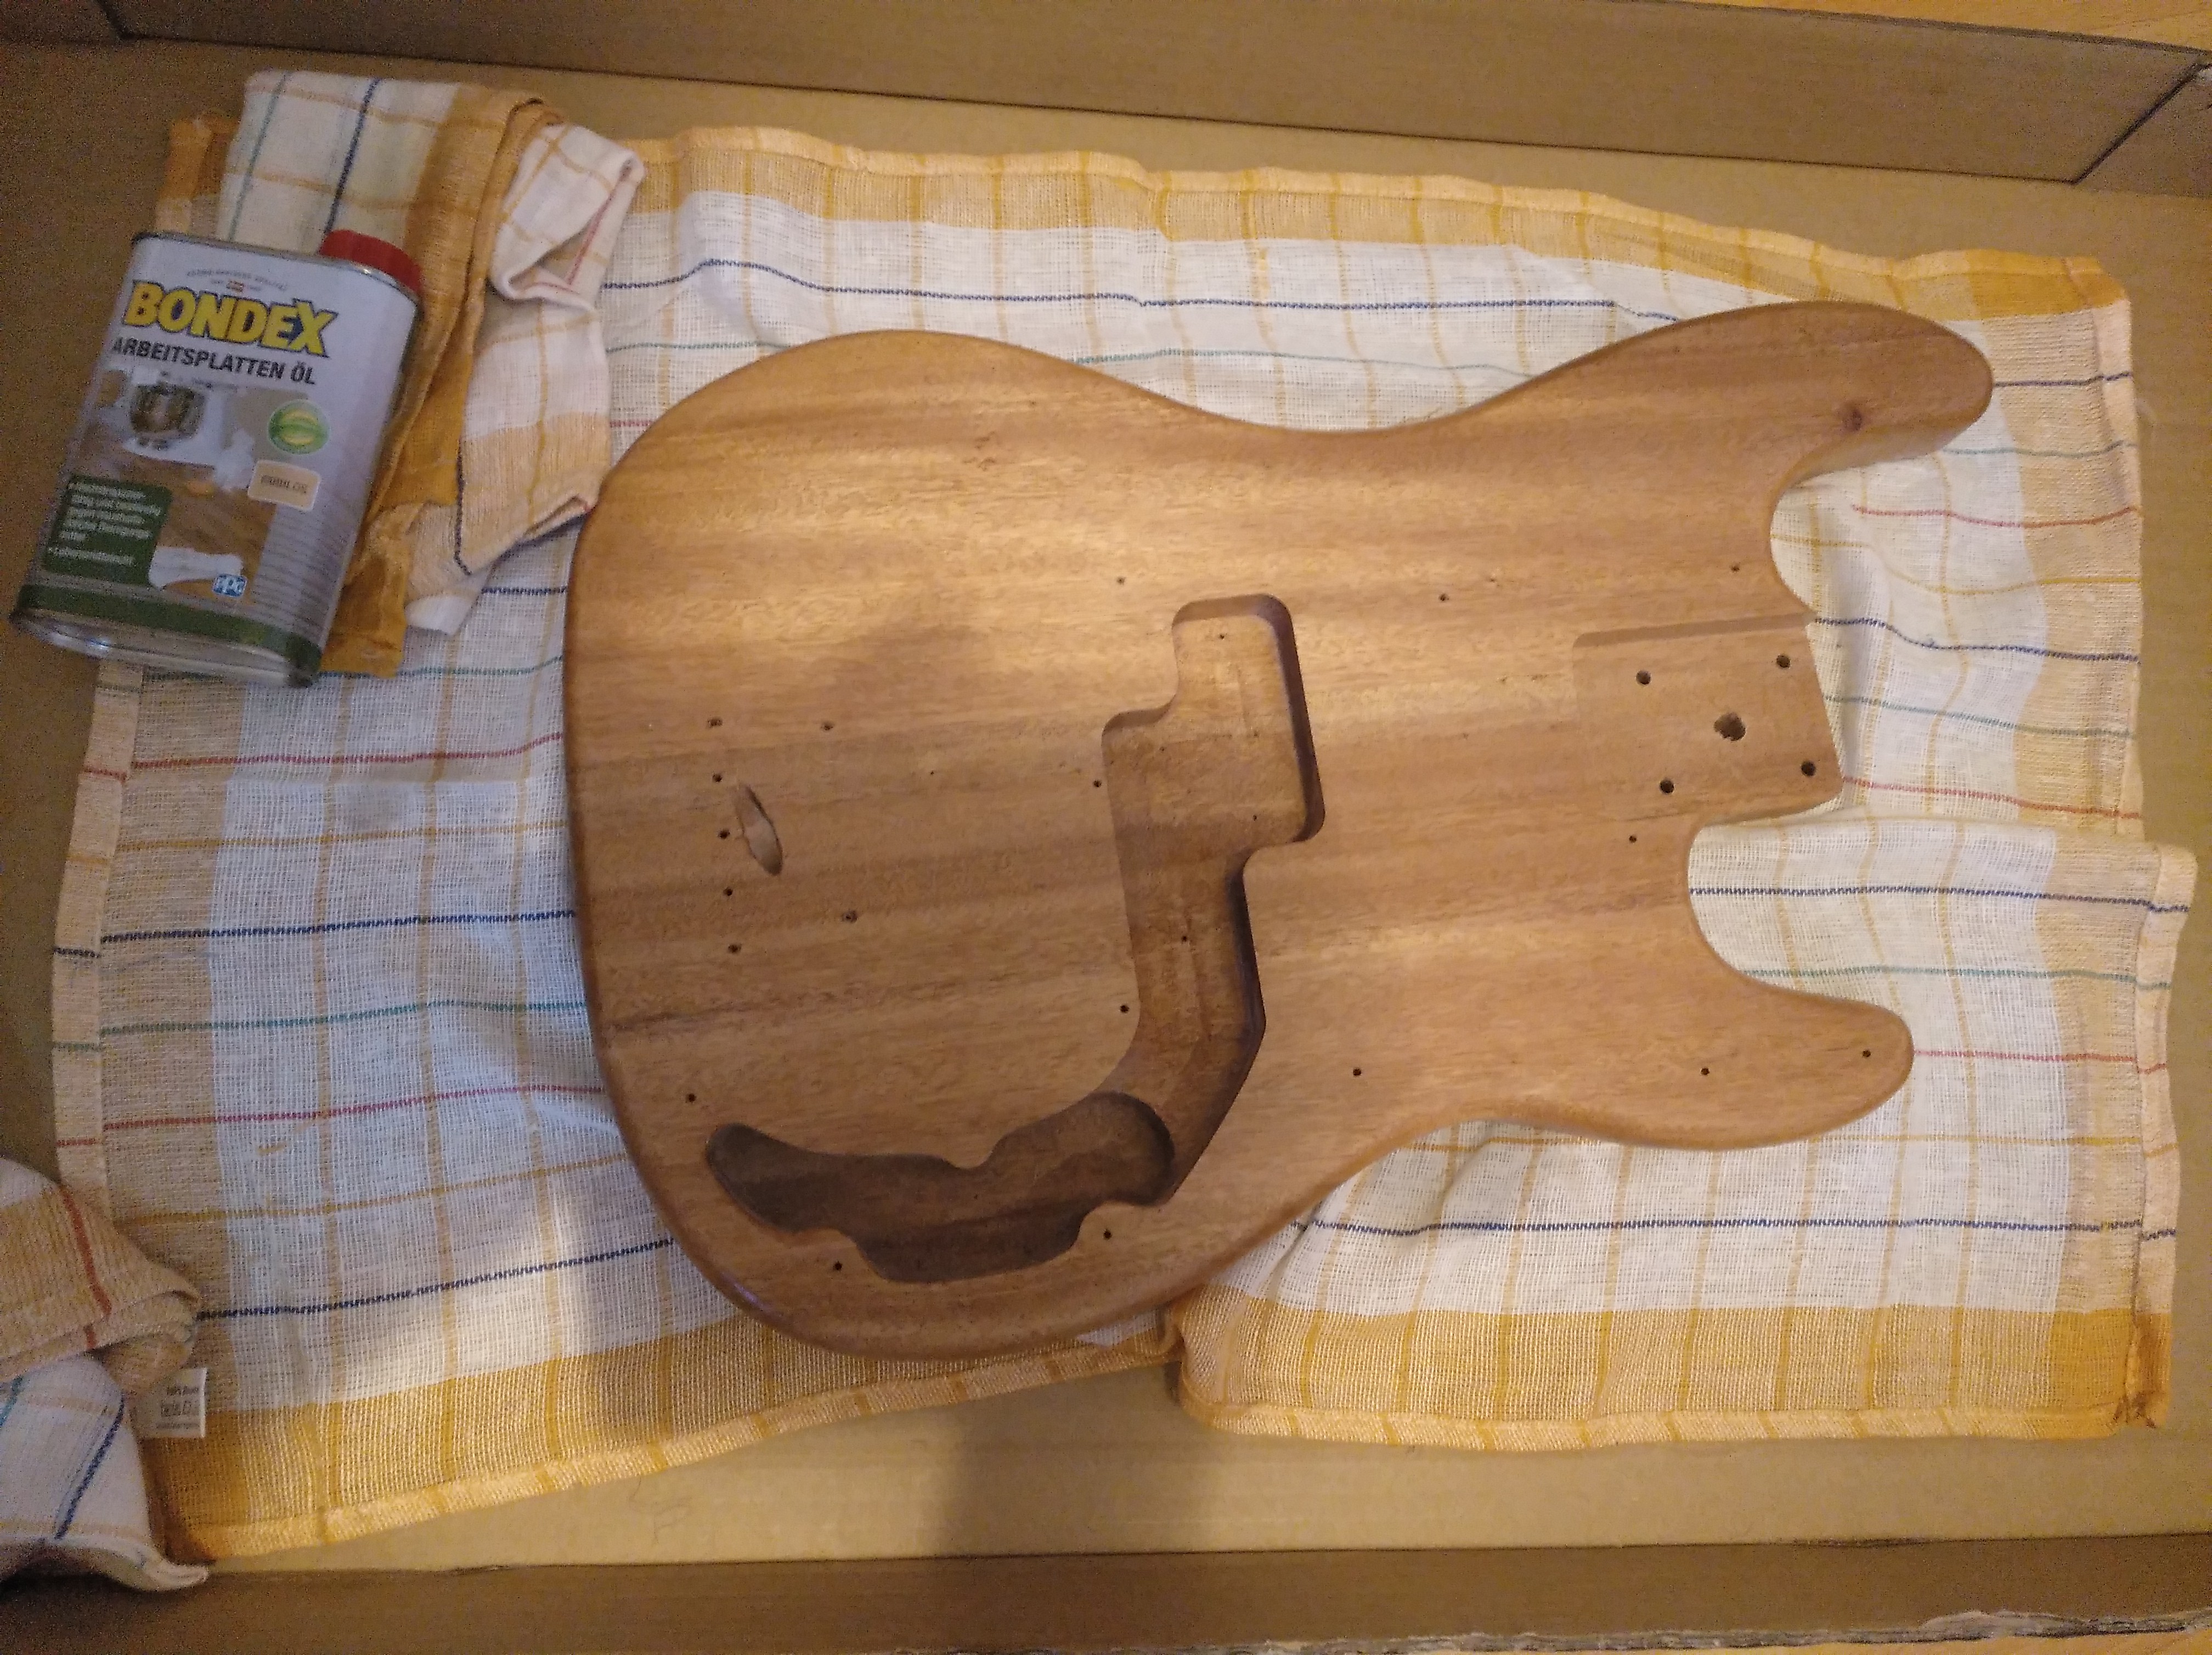
Research and instructions on the oil can now have led me to this approach: oil one side, wait until drawn in (20-30m), clean up excess oil and then do the other side.
I want to do 3 coatings but for the additional ones I clean up excess oil immediately. Can’t wait for the result.

I remembered that a friend of mine lives in a flat of his parents house (real flat that could be rented) and maybe there’s some kind of workshop room they have I could try and ask to use for the next project.

2 Likes

whole thing at once

like this :

4 Likes

That grain is beautiful! Are you going to apply a sealer after your final coat?

2 Likes

yeah, looks good, you’re lucky @juli0r !

3 Likes

So far I did not plan on that. The oil is used for kitchen worktops and according to the wood guy it’s way more resistant than other varieties. Also food safe so I could lick my bass according to wood guy in home improvement shop.

Sealing is an additional layer of prection I assume?

@terb - Uff… I even thought about that but can’t really think of a possible setup to do that where I am. Not without blocking the shower and my girlfriend won’t let me do that for 12-24h :smiley:
The instruction for the kit said to do it like I described - wait for half an hour to let it draw the oil in and then do the other side. Actually it said do the sides first then front and then back. But I figured it makes more sense to do front/back including sides.

Another question: If I were to apply paint of any kind - at which point in the process would I do so? After oiling the wood and before a sealing layer?

3 Likes

I may misunderstood. If you are leaving it natural, you usually do not paint it. If you are painting say the headstock, do your finish sanding, followed by the light steel looking and then the tack cloth to remove all residue. Then apply very light spray coats, following the drying instructions on the can. Usually two light spray coats gets it done for me.

Regardless of the wood stain/seal material, I would recommend using a wipe on poly sealer in satin. It will give you a good hard seal coat on the body and it will make the neck super fast. I even use it on the fret board after it has been oiled.

Looks like you are having fun and learning a bunch as well.

3 Likes

The neck and fretboard arrived completely finished. It’s just the headstock that I have to give form and refinish.

Yeah I had some thoughts about spraying the batman logo part of the headstock black but leaving the rest natural if possible. But with your description I’m not sure it is as the paint replaces the oil coating if I understood it correctly.

2 Likes

Just light sand the Head stock to bare wood and finish sand it and then paint. You might be able to cut out a bar figure, apply it to the Head stock and then spray the black over the cut out.

If the neck is finished, you can still use 220 grit sand paper and 0000 steel wool to take it to raw wood. Then finish it like you did the body. Take your time. Many light coats of the wipe on poly and 0000 . I think that you will be very happy with the feel of it.

3 Likes

Make tha t a bat figure. My spell check is demented tonight.

2 Likes

Make that a bat figure. My spell check is demented tonight.

2 Likes

Mhhhh… So just cutting out a shape and painting that part and finishing the rest while leaving it as one piece does not work well?

I already am so I don’t see the reason for extra work. Apart from that the fretboard could use some oil but just the usual lemon oil one uses to take care of the fretboard from time to time. Don’t see the need to do the finish again myself. Seems good already.

You know you could’ve edited that in your post? :smiley:

And - Mhhh oiled body with aesthetic curves:

4 Likes

I would just throw it on a CNC and be done with it. Engrave a little pattern in the wings while I was at it.
Lol
I realize that is not an option for everybody. You are doing great. Way better then I would do. I have little patience for woodworking. I am a completely a Metal working guy. Odd, being my last name is Wood, but true.

I love your orig design, it is great.
Do you plan to print out a sort of Cape logo, or any art for the wings, and transfer it onto the headstock? Or some hand painting / paint pens or the like?

Oh, I see you do have a plan. That’s what I get for starting a post before reading all the way thru.
Any thoughts to a transfer, or paint pen line work?
I will read more to see if that’s answered.

Looks amazing. Great effort thus far.

2 Likes

AKA “The Warwick method” :slight_smile:

I love how they make you a making-of video when you order a custom. I guess when you’re paying $8k for a bass it’s a nice touch.

(IKEBE is a music store chain here; I bought my first 'wick from them. They move a bunch of them and I easily believe they ordered all the customs in that vid.)

5 Likes

Seriously these vids never get old

5 Likes

And I am unsure of having chosen the right profession. It is so relaxing. Meditative even. I feel like Rumo in Rumo & his miraculous adventures when he entered the woodworking shop.
The smell of the wood, the oil, gradually getting the shape you want out of this awesome material.

Metal is so cold and without life, soul to me.

Not at all. I thought about more detailed shaping of the wings so they are curved like wings. If I would nail my vision of this it would be awesome. But I just wanted to leave it natural and only the logo black. Still unsure about the exact procedure there. If avryl sticks to an oiled wood surface I’m thinking about just oiling the headstock, taping parts away so just the logo can be sprayed, spraying that and then a sealing layer.

Yeah those Warwick videos are cool. I’m just not a Warwick fan regarding tone/sound

4 Likes