That is terrific mate thank you! Already ordered the Toneriders! (A friend from completely different community suggested the same)
4 Likes
Yeah, thats good. I was just saying tuners because there was not a good photo of them, and since basses get leaned up against anything when they are moved around and can get knocked over and god knows what, it is just possible that tuners could be beat up a bit, but if they are not, that is great, and keep them for now or ever.
Reasons to replace would be
not keeping tune
stripped
broken key
or to change style or color
so
if its not broke, don’t fix it.
for the bridge, you can get some tonal quality out better bridge, but I also think they look so much better. You can make a bass look like a more expensive version just by changing the bridge. Not that it is important to look like a more expensive version is so important, but since they are better for tone (sustain) and look so much cooler than the fact they make the bass look more expensive, is just a bonus. IMO, it will not hurt you either way, and it is not necessary to upgrade right away, doing the pick ups, like you did is a much smarter investment of your money first, later if you like, bridge, or maybe you move to another bass altogether, who knows, anything can happen. ![]()
2 Likes
Yeah, that’s also why I don’t want to spend so much just yet. When you trade these things in, your customizations do not value highly.
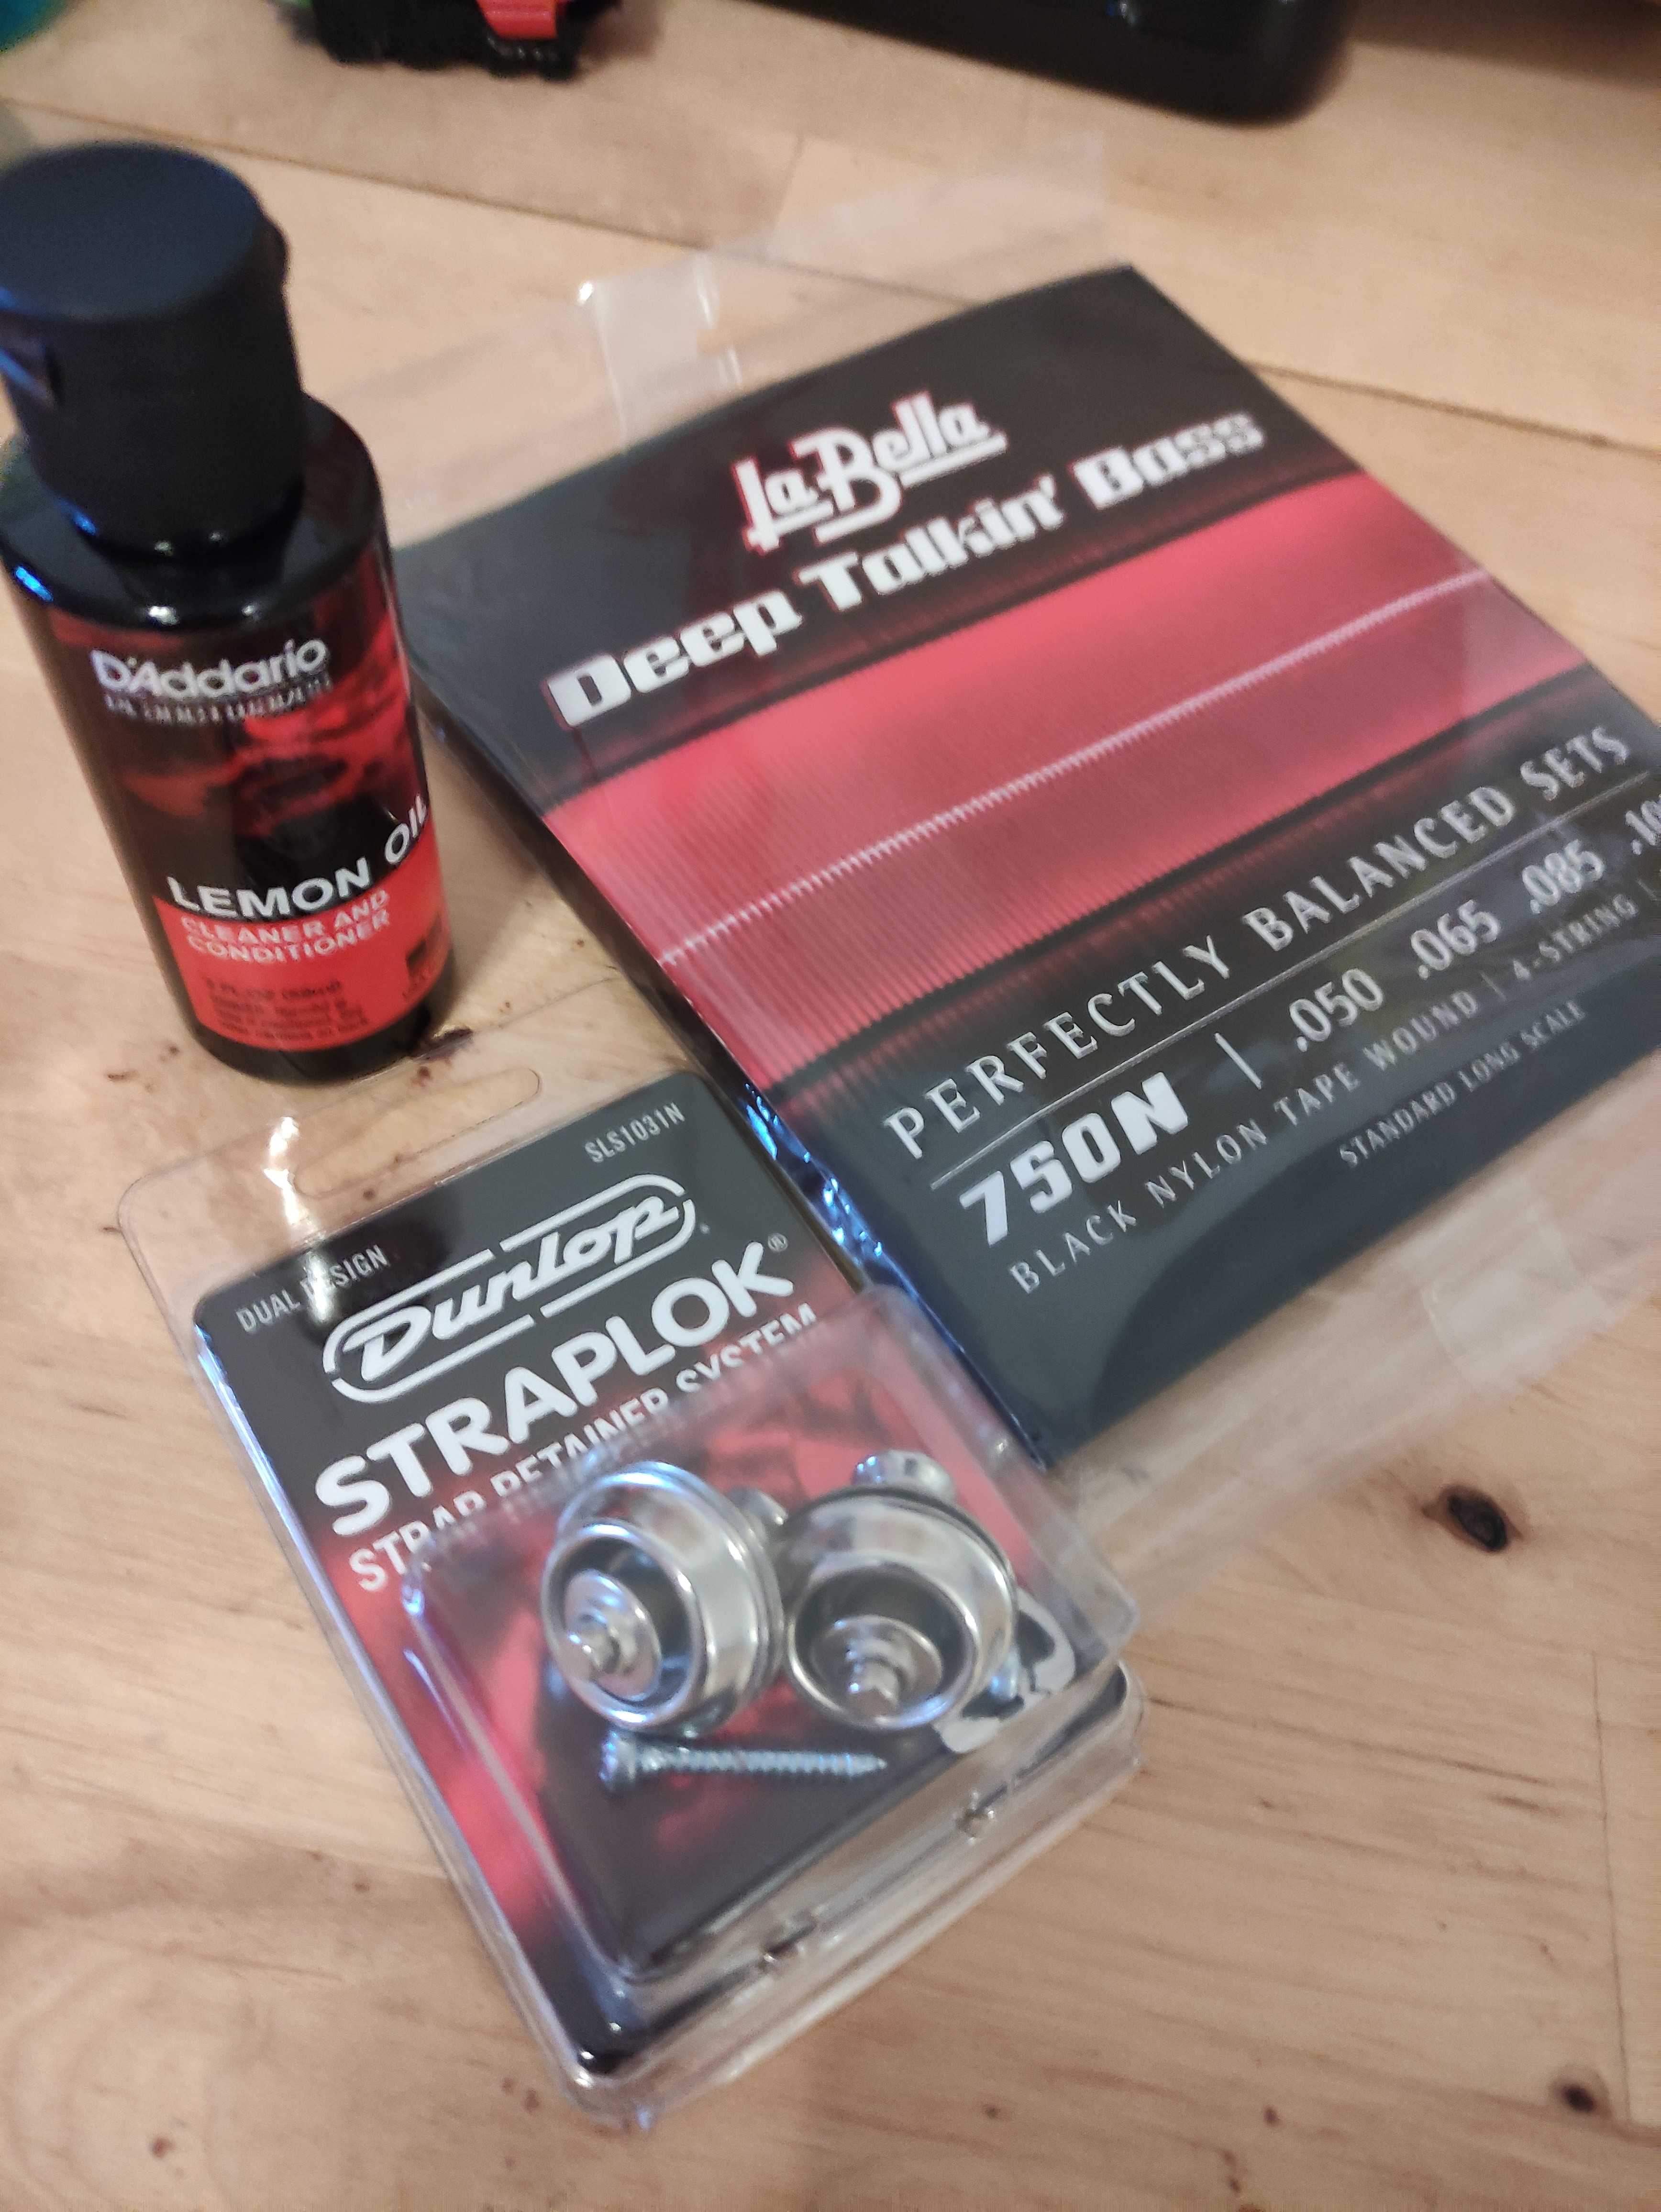
Paid 50 euro for the bass, 120 euro for strap locks, pickups and new strings (la bella nylon tapewound)
I feel it will be a great p bass for what it costed me in the end of the day…
2 Likes
Thats for sure.
Yeah, I bet it will, and down the road if you are feeling like a little change, but don’t want to buy a whole new bass, you can upgrade hardware to give it a face lift, if you decide to go that route instead of a new bass at the time.
Man, those strings are a lot, they cost as much as the pick up and strap locks, LOL
That is one thing I am glad for, the strings I grew up on and like are not that expensive.
That reminds me, I was supposed to get online and order a new set of strings for my Stingray Slo Special that I just upgraded the pick guard on, not get online and talk about other people upgrades. ![]()
![]()
![]()
![]()
Just kidding, I can do both. ![]()
3 Likes
Unintentional matching color scheme!
Now gotta wait for the pick ups.
Last time I removed nylon tape wounds (to be reused later) by the way the G string wounds came loose and started rolling all around the core.
I really would like to try the La Bella’s with the original pickups for comparison but I don’t want to risk losing the strings again…
6 Likes
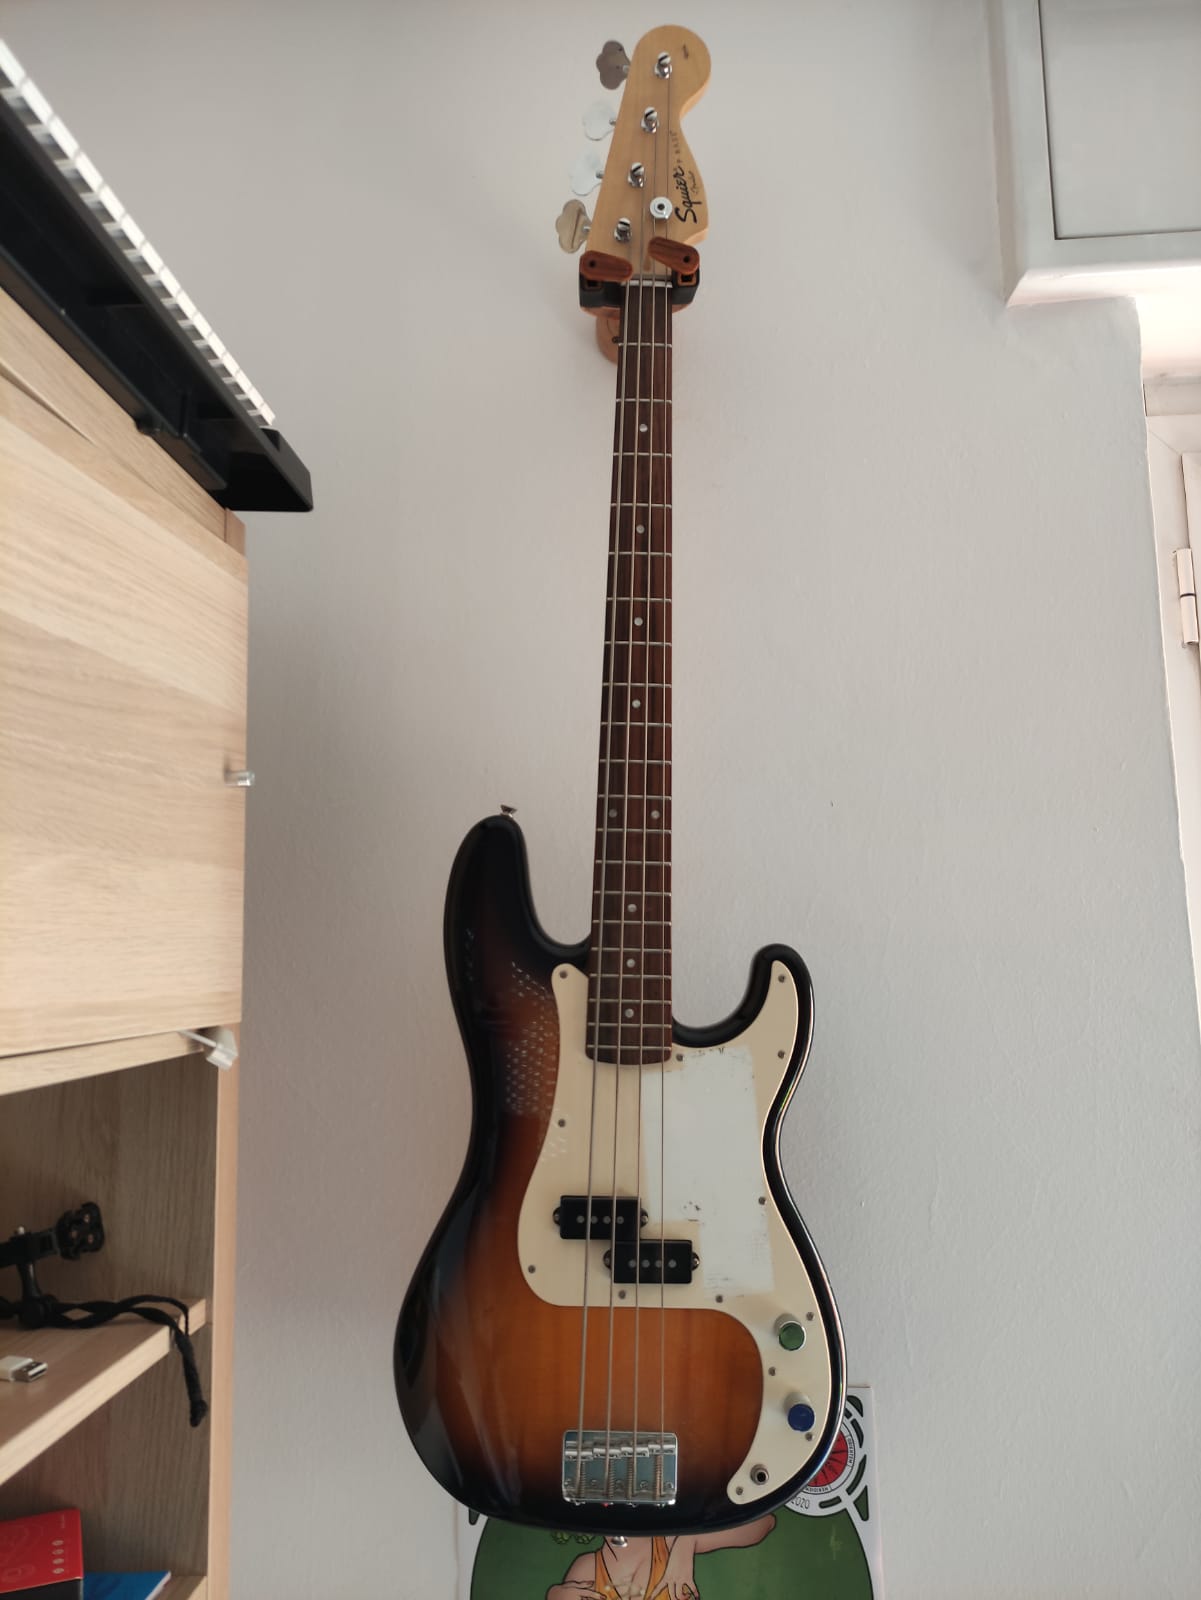
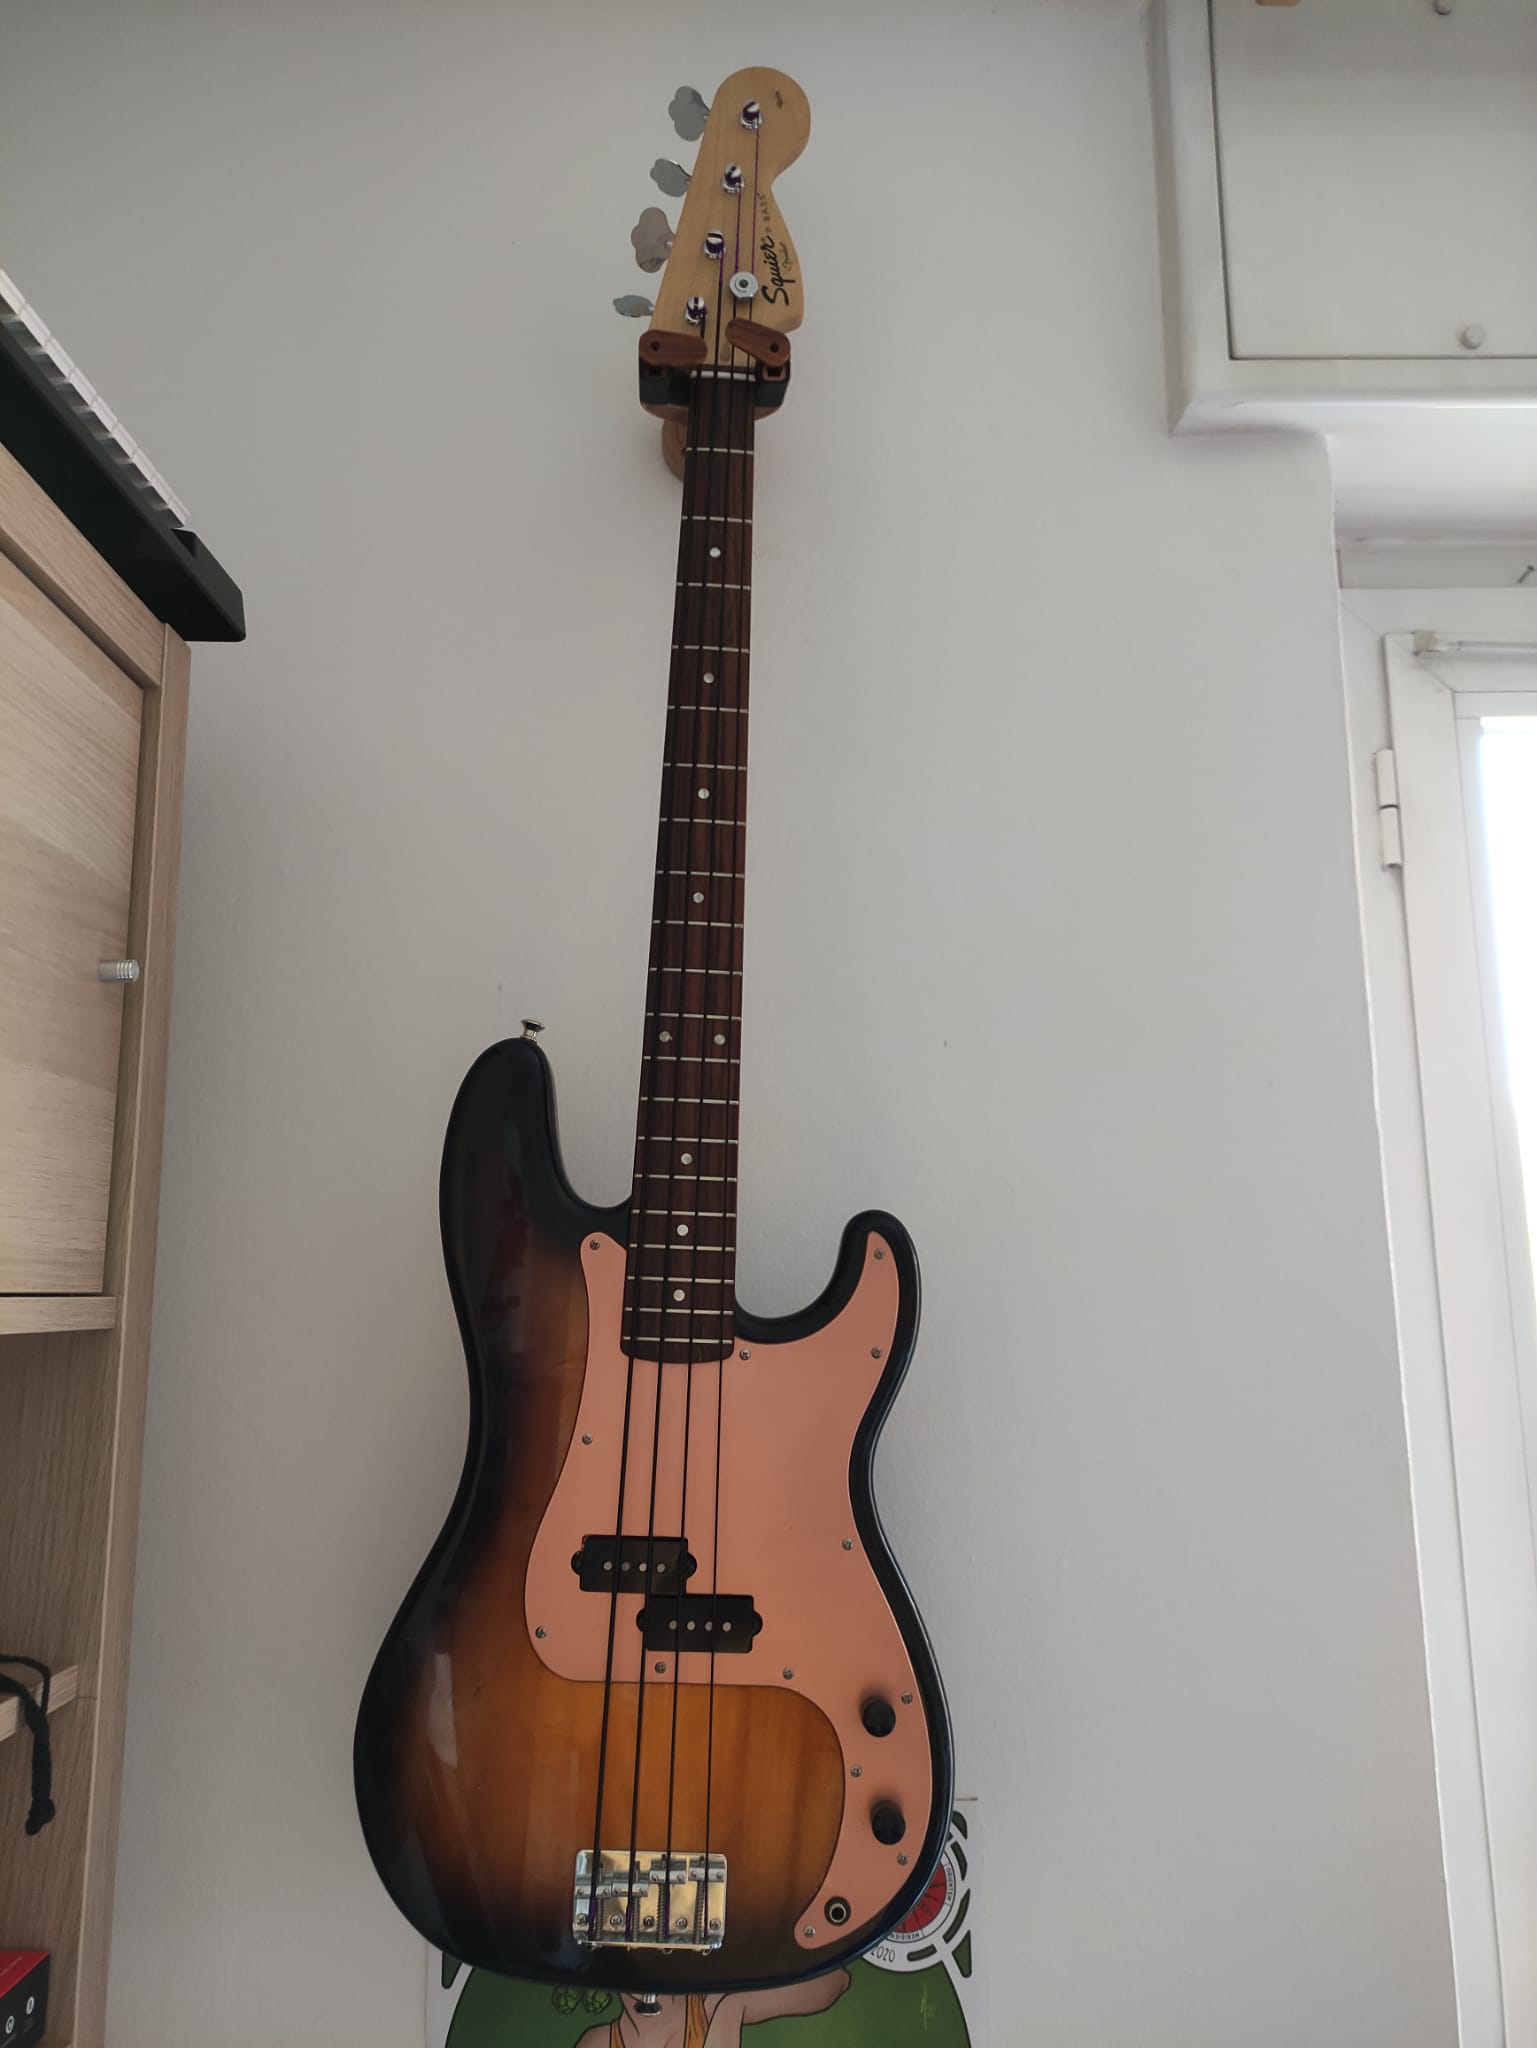
So here I am with my story (so far)
Starting with this neglected girl. Already playable as it is (terribly needing new strings and a good setup with intensive cleaning!
)
So as first thing I have ordered the La Bella Nylonwound strings, dunlop strap locks and cleaning material. Gave the old girl a good scrub on the needed places. It was already looking much better.
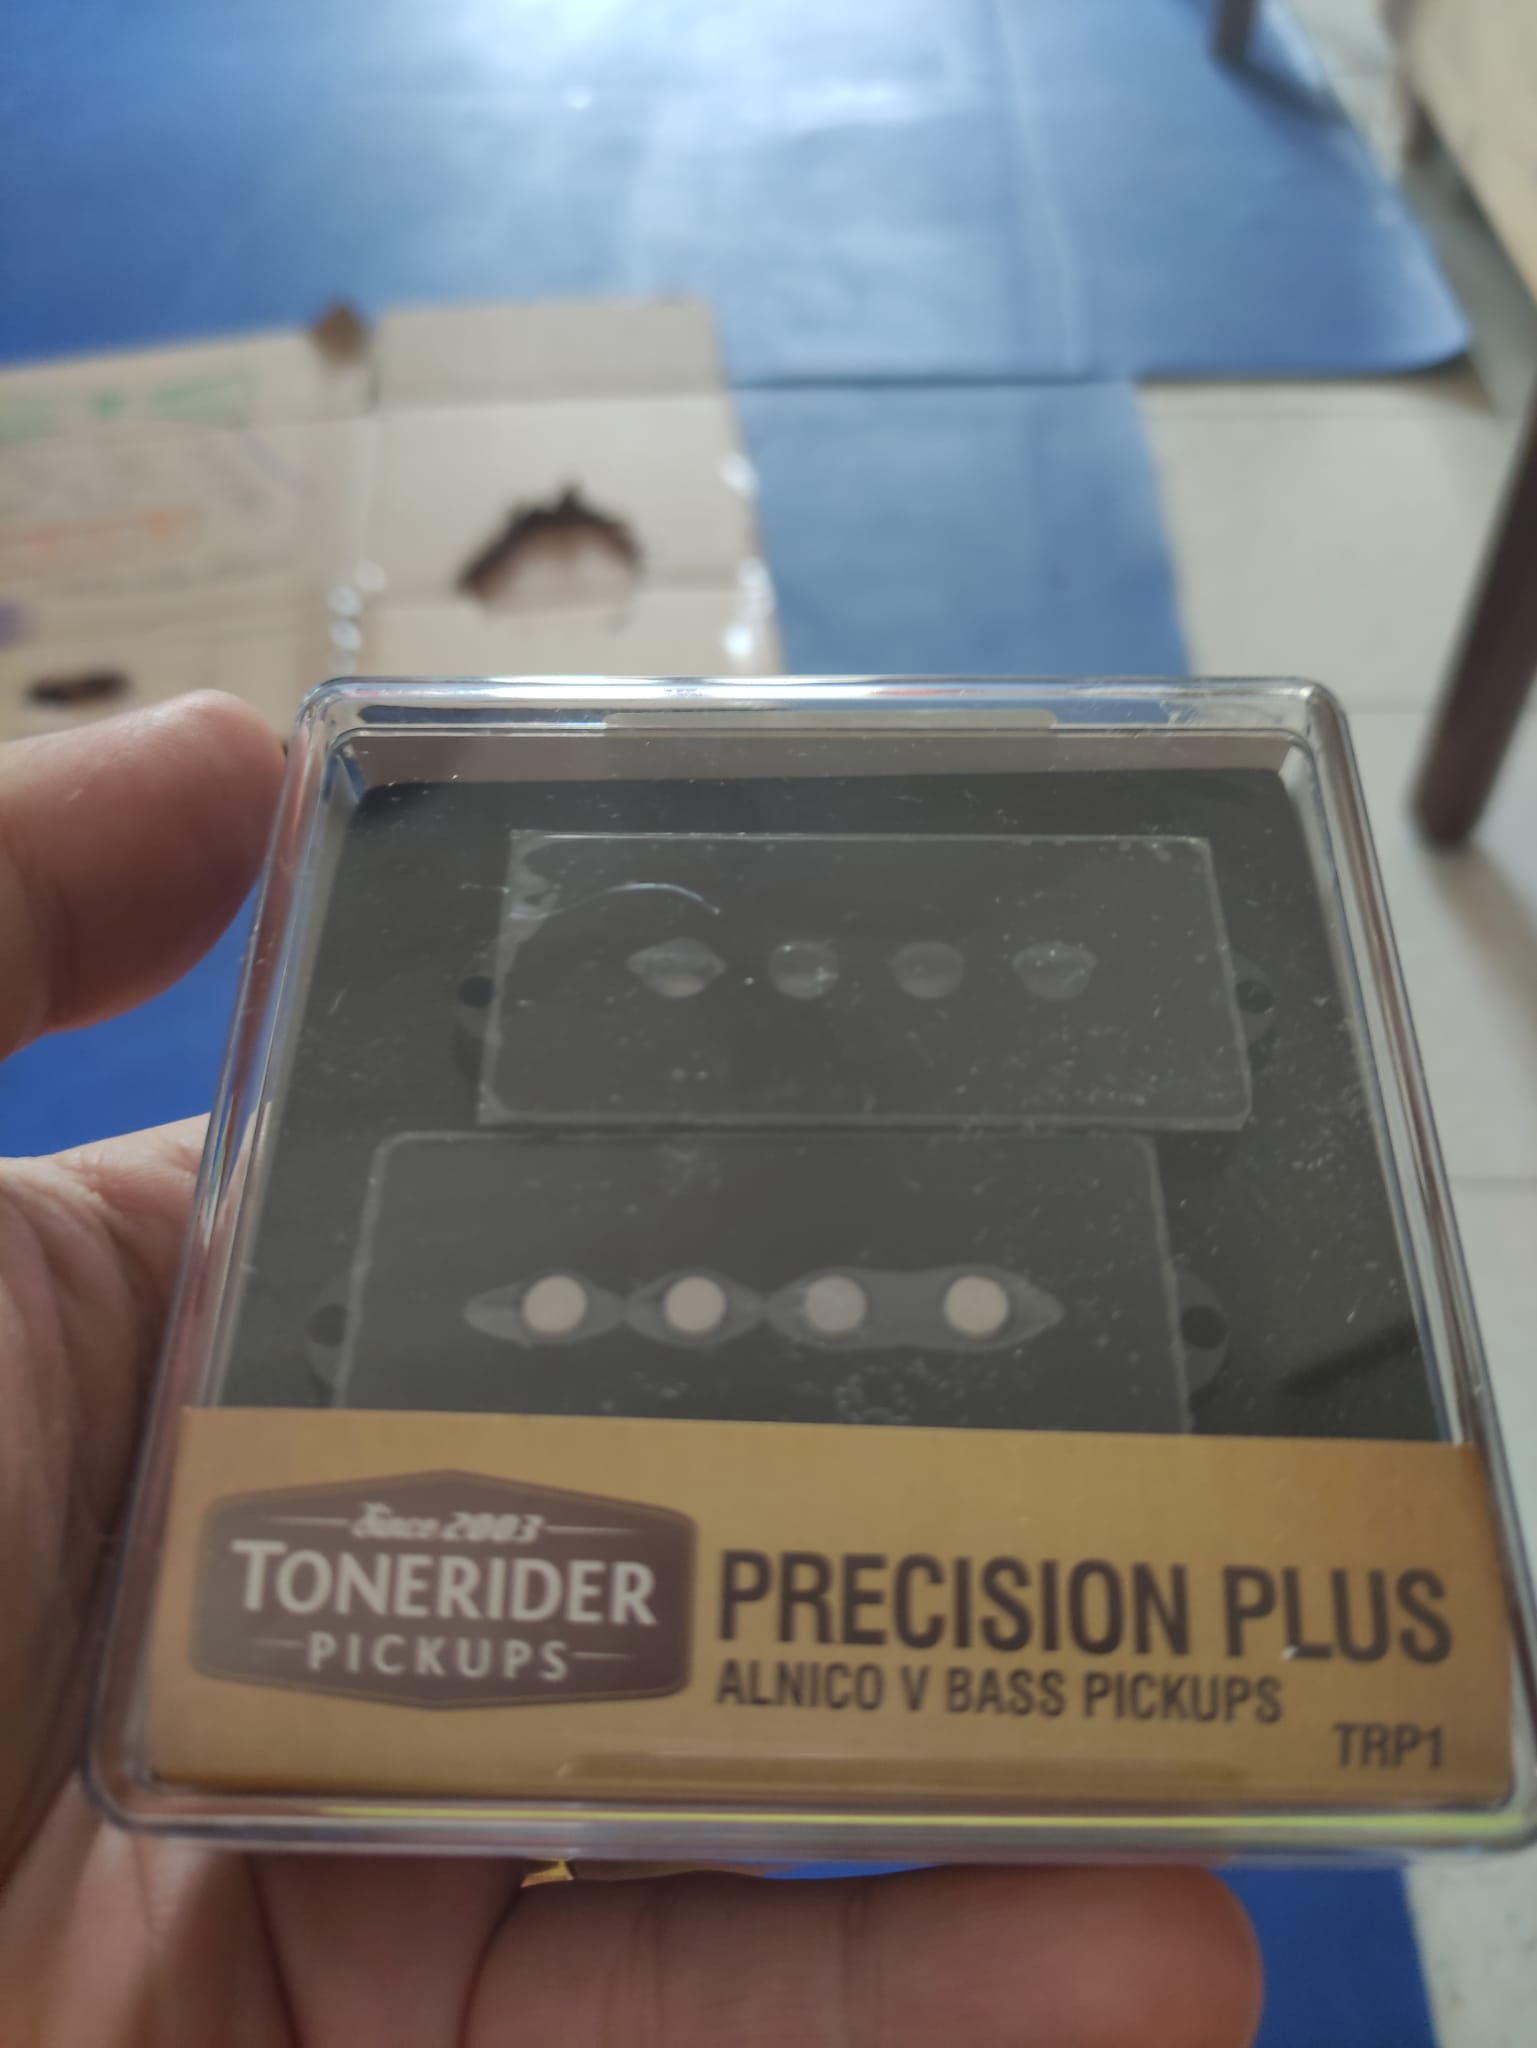
I have also ordered the Tonerider P Bass Plus Pups but they got stuck in the customs! With the little patience I have left I decided to at least string it up and give it a good setup.
As you might remember I try to do a lot of mobile recording. Connecting my audio interface to my phone. Well missing the ground connection I noticed that there was a significant noise with on higher gain. The noise was going away when I touch the strings… This was not happening when I used the my amp as output or use the preamp to the audio interface. Only with the phone lifted from ground!
So as I have already thought before copper shielding in the electronics cavity was a necessity for me.
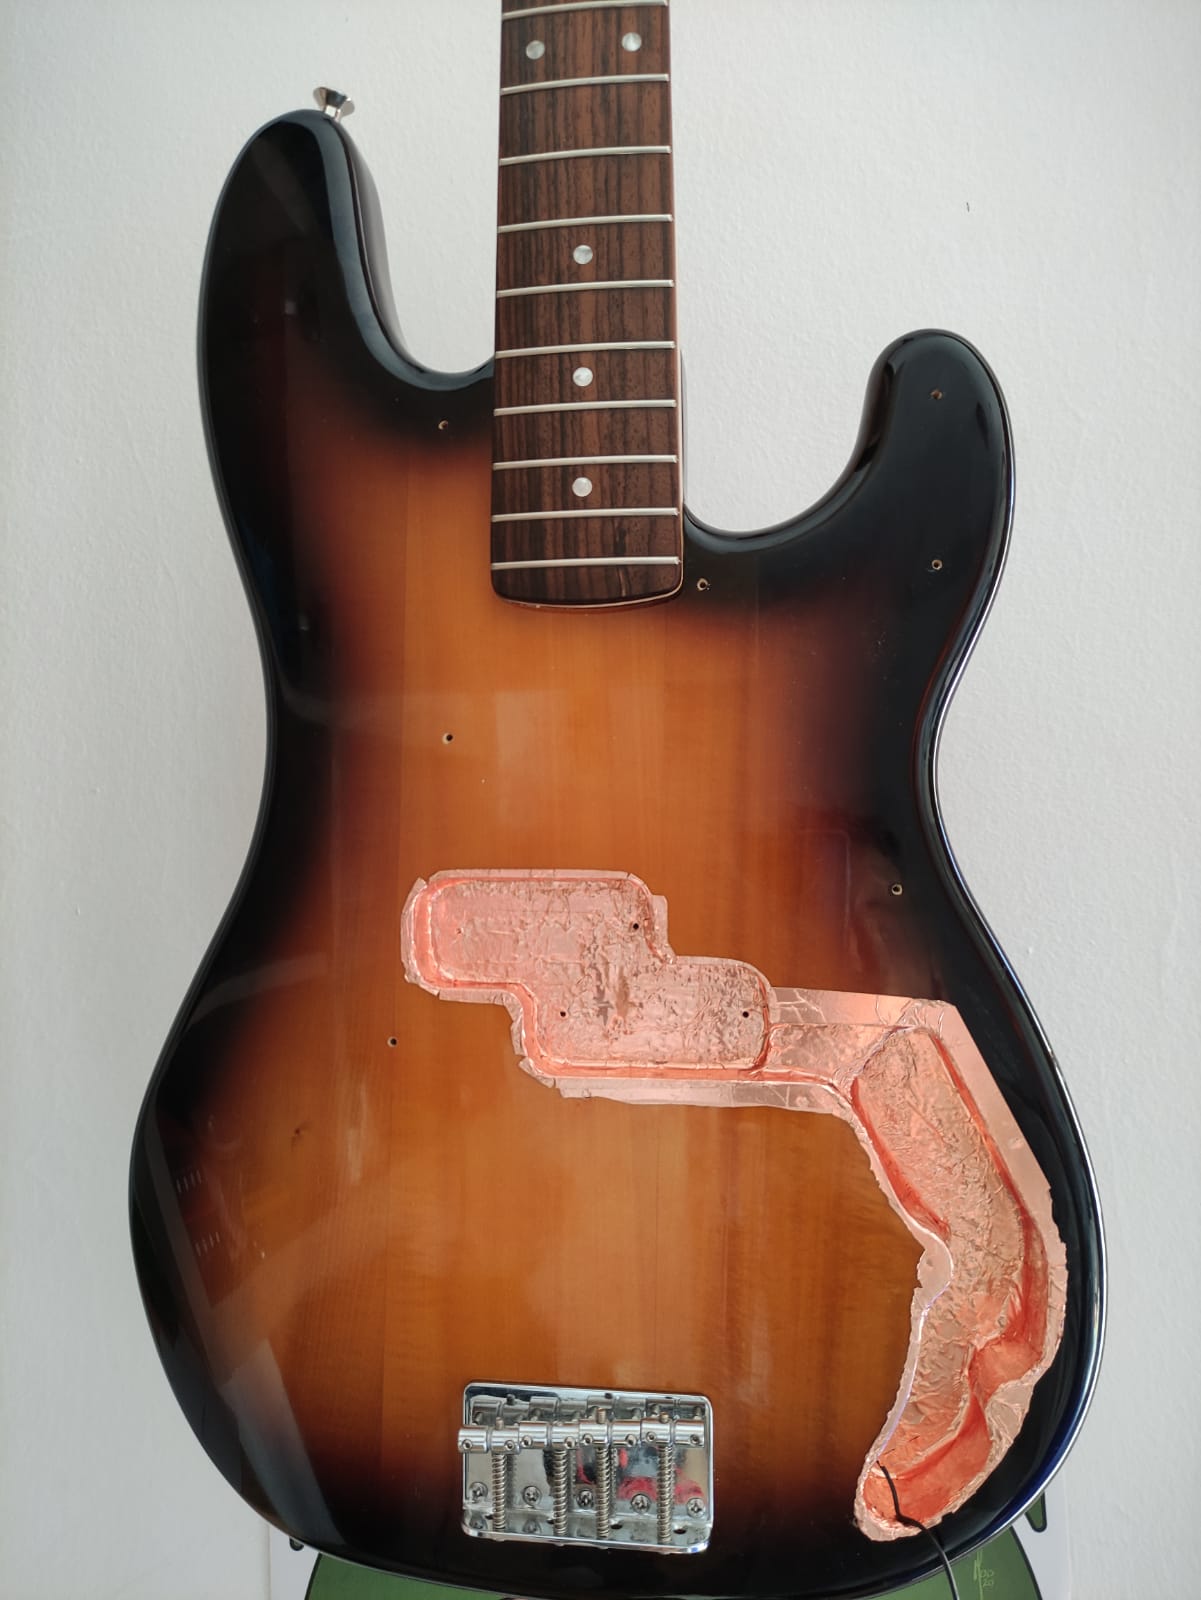
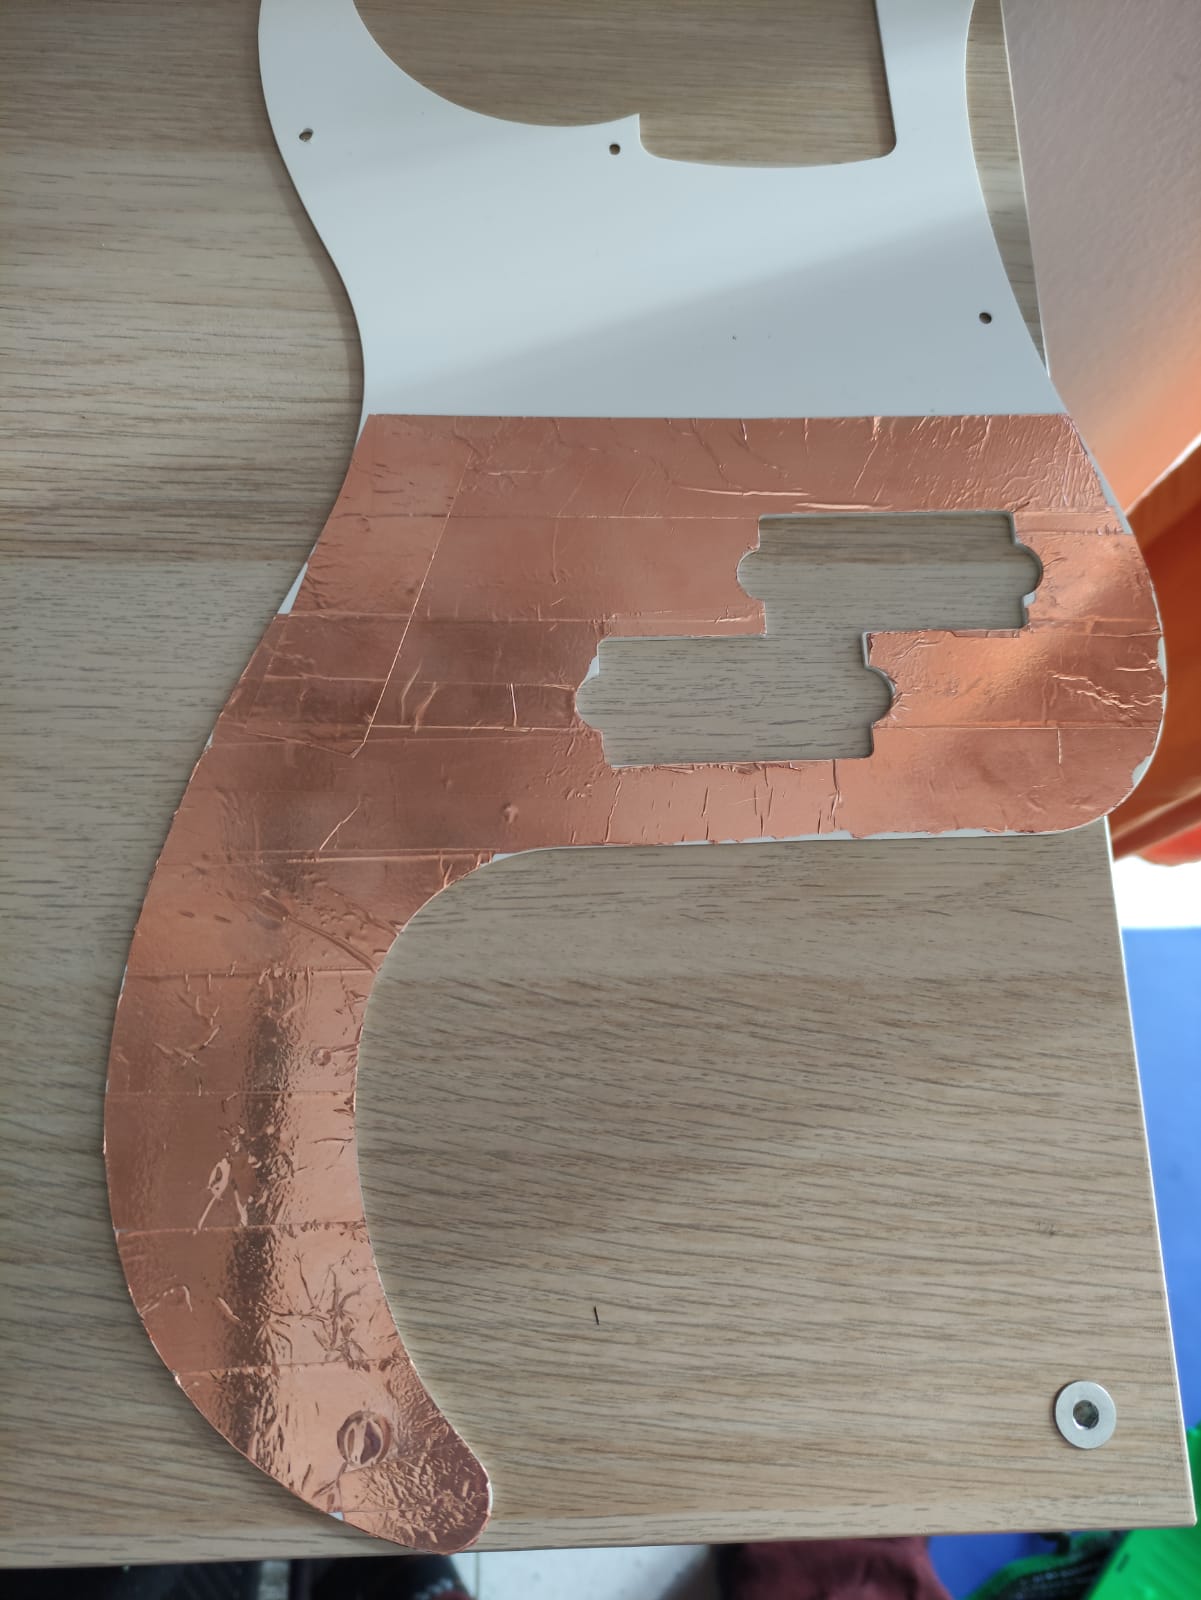
Here is before and after

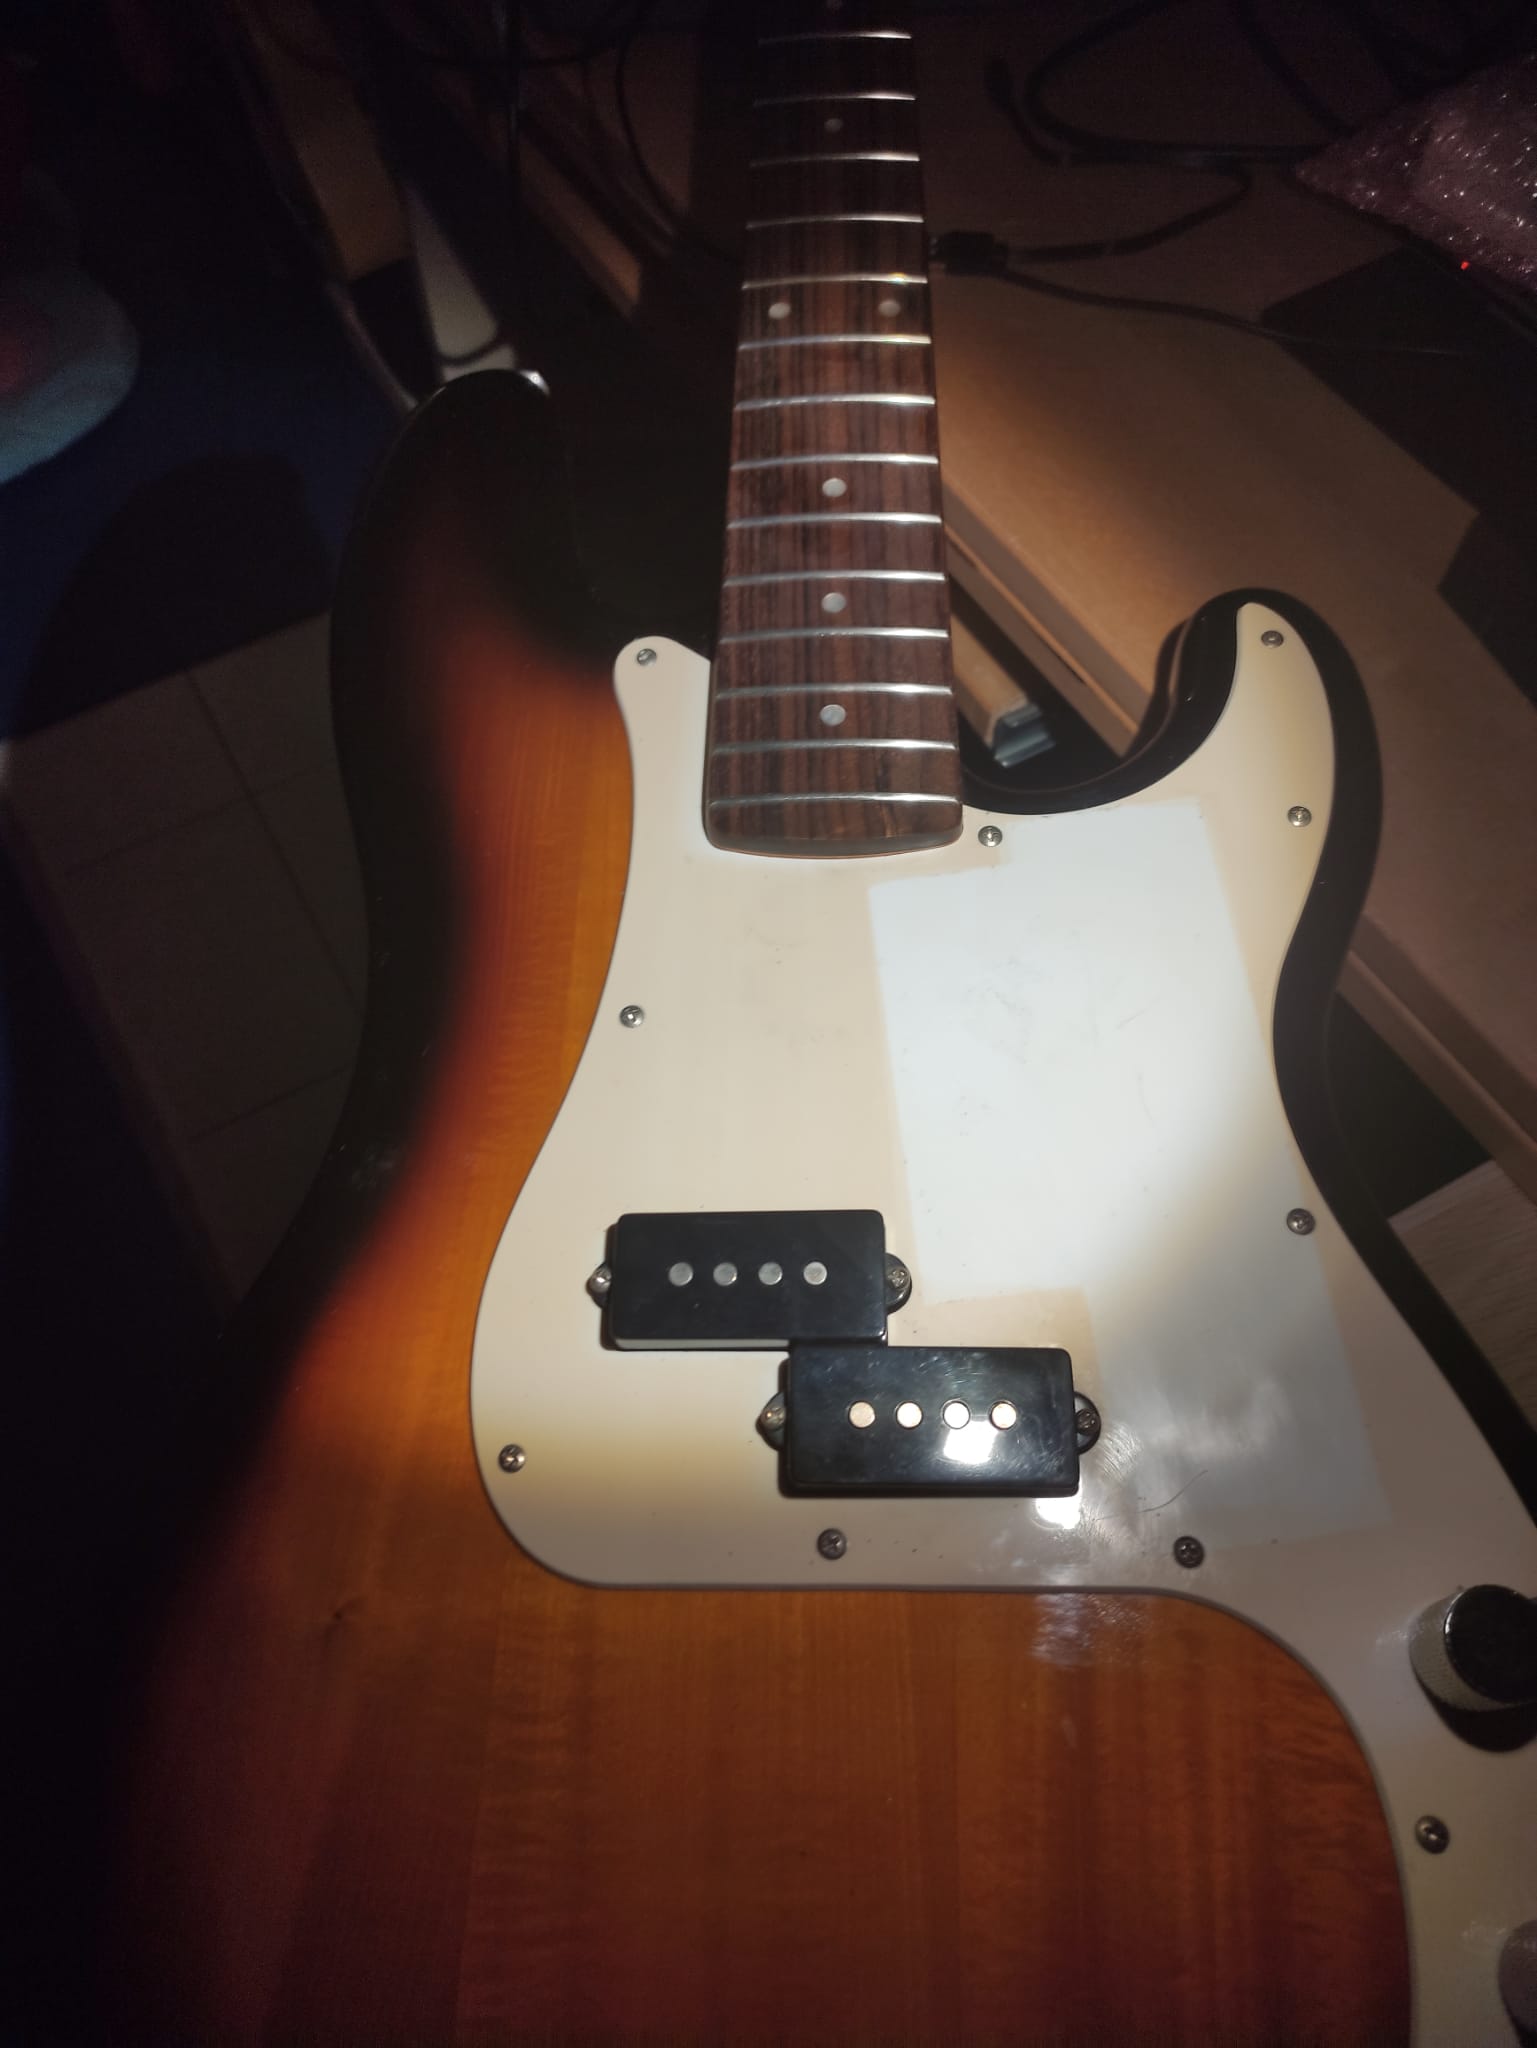
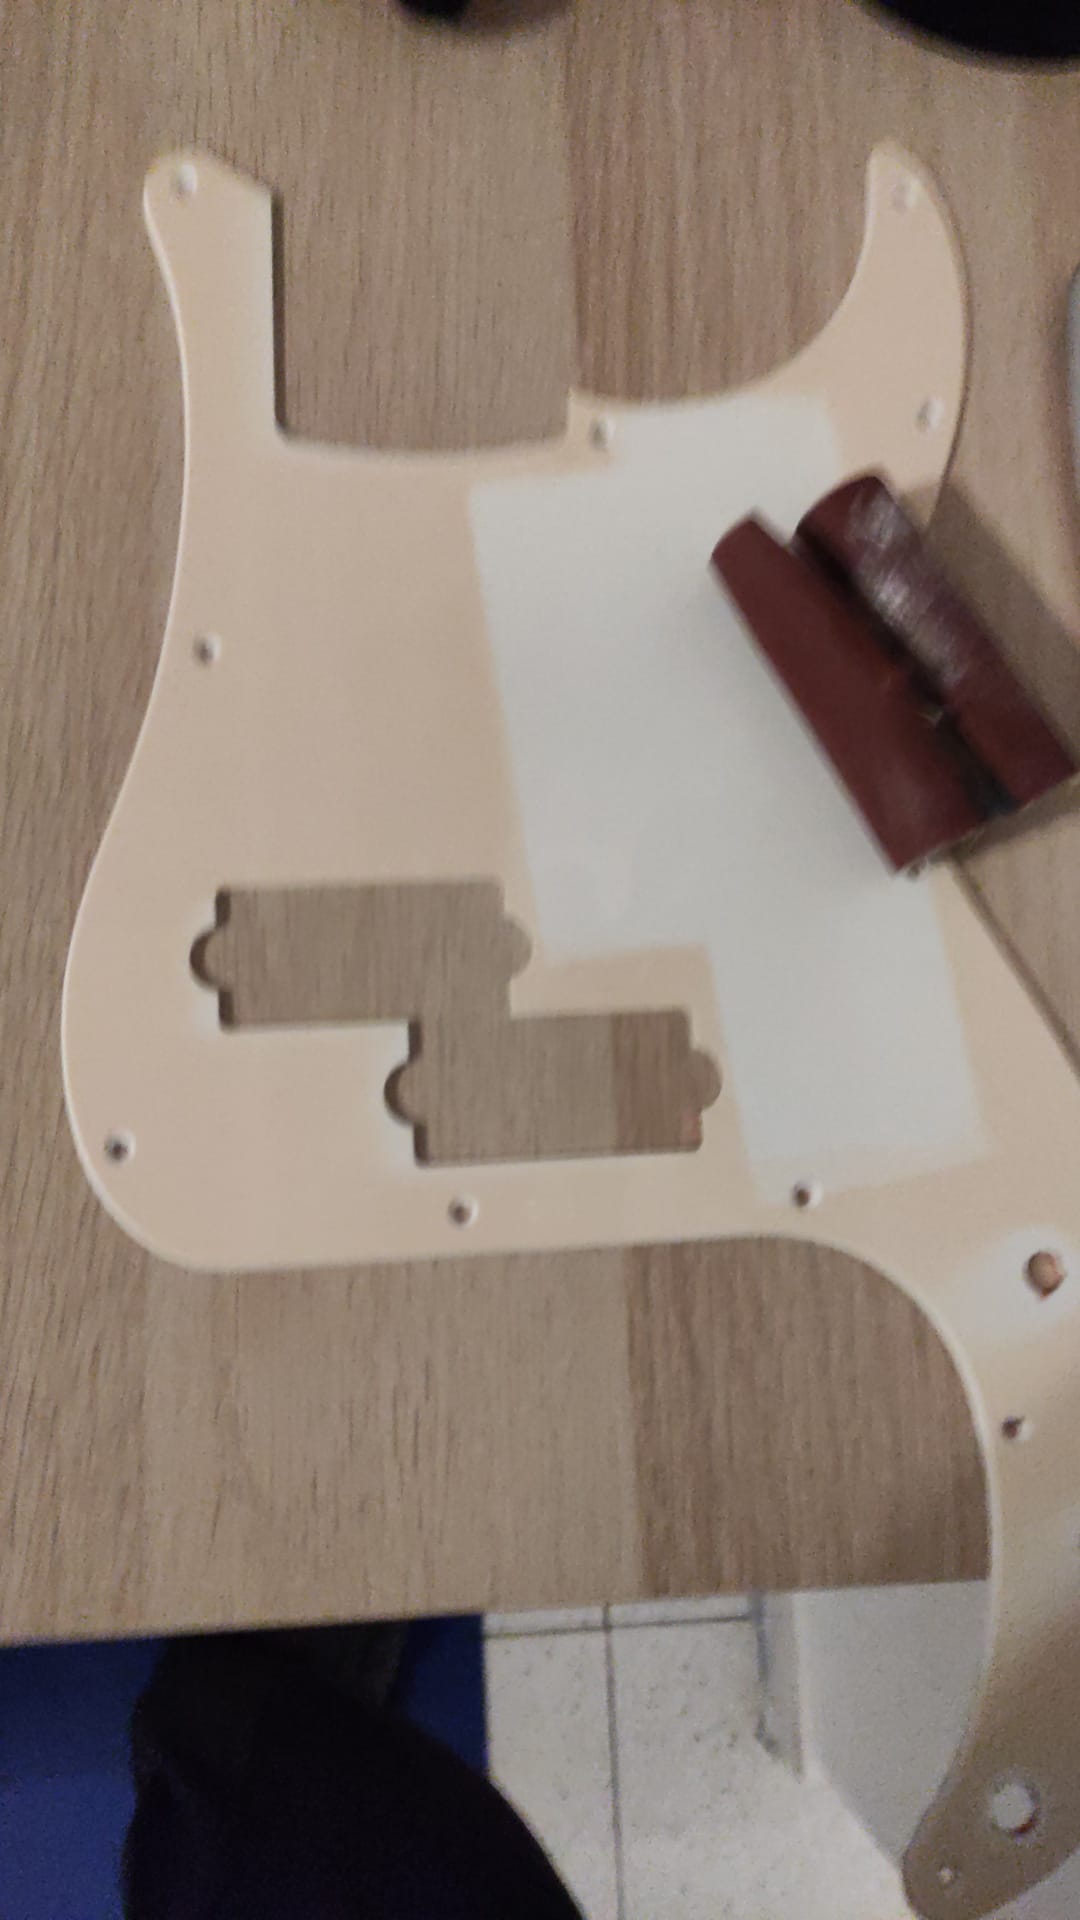
Following up with the pick guard. I have noticed how strangely challenging it is to find the pick guard fitting for this bass. Best case scenario I would have to get a fender spare (or third party) and drill new holes on the body. In the local second hand site I could only find a tortoise plastic pick guard which costed 30€ with the shipment.
So I started studying how to paint over my gritty old one to the color I really wanted!
First cleaning the surface with 400 sanding paper.
Then acrylic primer (which was all transparent to my suprise!)
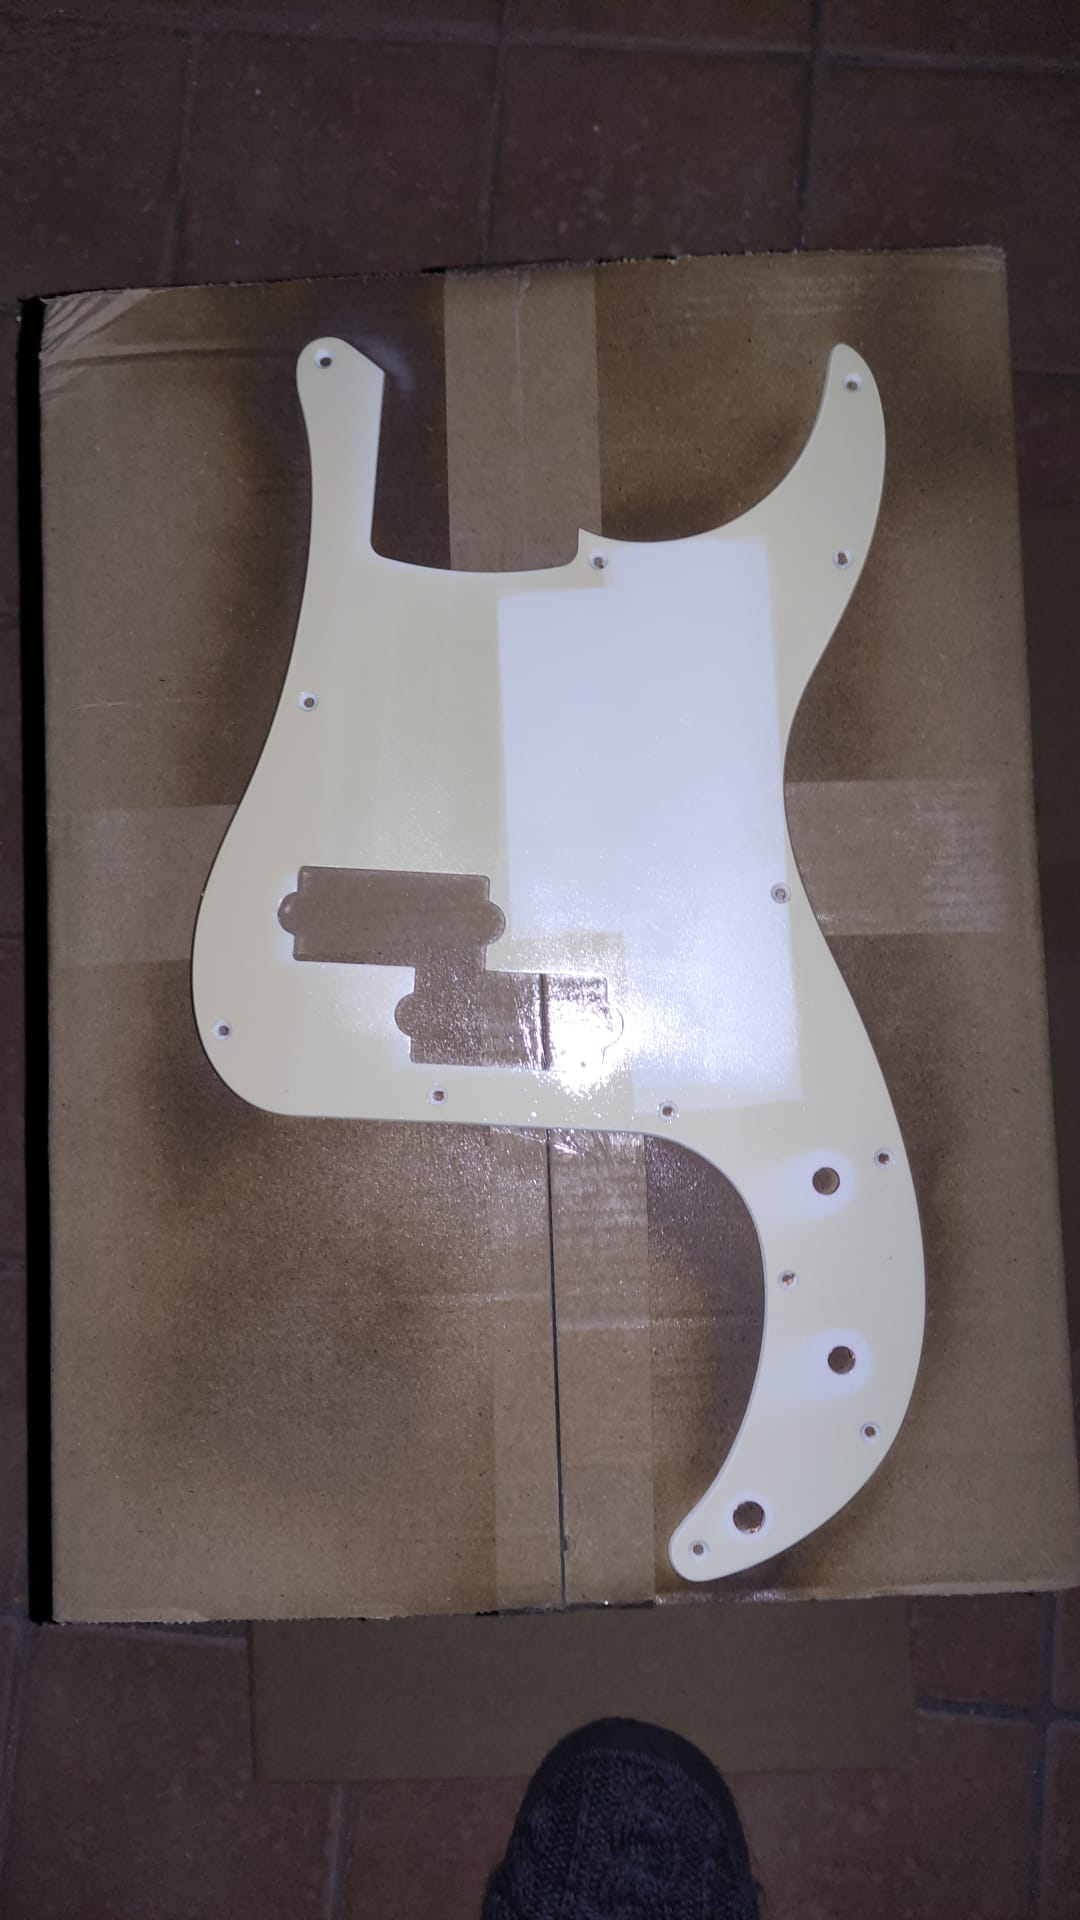
After 24 hours of drying time I used 1000 sand paper ever so slightly just to even out the surface. Then came the paint and protection after each other! (I have been suggested that the protection should be sprayed while the paint was still wet!)
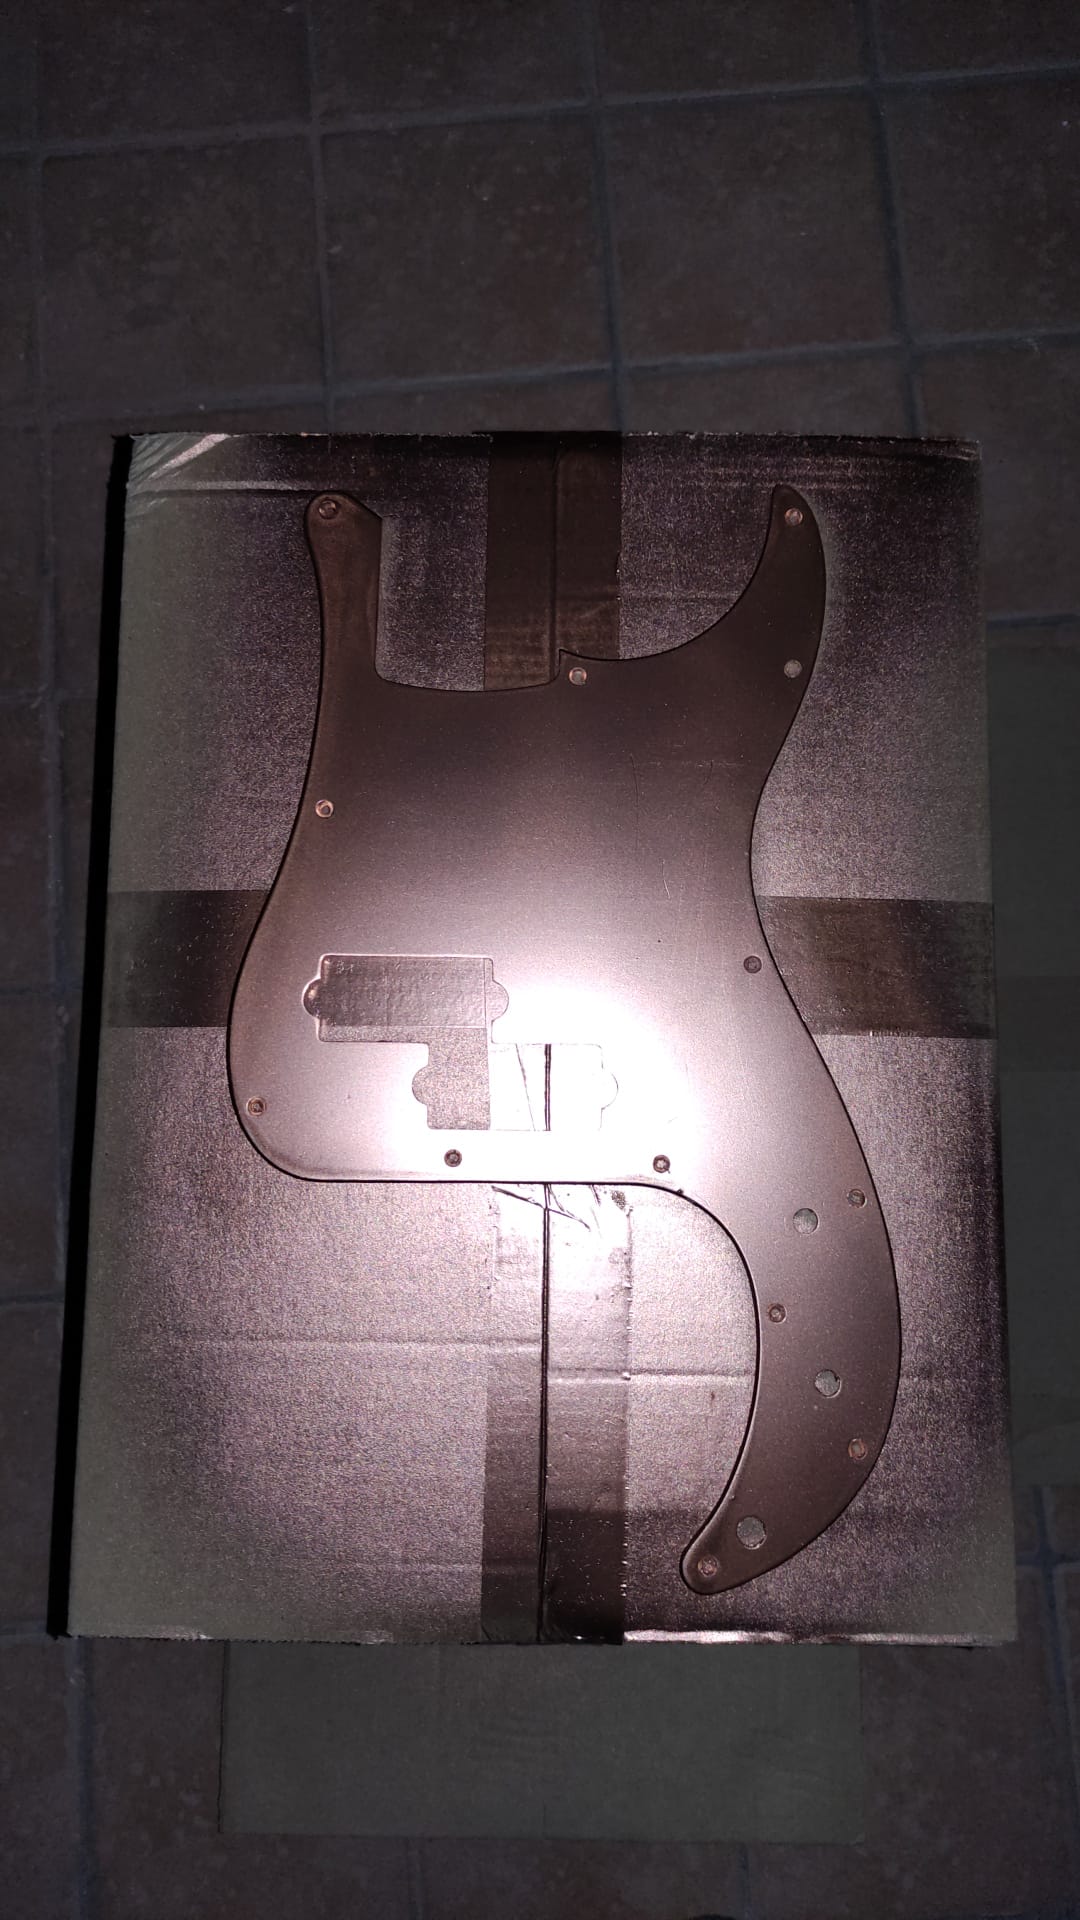
Meanwhile my Pups have arrived!
I have also have ordered black knobs and nut/washer for the jack and here is my humble DIY result!
And here is my low budget sound comparison. Sadly I was not patient enough to make everything even but it is what it is!

10 Likes
Well done! Looks and sounds great to me.
4 Likes
are you happy with the Tonerider pickup @Fahri ?
3 Likes
I love them! Such a great upgrade for such a low price. Already out of the box I could see the production quality being much higher than squier defaults.
It was a great tip @terb thank you!
4 Likes
Good for you, @Fahri . . . very nice work! . . . 
Cheers
Joe
3 Likes
@admacdo How did you do the tunnels?
1 Like
@terb Or anyone else who like to chime in. Can you explain what the orange drop (resistor?) does on a tone control?
3 Likes
Are you sure it isn’t a capacitor?

Usually it’s a capacitor and it implements the low pass filter for the tone control.
Here’s an explanation.
2 Likes
Yep. That’s it. Thank you.
2 Likes
I noticed in the picture @terb posted, he cut the shielding back from the screw holes. On the other two examples I saw posted, this wasn’t done.
Is this an aesthetic choice or is something else going on here?
2 Likes
I believe there’s a reason. Amateurs like myself didn’t bother or know better, but I have since read that you’re not supposed to shield where the pickups get screwed down either. Maybe same applies to pickup screws. There’s also reasoning not to over ground in too many places. Again, beyond me.
All I known is, the hum my Glarry had is gone (mostly). It still hums at times when i touch the bridge or tunners.
3 Likes
If it hums when you touch the metal parts I believe it is a grounding issue you can check with an ohm meter the continuity from bridge to the output jack.
In my case it was the opposite it was humming when I did not touch the metal parts…
@terb suggested in another thread that the split coils have hum canceling properties and as I wrote before I only had the interference when I’m not grounded (audio interface to the phone)
So different needs different solutions…
On another note, all this was before I upgraded to the Tonerider pickups. Maybe the factory ones (being ceramic and all) were more prune to interference…
I still don’t see any harm on creating a cage on the whole cavity. Many high and guitar/basses have conductive painting in the whole cavity now. Such is the case on my Cort A4 with two soap bars which are %100 humbucking…
2 Likes
Split coils indeed hum cancel.
Basses with two single coils will too if wired that way (with one pup reverse wound from the other).
P/J’s won’t, though, unless the J pickup is a hum-canceling J (common on expensive basses, rare on inexpensive ones). The P will be fine but the J will be noisy if there is electrical interference.
2 Likes
If you want to line the tunnels, first of all, poke something through them from cavity to cavity. I just pushed a bamboo skewer through to get the tunnel length. Then I added about 20mm to that.
Then cut your copper tape that length. Don’t pull the back off to make it sticky.
I used the bamboo skewer again to wrap the copper around (bare copper side inwards) to make it a tube. When you take your fingers off it, the tube will open up somewhat.
I wrapped the copper tape around the skewer again and then used that to position it into the tunnel. Put it in so that the excess is hanging equally outside each end and then let the tension go so that the tube opens up and conforms to the tunnel.
Now get scissors and cut the end of the tube lengthways a few times. I only bothered with four cuts to make four petals that can fold out against the side of the chambers.
Fold them out, then peel the backing off the petals and tear it off at the point where it goes into the tunnels. Fold them against the side and solder them to the copper tape you’ve already used to line your pickup hole and electronics cavity.
Voila. All earthed together without shielding wires and everything is totally enclosed. Super easy to do.
2 Likes
Hey @eric.kiser ! A orange drop capacitor won’t do anything better than your stock capacitor. The voltage and current in a bass are very very low so that the capacitor type does not have any impact on the tone. Keep your money and your stock capacitor !
4 Likes