%100 agreed… As long as it is a non polarized capacitor.
Value of the capacitor is another discussion of course

%100 agreed… As long as it is a non polarized capacitor.
Value of the capacitor is another discussion of course
and in this context, of course it is ![]()
WARNING: This is not a bass! Avert your eyes if you are easily offended and/or squeamish. 
So I went to Rhode Island for work and it was supposed to be a two day trip so I didn’t bring an instrument with me… I’ve been here two weeks so far. lol
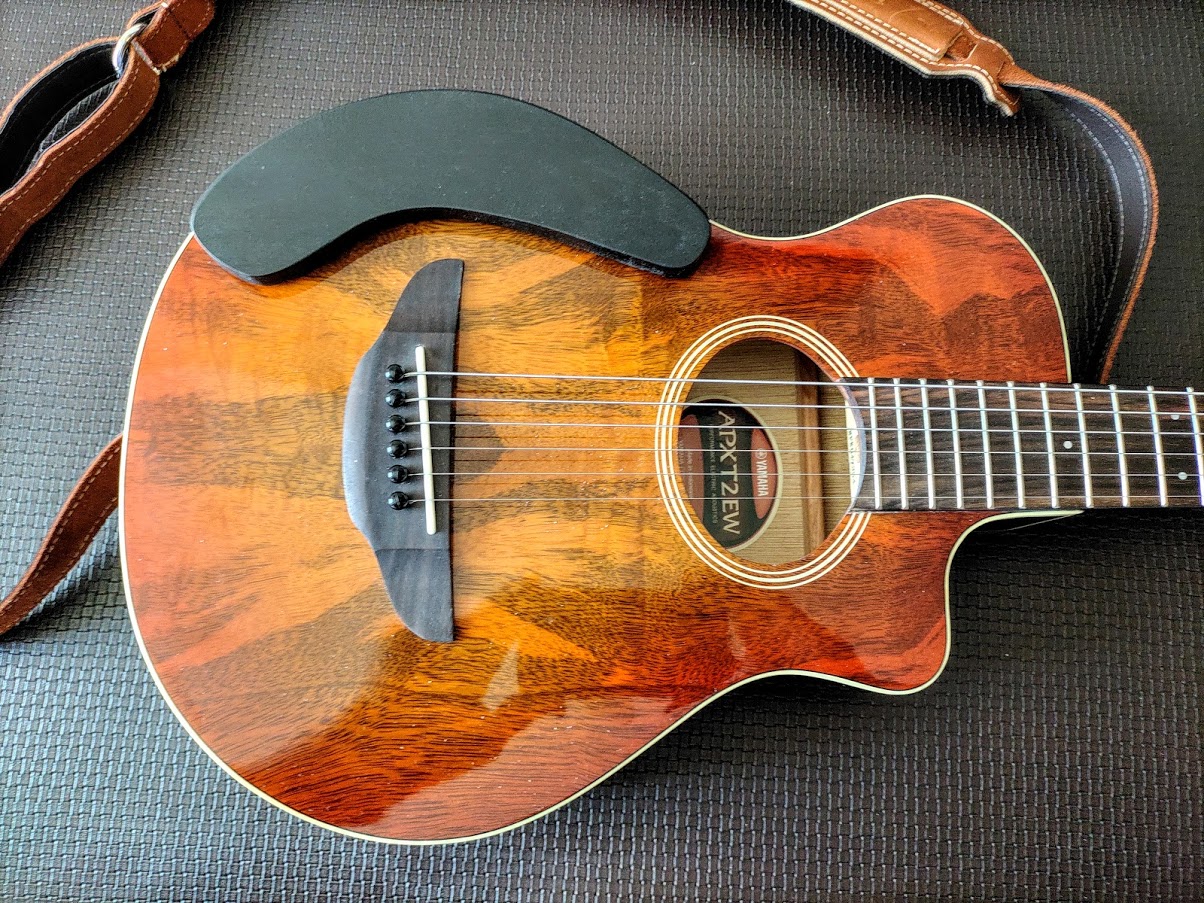
On day four I went to the music store conveniently located just down the street from my hotel and purchased a Yamaha APXT2; a 3/4 size, 22.75" scale, thin-line travel guitar.
It’s very well made, very comfortable to play and sounds great both acoustically and amplified (I forgot to take my effects pedal and headphone out of my suitcase from my last trip, which turned out to be a good thing).
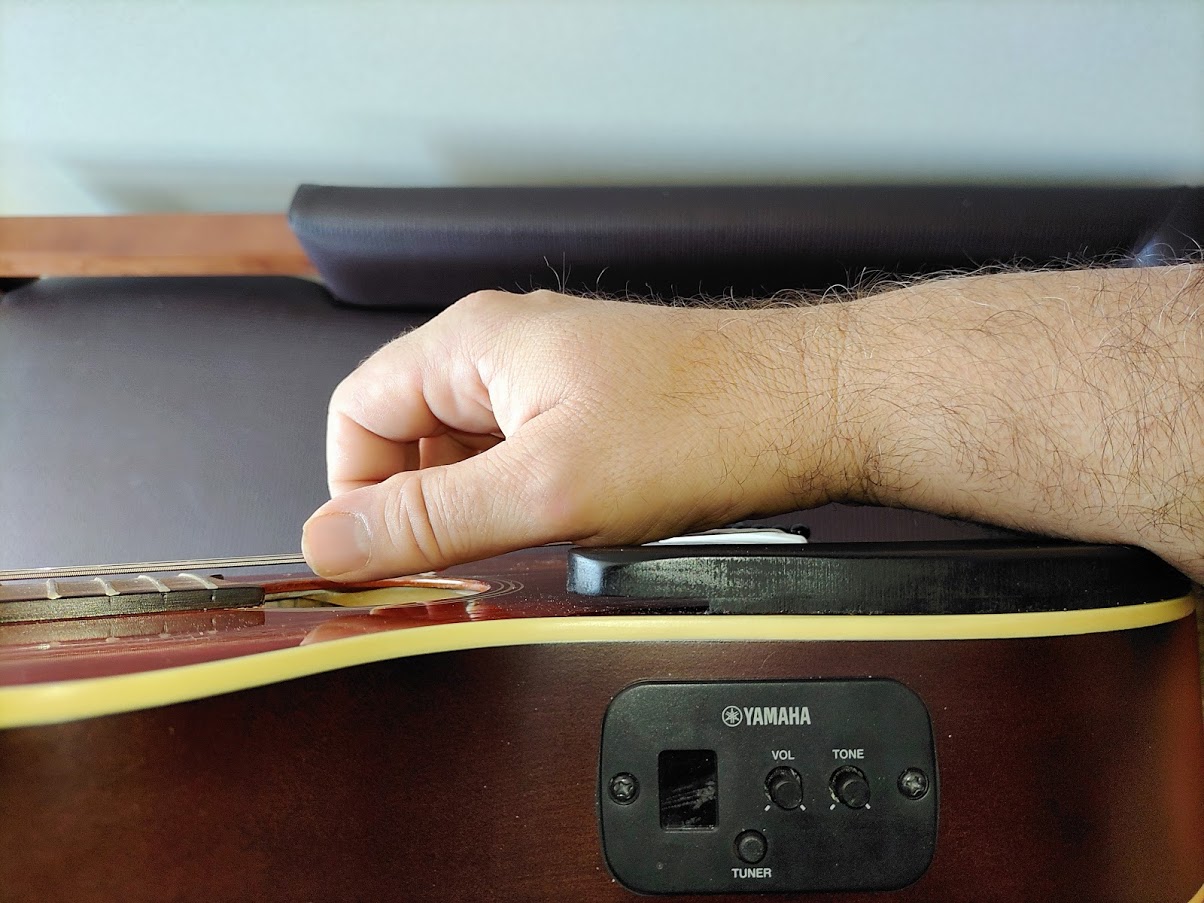
The only problem I had with it was the top, which is very lively and lightly constructed. Holding the guitar in (my) normal playing position, with my forearm touching the top, reduced it’s volume by at least 20%. So I called up a fellow builder that lives about an hour from where I’m working and arranged a visit (and the use of his shop).
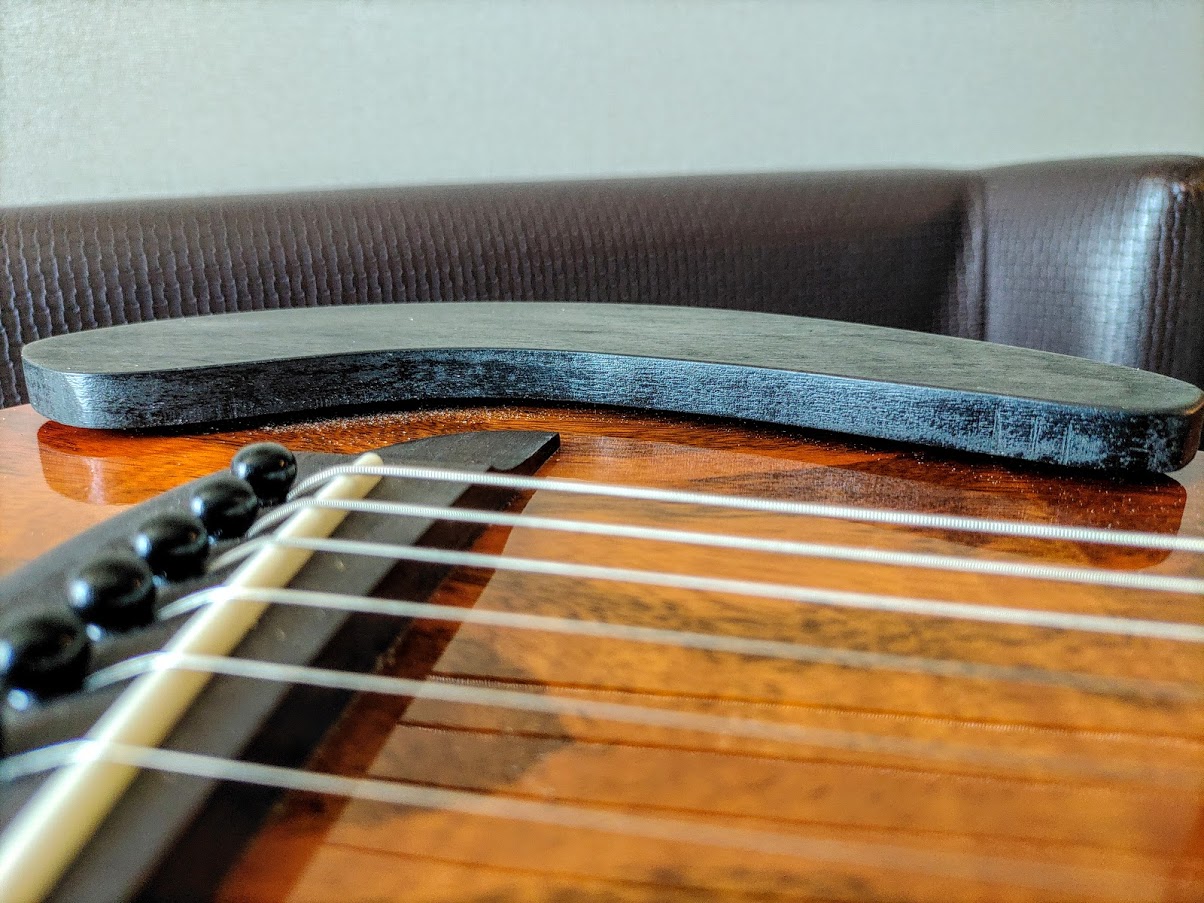
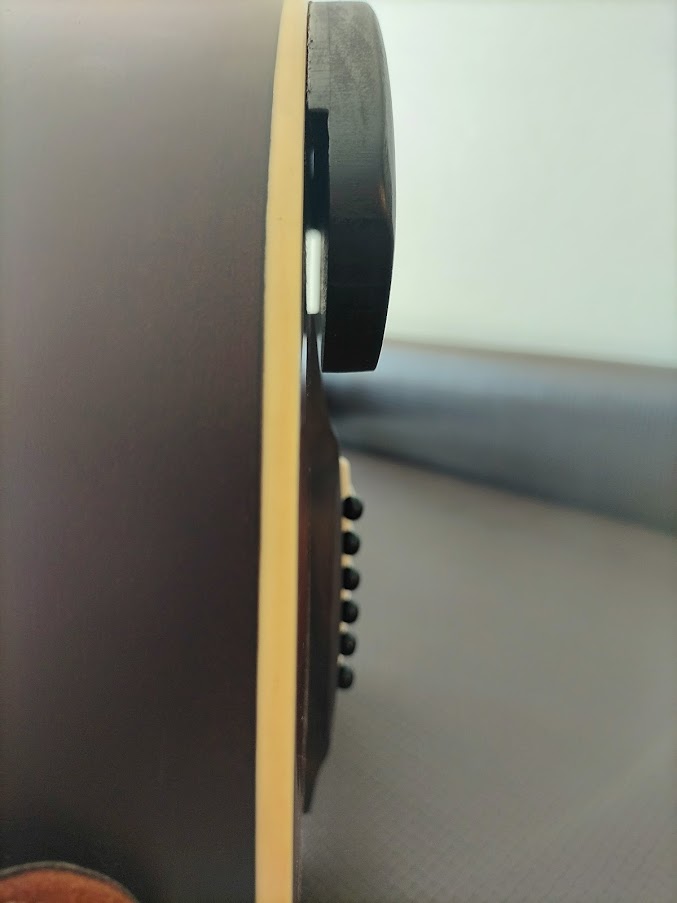
My solution was to make an armrest. The idea being that it only contacts the guitar along the edge and is floating above the vibrating portion of the soundboard, preventing my arm from making contact.
If you find that your acoustic bass suffers from the same volume drop problem, this is a pretty easy project if you have a scroll saw or band saw (or even a manual coping saw) and a belt sander (or sandpaper and and a bit of elbow grease).
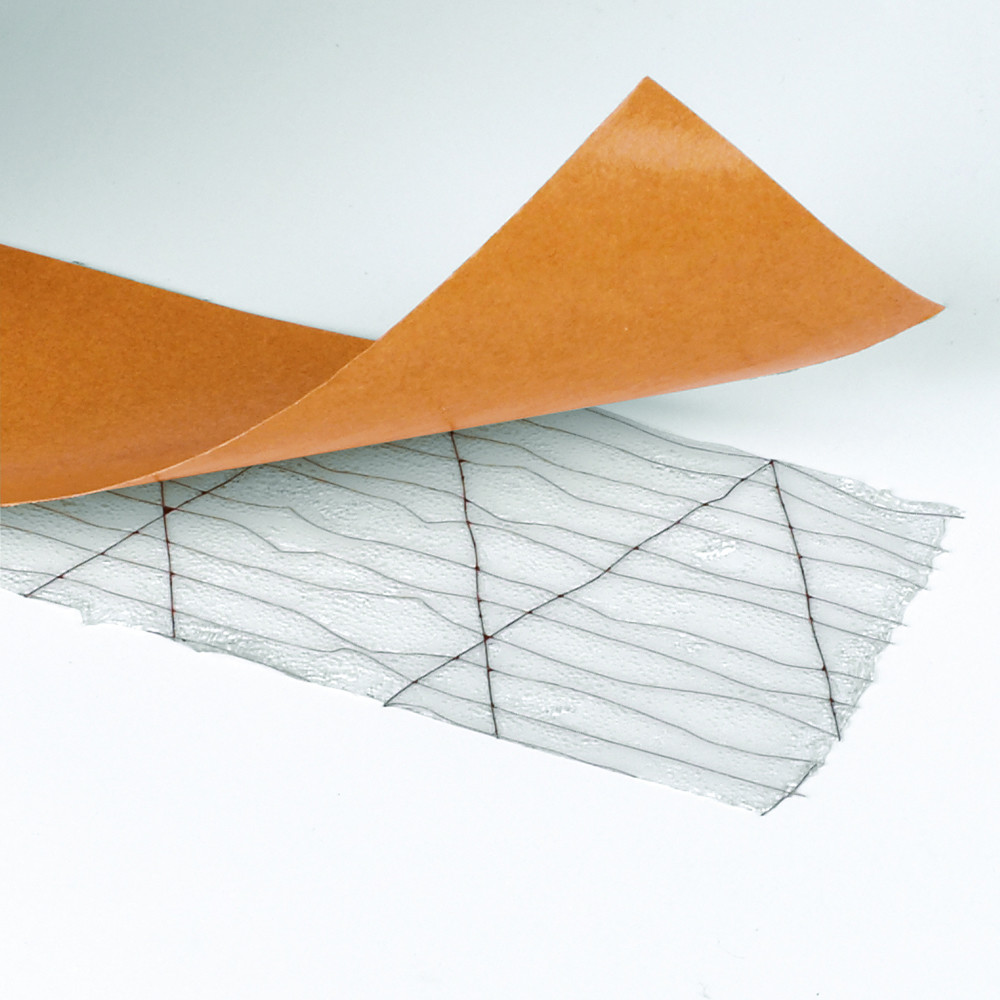
The armrest is affixed with double-sided pressure-sensitive carpet tape such as this:
@admacdo That’s pretty cool. Is it common to do the tunnels?
@terb The only thing I read making it good idea to change out the capacitor was if it was a ceramic capacitor. I saw something that said ceramic capacitors can pick up interference. This doesn’t seem like an issue if you have a shielded cavity. Does this fit with your understanding?
I’m not looking at changing anything with the electronics. Some people talk about the orange drop like it’s a beautiful pearl filled with magic tone dust. My natural skepticism made me want to look into it.
The 0.047 seems to be pretty standard and I’m fine with that. It was interesting hearing the difference in that video. If I understand what I’m reading (and what I was hearing) the value of the capacitor changes the frequency of the low pass filter and how high the mid bump becomes. Feel free to school me on this if I’m still not getting it.
in theory it’s true but I never had any problem with ceramic caps. that said, I always use standard 63v polyester caps and, believe me, it doesn’t sound different than Orange Drop caps (which I actually used to compare ; what I say is not only pure theory).
with high voltage circuits like a tube amp, it’s true that the Orange Drop caps are excellent (even if those are not my favorite high voltage capacitors). but with a low voltage device it’s more a beautiful bullshit than a beautiful pearl ![]()
I tried each value from 0.022 to 0.100 and I found that 0.047 is actually what works best with a “normal” bass. with very low tuning (BEAD) I prefer 0.068 but that’s the only case really. otherwise a 0.047 polyester cap is ideal in my opinion.
yes, exactly. the value of the filter has to match more or less the frequency range of the instrument to be efficient. that’s why I prefer 0.022 on a guitar (which is almost as much standard than a 0.047 for a bass), by the way.
That right there is some good information. I have hopes of building a BEAD bass one day.
Thanks for the in depth information. The 0.022 for guitar and 0.068 for a BEAD bass helped put it in perspective. ![]()
It’s not common to do the tunnels. It was so easy to do, that I couldn’t see the point in not doing it.
I’ve worked in a building that was a faraday cage before, so I know how well they work. Bringing a cable through an unshielded duct didn’t make any sense at all to me.
I’m also a sucker for playing with the copper foil. It’s just beautiful to work with.
I also felt strange about that. Of course with P bass it is all same cavity and only “tunnel” was the ground connection to the bridge… Why the hell is it not an industry standard to use single shielded cables there?
When I was tidying up the electrical bits on my sons HB PB-Shorty I added a push-pull pot for the tone control and put in 2 capacitors. When pushed in the tone control potentiometer uses a a normal 0.047uF capacitor and when pulled out it switches over to a different capacitor and so changes the filter. So far its just for fun, interest and discovery learning… maybe one day we will be good enough at playing to make that mod worthwhile…
So I have the itches again!
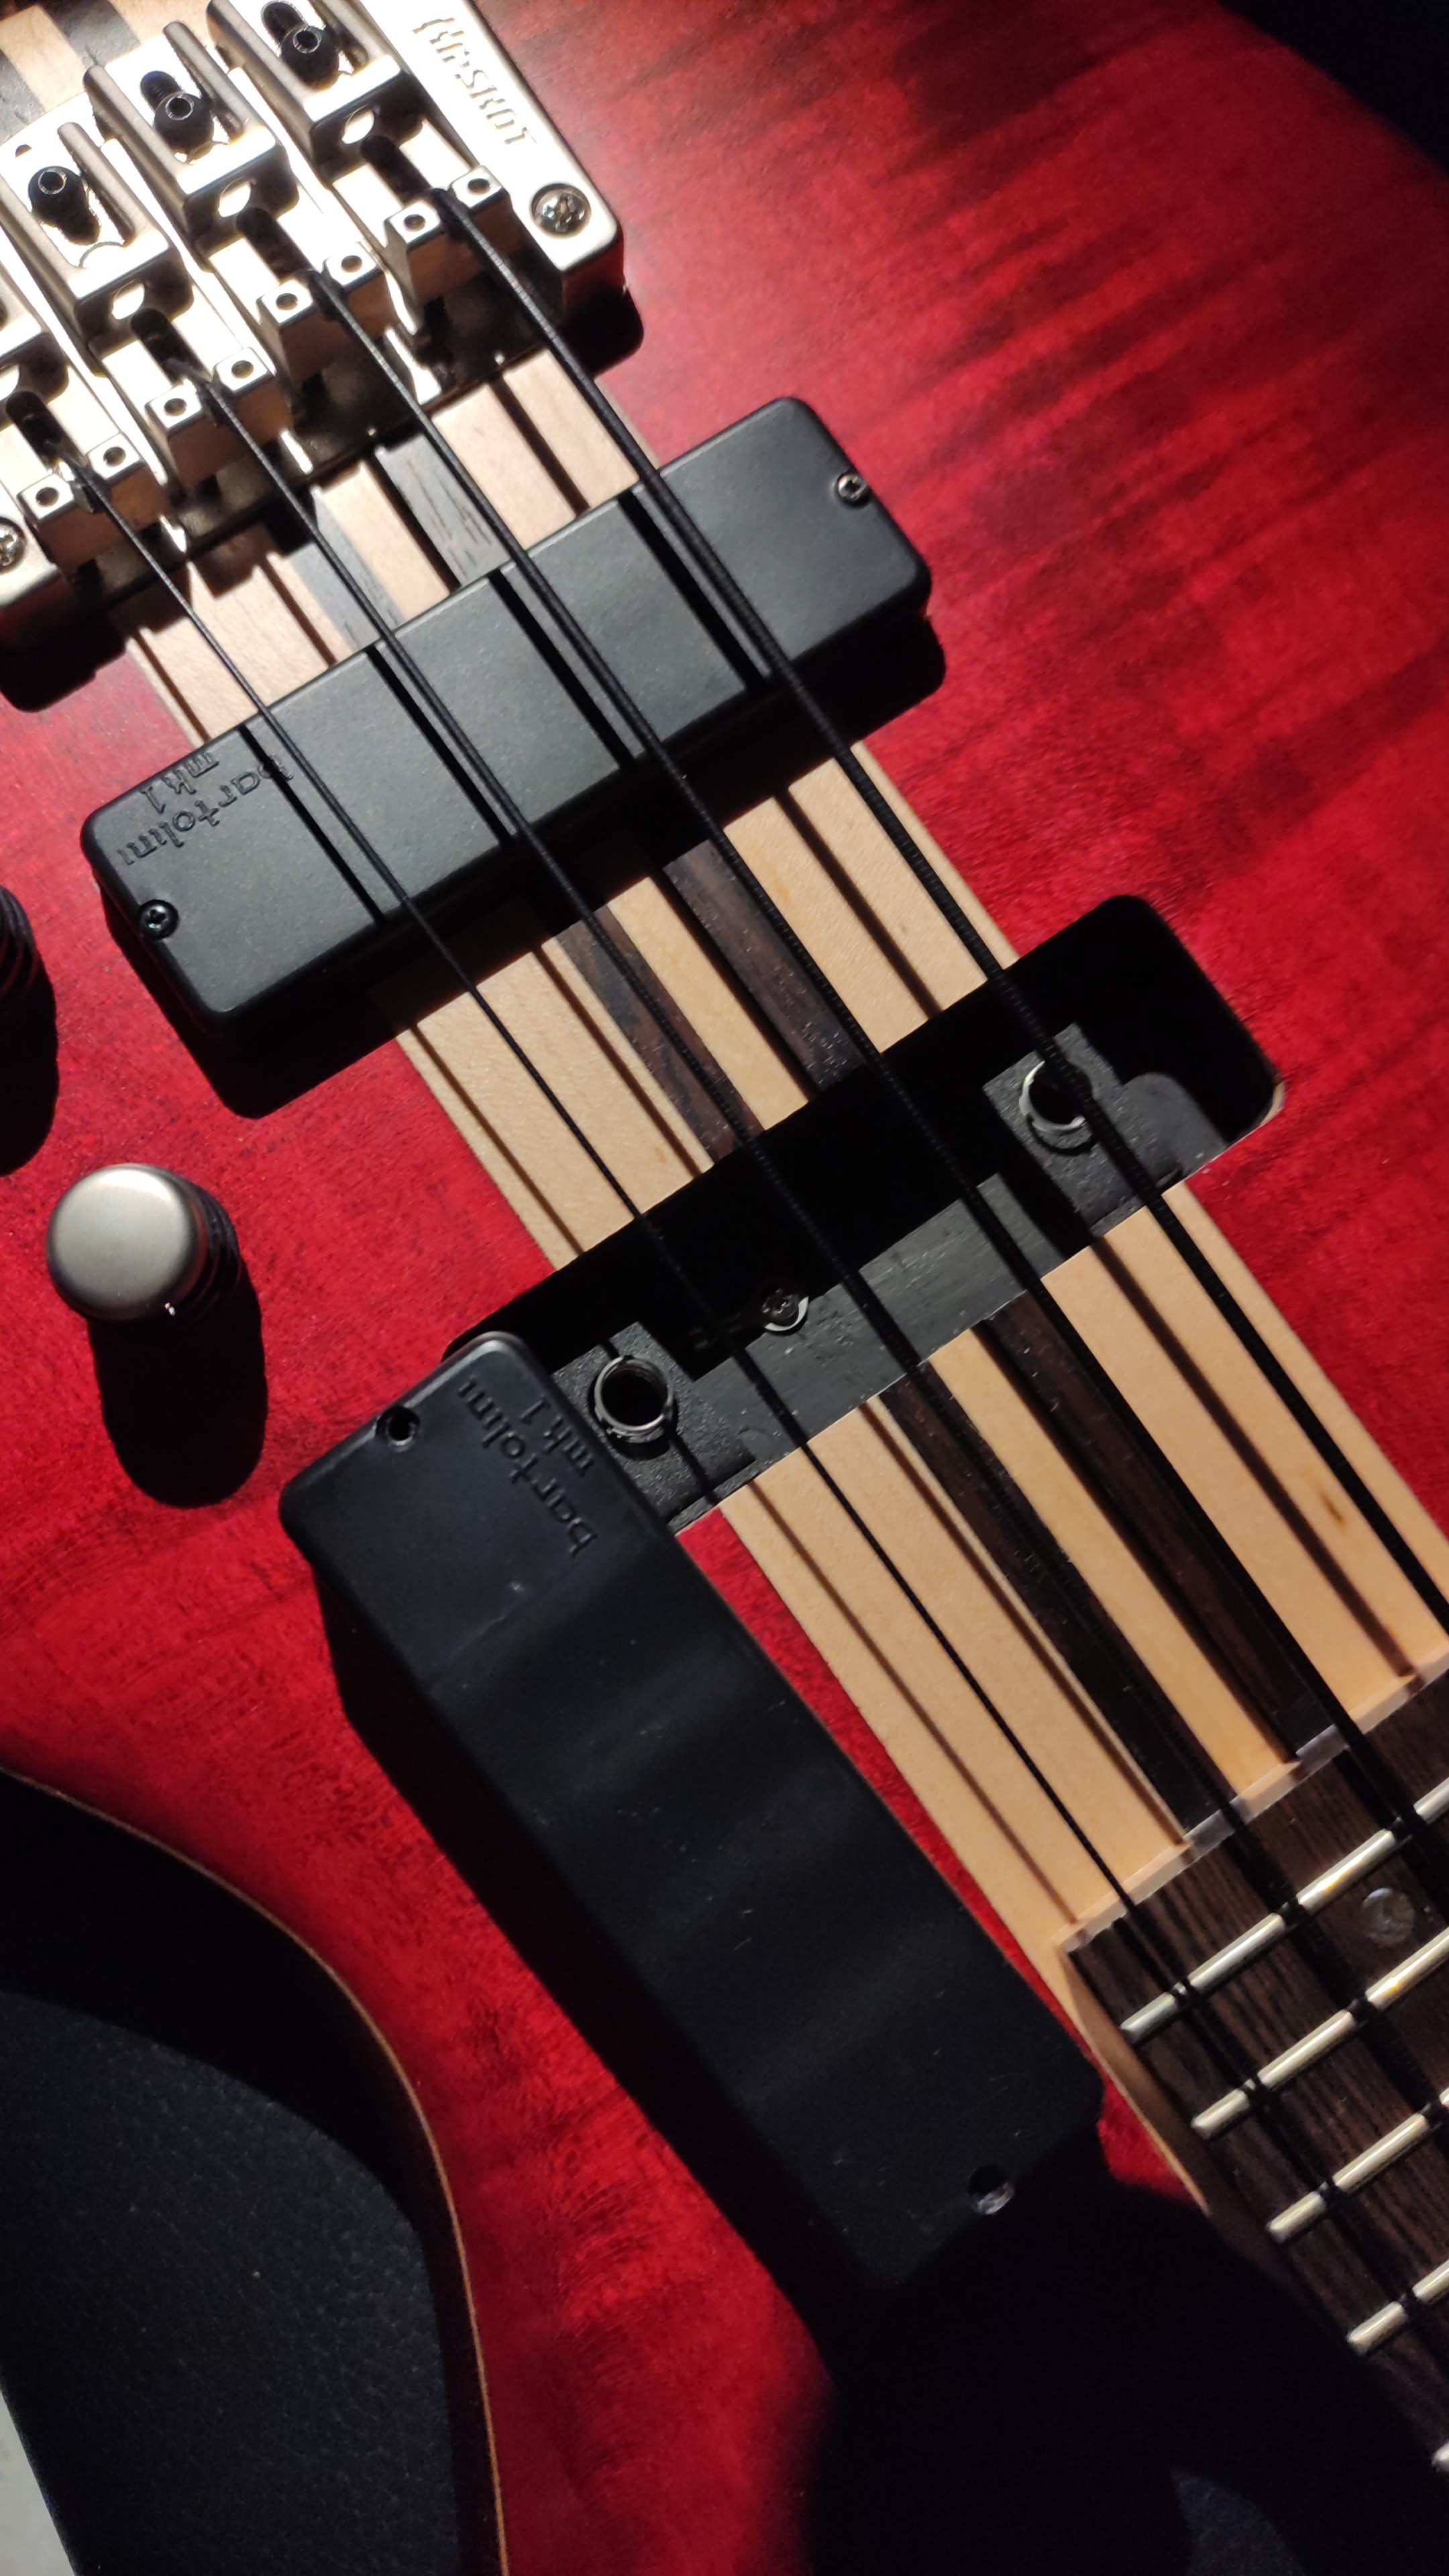
I have been enjoying the classic P Bass tone so much for the last week or so I started wondering about simple (most importantly reversible) mods for my Cort A4 Plus!
The wood work and build quality is amazing on that thing but the electronics are so dull!
Last night I bypassed the active electronics to hear the natural sound of the pickups and they were so low! (in reference to my vintera p bass) and even after tons of amplification the sound was nothing special… As if no character at all…
When I put the preamp back even on no EQ mode there was obvious tone shaping to create an imitation of jazz bass sound.
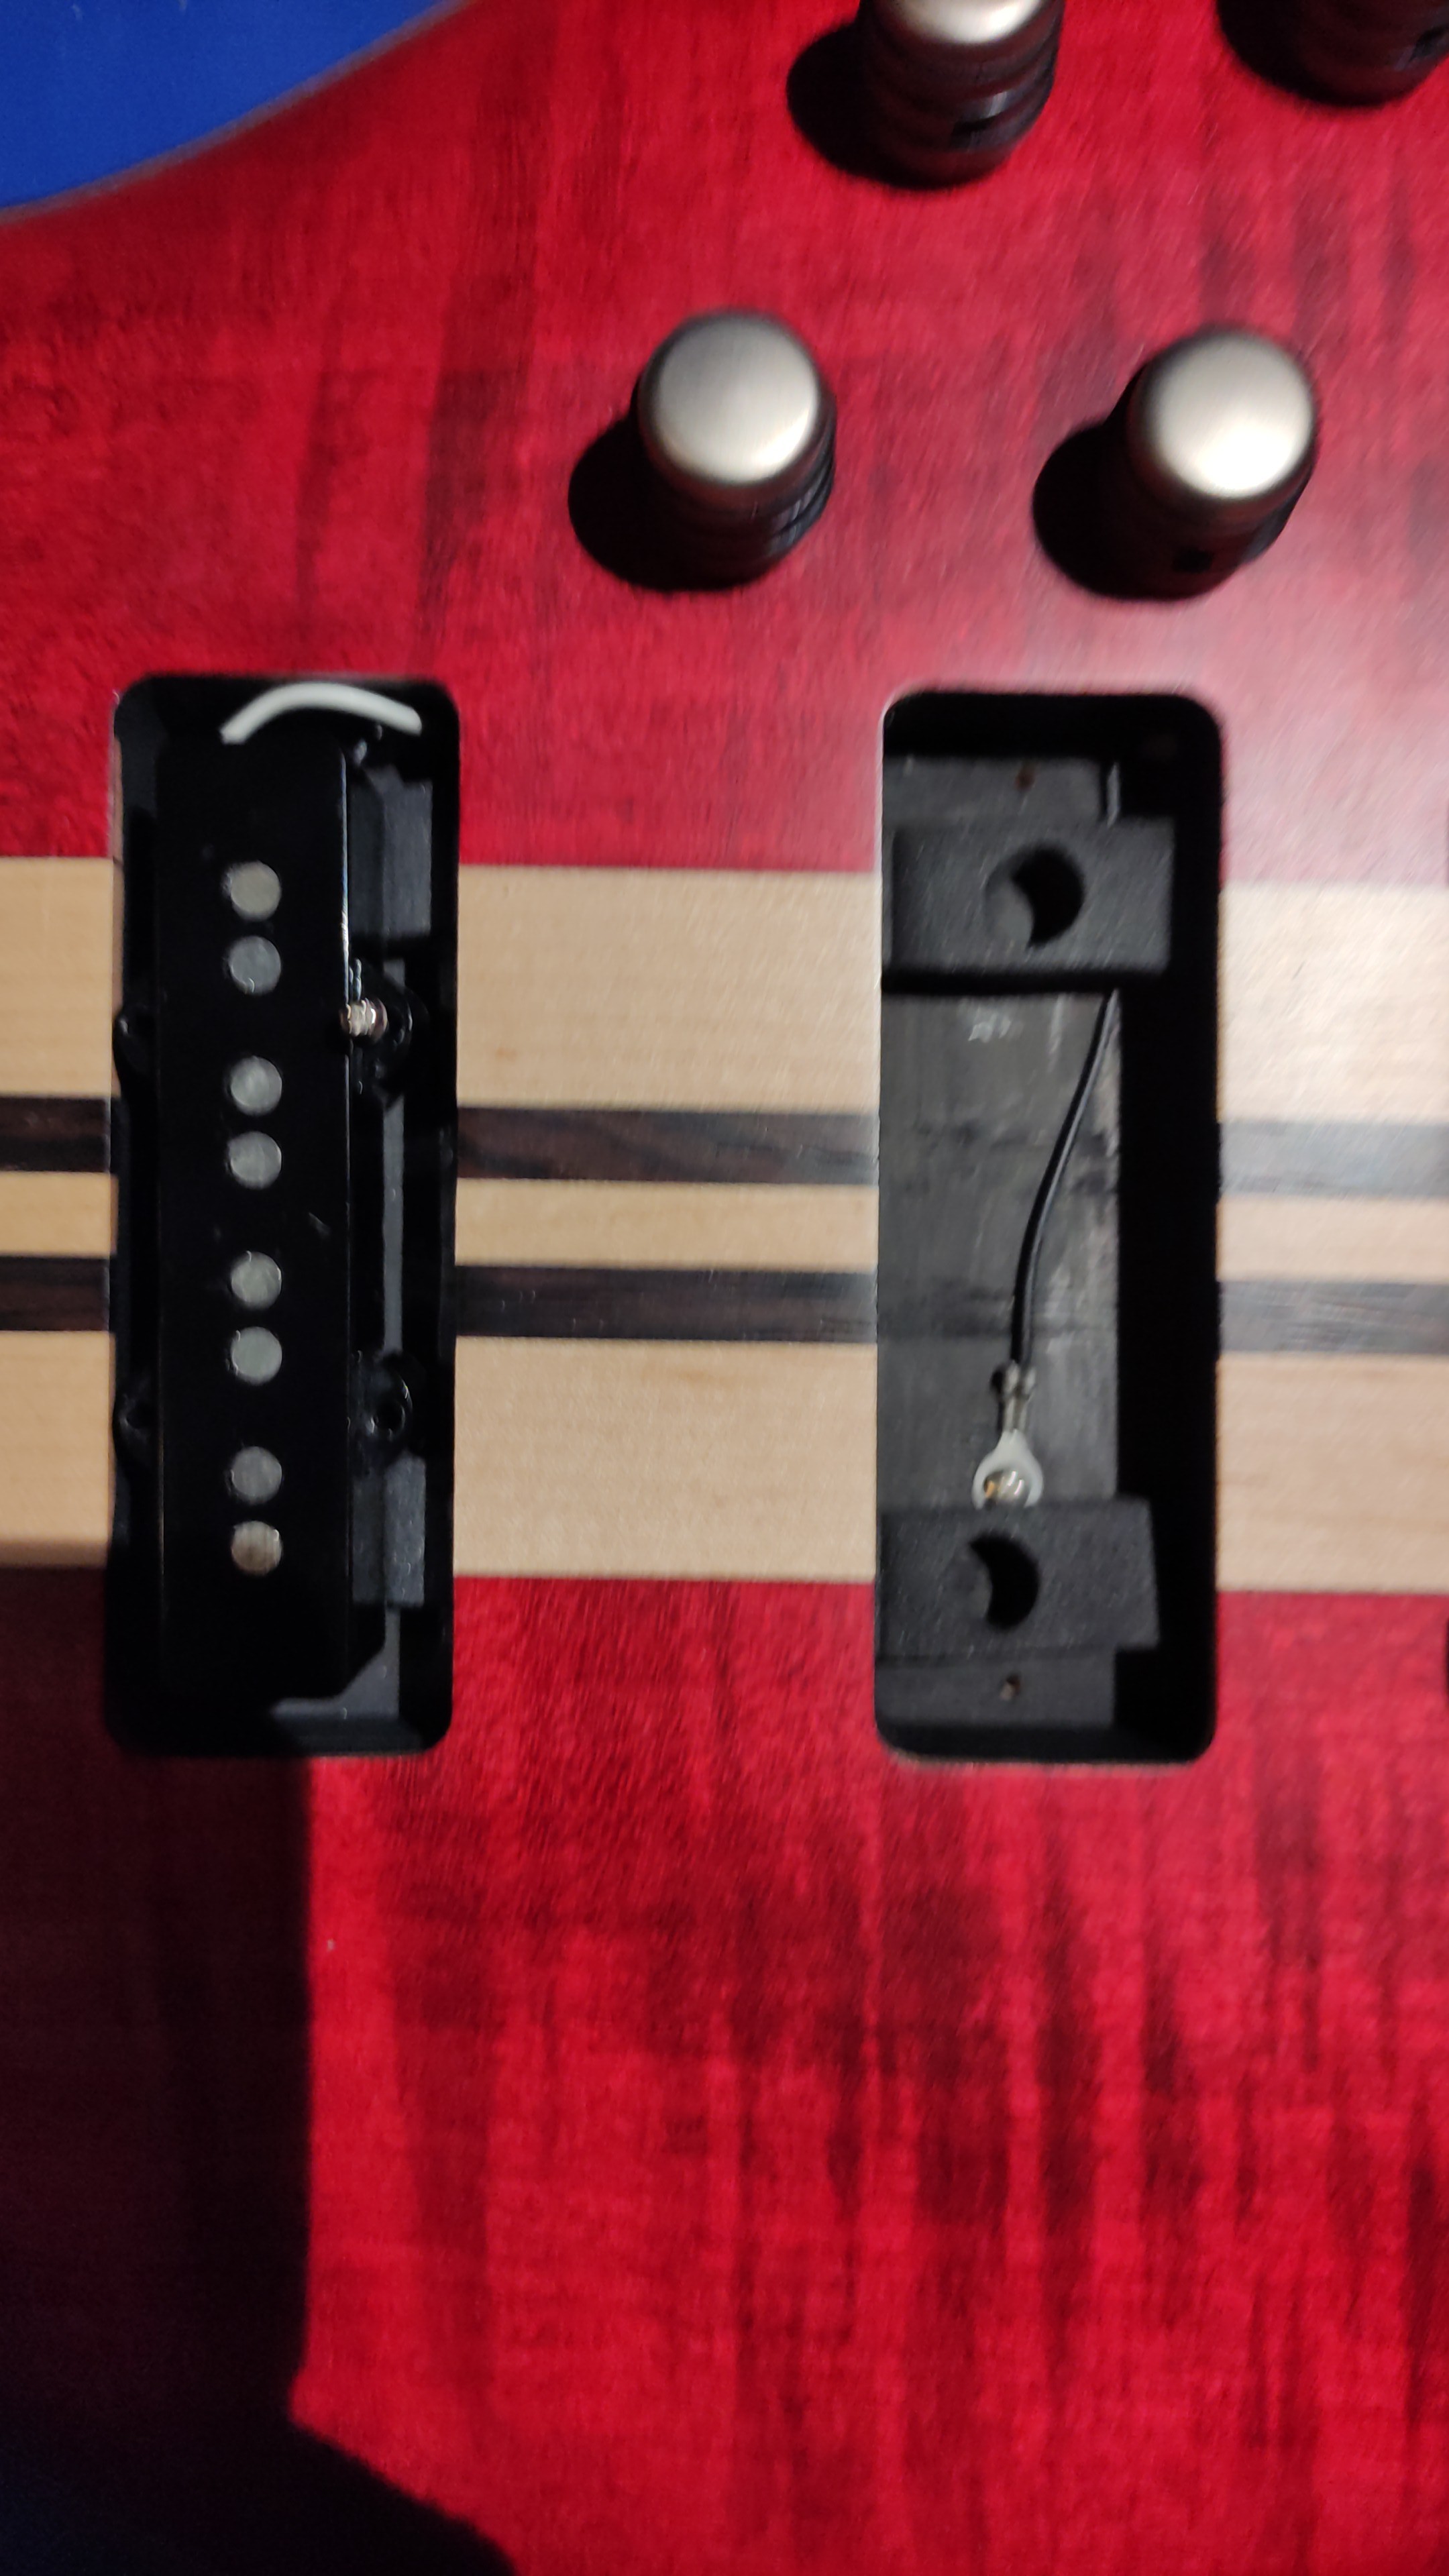
So I have decided to try out buying some used MIM (or classic vibe) Jazz pick up set install them on this cavity
Man even the cavity is so nicely done!
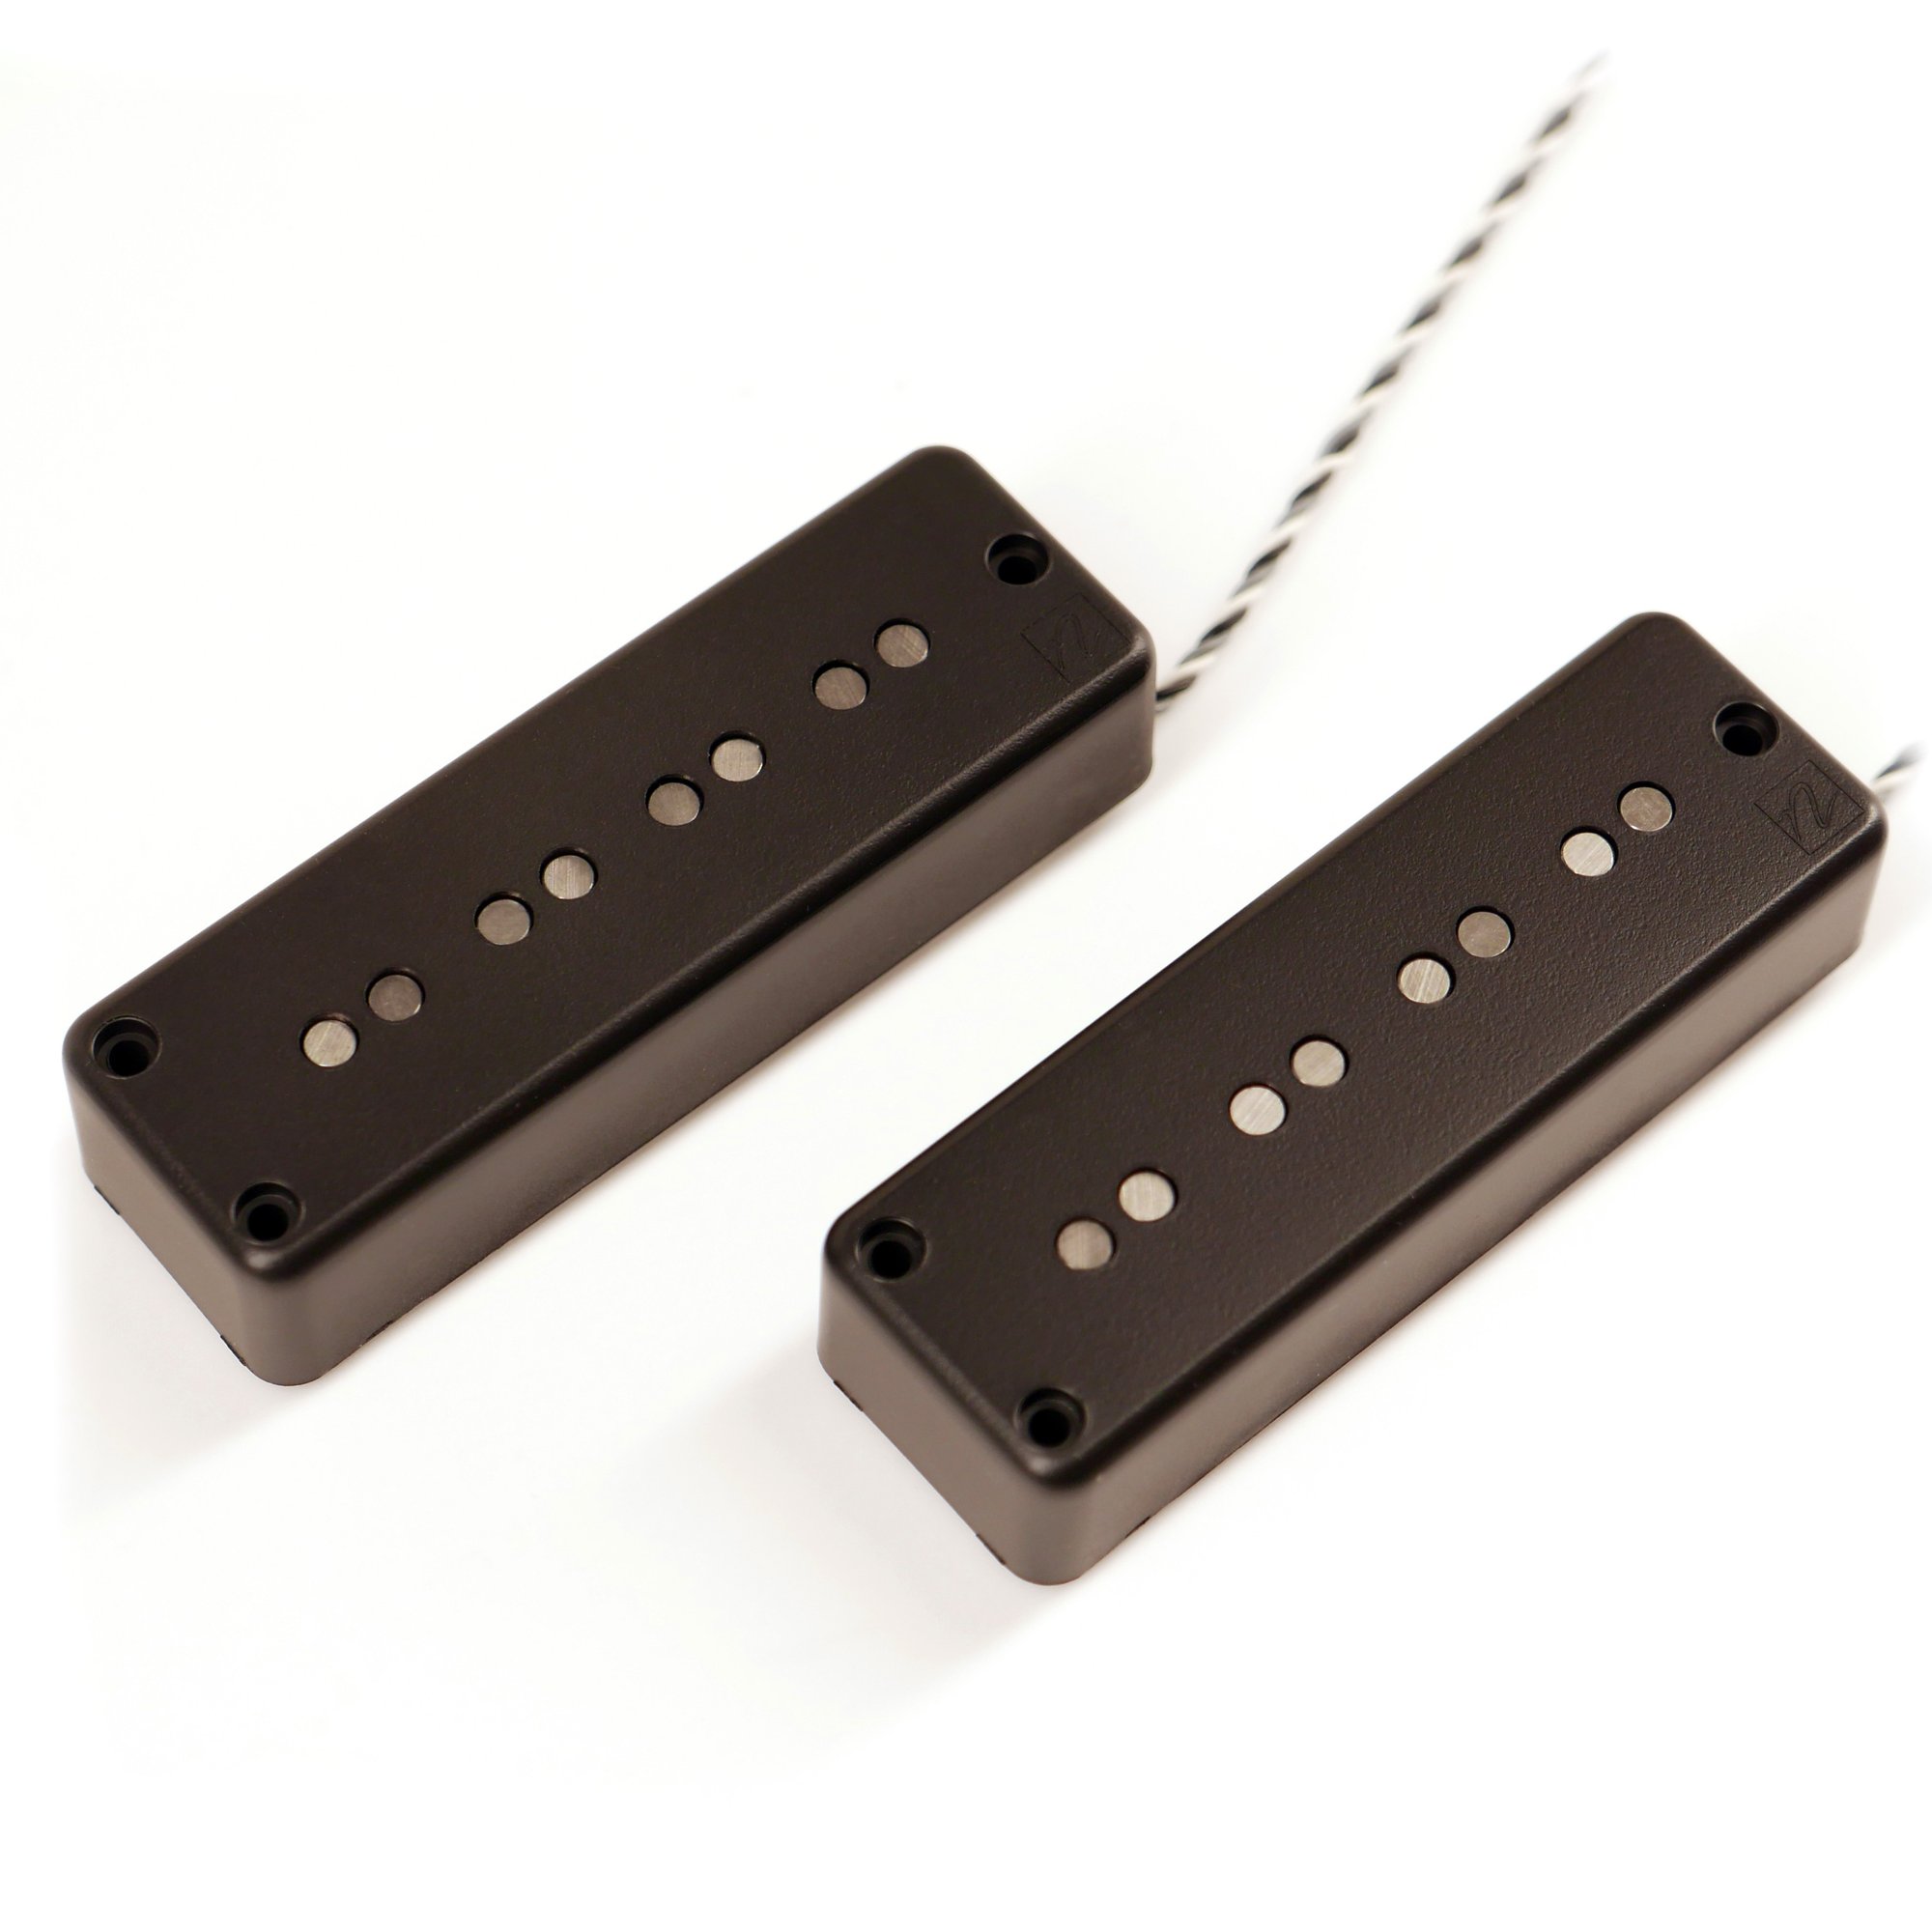
Once I confirm that the JB pickups work for me I will ask my brother to 3D print me some kind of soapbar shaped cover!
It should look like this more or less when I’m done
These nordstrand pickups cost 180€ a pair while used MIMs cost 40€…
Any ideas or suggestions?
I’m really not an expert on jazz pickups, but from the discussions on here, there might be a reason you can find affordable Fender jazz pickups ![]()
The advantage would certainly be that you could try a different sound without spending too much and you wouldn’t loose to much if you sell them off again.
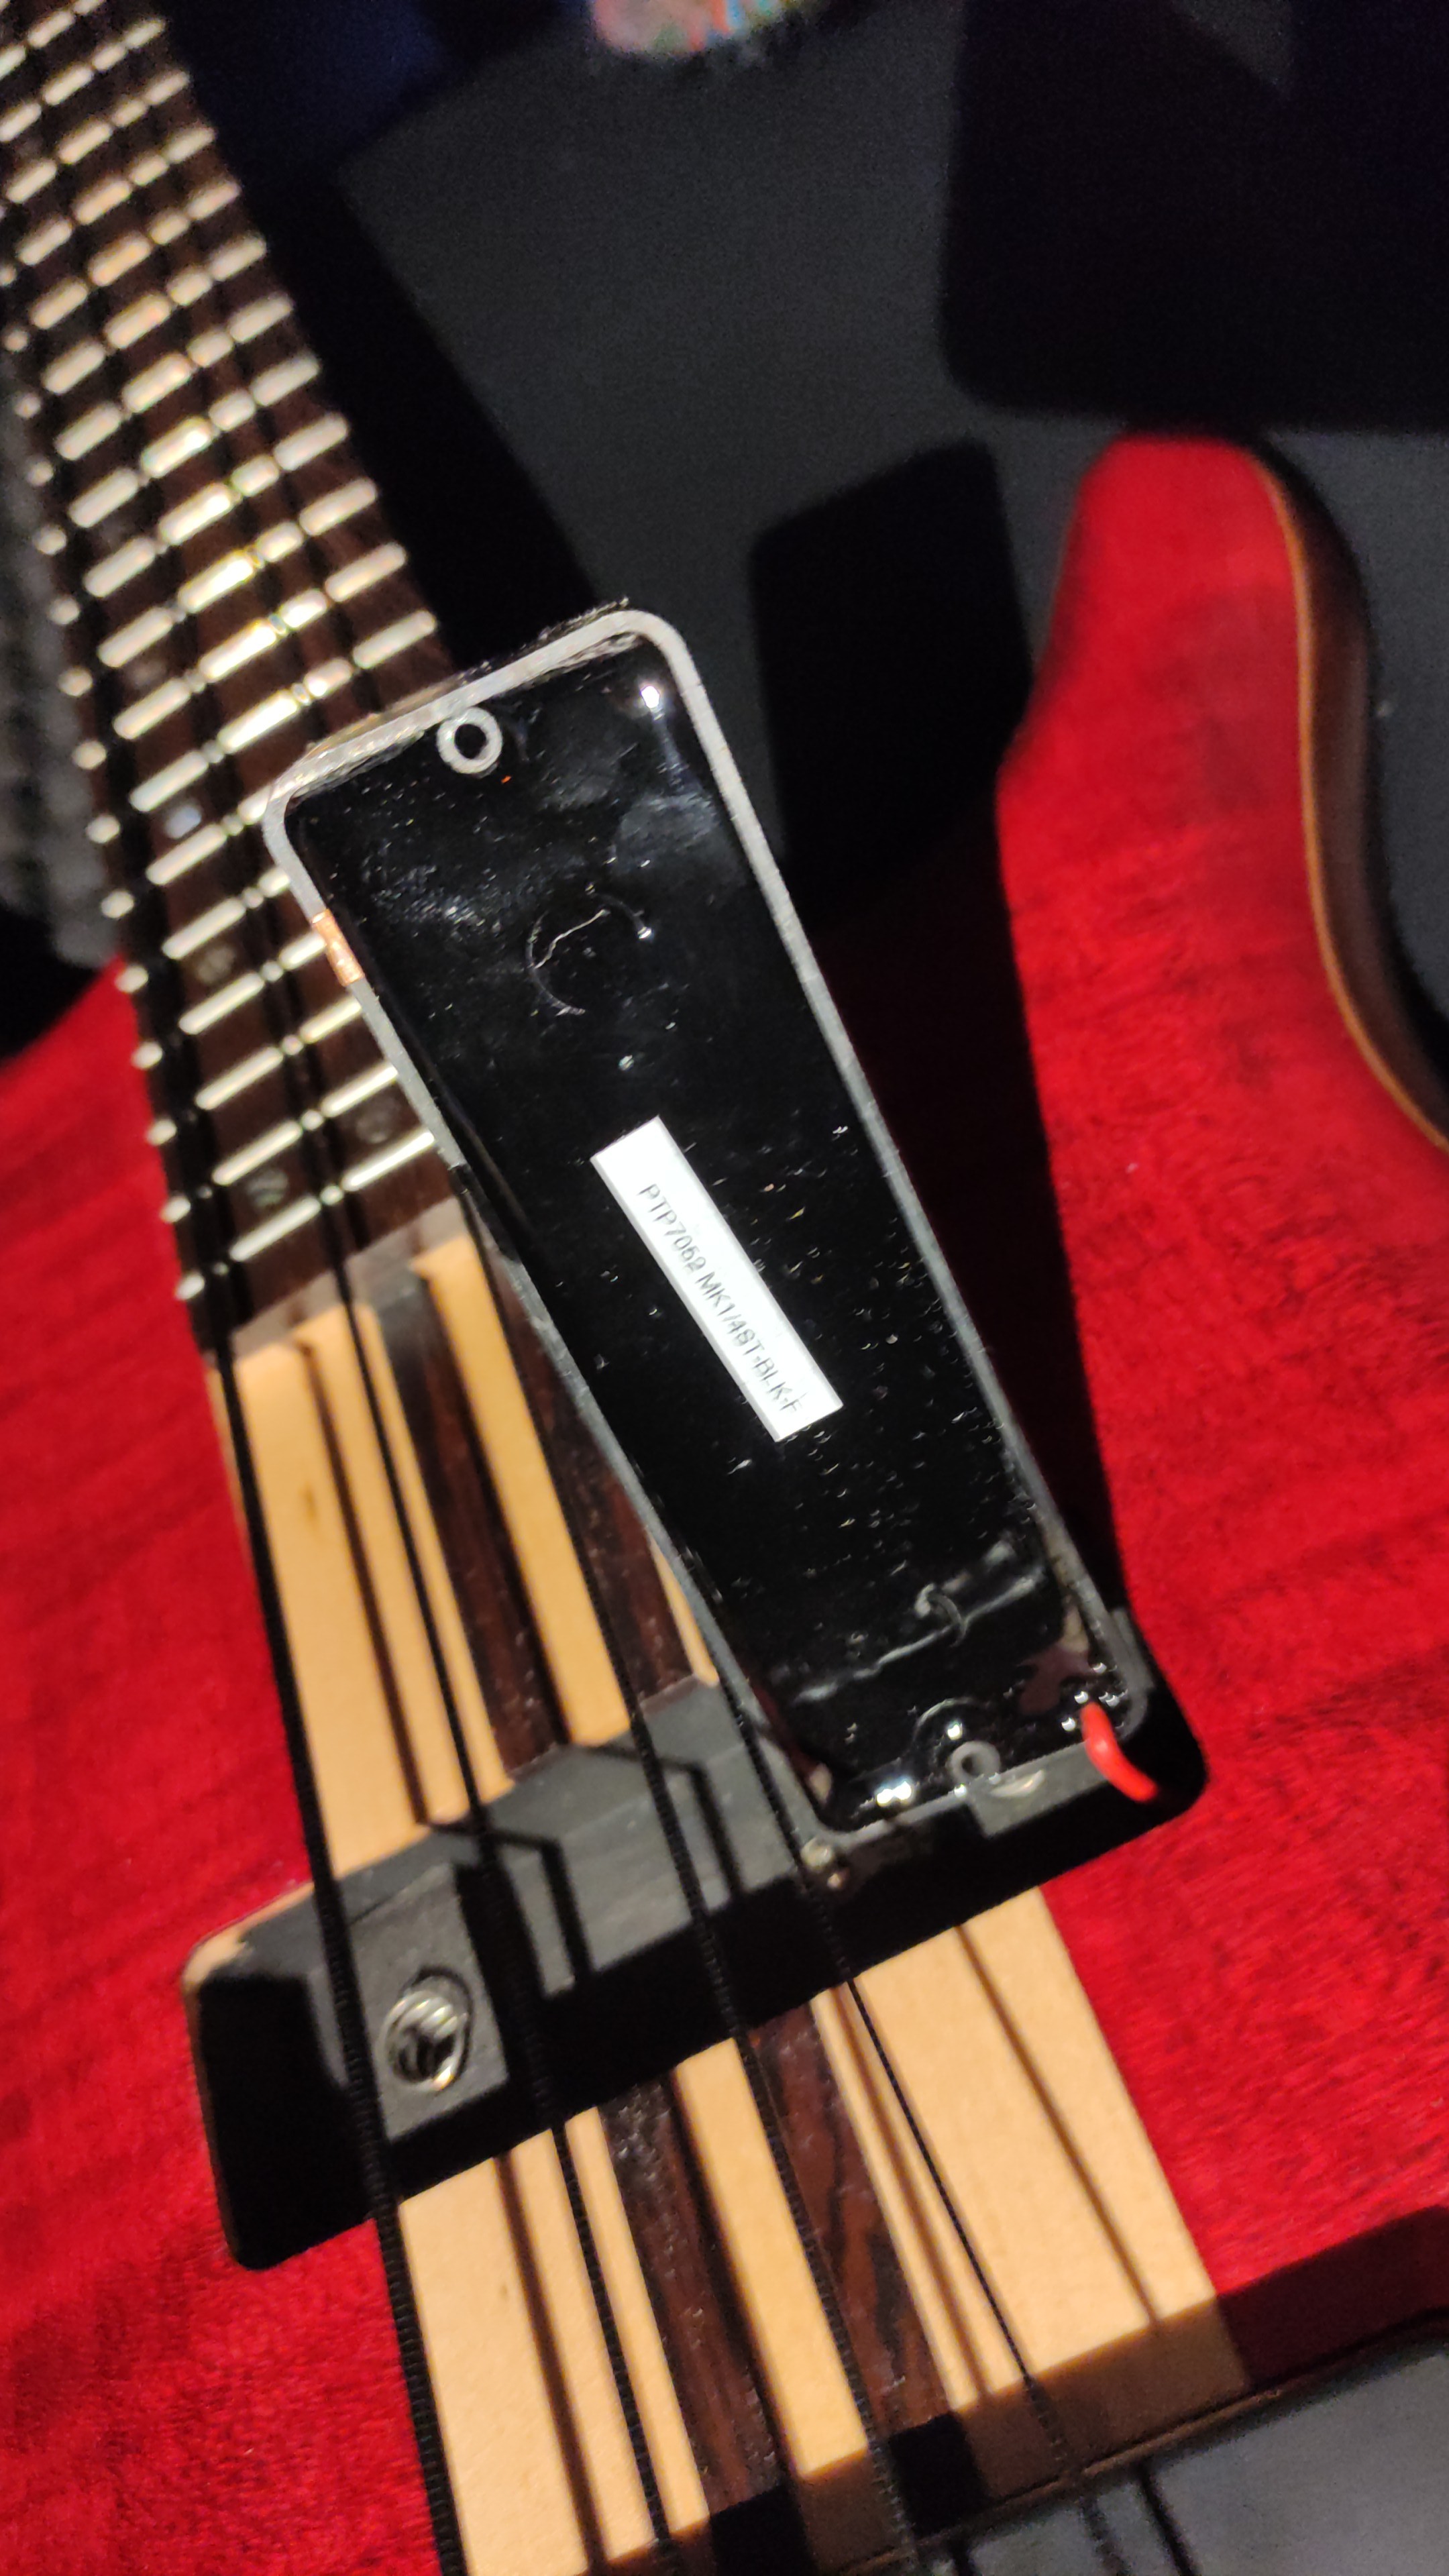
You will probably need to pay attention to the size of the covers if you opt for other soapbar sized pickups. Bartolini does offer upgrades to replace the MK1, but it might get really expensive.
That’s actually a good point!
My other option was the trusty Tonerider Jazz Plus pick ups that cost 80€ including shipping. They are alnico 5 and I already tried and enjoyed the Precision model…
Indeed they have the curious JJ JJ pick ups but we are talking about 300$ and that is if you can find them. so I just pass…
Bartolini also has a P replacement even but that’s on special order.
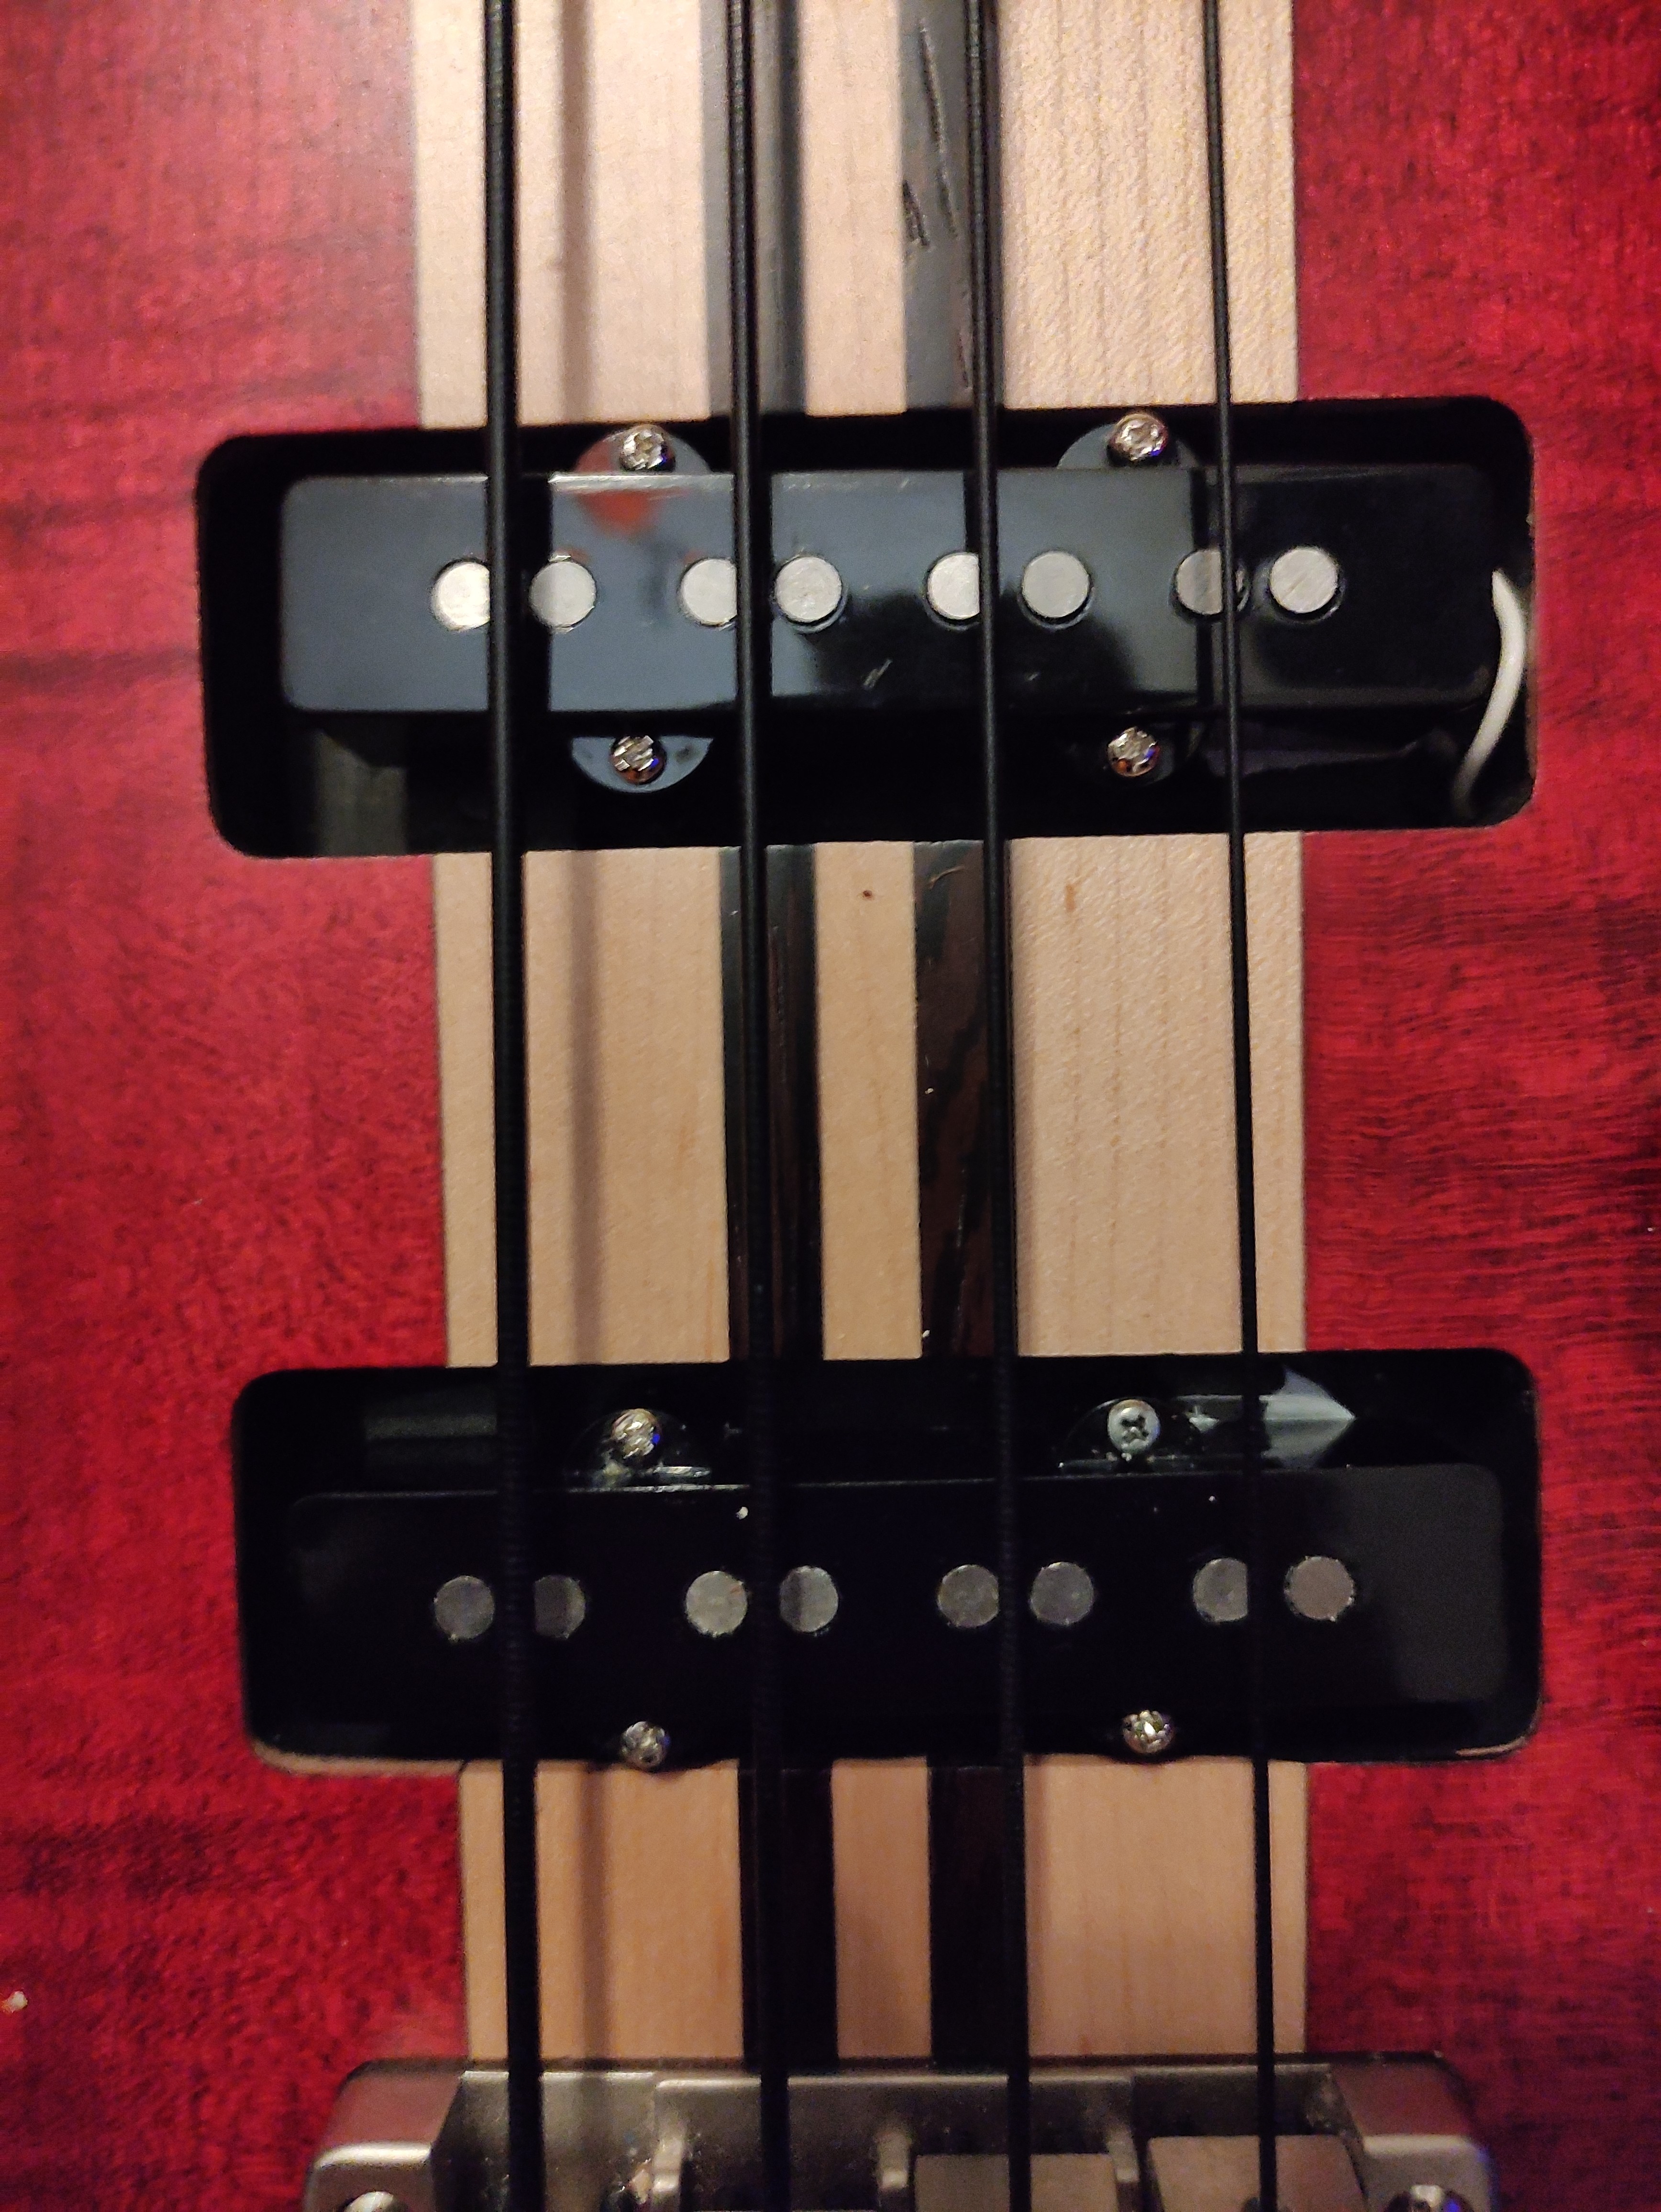
So I have found a couple of American Standard Jazz Bass PUps for 60€ and put myself to work!
I don’t have springs for each screw or a proper sized foam to put under so I make do with what was already there for now!
Proper allingment was my biggest worry since standard jazz bass has 19mm string space while my hipshot transtone bridge has 18mm. Also probably the position of the PUps are not exactly the same.
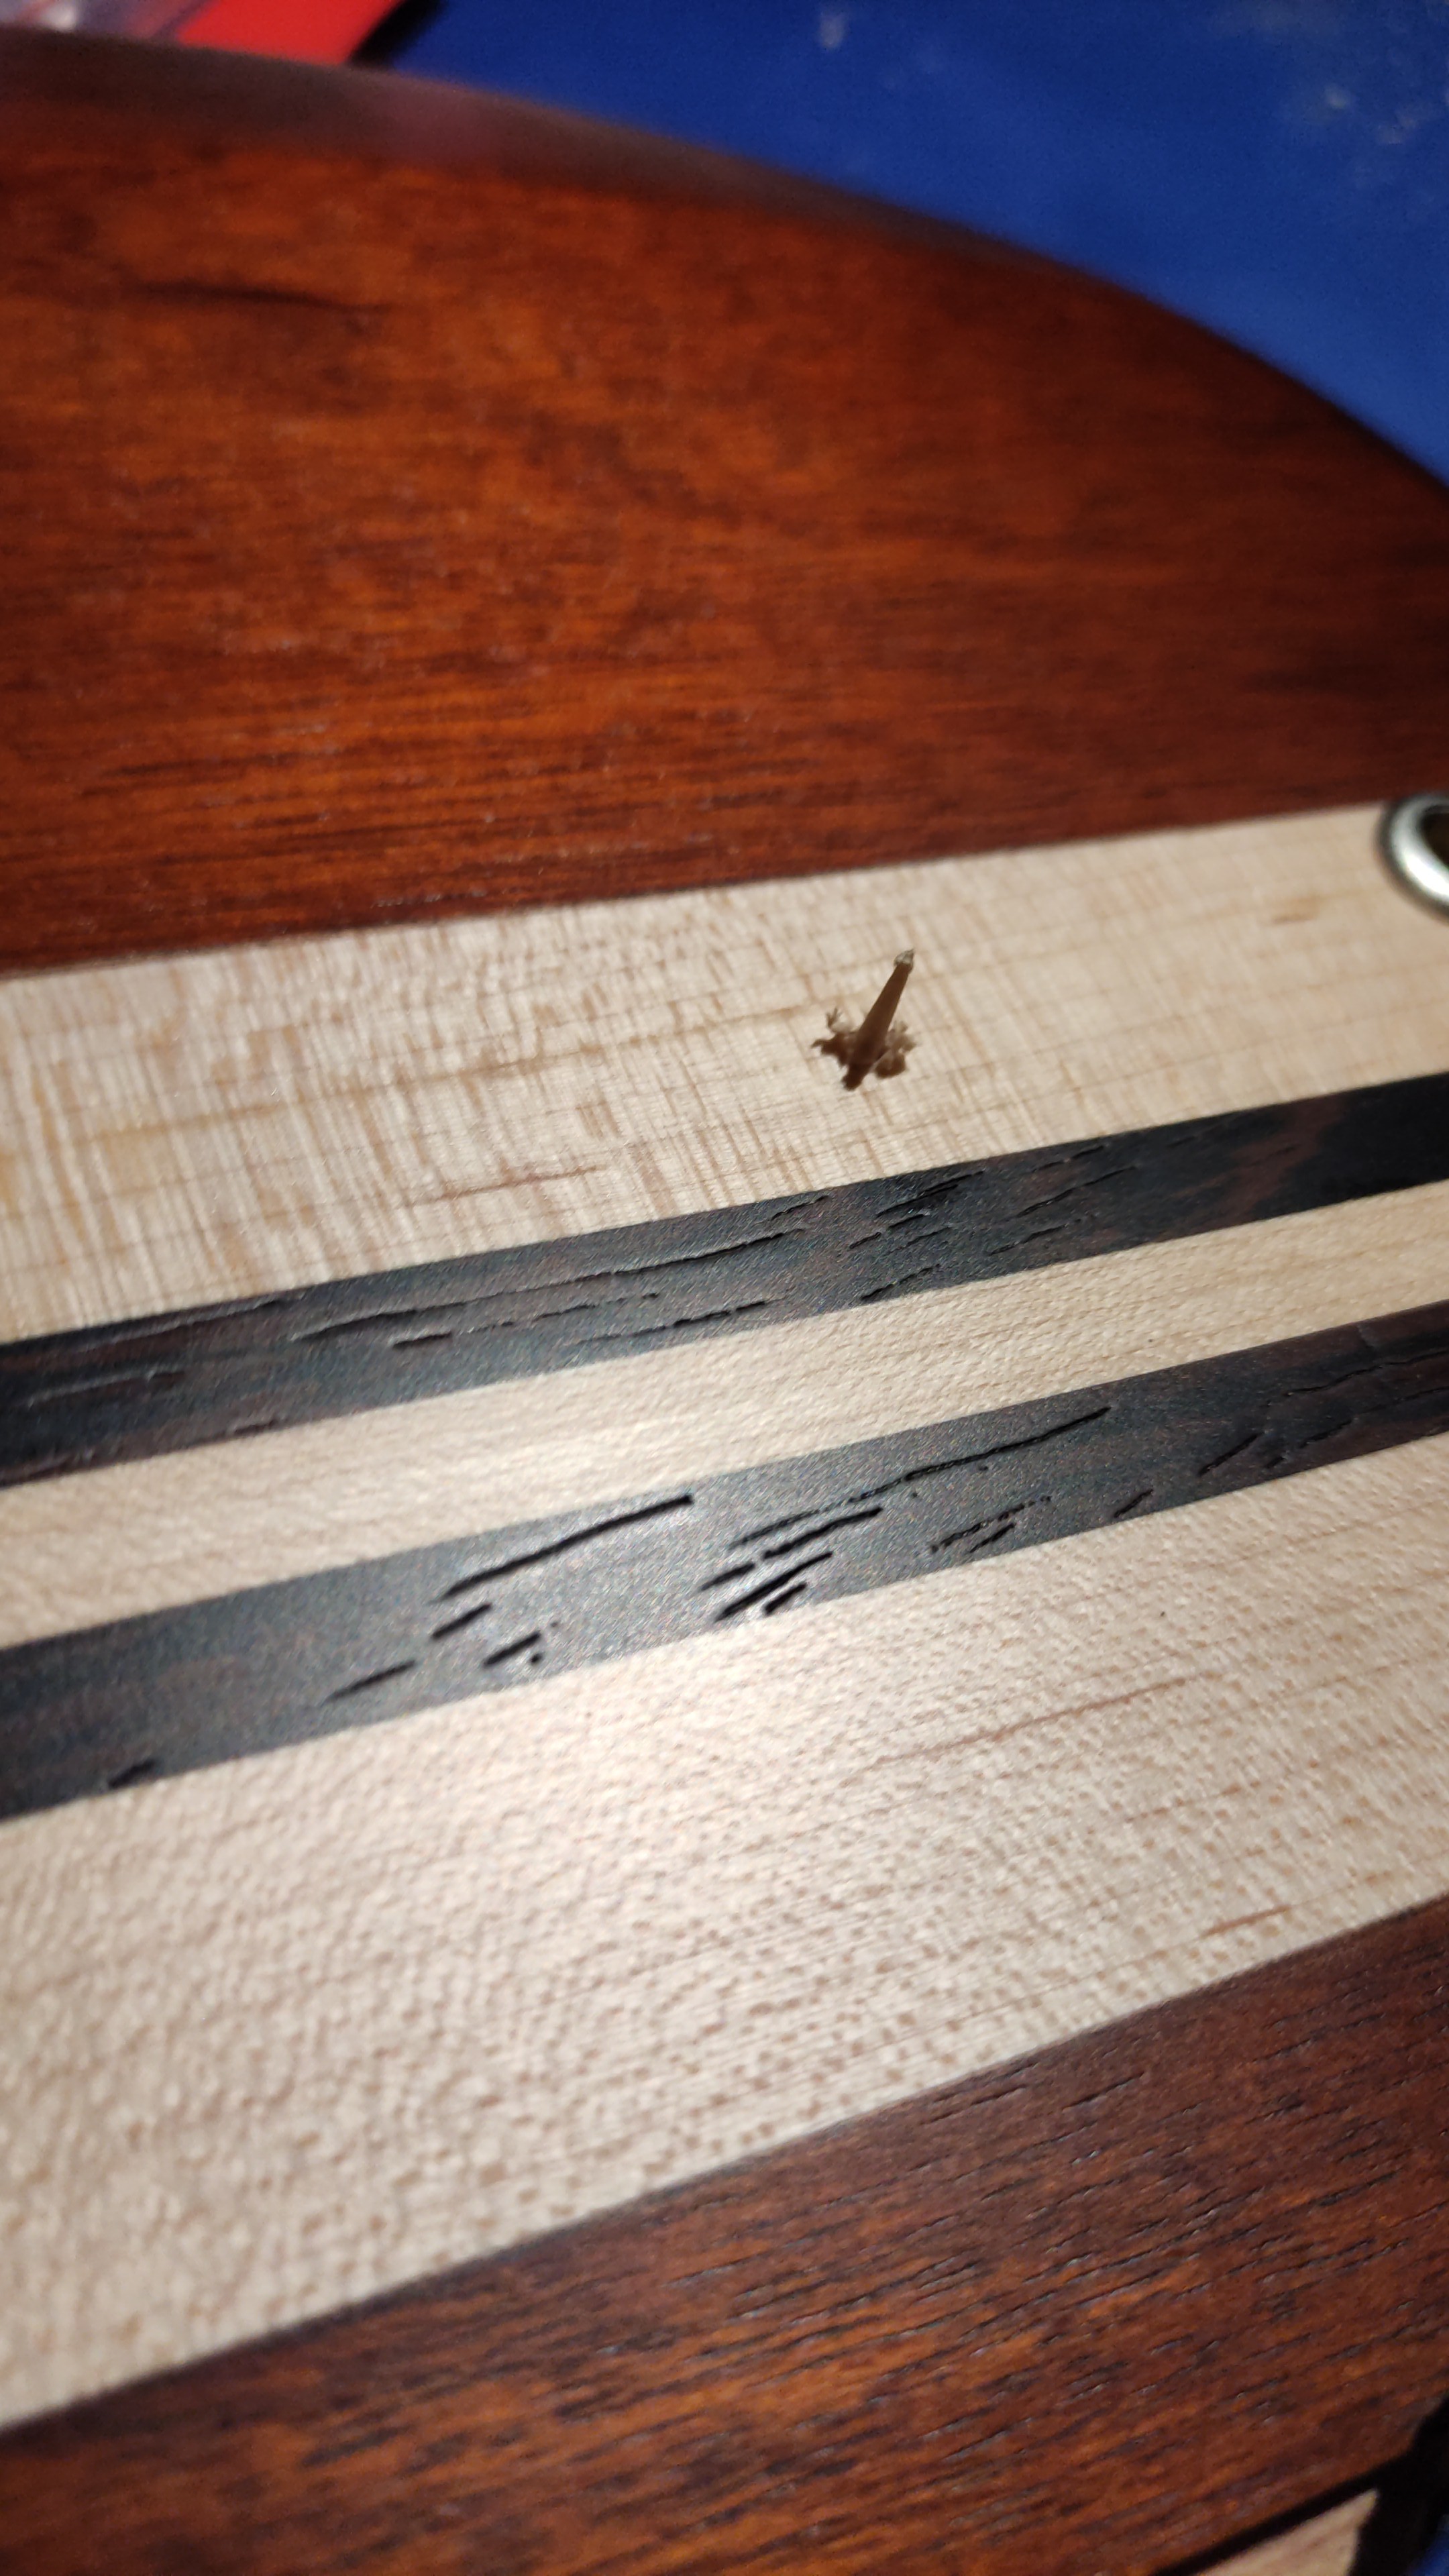
The guy who gave me the pickups also gave me 8 screws to go with. Told me to not to drill and just screw them in but the screws were incredibly weak to drill themselves. The screwdriver kept damaging the screw head so I finally gave in and drilled 2mm guiding holes (as I actually saw from some videos)
Only one time I drilled a bit too much!
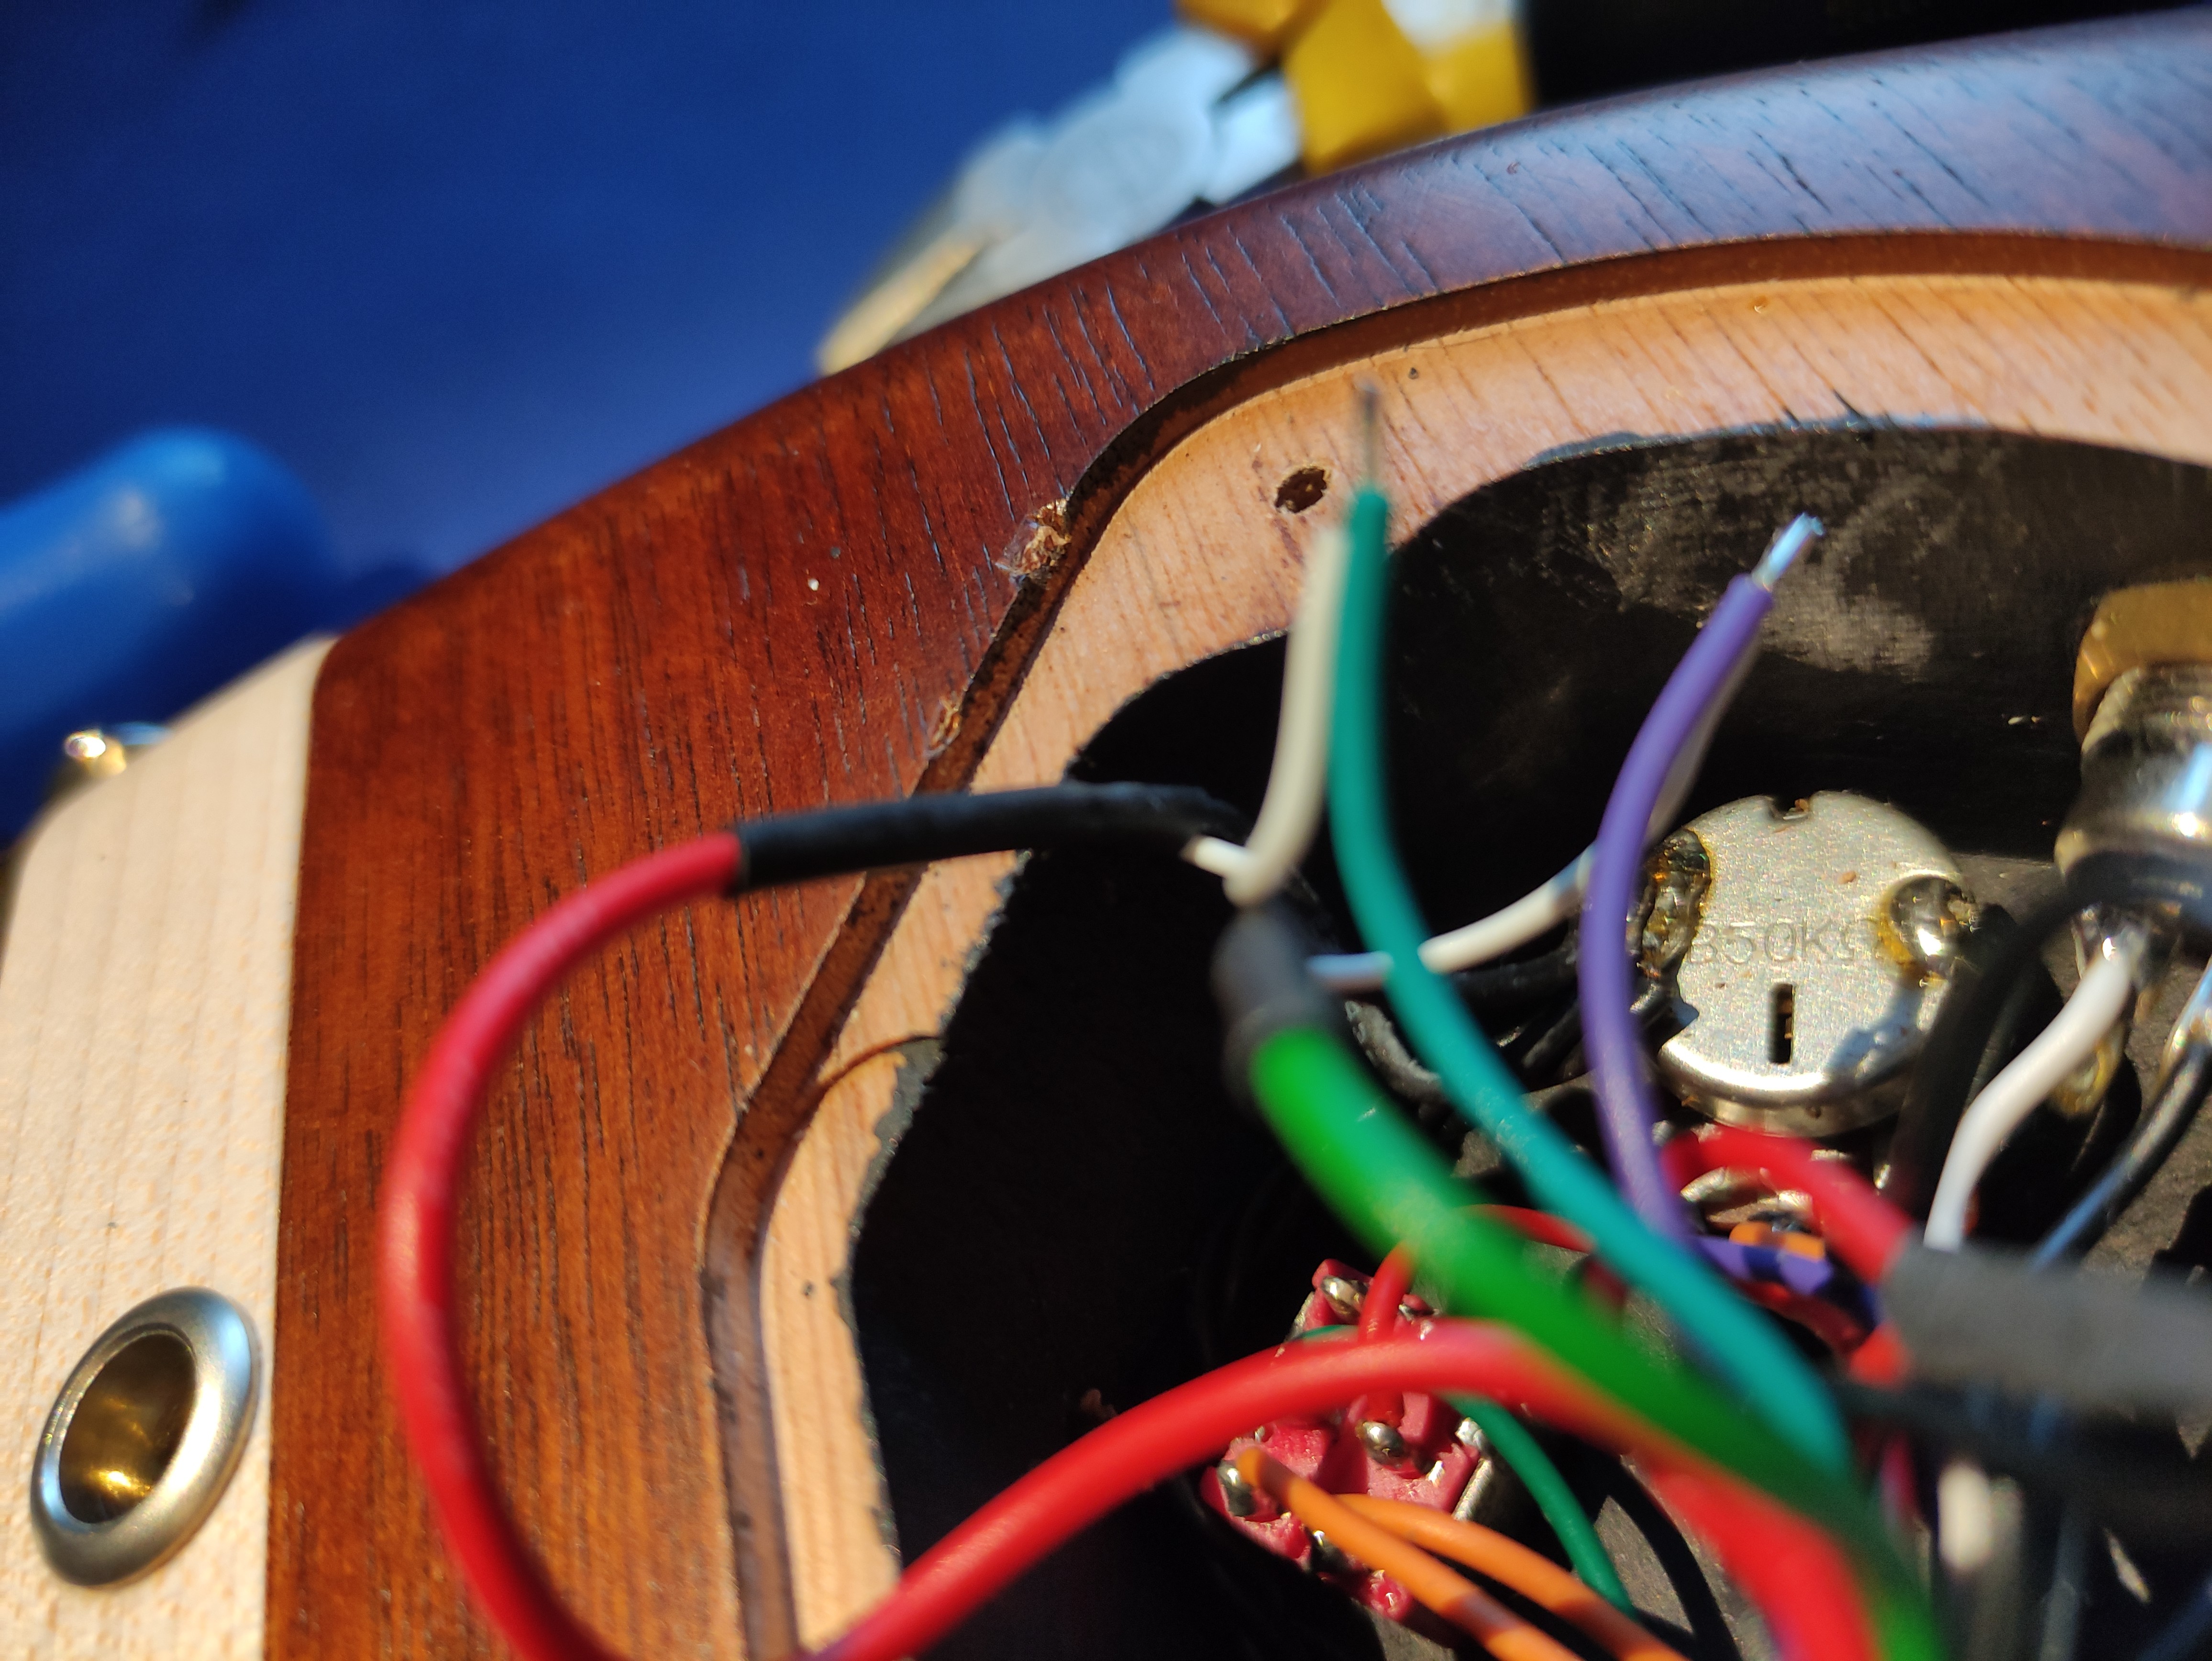
For the electronics I choose the easiest way without changing too much the original for now. So I just connected the pickups to blend knob, blend output to a volume knob and to Jack. So all preamp is bypassed and for now there’s no tone control…
The results (there’s still some fine tuning to do)
https://youtu.be/H8ch6BSdo2E
The reasoning behind this is the fact that the wood quality, hardware and workmanship is quite exceptional on this bass but the electronics were really missing character.
Even in so called passive mode the signal is still going through some amplification which was cutting back a lot of feel factor.
In order to get the real responses of 5 layer neck through, through body strings, new line bridge, I am using the JB pick ups in its pure form…
Ouch ![]()
Rather expensive learning opportunity I know…
Just throw some Ketchup on it.
Or spray it with WD-40.
In all seriousness, seems not too bad to fix to look ok. You could probably do it yourself if there’s no convenient luthier.
From the picture, the part with the oopsie looks like varnished maple. If you have a cabinetmaker around somewhere (or else some spare maple bits for DIY), what you need is some sanding grounds (aka wood flour) from a maple board. For DIY, the best tool for this would be a clean semi-fine file or a fine carbide burr for the Dremel/die grinder. If you use sand paper, you’ll need to sift the flour.
Anyways, once you have your fines (they’ll behave like a fluffy wheat flour), take a spare maple board and drill a few test holes in it of a size similar to the oopsie. You then mix the fines with the varnish you intend to use to a consistency of mayo (various proportions, you have to get the right one), and pack it into the test holes. After it’s properly cured, sand it down and give it a lick or two of the varnish. The proportion and finishing varnish combo that’s left over that looks most like your non-oopsie maple on the bass will be the one you can fix the oopsie with. You’ll need to sand down the tearout around the oopsie a little bit, to both smooth out the hole and to feather out the finishing varnish afterwards. Packing the oopsie hole is best achieved with a wooden pick a little gob at a time until it’s filled.
Disclaimer 1: if it’s not maple, you’ll have to choose the right sort of wood flour.
Disclaimer 2: I haven’t done this on a guitar, but I have done this in hardwood floors (ash and maple), cabinets and a bright-finished boathull.
Disclaimer 3: You can always call the oopsie a deliberate feature, and refer to your bass as a semi-hollow with a sound hole.
@Fahri
Over time, if you play alot, you can get belt buckle marks all over the back side.
I would almost leave it alone, and just let the character of the bass develope over time.
I mean, I am not gonna rush out and drill holes in the back of my bass anytime soon, but if I did, I wouldn’t sweat it too much.
Only if I intended on returning it or selling it off for another bass.
The suggestion from @MC-Canadastan sounds like a best option, unless you have a local luthier, or somebody that is really good with woodwork or wood art that can do it for you.
But in reality, it won’t make a difference in the playability, or sound (I would be surprised if it did), and kind of adds to the coolness of the bass (people pay to have their brand new basses beat to hell with a hammer, punches, sandpaper, bats, belts, whatever will beat the crap out of it, so in the grand scheme of things, you just gave it a little jump start towards “Vintage” status.
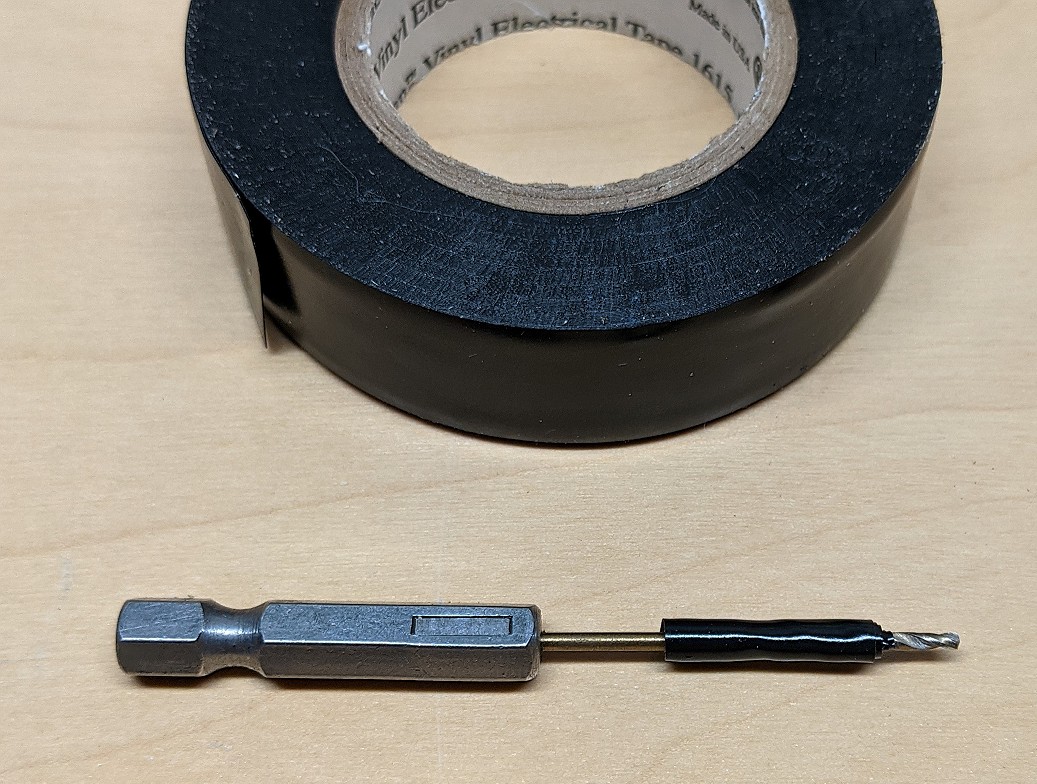
This is too late to help @Fahri (sorry) but for anyone else installing pickups, tuners, etc. the trick to avoiding overdrilling holes is to determine the desired depth of the hole, measure that distance on the drill bit, and apply several layers of electrical tape at that point.
As for repairing the damage, the wood flour method suggested by @MC-Canadastan would undoubtedly give the best results, but I would simply fill the hole with plastic wood from the local hardware store, let it harden, and carefully sand it flush. You won’t get as close a color math as with wood flour, although plastic wood does come in several shades, but I think it will look okay.
I’ve used plastic wood to fill holes when I’ve installed tuners that required different mounting screw placement with generally good results.