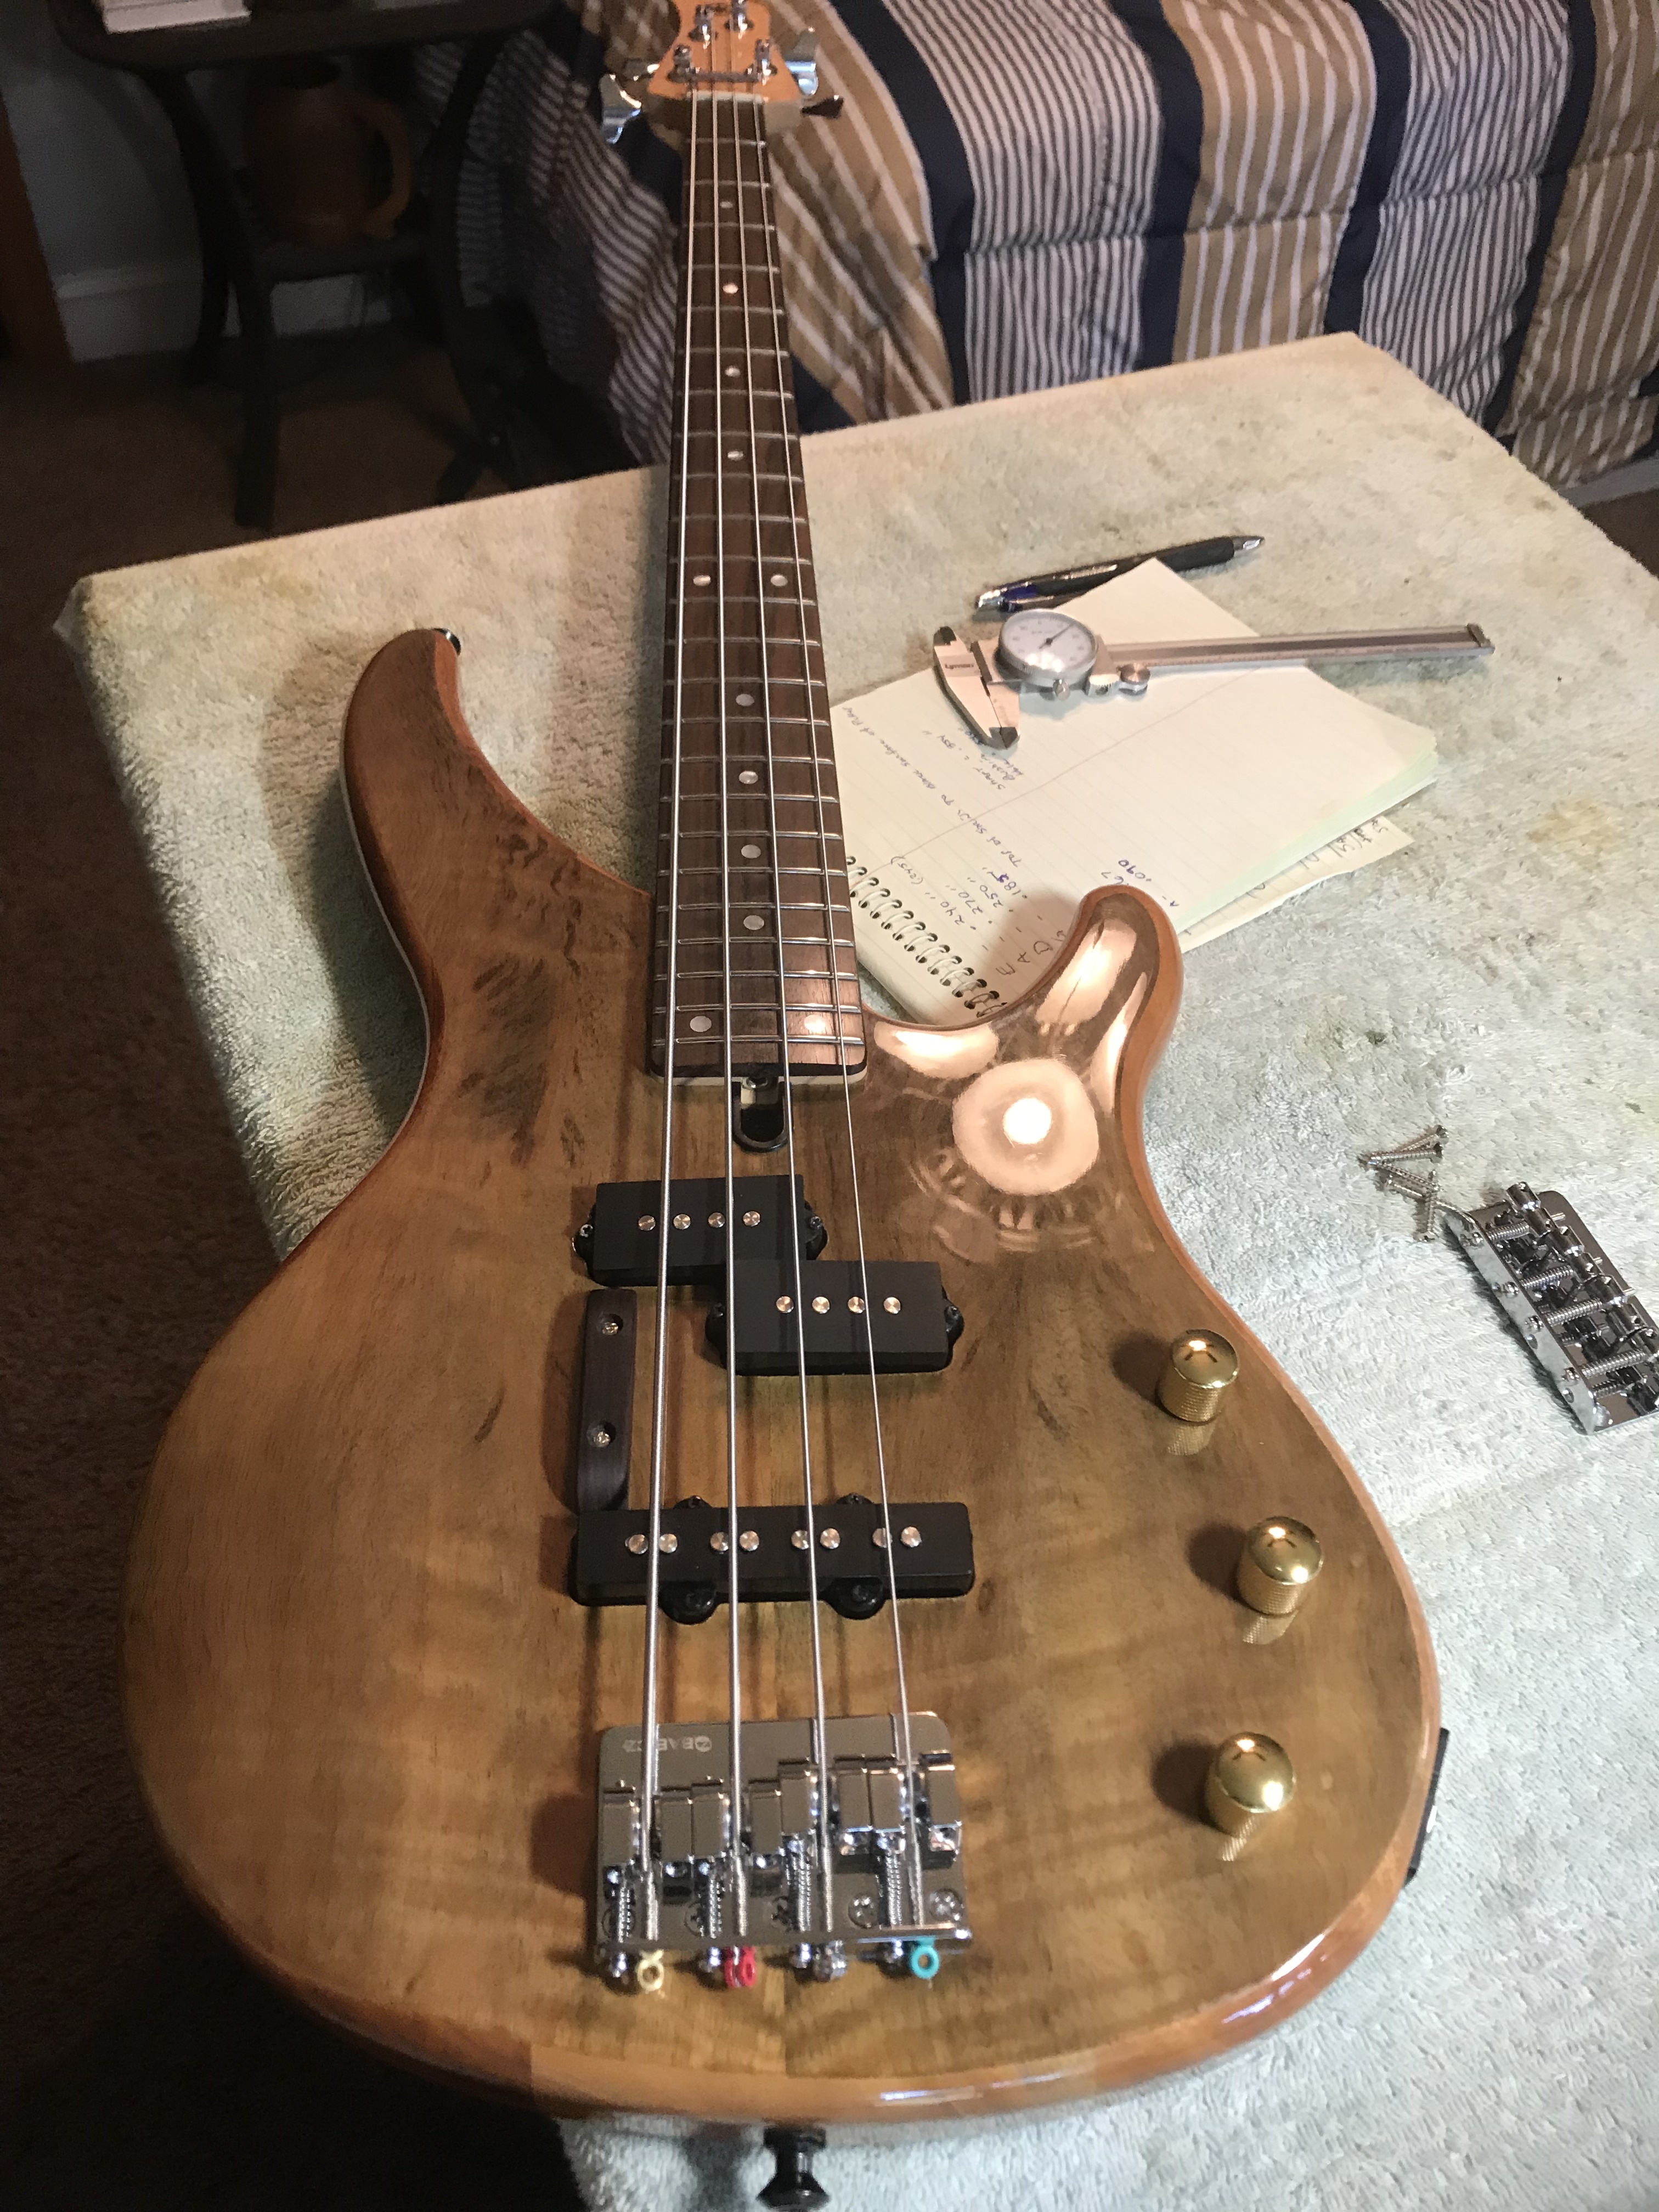
So today was “Bass Upgrade Day”!! My new knobs, thumb rest, and Babitz bridge showed up in the mail so I took a break from Josh’s bass lessons and spent the afternoon having some fun doing some actual upgrades to my Yamaha TRBX174EW. Even though that particular model is listed as Yamaha’s ‘Entry Level’ bass, simple upgrades will make this axe shred $h1t with the best of 'em…
First off, the plastic knobs that come stock on the TRBX just HAD to go! A simple ‘cosmetic’ upgrade - like putting lipstick on a pig - but it certainly makes this Mango Veneer axe a little more ‘stage worthy’…
Second, I’ve always used Babitz bridges on all of my 6 string Fender Tele’s and love how they work so I HAD to replace the stock bridge with the BABITZ FCH. Everything lined up perfectly as far as mounting holes were concerned, but I did measure all of the string heights to the bridge BEFORE I removed the stock bridge so that I would have a good starting point to set string height with. And yes, I also replaced the strings with another new set of vintage nickel round-wounds…… (Hey,… I’m ‘Old School’)
Third, the absence of a decent thumb rest on this Yamaha was evident from the start. The new thumb rest however, was pretty damn simple to install - just figure out where you want it, drill a couple pilot holes and screw that sucker on… I ordered the wooden rosewood rests to match the ‘wood’ motif I’ve got going on with this bomber. A definite upgrade for anyone with this style Yamaha since a bridge anchor point with a gahdamn screw on the top of it kinda makes the right hand thumb feel like it’s hanging out on a friggin’ peg board!!..
So… Bottom line,…… A very productive day!.. String height is pretty close (still gotta play a bit to check buzz) and intonation is pretty close (for now)…. Gotta let these new strings settle in and then I’ll intonate the $h1t outta damn this thing! Right now I’m intonated to the 12th fret so for the music I like to play,… I’m good…
Gonna go for some good tuners next… But right now, these stock tuners are just fine and keep tune, but over time will definitely start loosening up and loosing tune (been there on 6 strings)… I did take the time to remove one and measure the hole size in the head, and the shaft size of the tuner so that when it does come time to make the replacement, I’ll have all the information I need to purchase the right set…
Awesome! I was wondering about the TRBX174. It looks like a really nice inexpensive P/J. It sounds like with what you’re doing here it will be similar in effect to what @Korrigan did with his Mikro - take an excellent bass body and neck for the price, and replace the parts that made it inexpensive and end up with a much nicer instrument
I may or may not have some upgrade news later today, depending on shipping. Mine’s not DIY though
Thanks Howard! It is a pretty decent inexpensive bass which is why I went with Mango… I’ve tore apart tons of entry level guitars, and made some pretty decent on stage shreders… (At least for my grandkids who play)….
Our society is funny on certain things - PRICE is one of them… Granted, you (for most of the time) get what you pay for… BUT, when it comes to this industry (music), there are SO many different variables that confusion (and desire), start to intermingle and typically drive the final conclusion - at least as far as “Will I play better” is concerned…
I’m very ‘Old School’ and believe the ‘opposite’ of what ‘New School’ focuses on… For me, start with the least expensive tool and use it as the ‘Base Point’ to work up from… Play it,… Learn on it,… Modify it,… and get really good with ‘that’ particular tool… When the time comes, move up… Kinda like a mechanic might start out with Craftsman tools before he moves up to Snap-On’s… They all still do the same damn thing, except one might last longer, might be easier to use, and has a better warranty…
I’m not a professional bass (guitar, banjo, acoustic) player - I do it as a hobby (along with the hundred other hobbies I have), but, I have spent a TON of money on cr@p that I wish I had back now that I’m retired… One thing I do know for sure is that if more people would spend their resources on GOOD LEARNING instead of high priced learning equipment, maybe,… just maybe, there would be more people interested in GOOD MUSIC…
Damn,… My old age soapbox just went into over-drive…. My apologizes….
I hear you for sure. I’m gaining a very solid appreciation of the used market, myself. Or as my boss put it, taking advantage of someone else’s GAS impulse buy
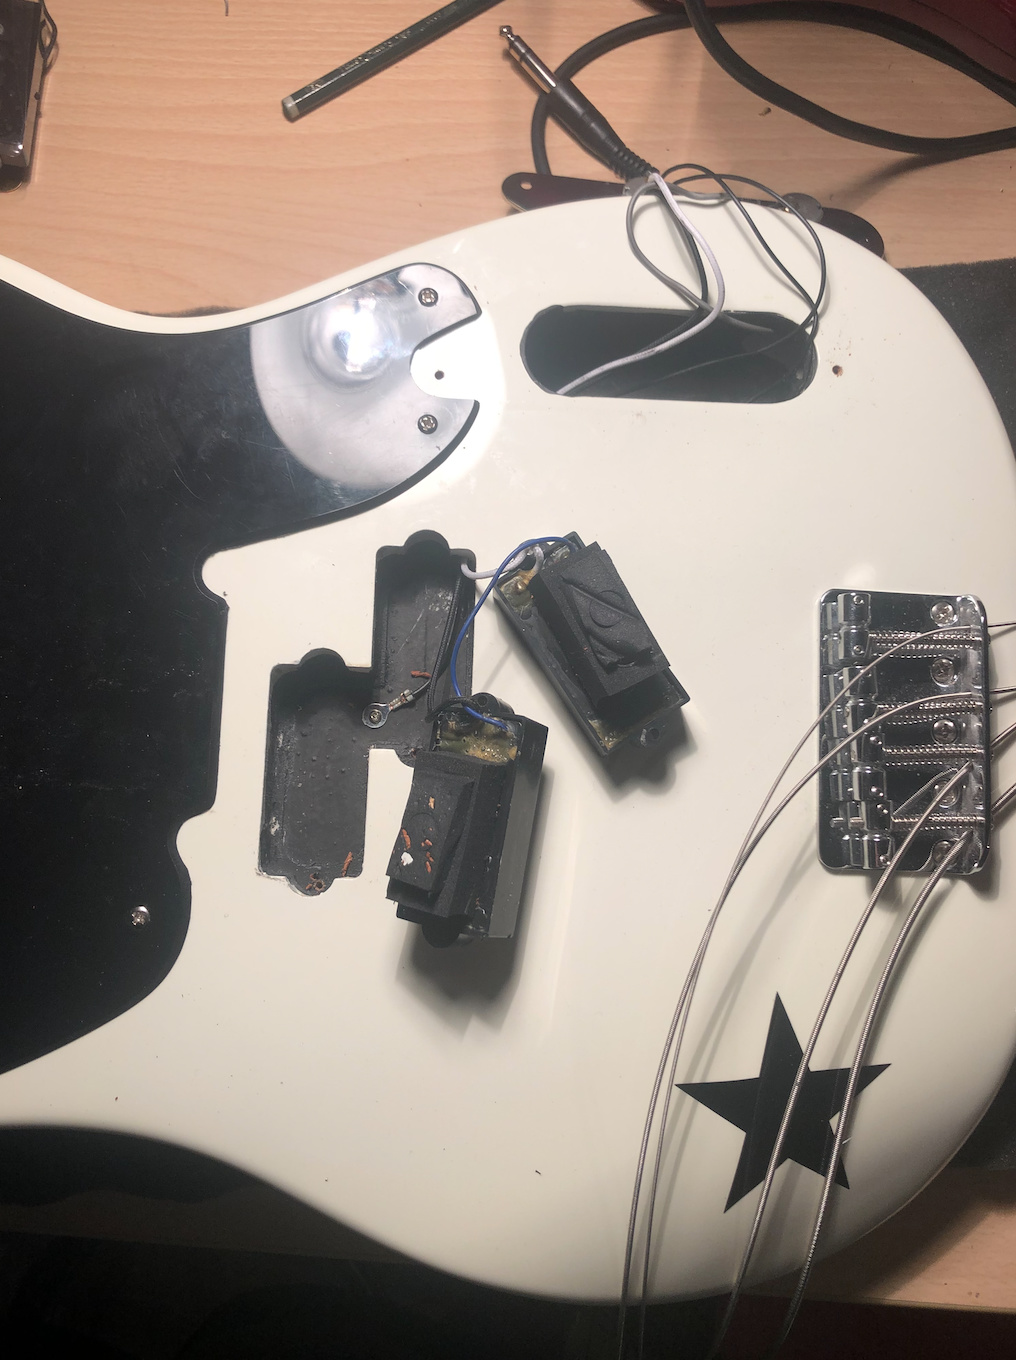
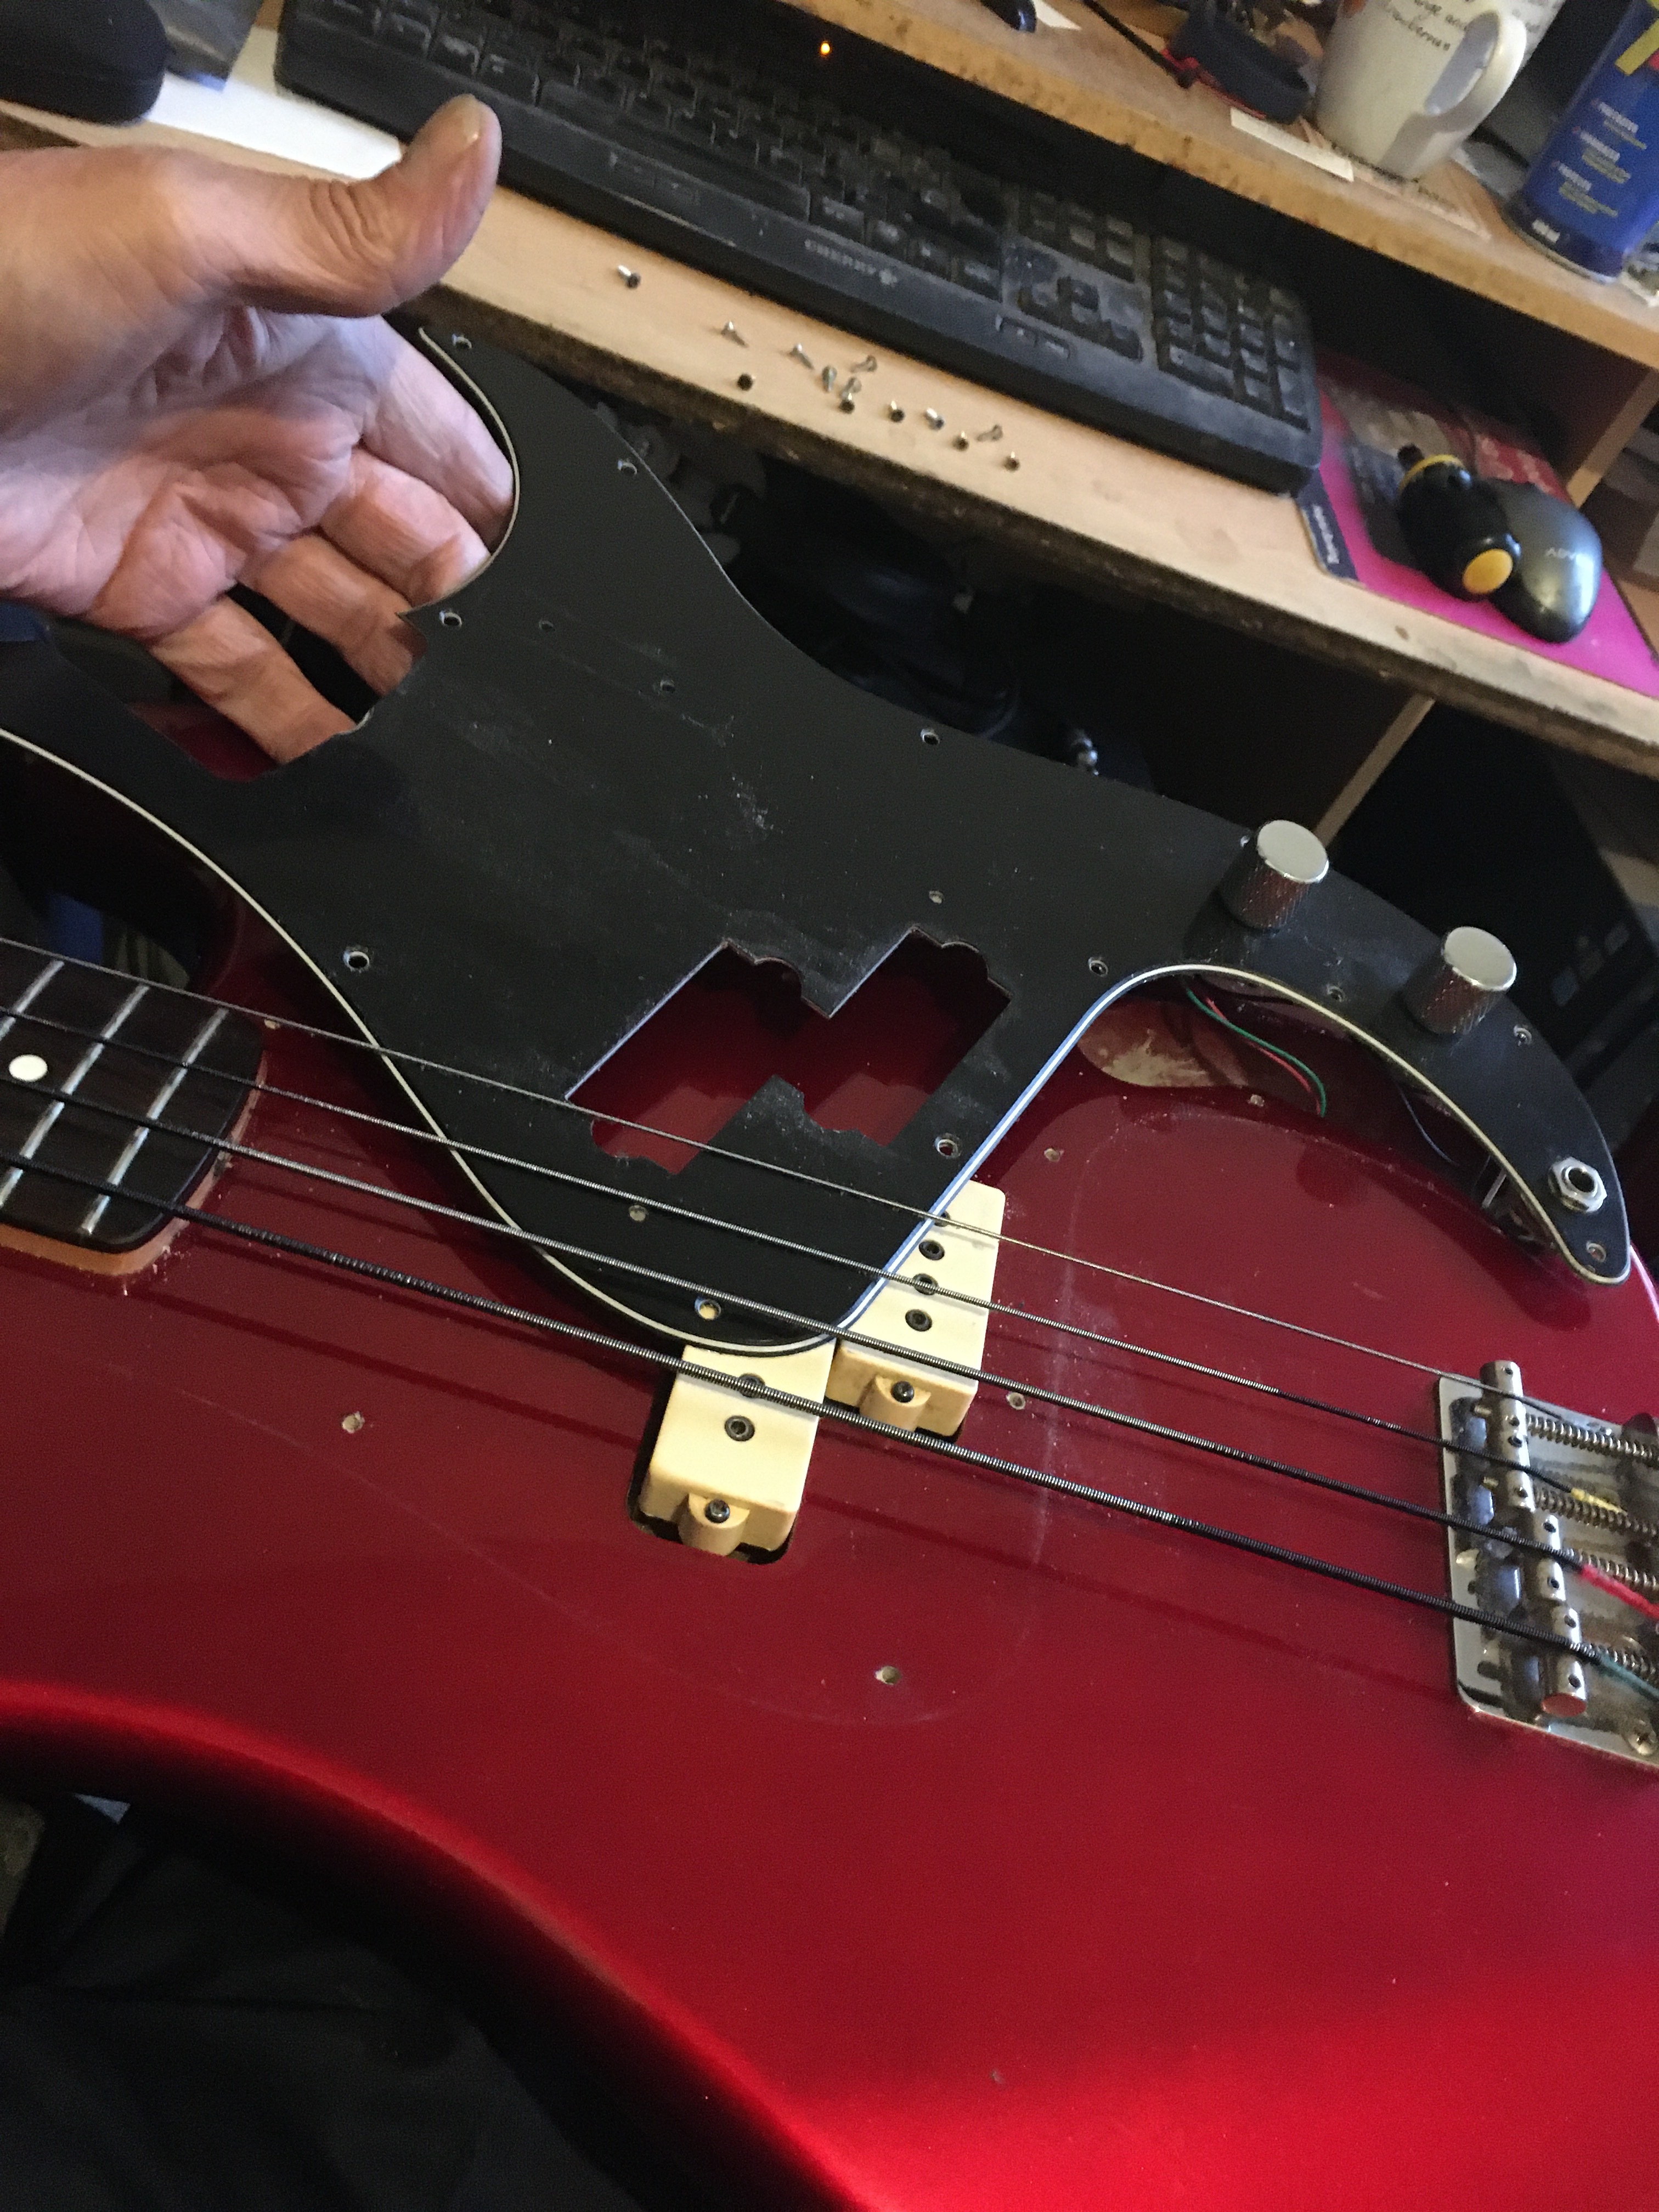
Just found this thread about Bass upgrading. Looks like today is upgrade day for my Squier P bass and it’s actually the first time ever that do some work on it (apart from changing strings). I will remove the standard pickups and replace them with Fender Vintage Precision Pickups. My dad will assist me in this since he has got some experience with these procedures, though only with guitars not Basses. I can’t help but feel like im about to wing a kidney transplant. Those of you with experience: any particular advice regarding this procedure?
Thanks a lot
Yes it’s really easy as long as you can solder - unless they are solderless connections on the new pickups of course…
Instructions should be with the new pickups.
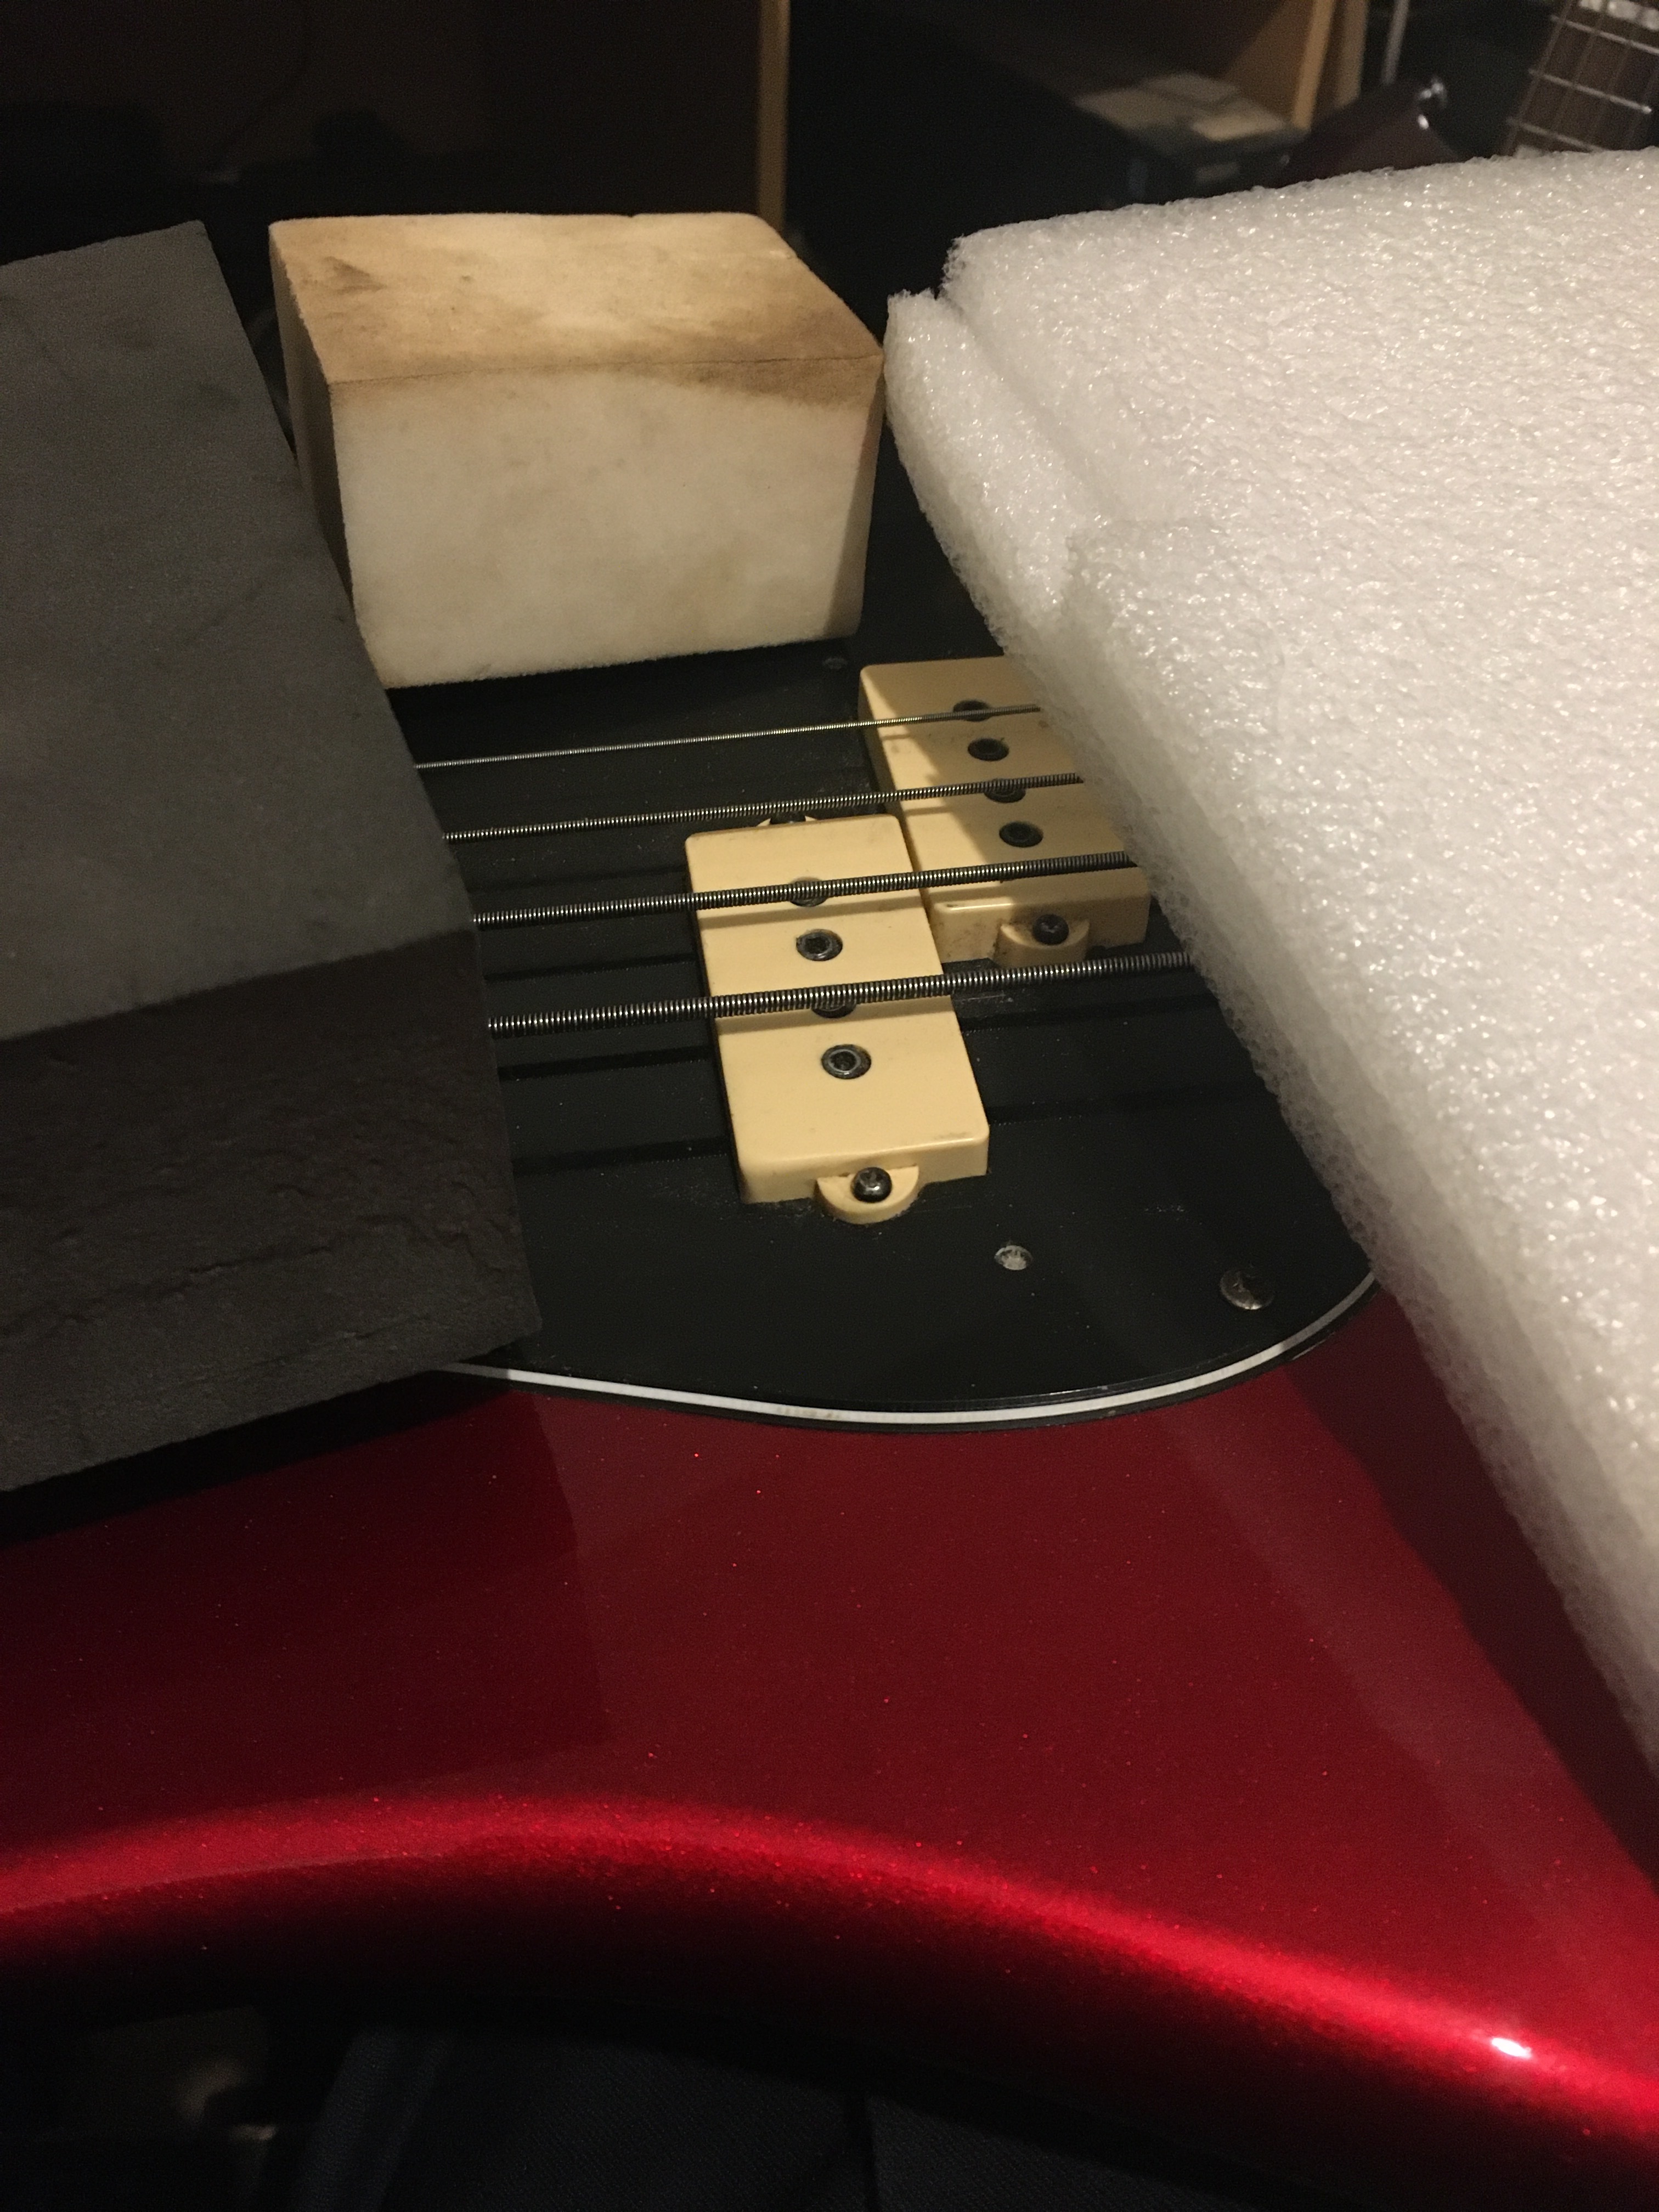
Hopefully there will be foam with the new pickup kit, otherwise you will need to get some - there is foam (like dense sponge) underneath the pickups that act like springs on guitar pickups.
Make sure to take some pics and post them up on the forum
Thanks Mark! There is some black, dense foam underneath. Soldering shouldn’t be a problem. I will post some pics of the process and finished product once I’m done.
Great. There will be a max of 3 solder joints to do - 1 to join the pickups together (at least when I installed my diMarzio DP122’s it involved that) and then the other 2 wires coming off the pickups to wherever the kit tells you to solder them onto the pots.
That would be great. We’d all love to see how it looks.
When are you actually doing it?
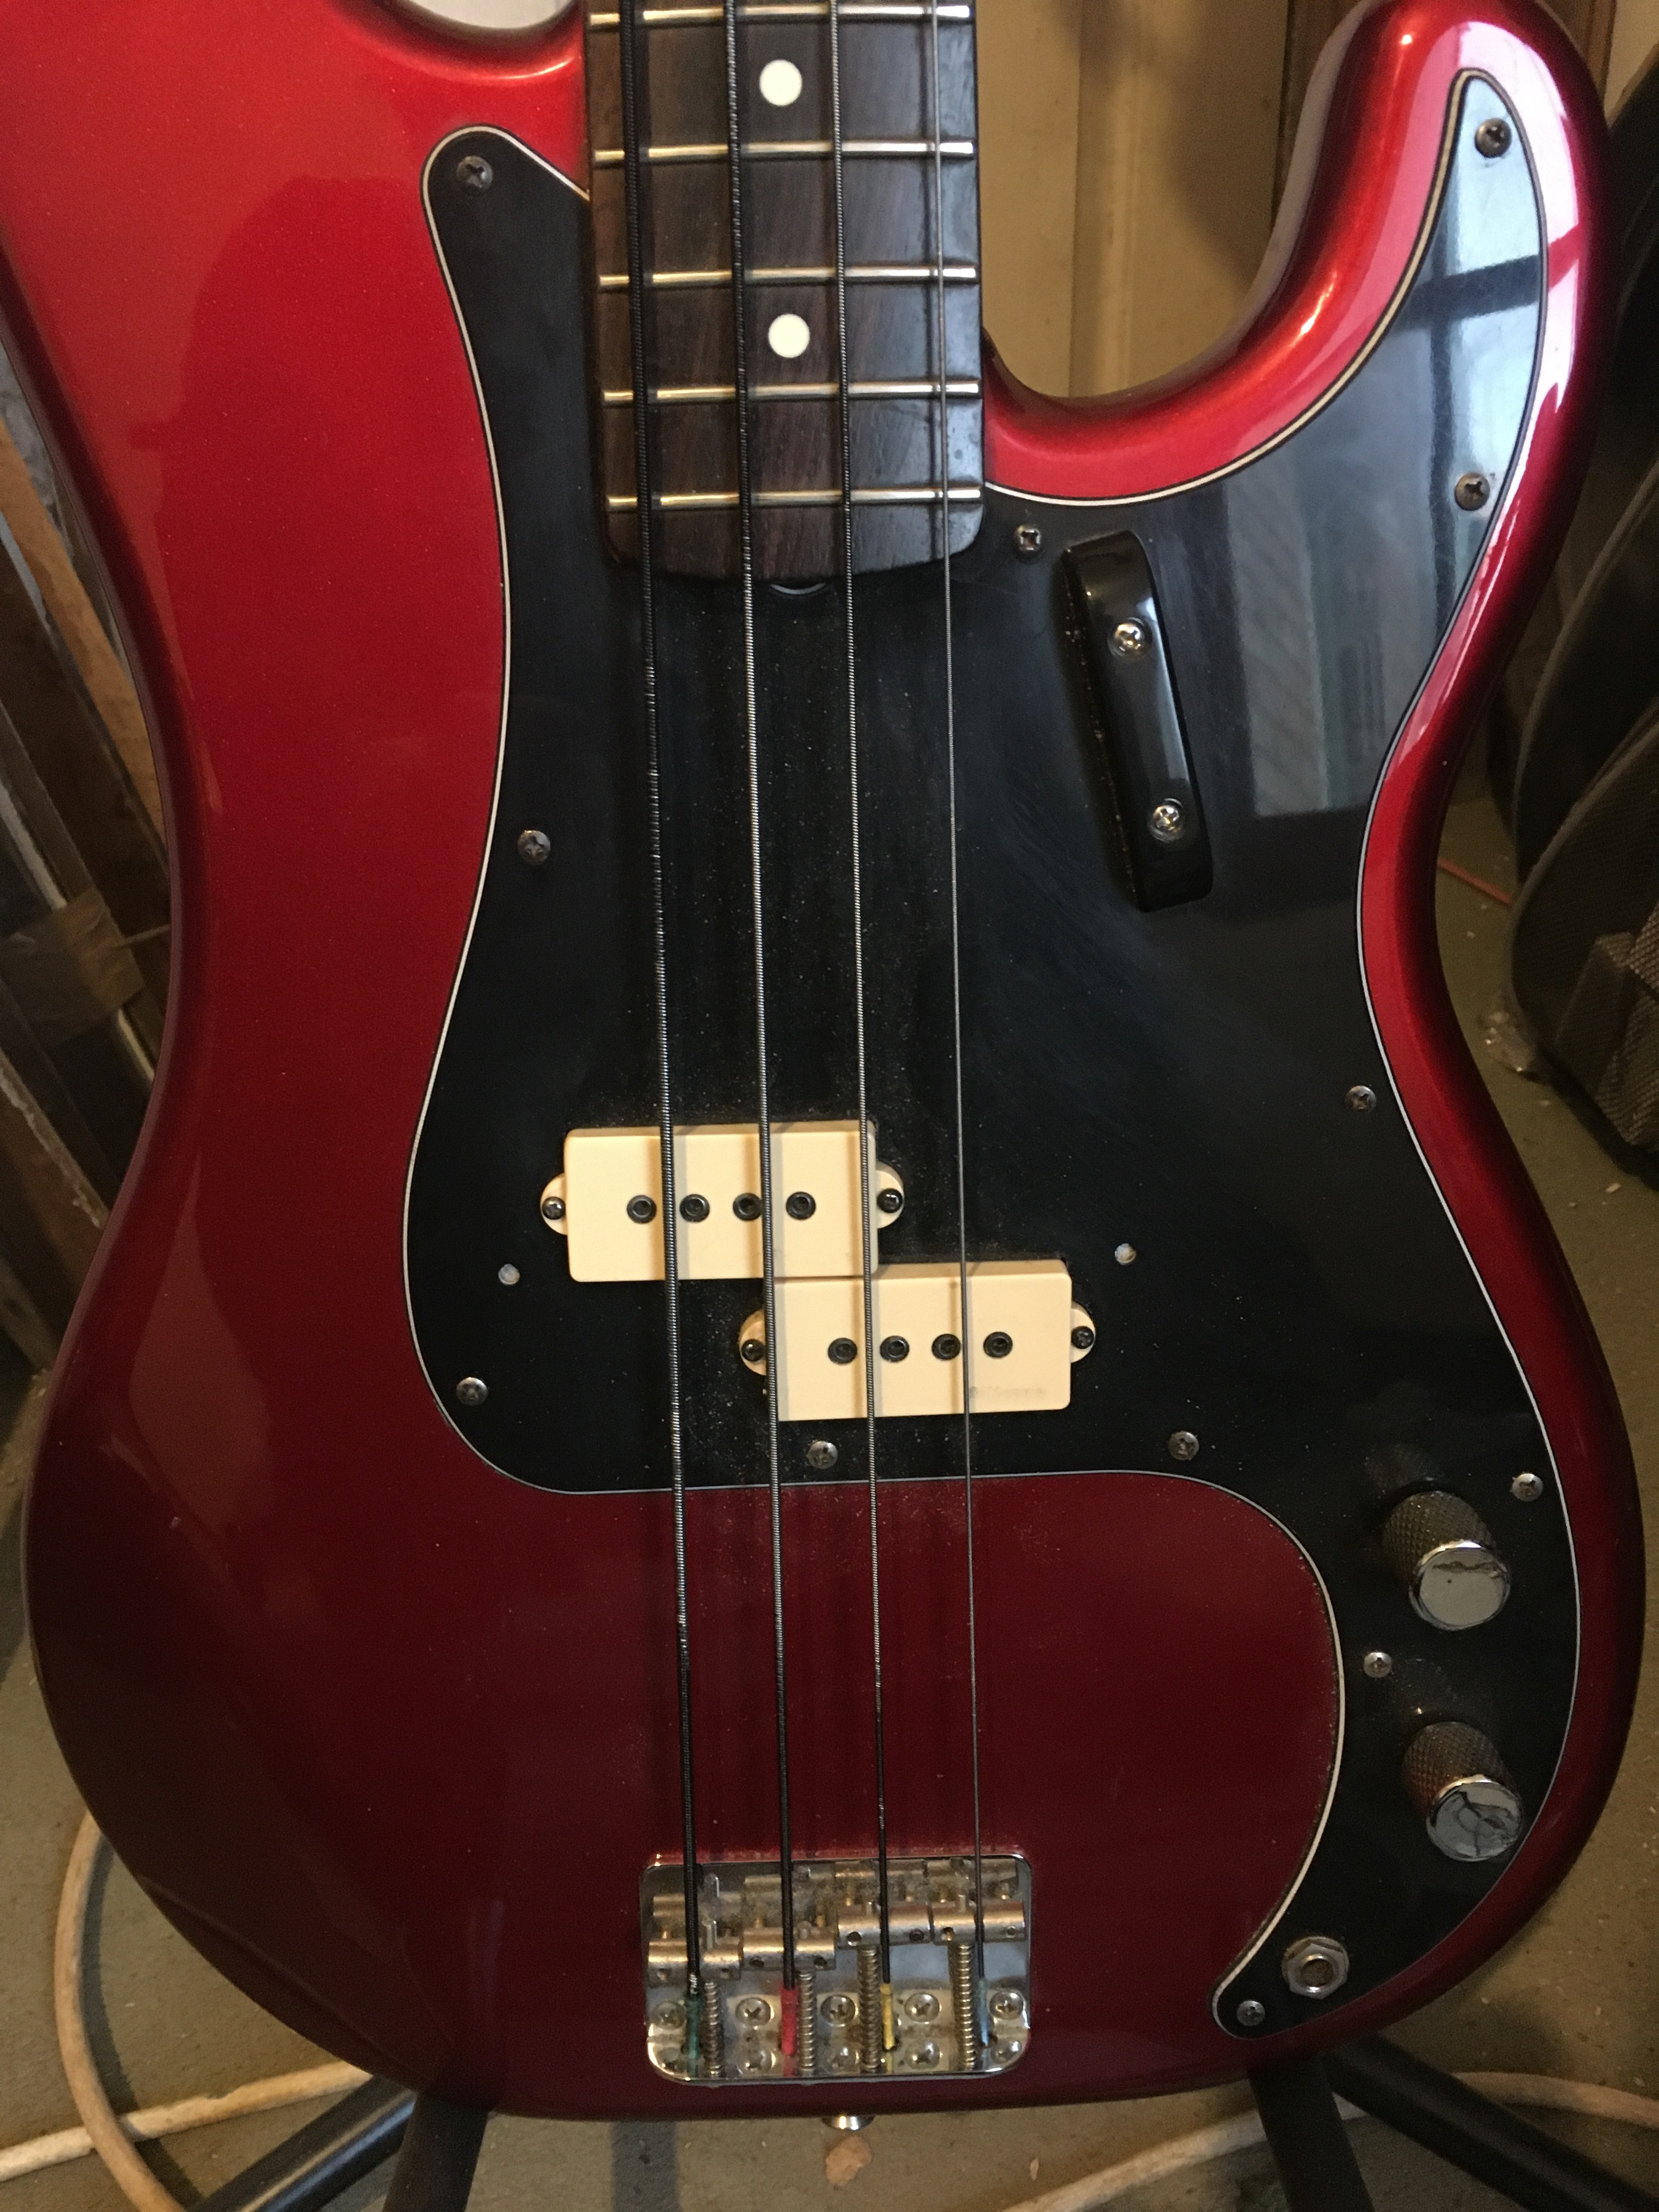
I may have done mine without taking the strings off. I can’t remember if I took them off at the tuners, or whether I just slackened them off. I certainly didn’t take them off completely.
It is perfectly possible to take the pickguard off without taking the strings off, with the pots and wiring still in situ. I do that on the rare occasions that I need to adjust the truss rod, as it’s at the body end of the bass (1984/5 MIJ Fender P) and I adjust it with a paint can opener. A wizard jape.
I’ll take it off later and post some pics if I get time.
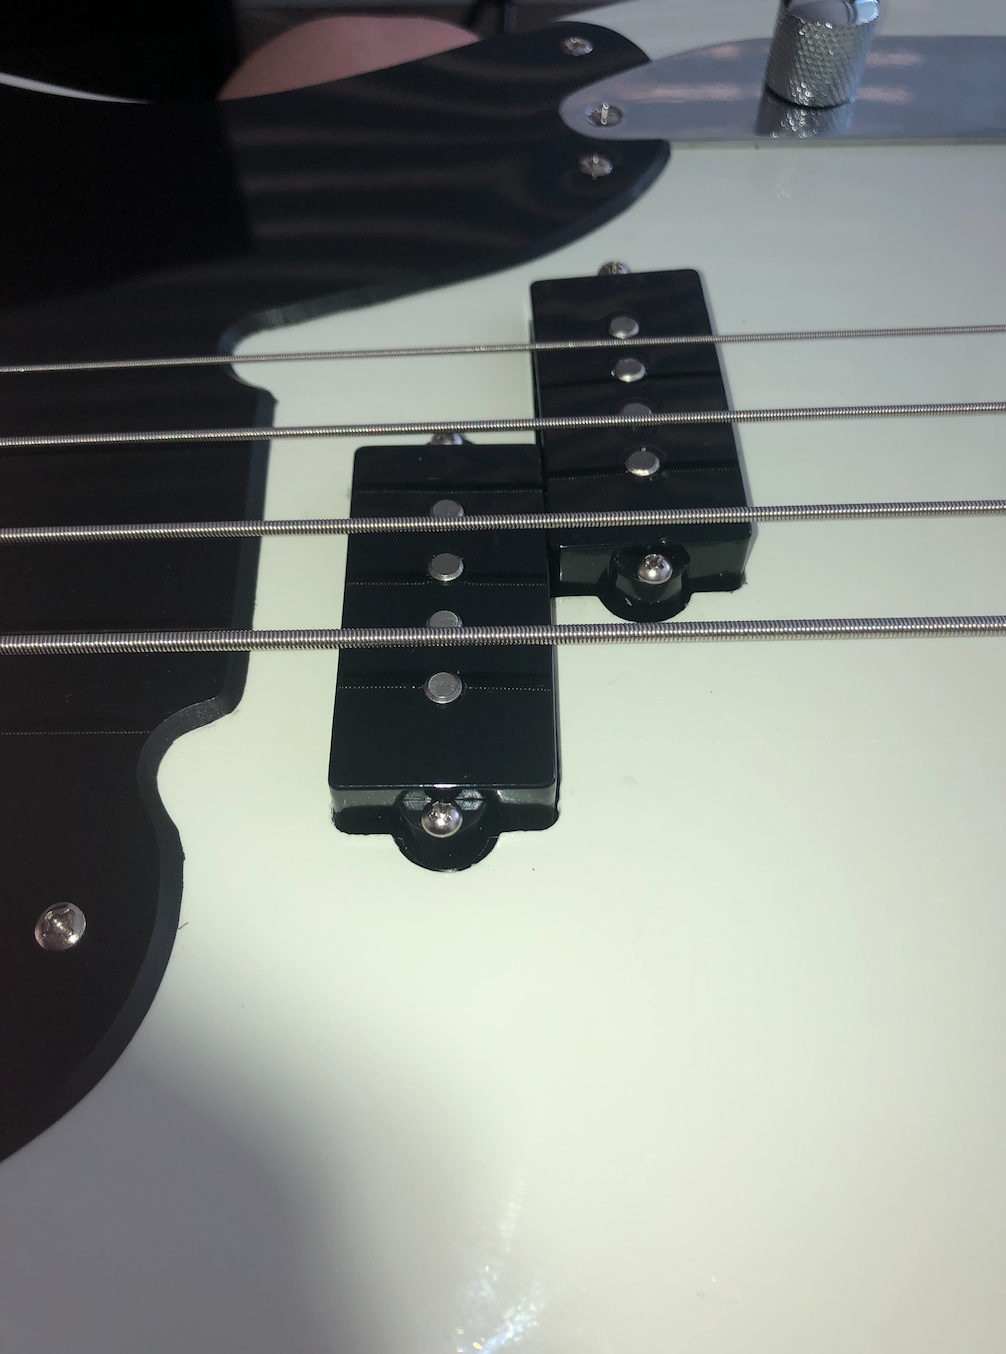
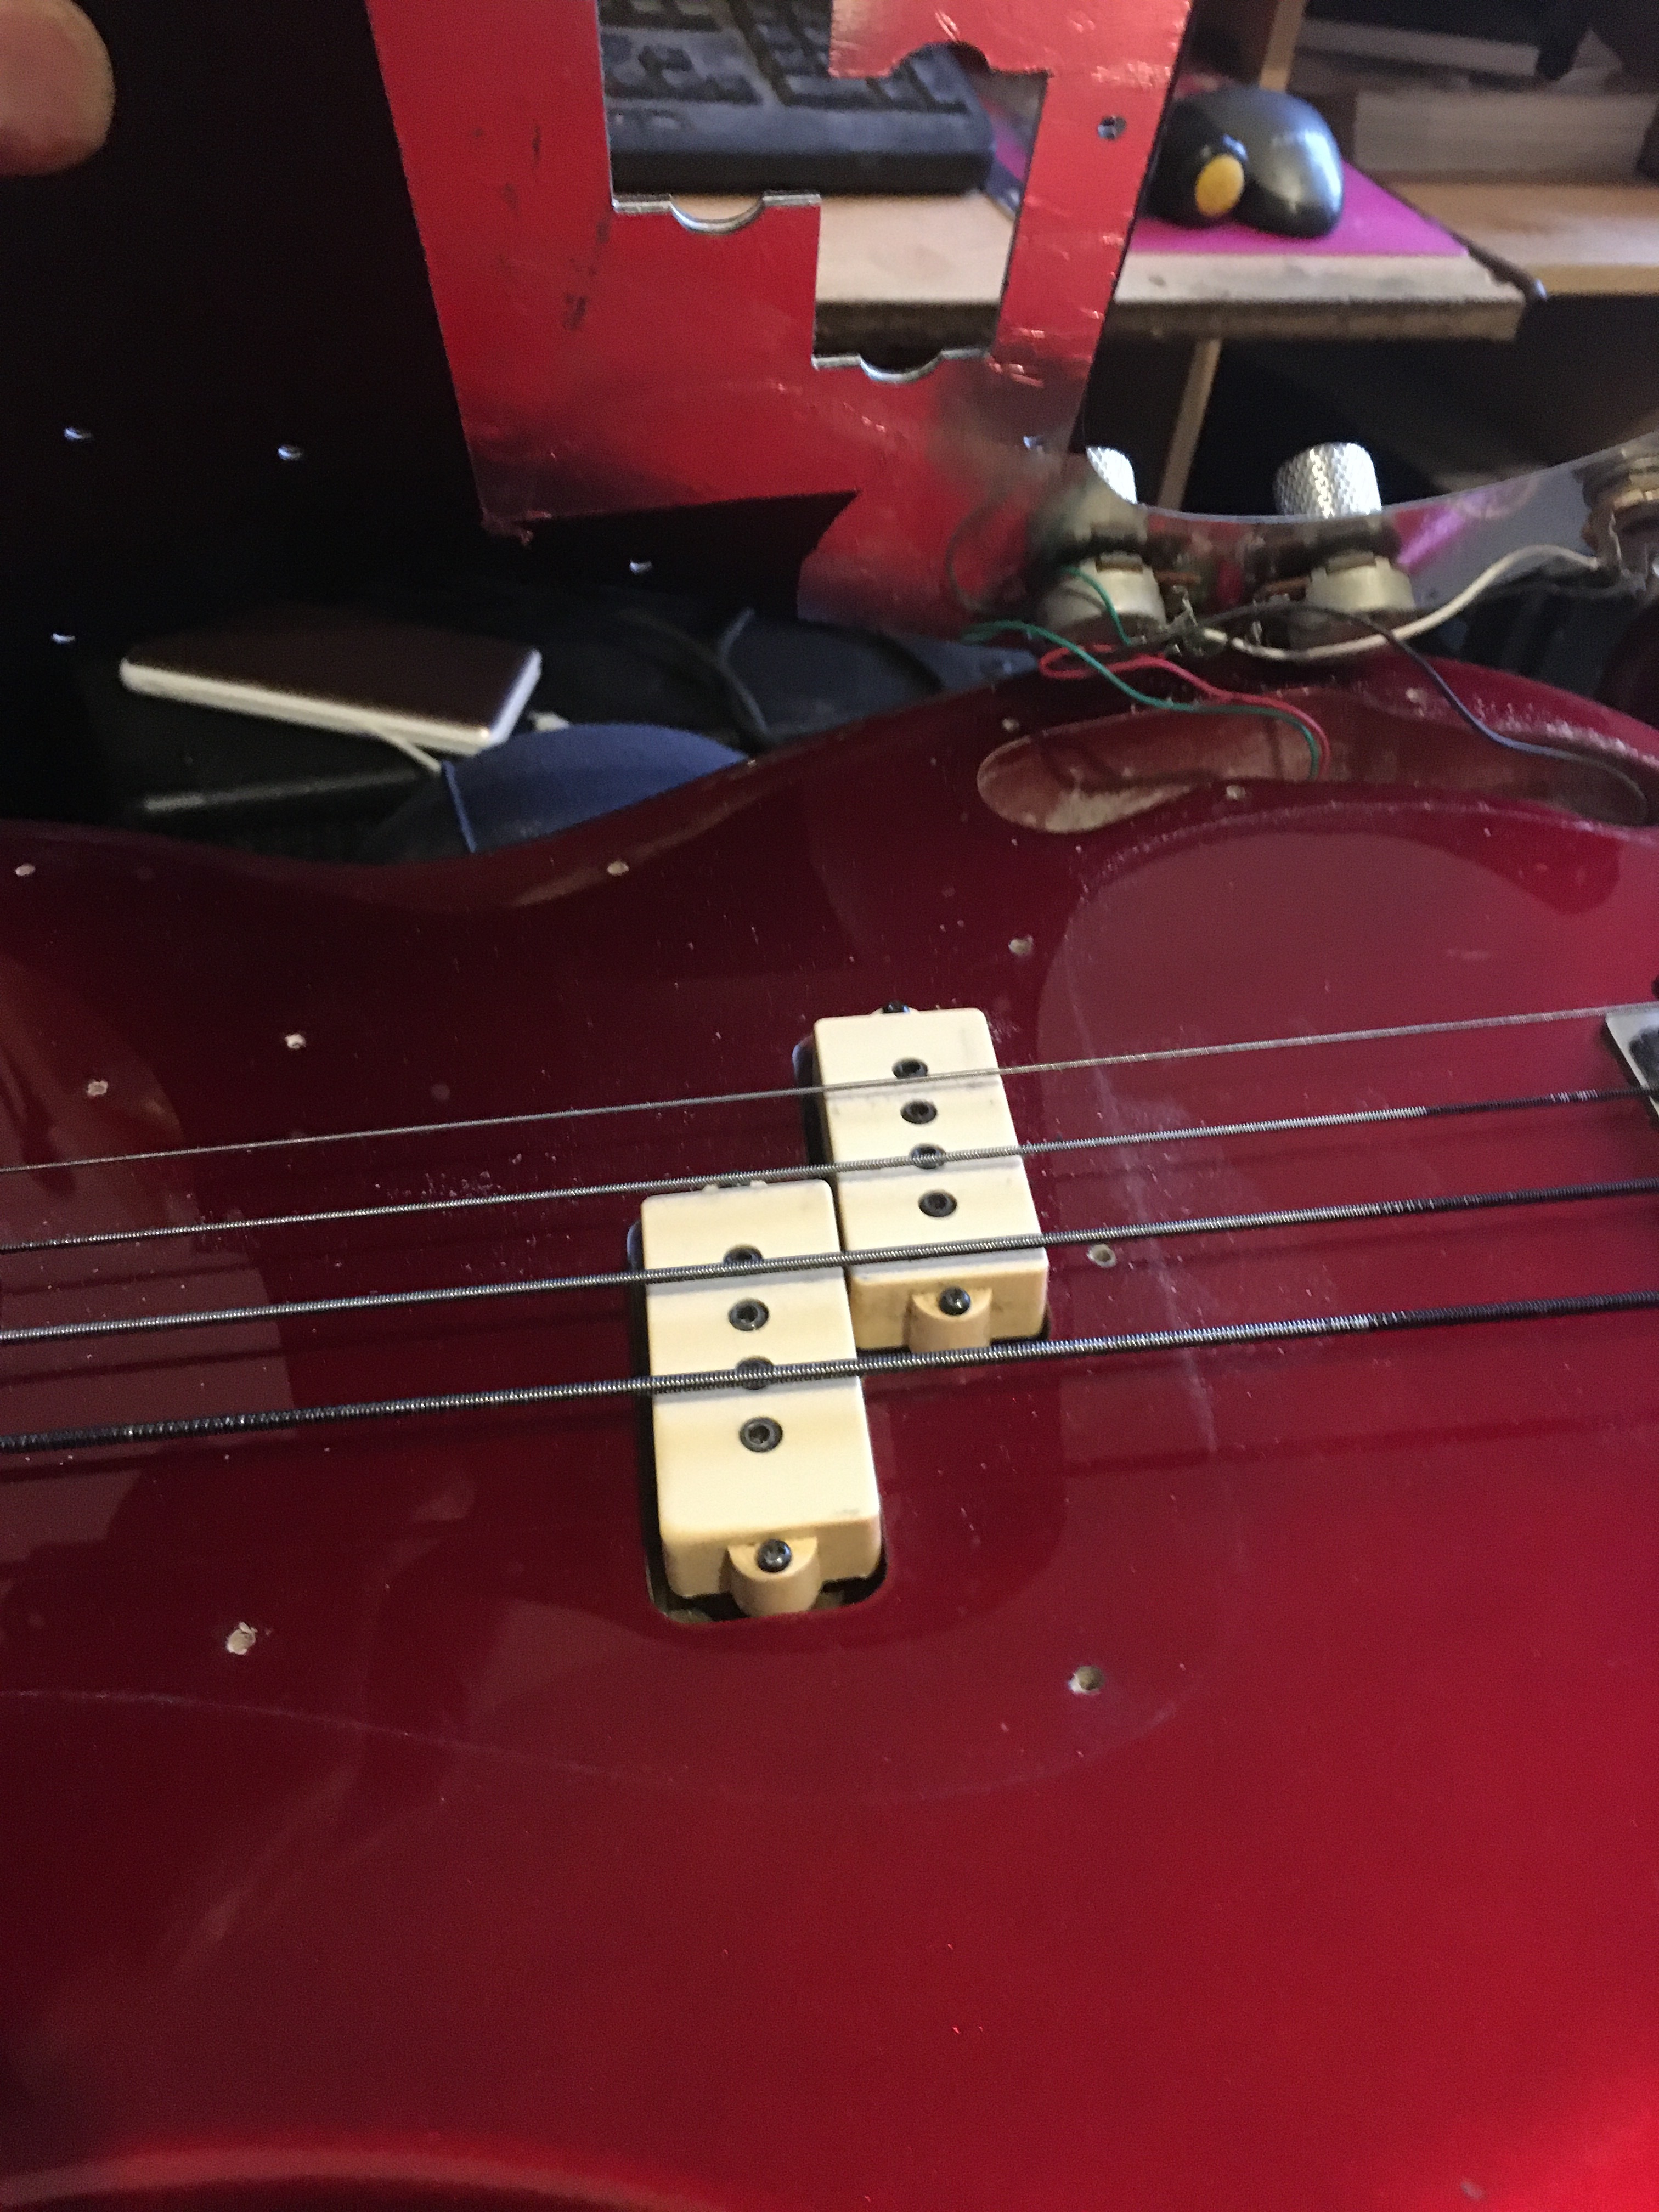
Done! It was a bit stressful when we realized that the metal plate, that the pickups were attached to didn’t fit into the hole. I assume maybe Fender P basses are slightly different to Squier ones in that way. Anyway, had to improvise and remove the metal plate, connect some wires and done. It turned out well in the end, the sound is on a different level for sure. So for anyone who wants their beginner bass to sound better without buying a whole new instrument: Slap some proper pickups on it! Thanks Mark for the tips
No it’s the same sort of setup.
The DiMarzio pups that I bought didn’t come with a plate of any sort, but there was a plate already in the cavity for the old pickups to sit on. I can’t remember whether I left it in there or took it out.
I think I’ll have a look, as I was mentally prepared for taking the scratchplate off anyway.
Give me half an hour.
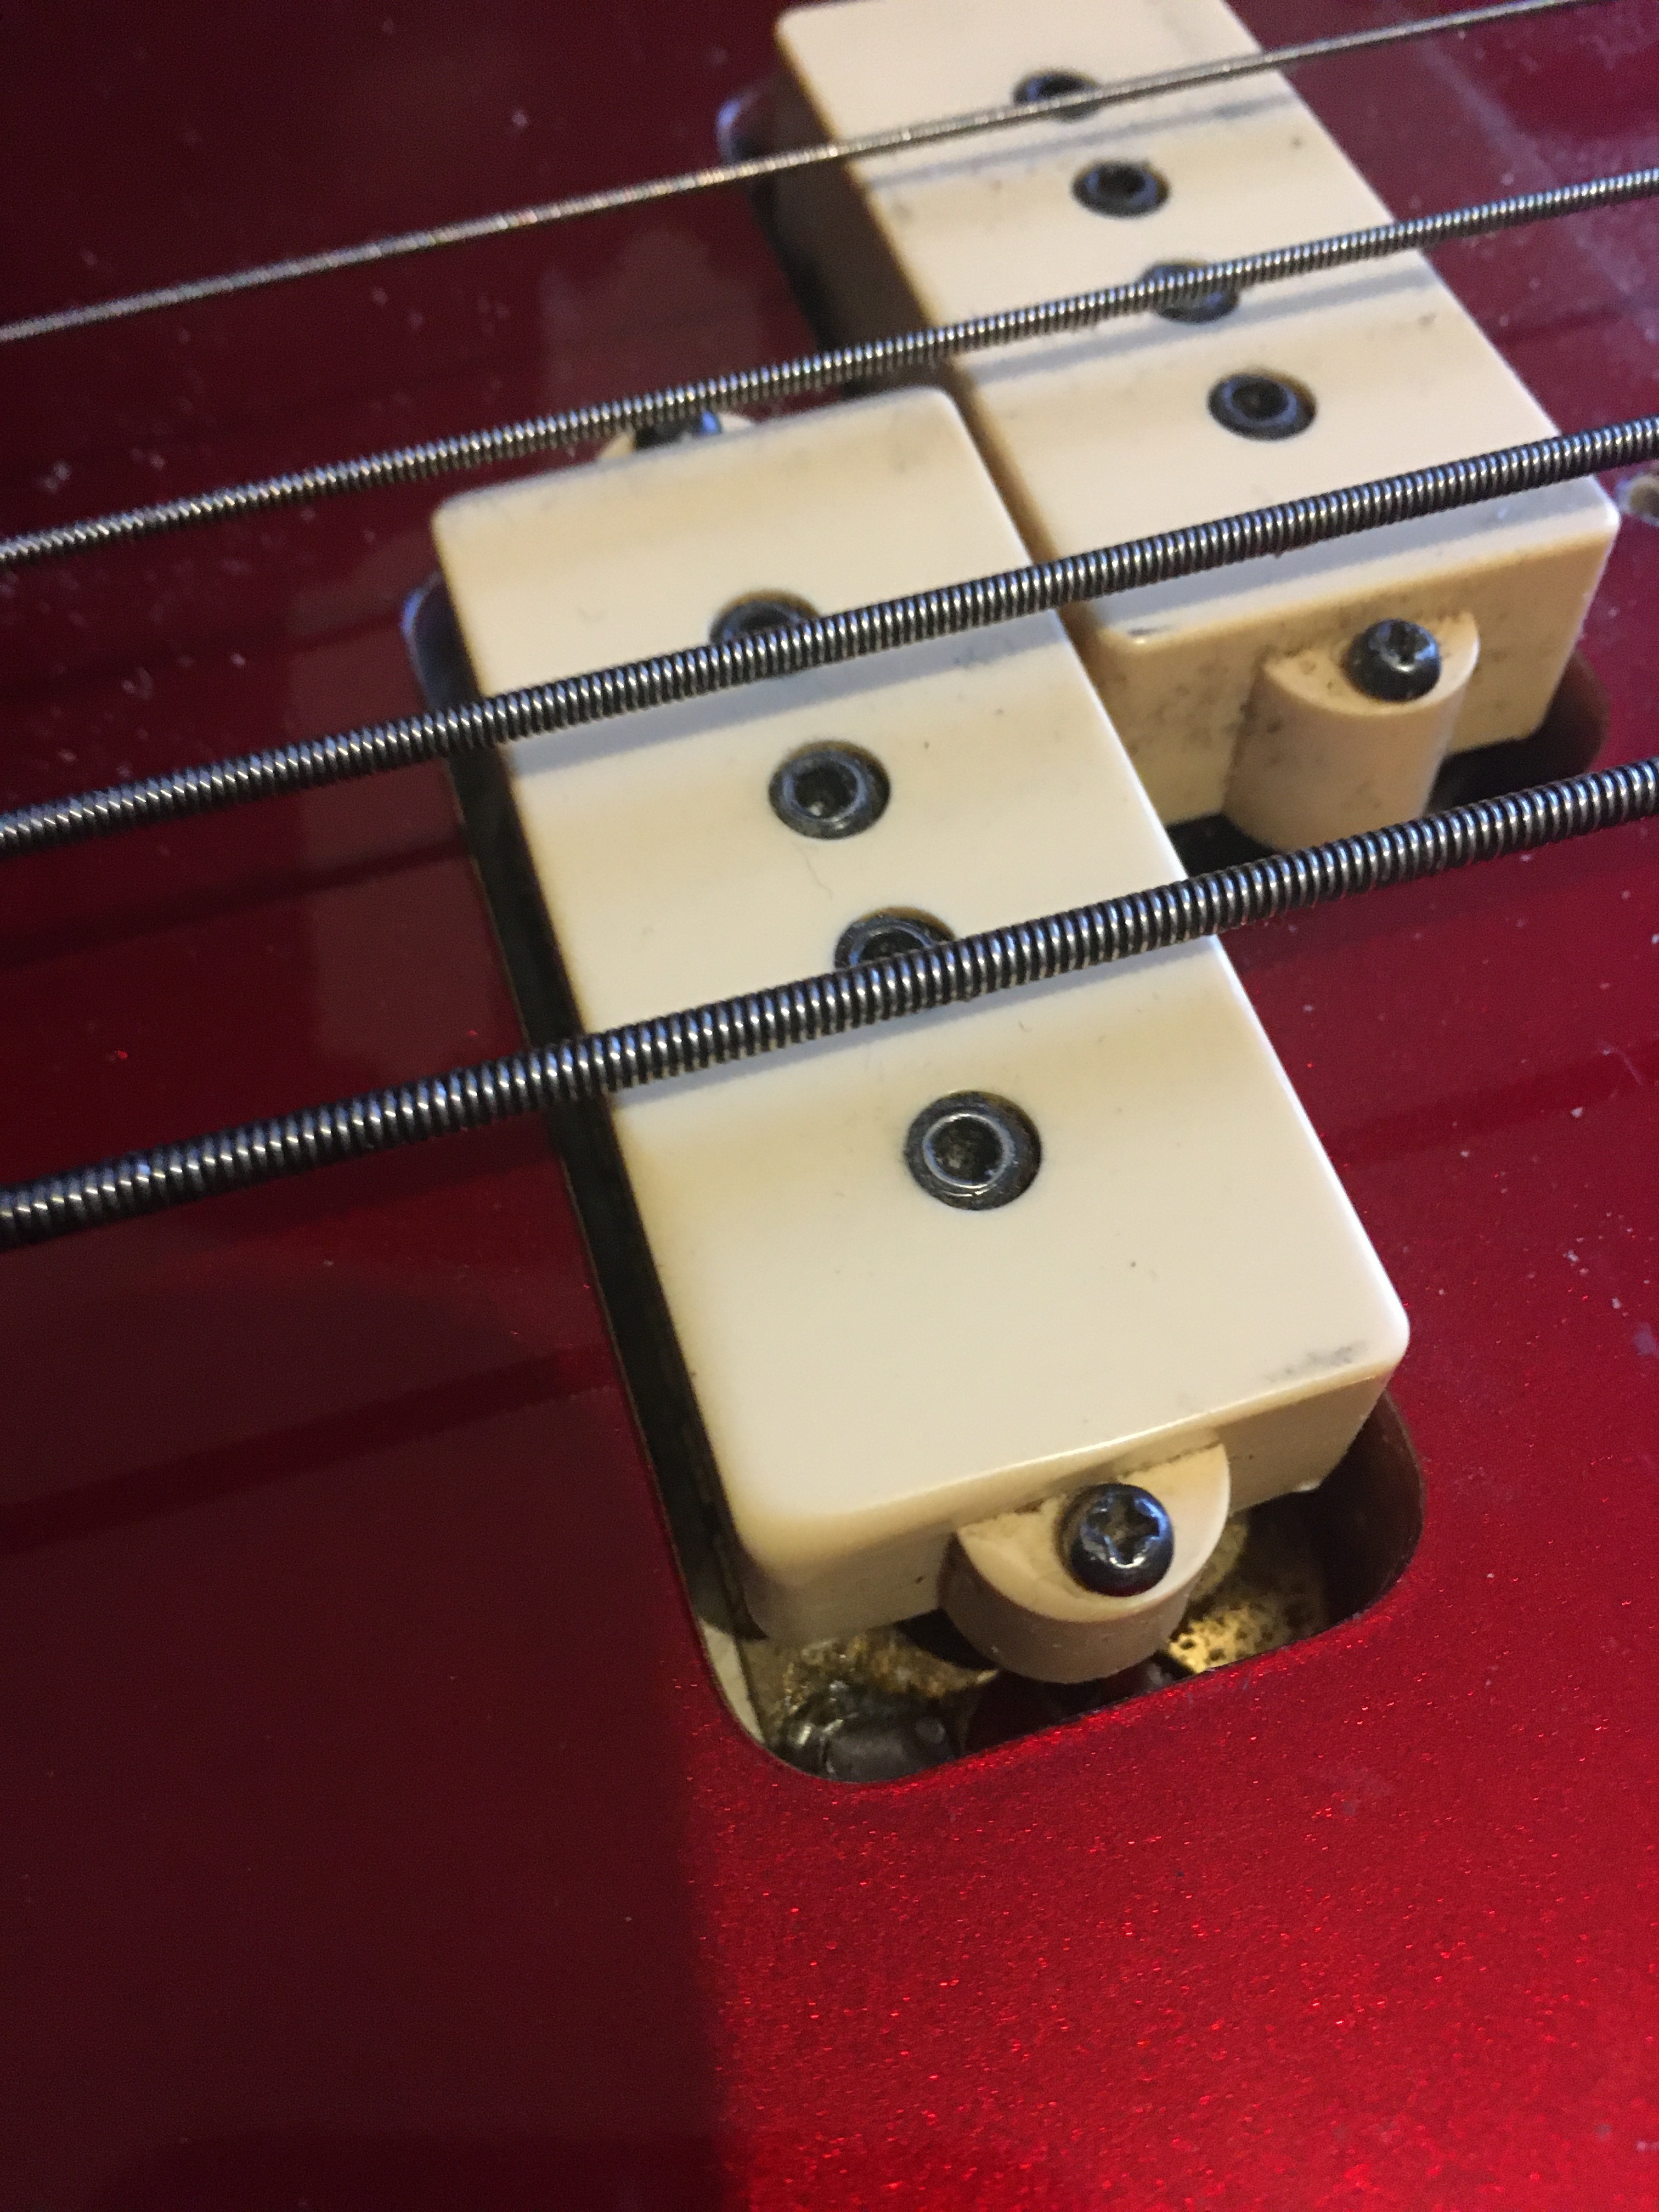
Yeah the cavity on yours looks about the same size as mine. I wish I took a photo of the plate on the pickup next to the cavity, it just wouldn’t fit. I also had to put extra foam in otherwise the pickups would have been to low. To me as beginner it just seemed like it was kinda incompatible but the main thing is it worked out in the end… I guess that’s part of the craft, that things don’t always go the way you expect.
Yes that’s why I mentioned the foam specifically. It’s just difficult to describe the required density and recoil properties required.
I have several basses, and have fitted or adjusted pickups on 4 of them over the last 9 months or so, so I’ve grabbed bits of foam here and there, when I’ve stumbled across some that has the required properties.
I just removed the pickups from the plate and soldered the two wires together for which the plate acted as a connector. There was no such plate in my in the original set up, therefore I figured it would work without as long as I connect the two wires. Which turned out to work
Yeah the original pickups in mine were soldered to the plate, but the instructions in the DiMarzio kit said to solder the wires together between the pickups.
So in effect you have done as per the DiMarzio instructions.
I don’t think so actually. Yours is a lot tighter (probably because there is no scratchplate where the pickups are)
If you look at your pickup screws, you can see that the cutout is tight against the pickup ends, with an extra semicircle cutout around the screws. On mine, it is just cut straight, to allow for the pickup AND the extra bit where the screws go. My scratchplate is cut like your body.
My guess is your kit (and more specifically plate) is intended for the later '57/62 style P like mine, with the larger cutout.
At a second look, I think you’re right. I guess they tried to keep the cavities as small as possible because the scratch plate doesn’t cover them. My father was about to increase the size of the cavity with a grinding machine. Who knows how that could’ve turned out. Thank god I thought of just altering the pick ups a bit