Great video.
There are more ways to set up than there are people that have basses, lol.
I think yours is very straightforward.
Here are a couple of thoughts…
Step 1 (or is it zero) should always be tighten the neck bolts, this step is missed by almost everyone. You would be suprised how loose these can get over time. - courtesy of Roger Sadowski
Before each step, tune or retune (in the tuning you normally use):
I know you said it, but can’t be said enough, lol
tune
move truss rod
retune
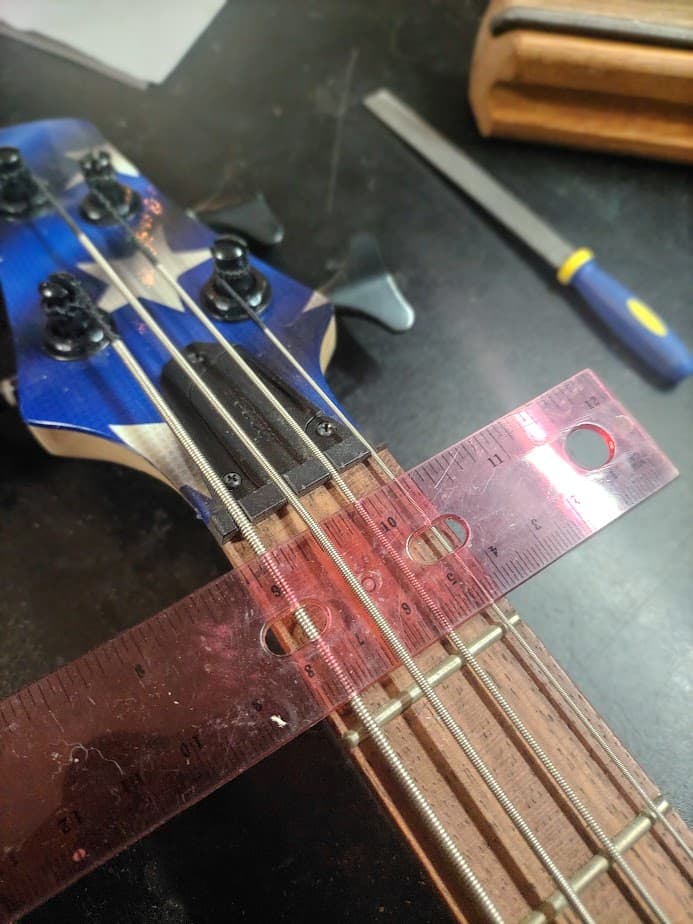
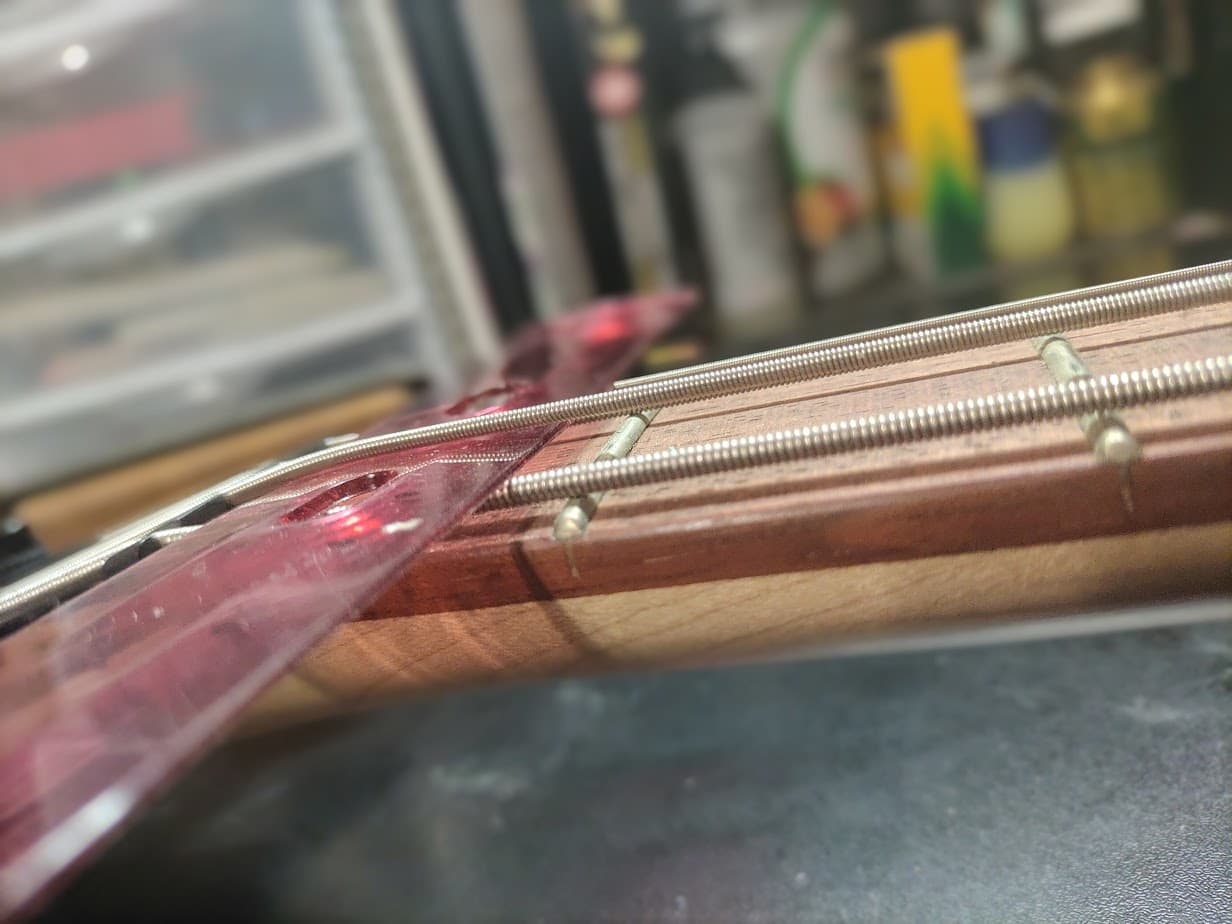
set action
retune
set intonation
check tuning
set pickup height
basically retune every time you move anything.
truss rod - i use ‘straight tight’ to remember which way does what (maybe I am just forgetful). You might want to say here that if your bass is brand new from a big box or online store, you may need several adjustments over days before it settles in.
truss rod - it might be worth mentioning to make sure you use the right allen wrench, and be careful metric vs. imperial, they are close but you can strip the nut if you try to use the wrong one, make sure no wiggle at all.
Intonation and height when raising considerably - should really be detuned a bit ( i know you mention it as a maybe, but it really is a ‘should’) to avoid damage to the bridge (creating etched bolt tracks in in the bridge from intonation) or pits (from height), I have seen both on basses I have bought. With intonation, you can also start to bend/buckle the saddle sometimes, cause damage, and not keep it straight up/down. I got this on a used bass and had to replace the bridge. Some bases are built better than others.
Intonation - make sure to ‘tap’ the end of the screwdriver (while in the screw head) with the palm of your hand after an adjustment to make sure the head of the screw did not lift away from the bridge (happens all the time) - courtesy or Bill Caruthers.
Pickup height - the Money by Pink Floyd riff is a good test tune for heights
Pickup height - a couple watchouts here
- if you need to raise them and they stop going up, the foam underneath may be too squished and may need to be replaced.
- watch out for binding of pickup/cover and screw when screws are slightly askew (say that 10 times fast). A lot of basses, esp cheap ones, have screws that are angled. Wiggling the pickup with your fingers can help
- make sure each screw is actually touching the pickup/cover at all times and when done
- one side effect the other, so make sure to go back and forth when setting until both sides are correct
Last Step - check everything again and record where you are so if you like it you know how to get back there
one consideration - some people like to do this ‘by feel’, others need more than that to feel confident or just cause that’s how they are (like me, I like numbers) giving numbers for everything as a ‘starting guide’ in the comments or something and telling these folks to ‘start here, and then learn what feels good for you’ is important.
Lastly, everyone knows you wear a black hoodie in setup videos. 
")