Dropped the body off at my buddy’s house last night. He decided he wanted to take his time routing out the cavities vs. knocking it out while I was there. We did get the control plate drilled out so preamp can get mounted.
THE PREAMP:
The preamp knobs are 6mm, and I need 5 knobs instead of the just 3, so ordered five new via the StewMac sale. Plus the ones that came on the bass were push on for split shaft knobs vs. the now solid knobs.
Not much of a fun update, but small progress. Will clean up and oil the fretboard while I wait. It surprised me how dry the fretboard is and how dirty the frets are for a new bass. I suspect the ‘blemished’ part was that this was a demo bass in a store.
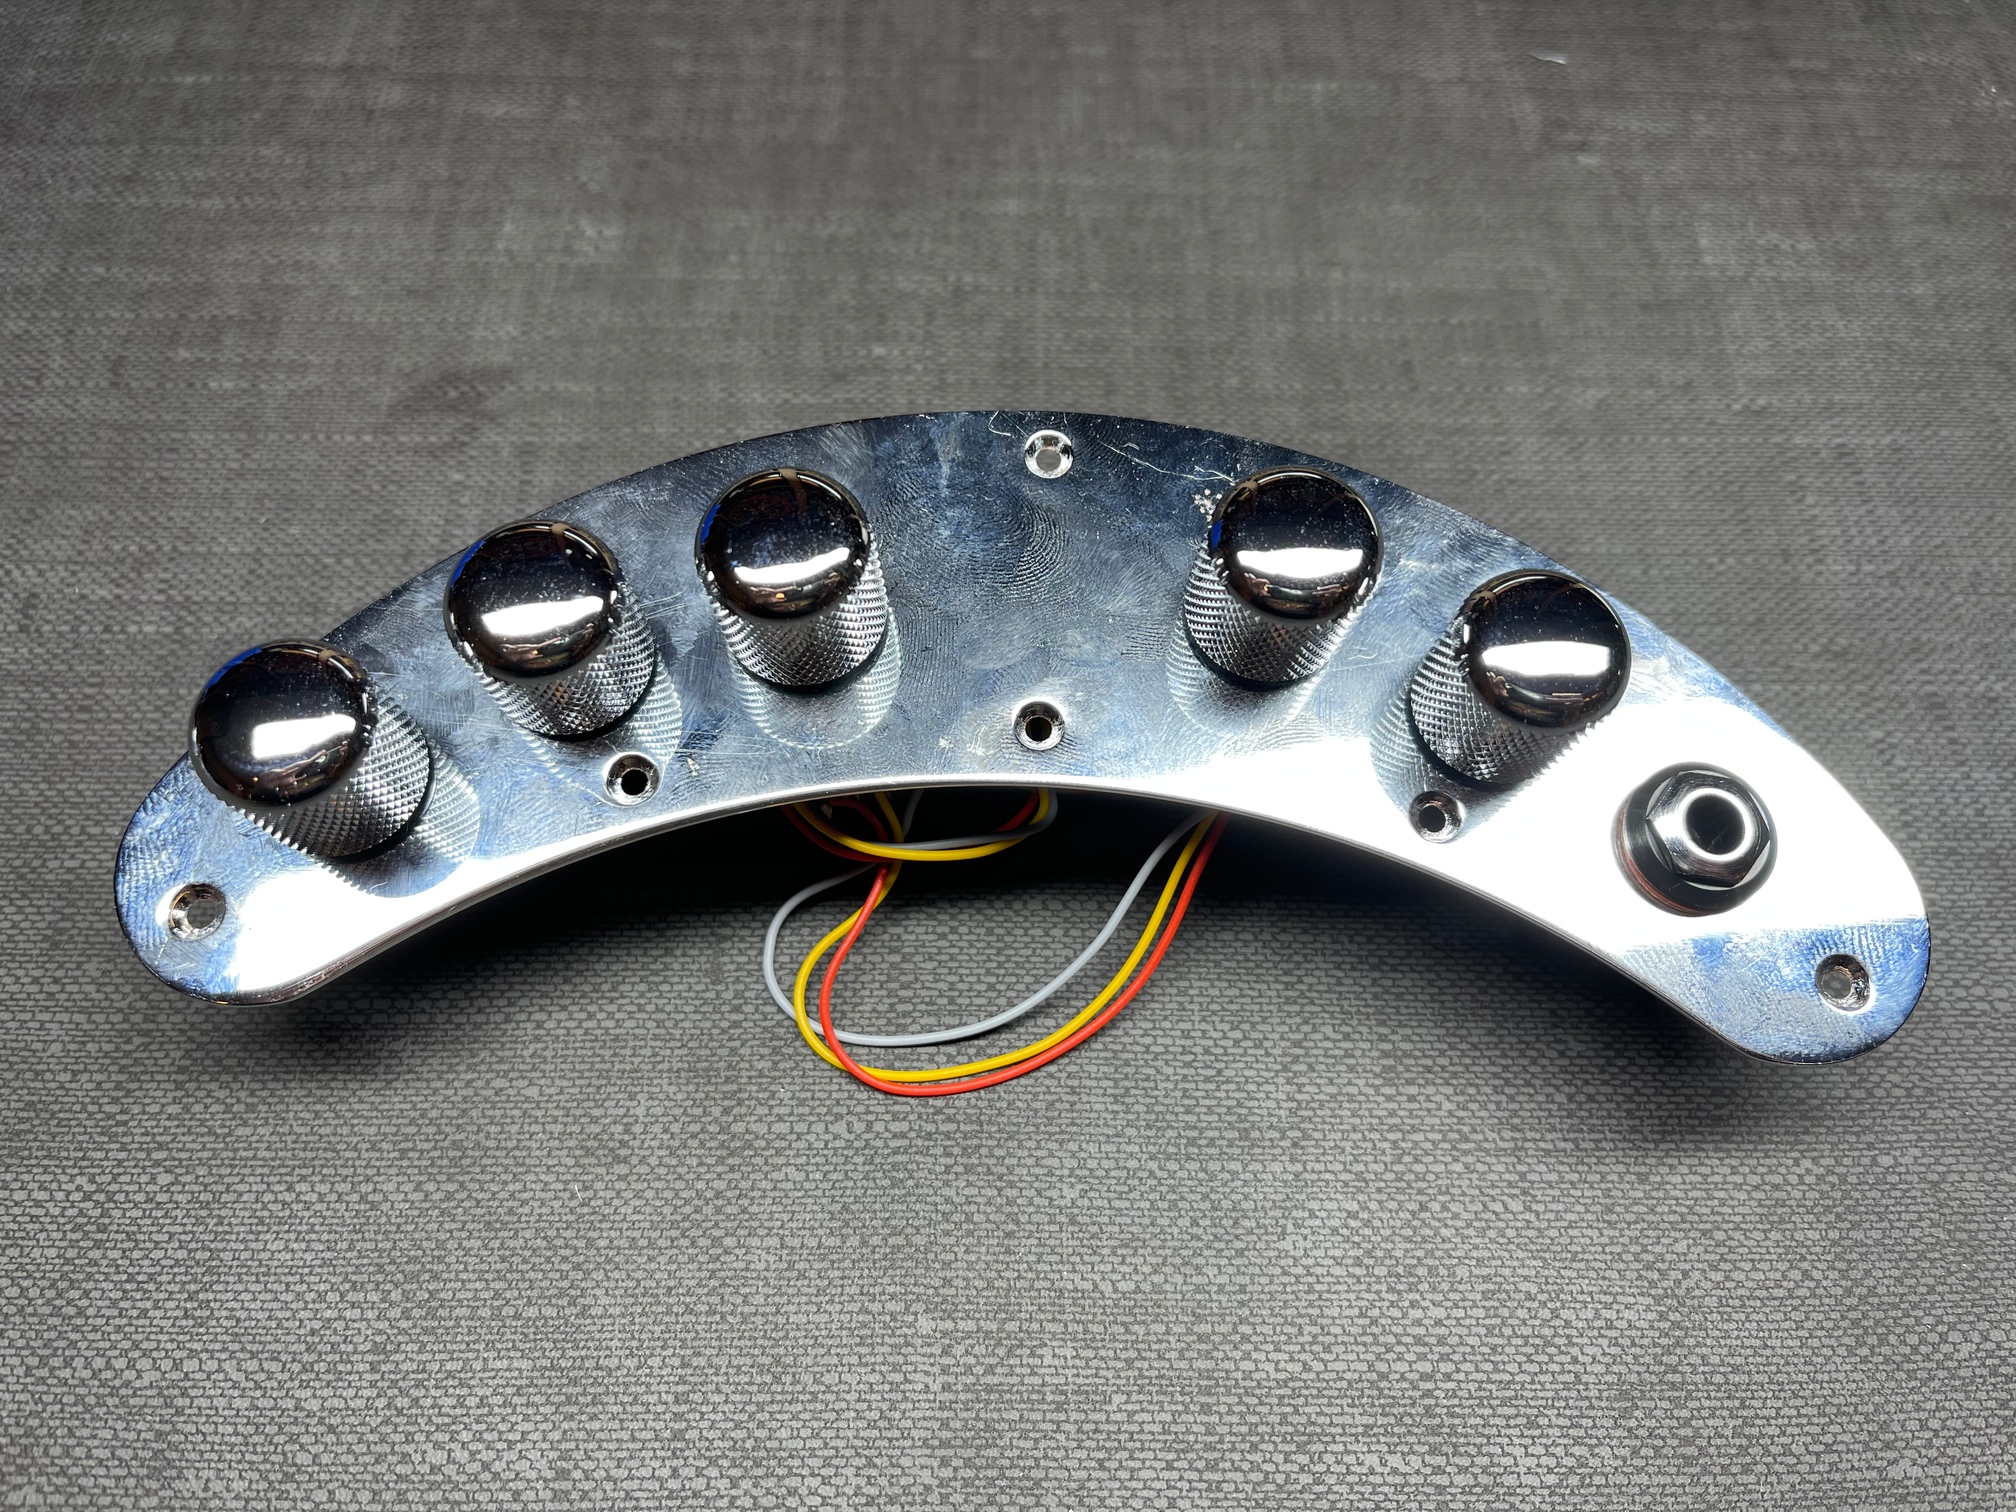
Control plate extra two holes drilled.
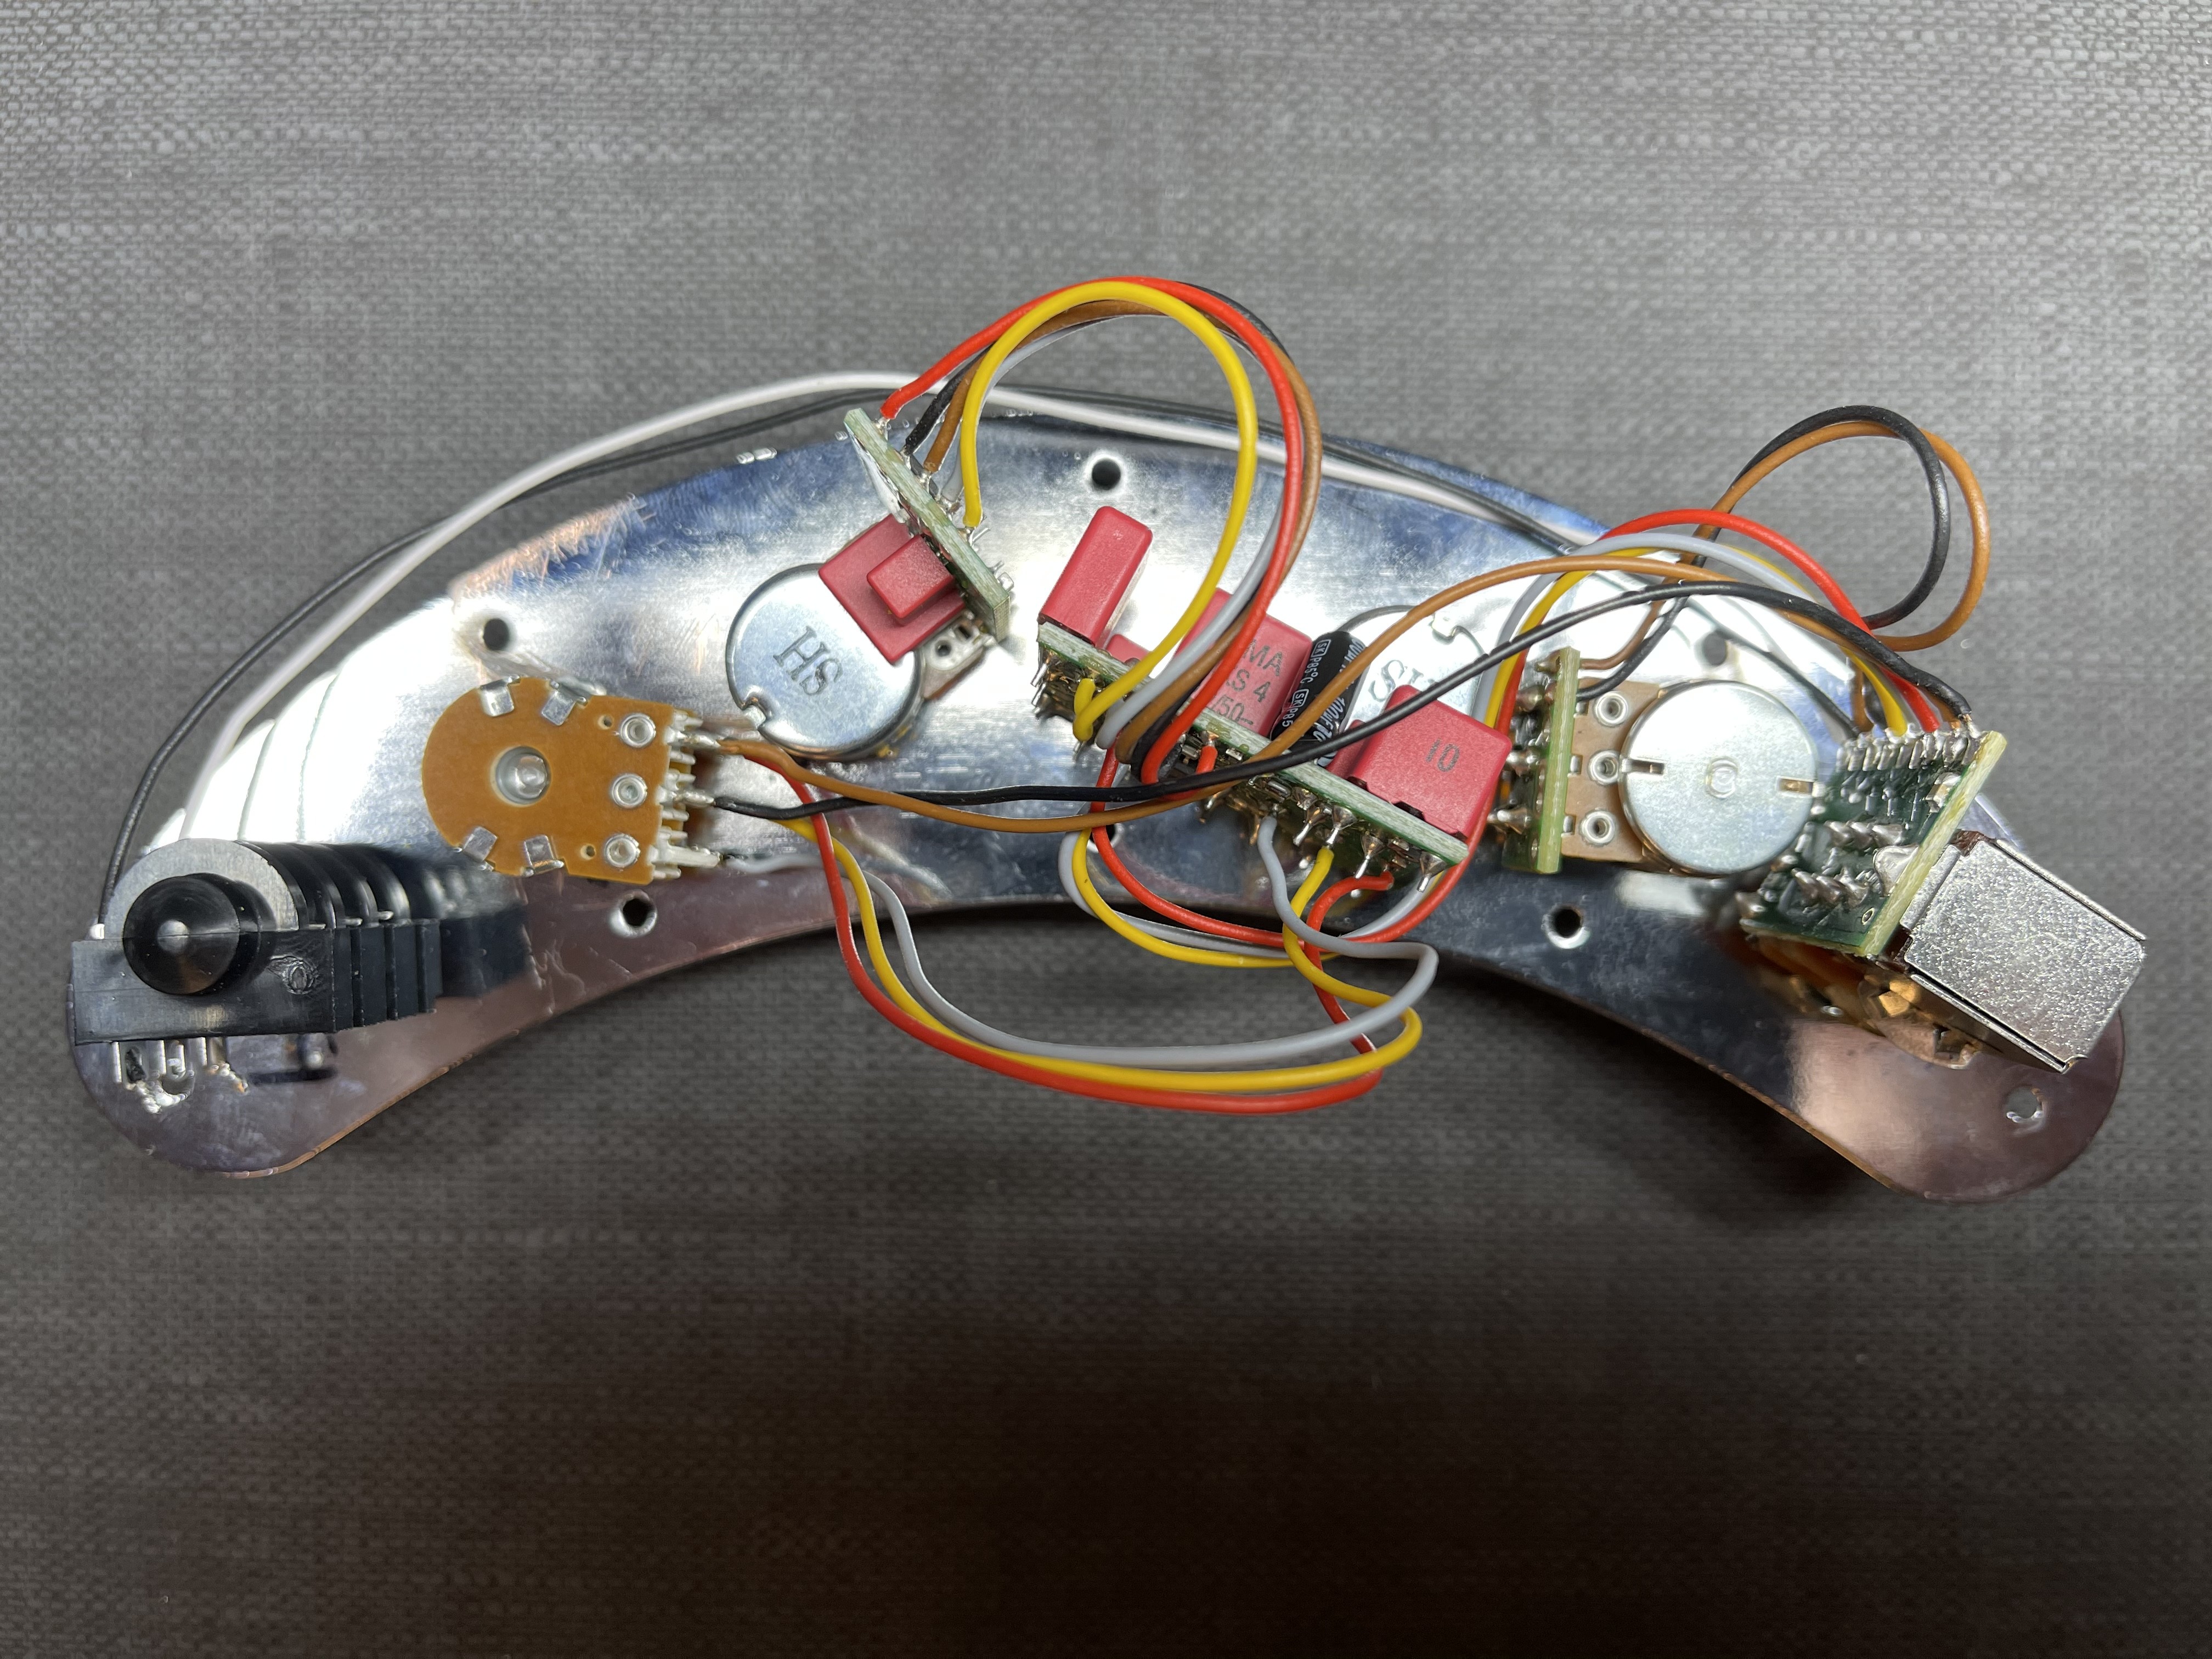
Preamp installed.
New knob (were only 3 prior) put on.
The only wonky thing is that the bass circuit board is huge and instead of drilling an extra hole and then plugging an existing one I just used the one it fit in, which means it sits with volume and balance. The mid and treble pots are off on their own by the Jack.
This config worked well for wiring as the pickup wires come over near where the balance pot is and where they need to be terminated.
The preamp is mostly pressured except for battery, jack and pickup connectors so will be an easy soldering job. The ground connection is wired internally through the electronics and they give you a free terminal to wire other grounds to which is nice. No gobs of wires on back of pots.
THE PICKGUARD (temporary):
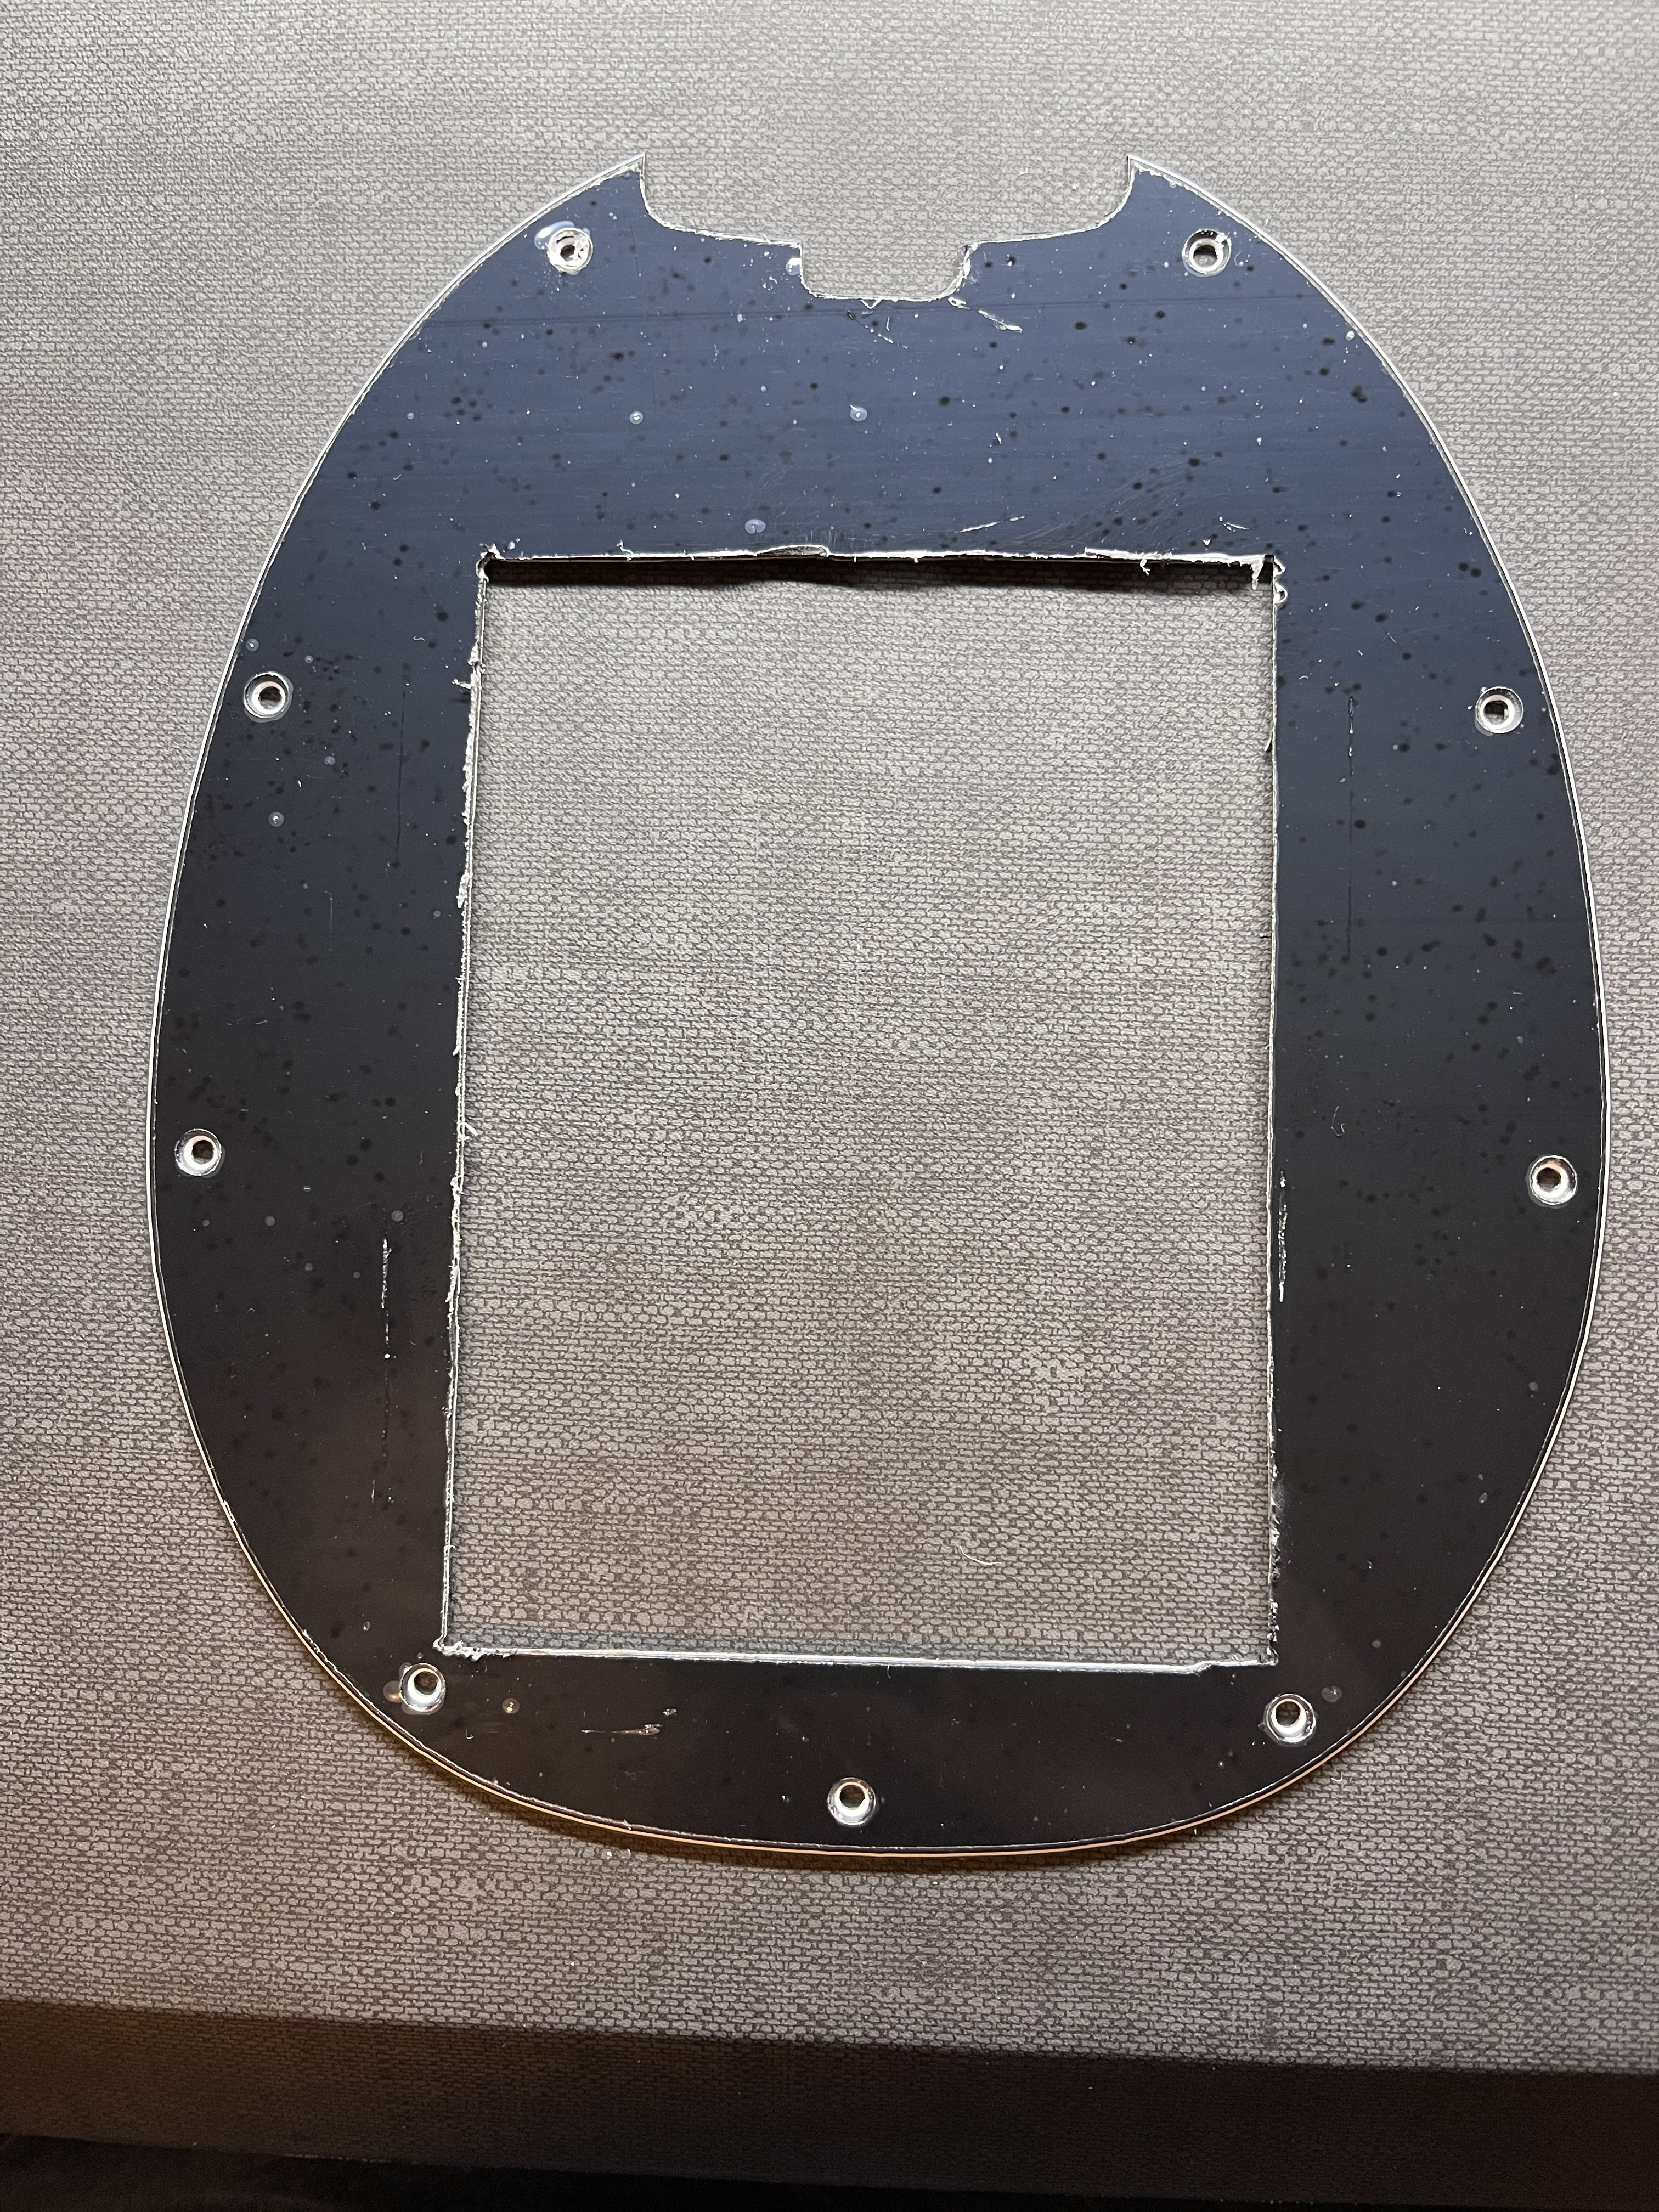
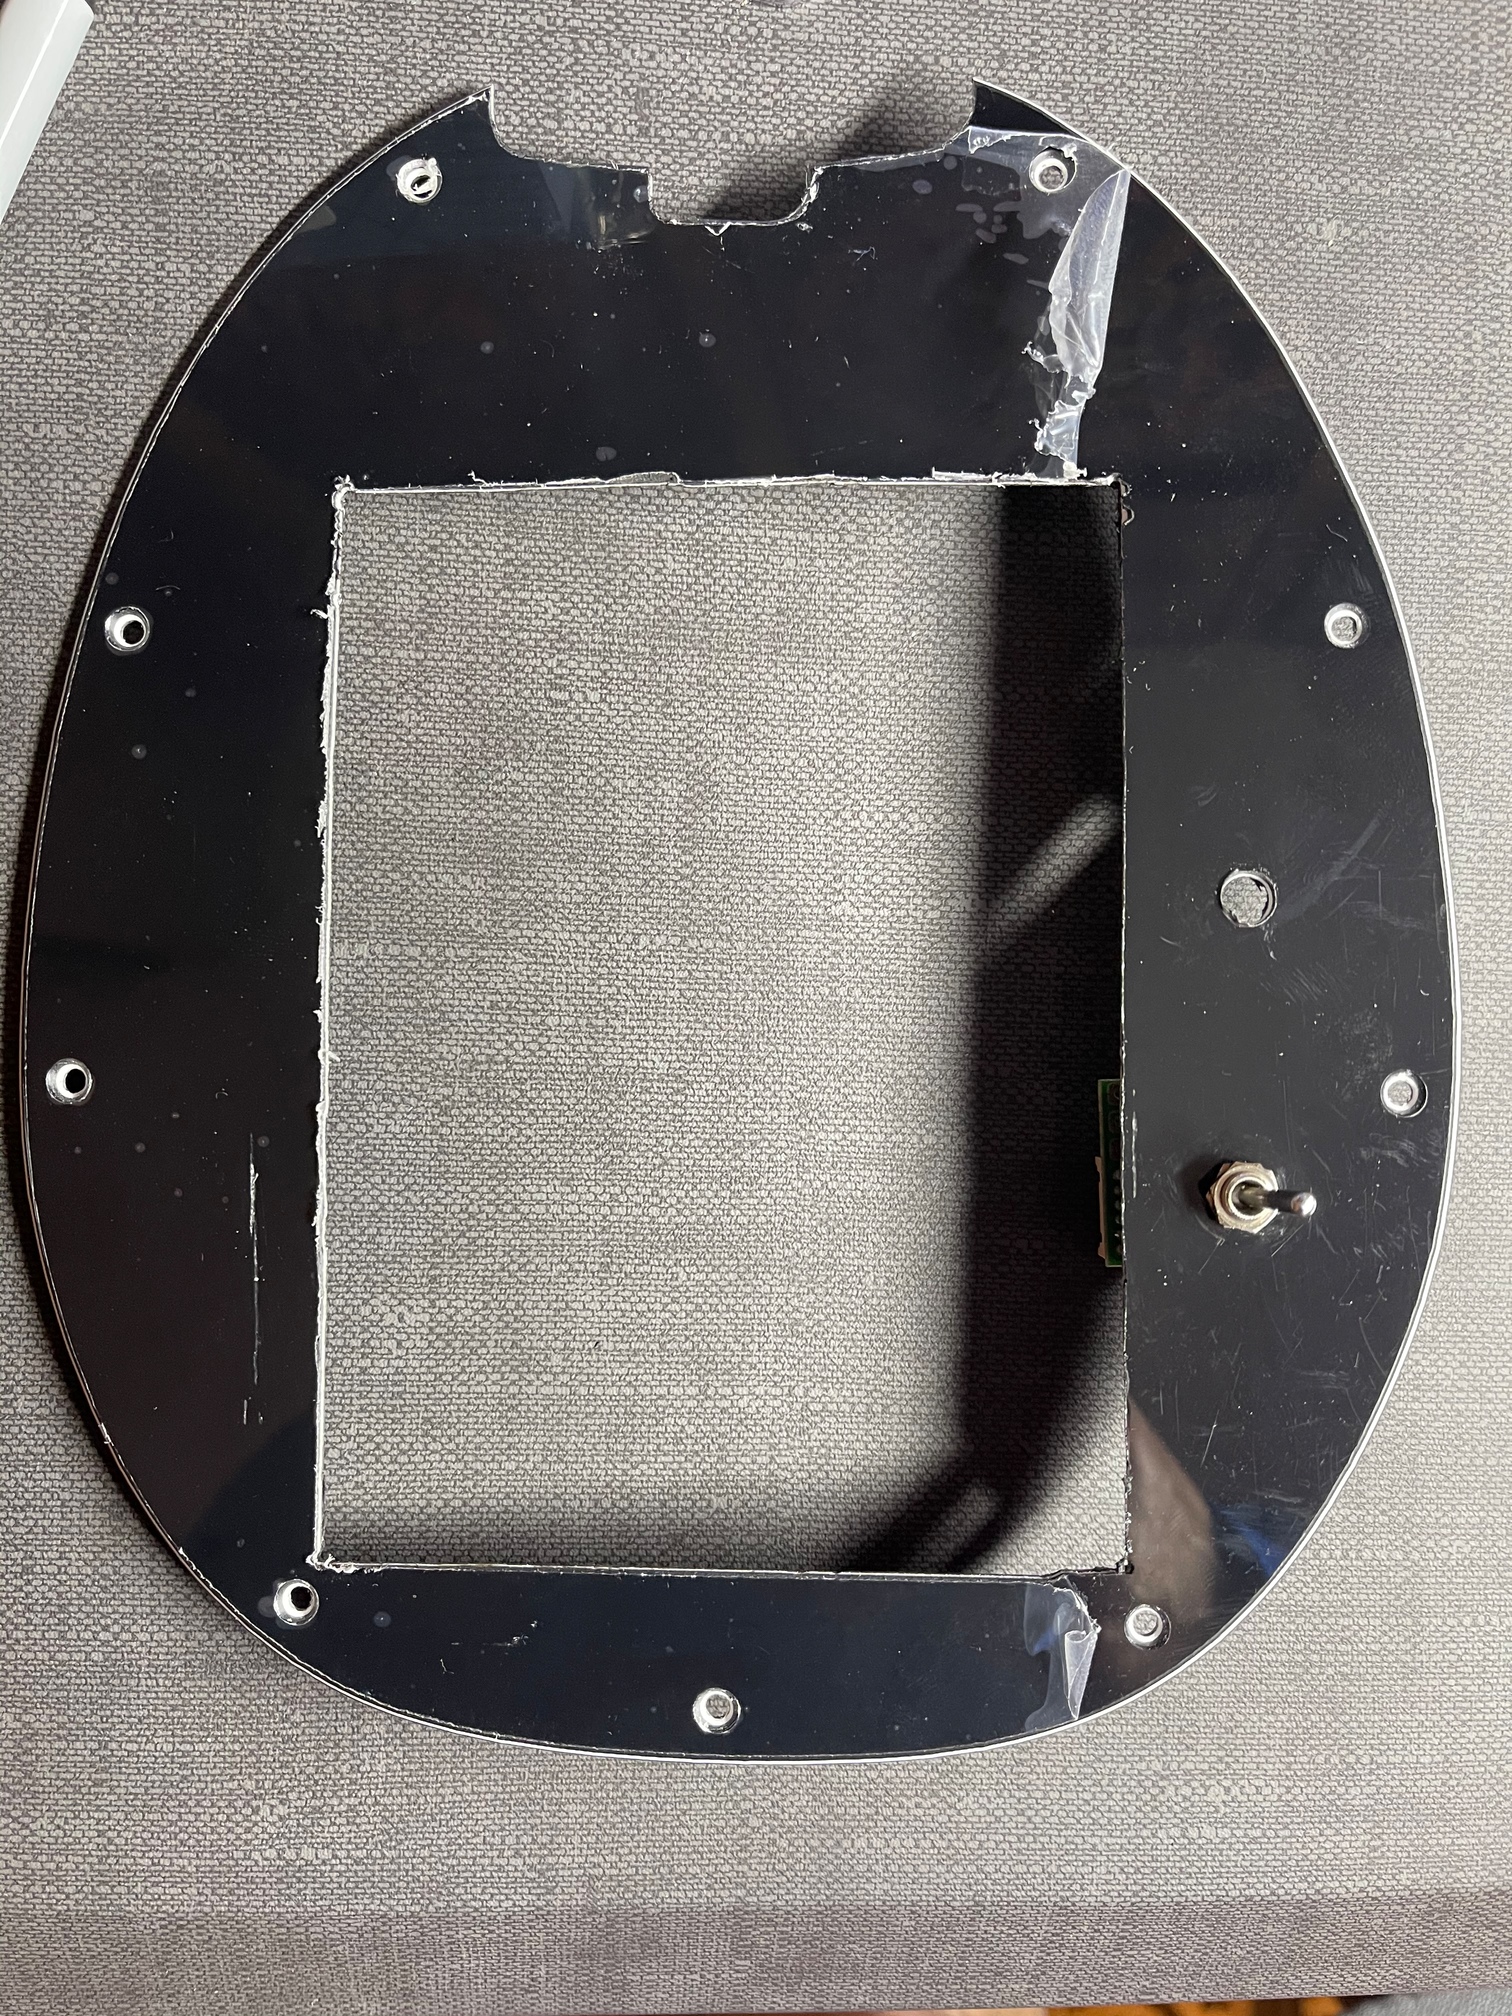
Dremeled out the pickguard to the same size the pickup cavity will be. This is a temporary bit but need it to later mount the 3-way selector toggles for the pickups. Will measure out and order a custom pick guard so it all looks nice once everything is assembled.
NEXT UP:
I get the body back tomorrow all routed out. Then time for shielding, pickup installation, wiring and drilling of the toggle holes / install. Still awaiting the replacement toggle though.
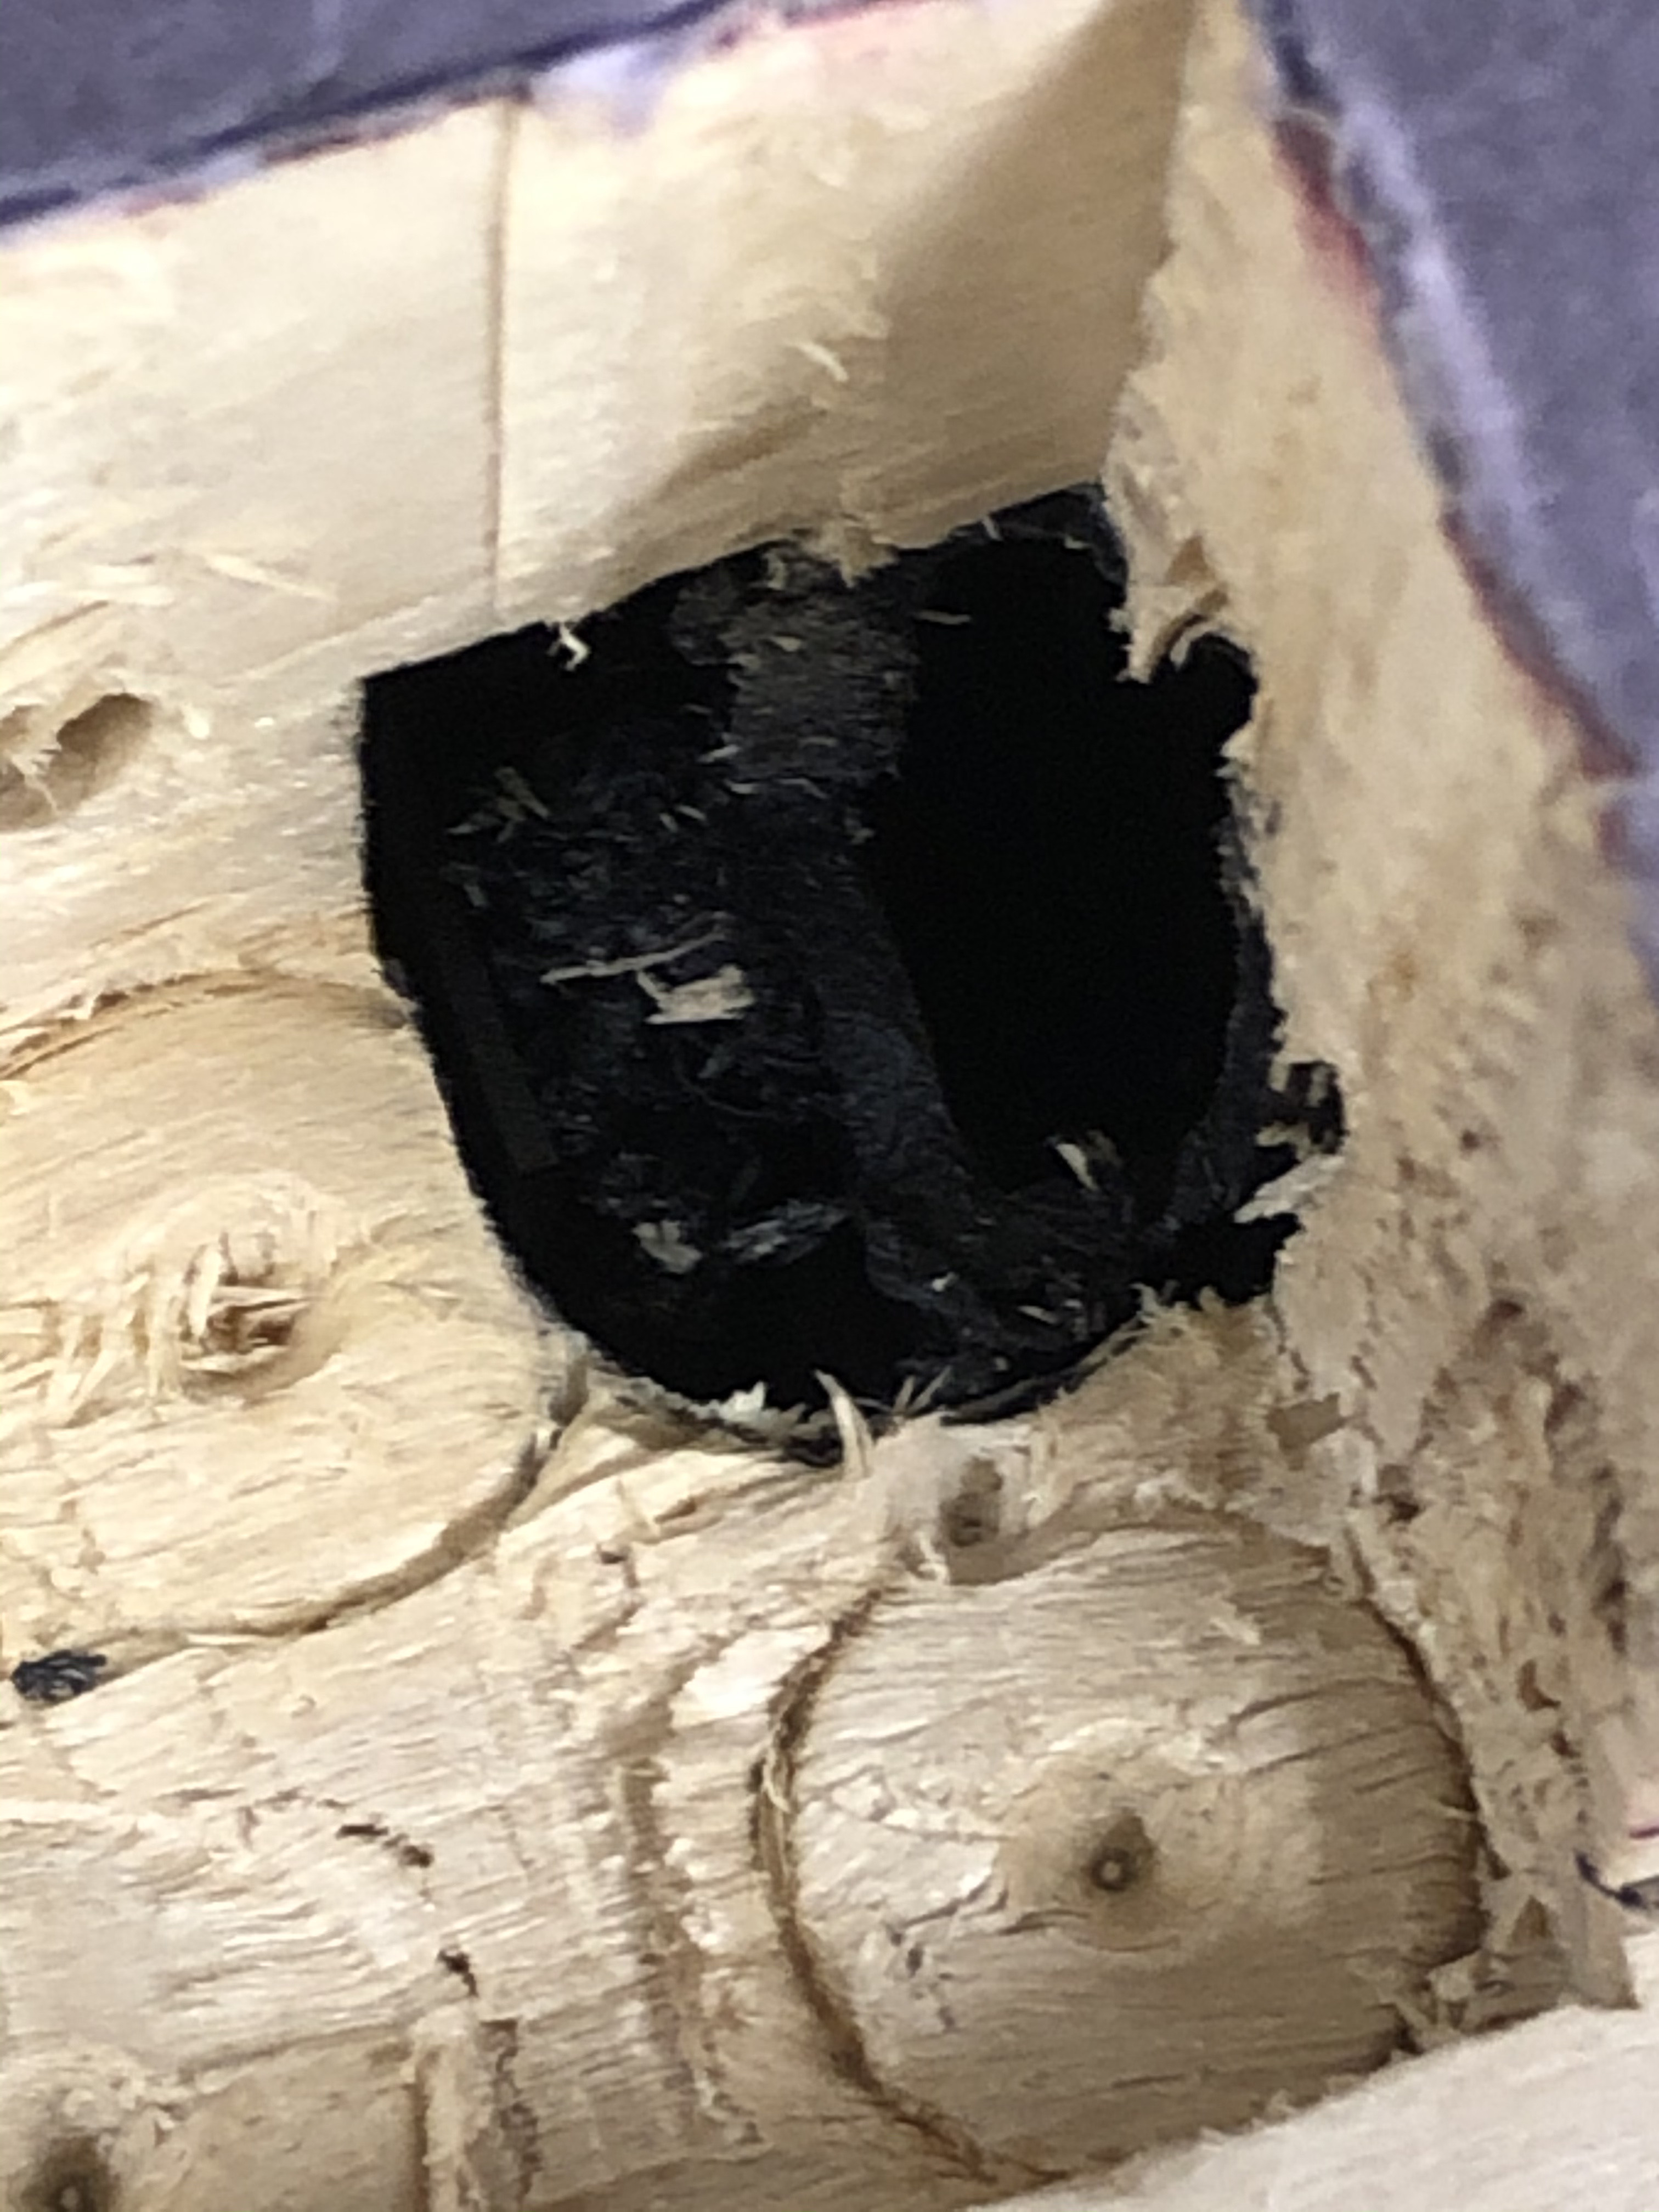
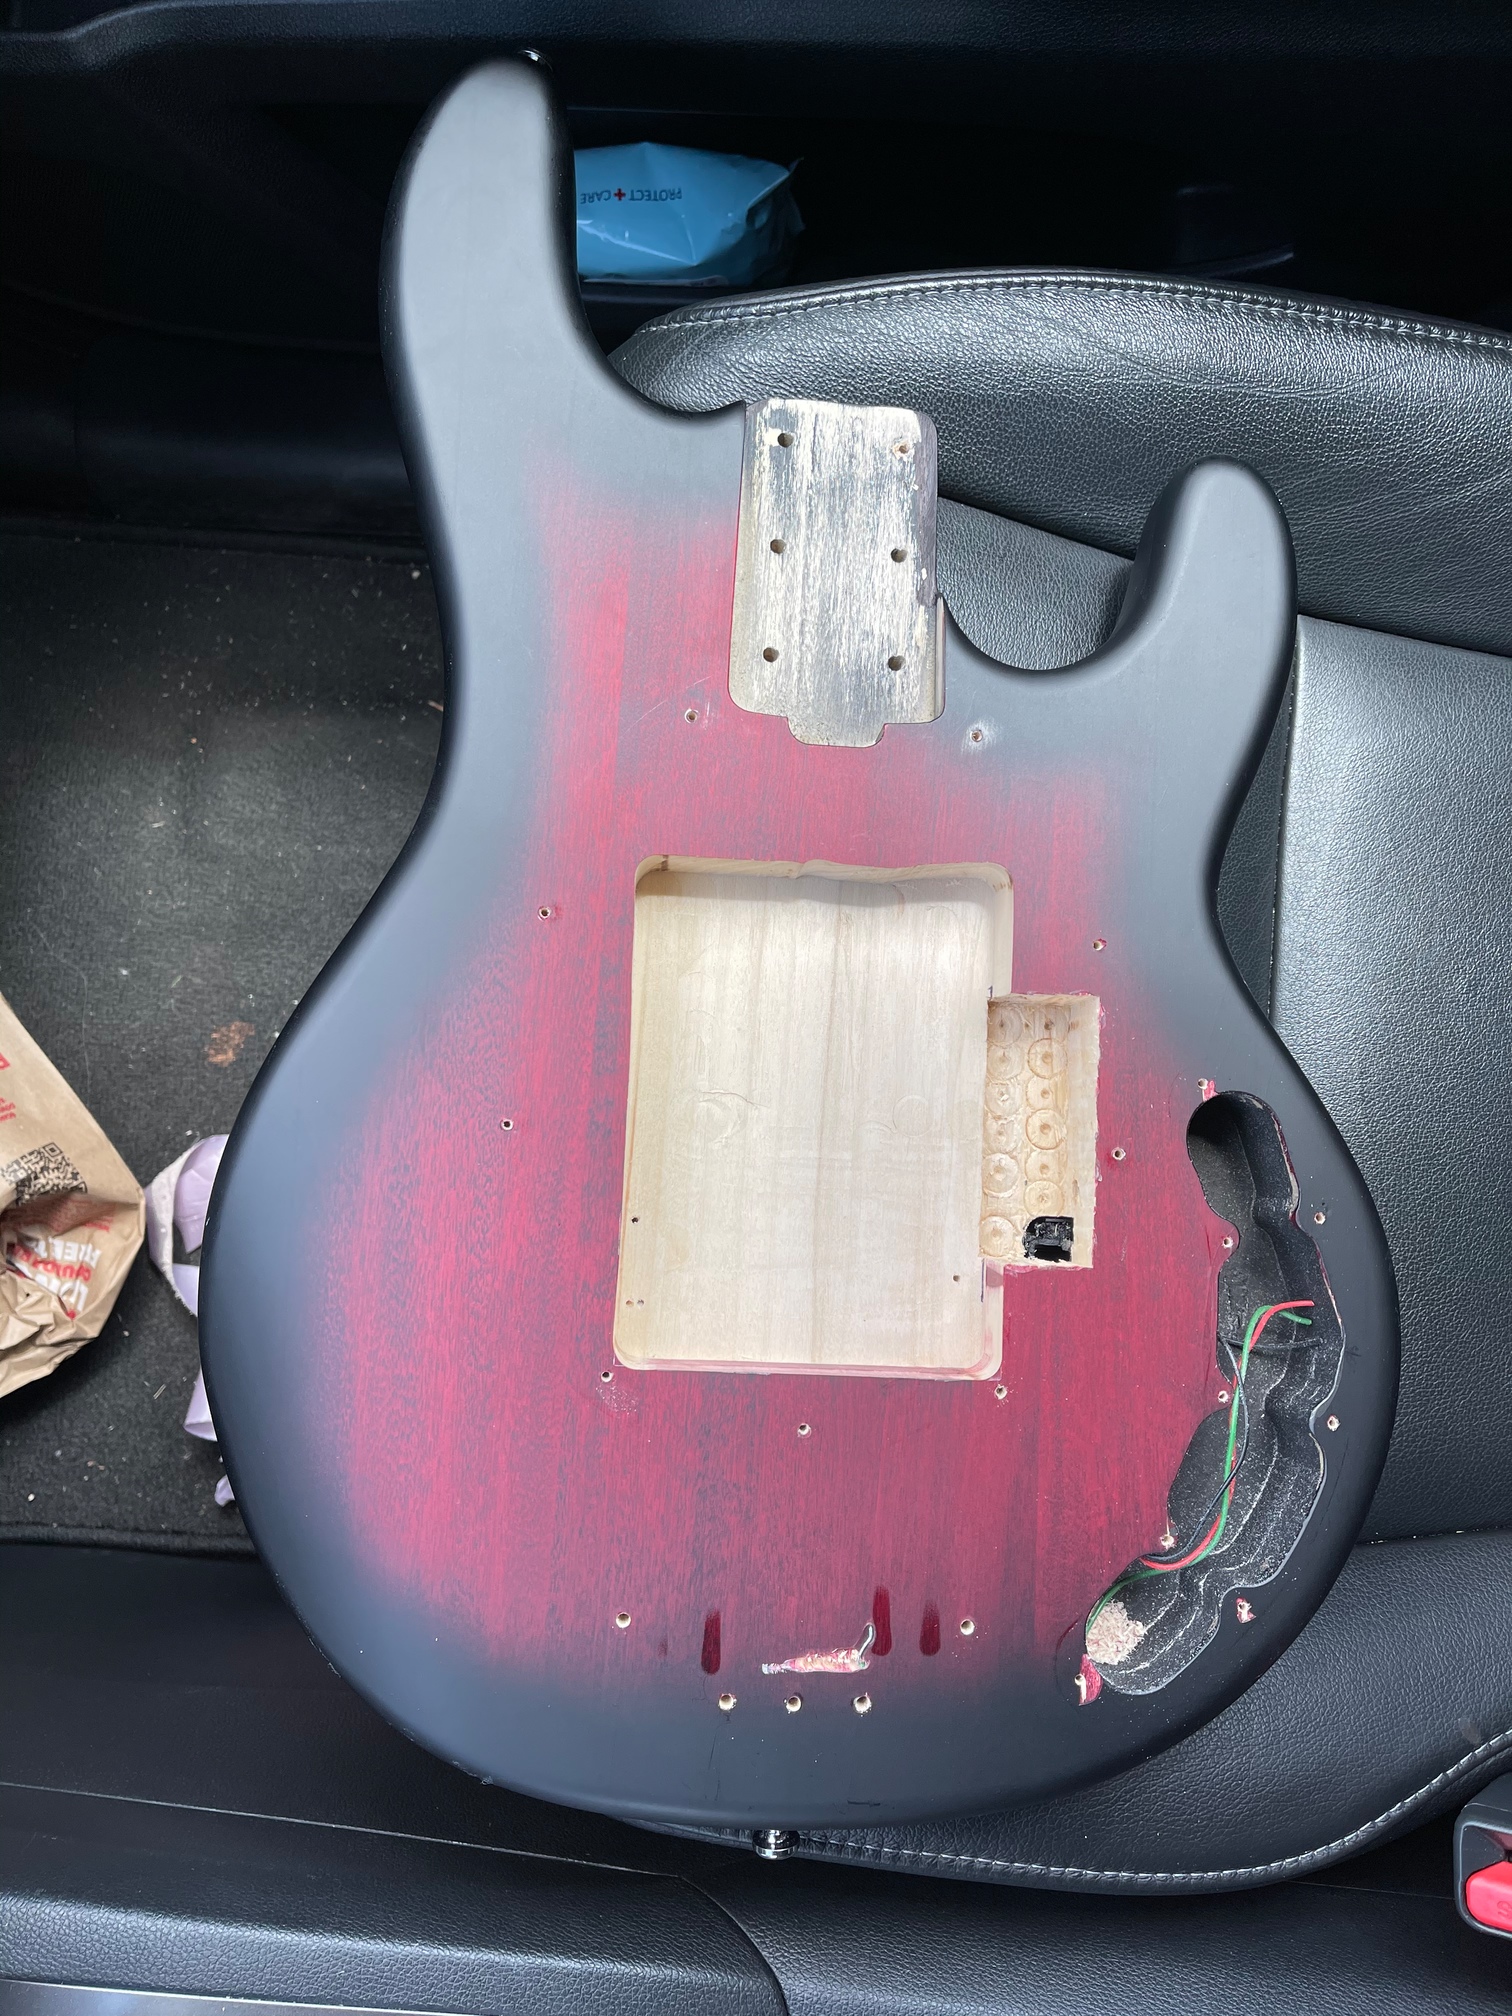
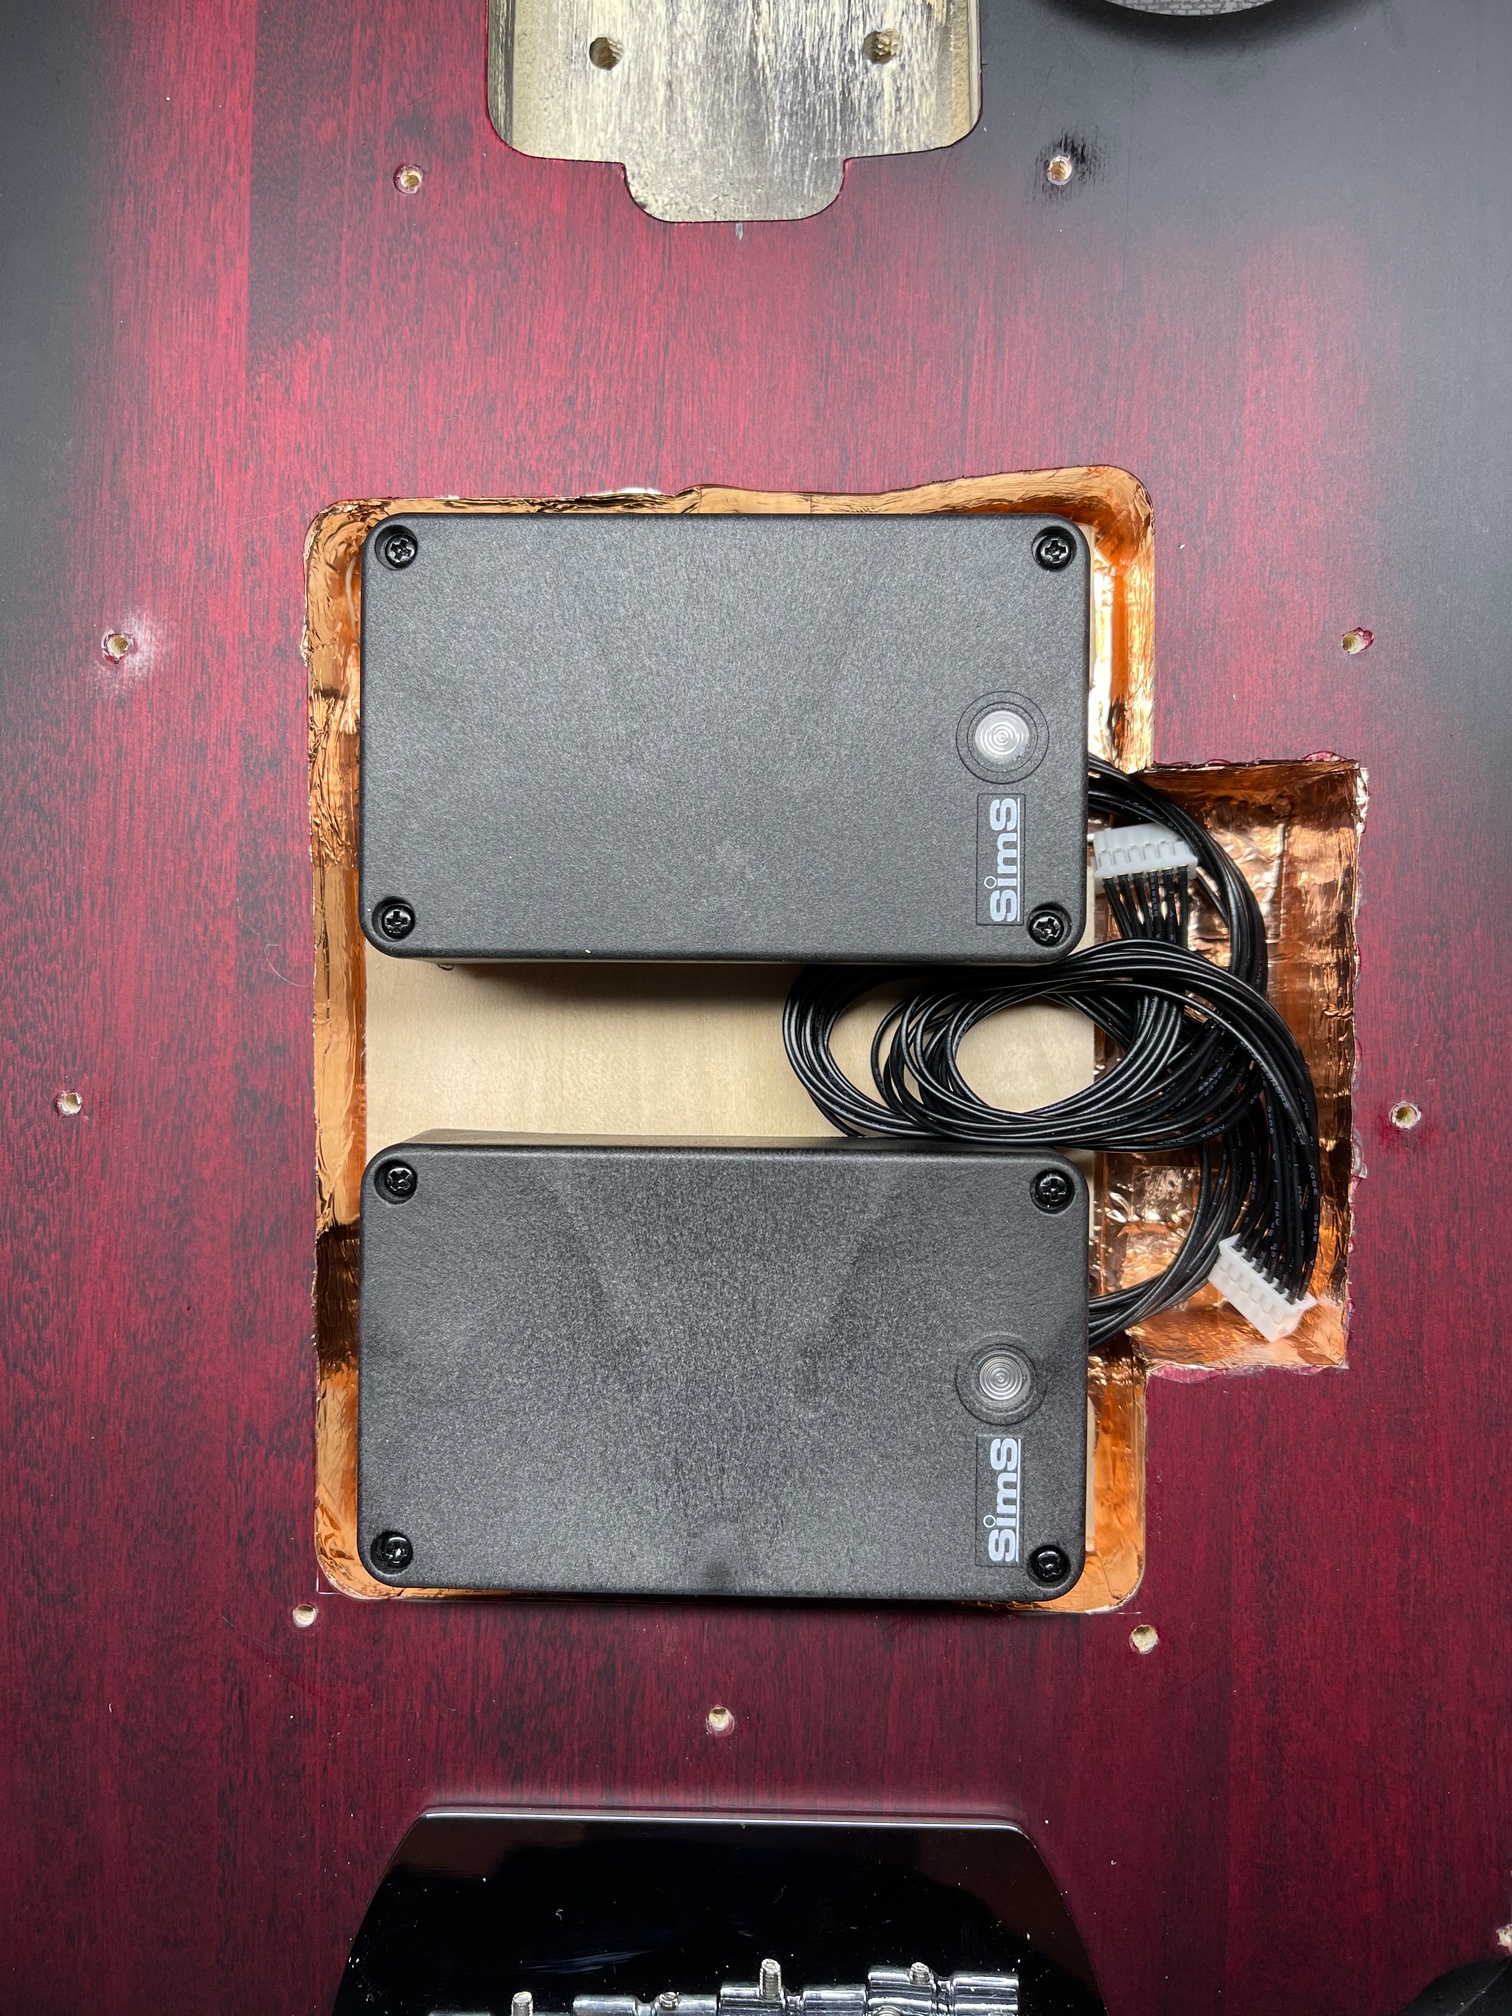
Pickup cavity routed. But of a slip on the top edge but will be covered so no big deal.
The slightly bigger deal that really isn’t but could have been - the toggle switch cavity. All my measuring pre cuts I forgot so measure and spot the battery cavity on the back to the front of the bass so it was missed - which it wasn’t.
Luckily it did not cause enough damage to make a difference and despite hitting it it won’t be in the way of the toggles.
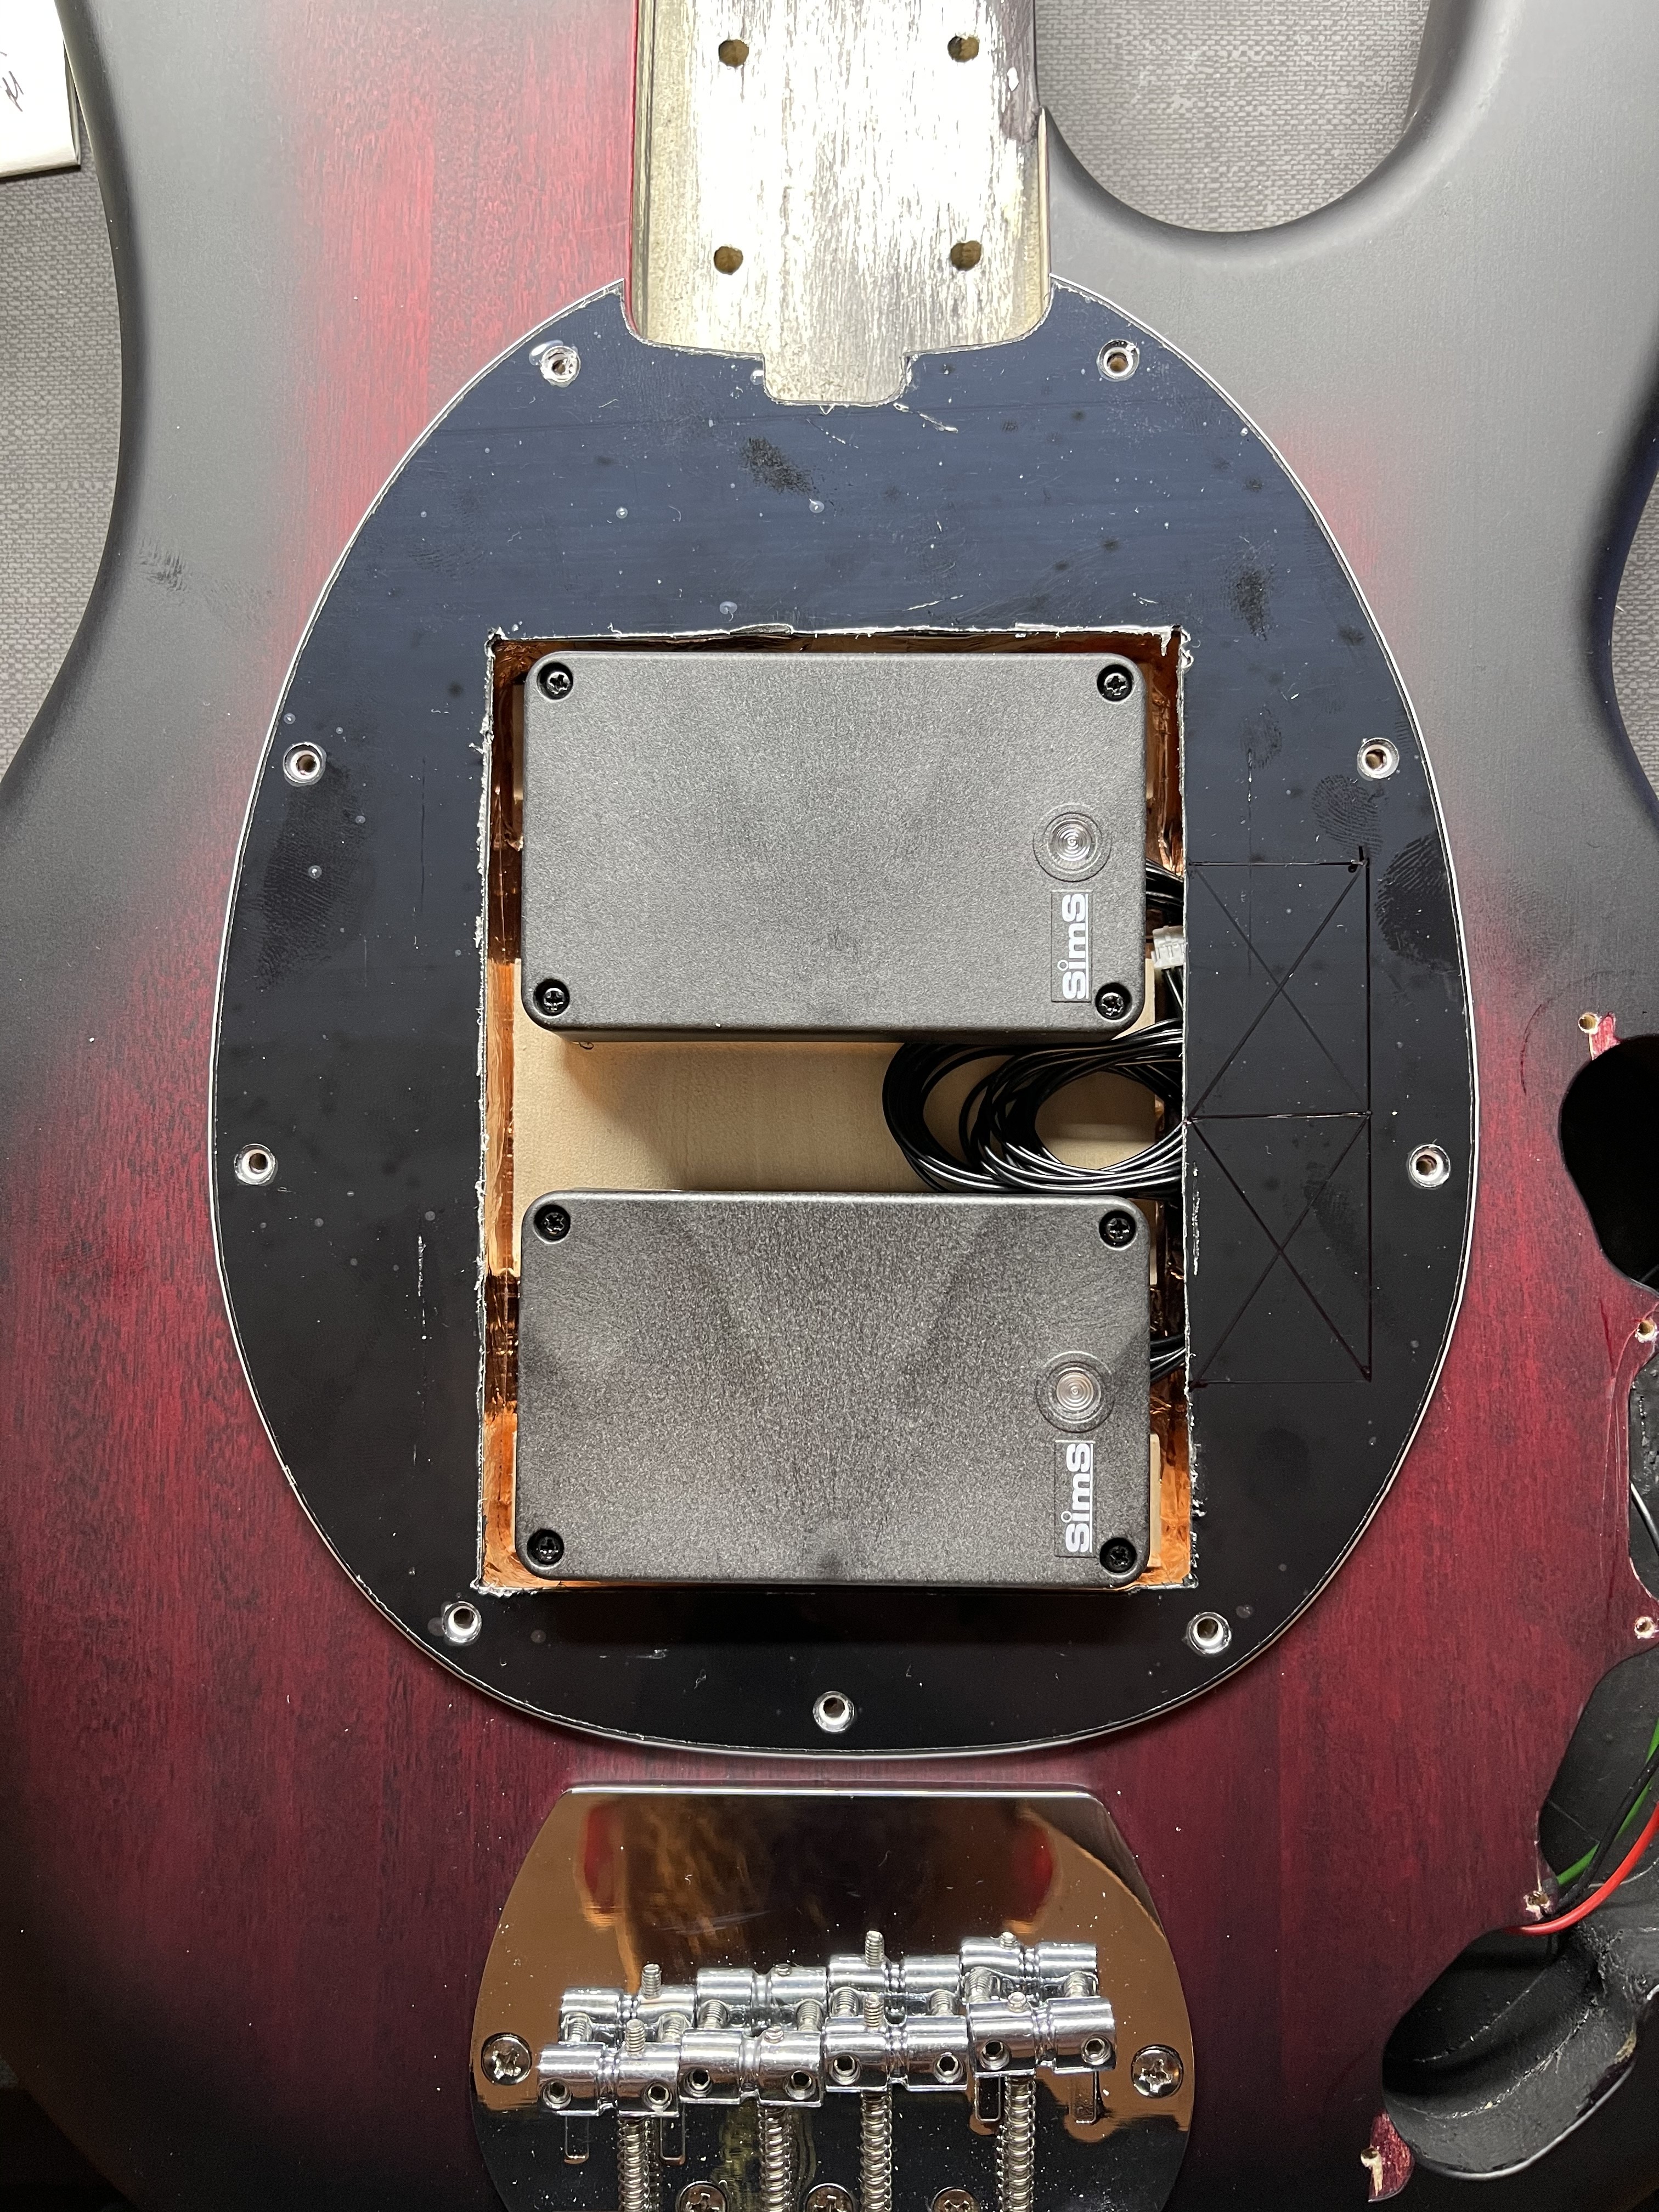
I hope it is just me or is the photo angle, but is the pickup cavity not parallel with the neck joint? Looks like the neck joint is pointing about five degrees to the right compared to the new cavity.
Yes two different tools. The bigger cavity was routed out and is smoother across. The pickup cavity did not have to be smooth so the got the extra depth a little differently. I actually don’t know the difference myself!
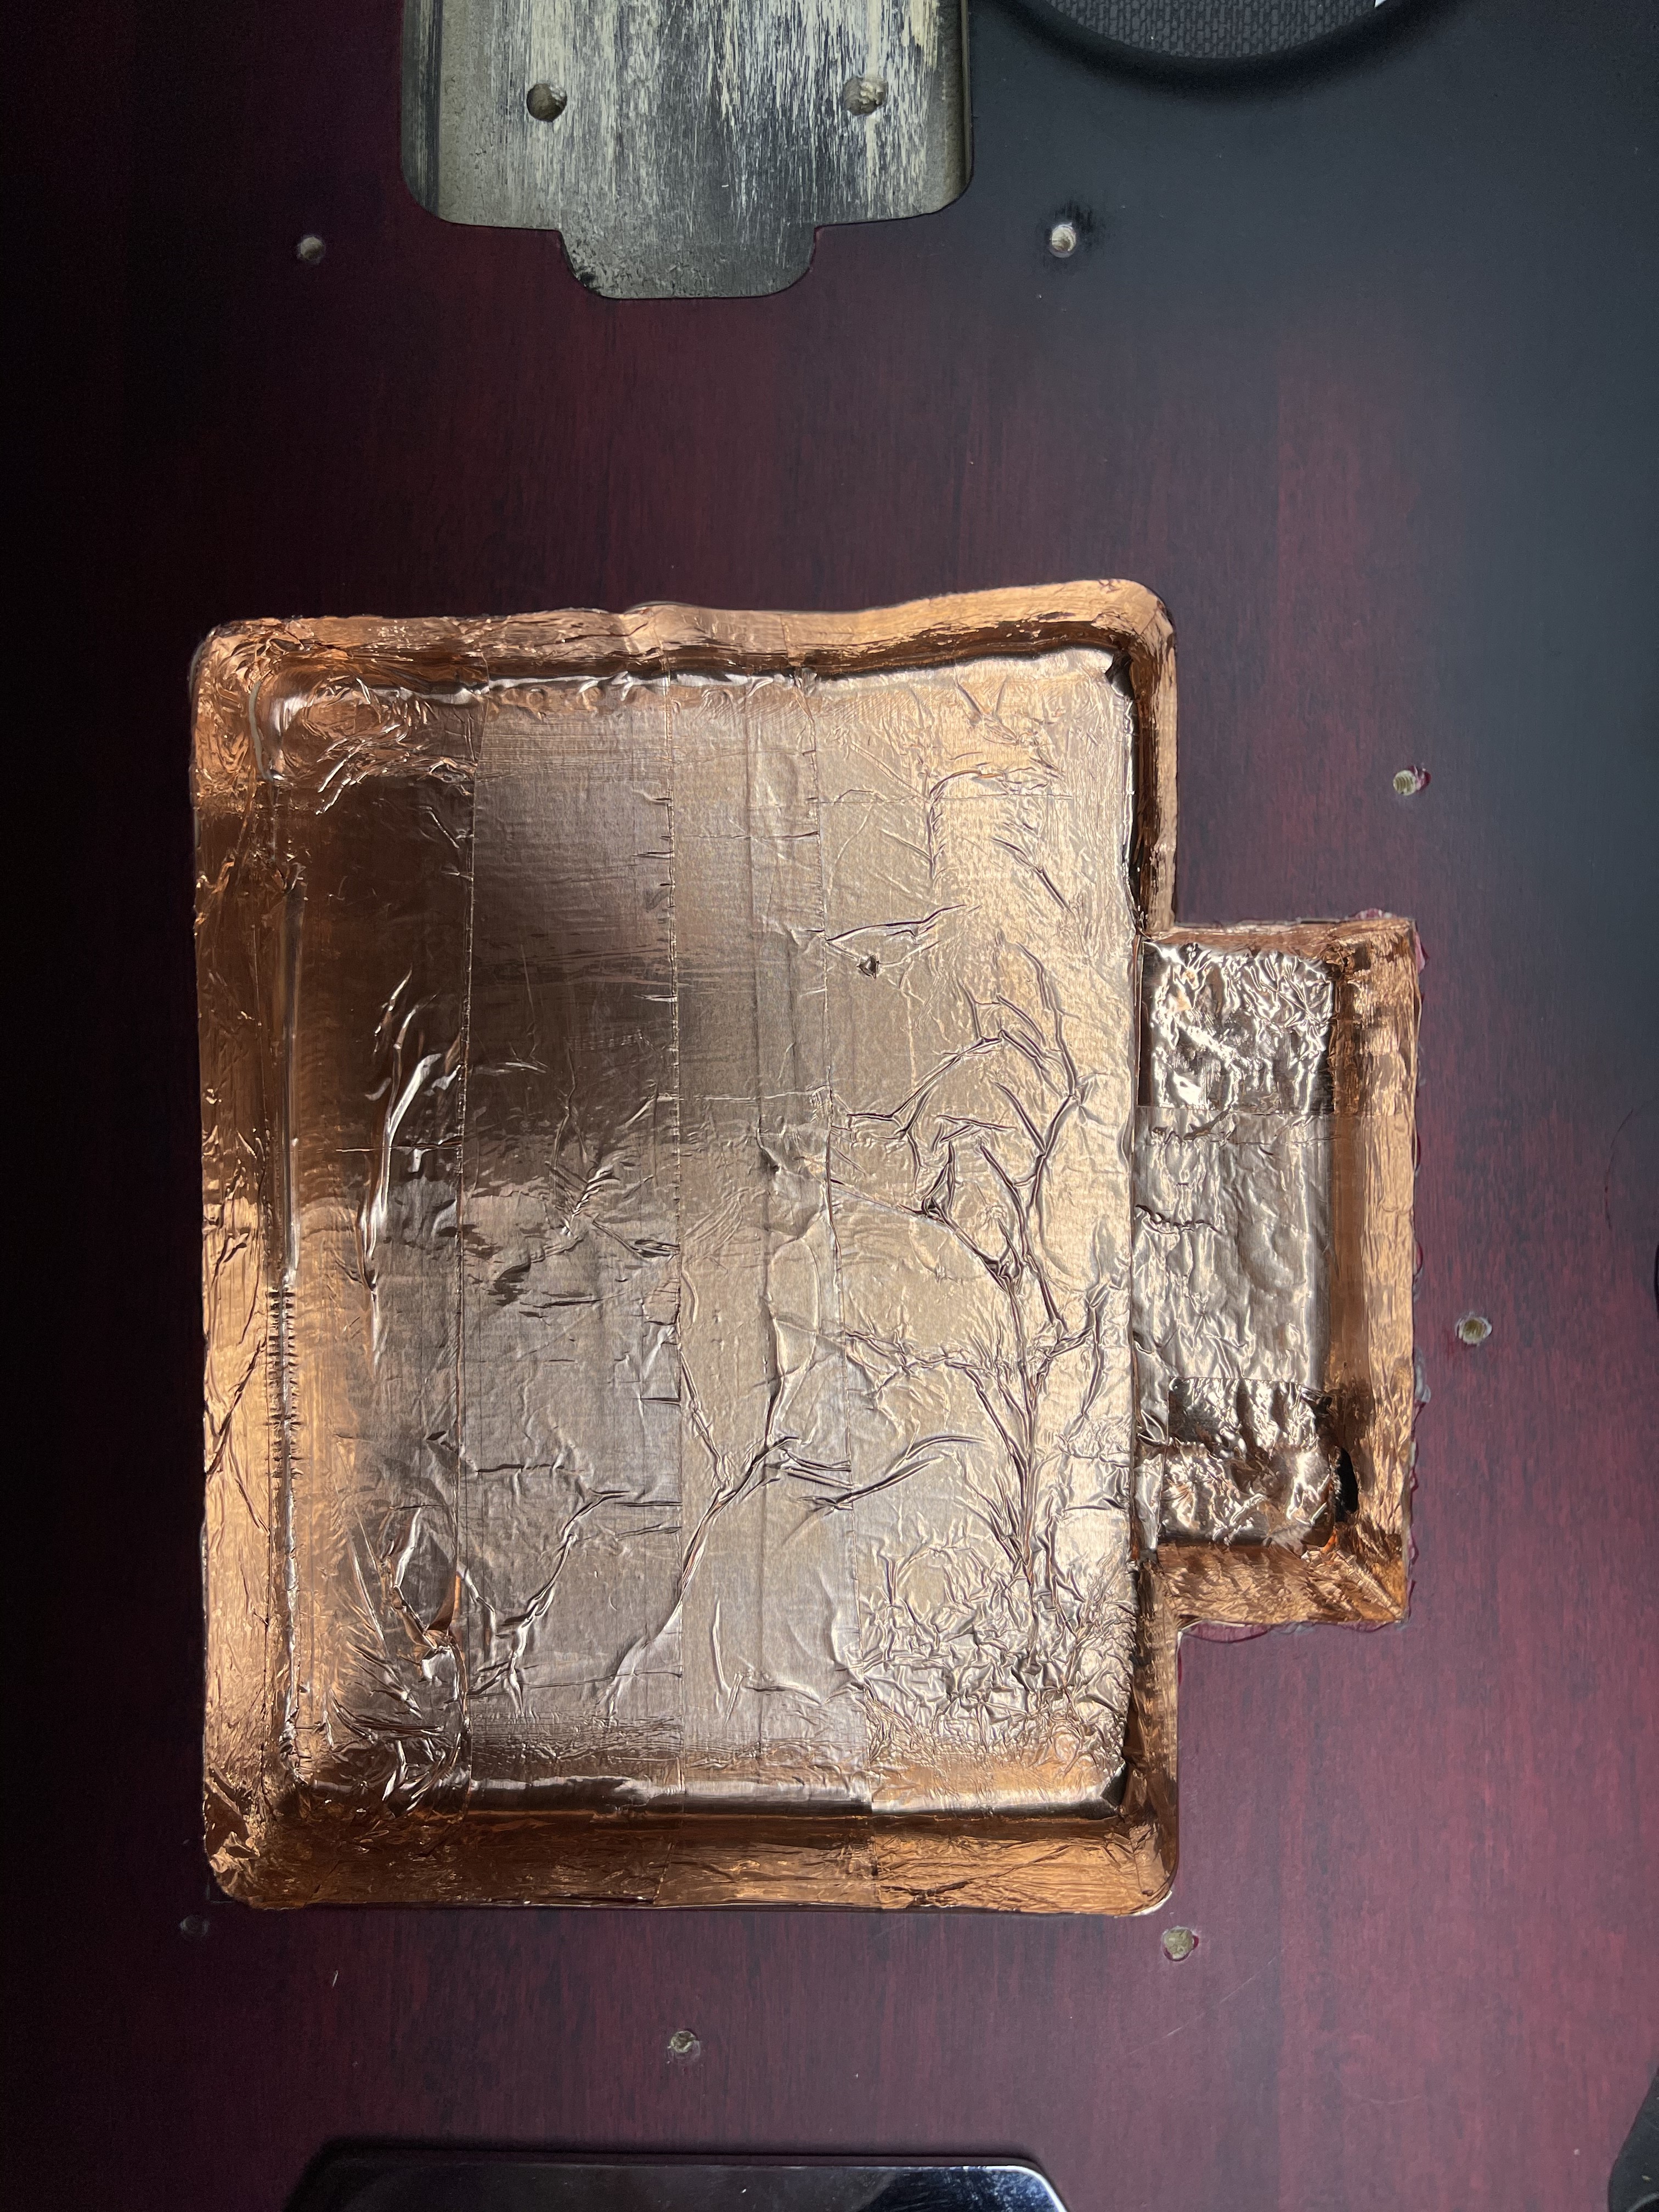
The top of the cavity has a bit of an oops. His guide moved a bit so its not straight.
This will be hidden by the pick guard and won’t matter. The pickups are not mounting flush to the walls of the cavity.
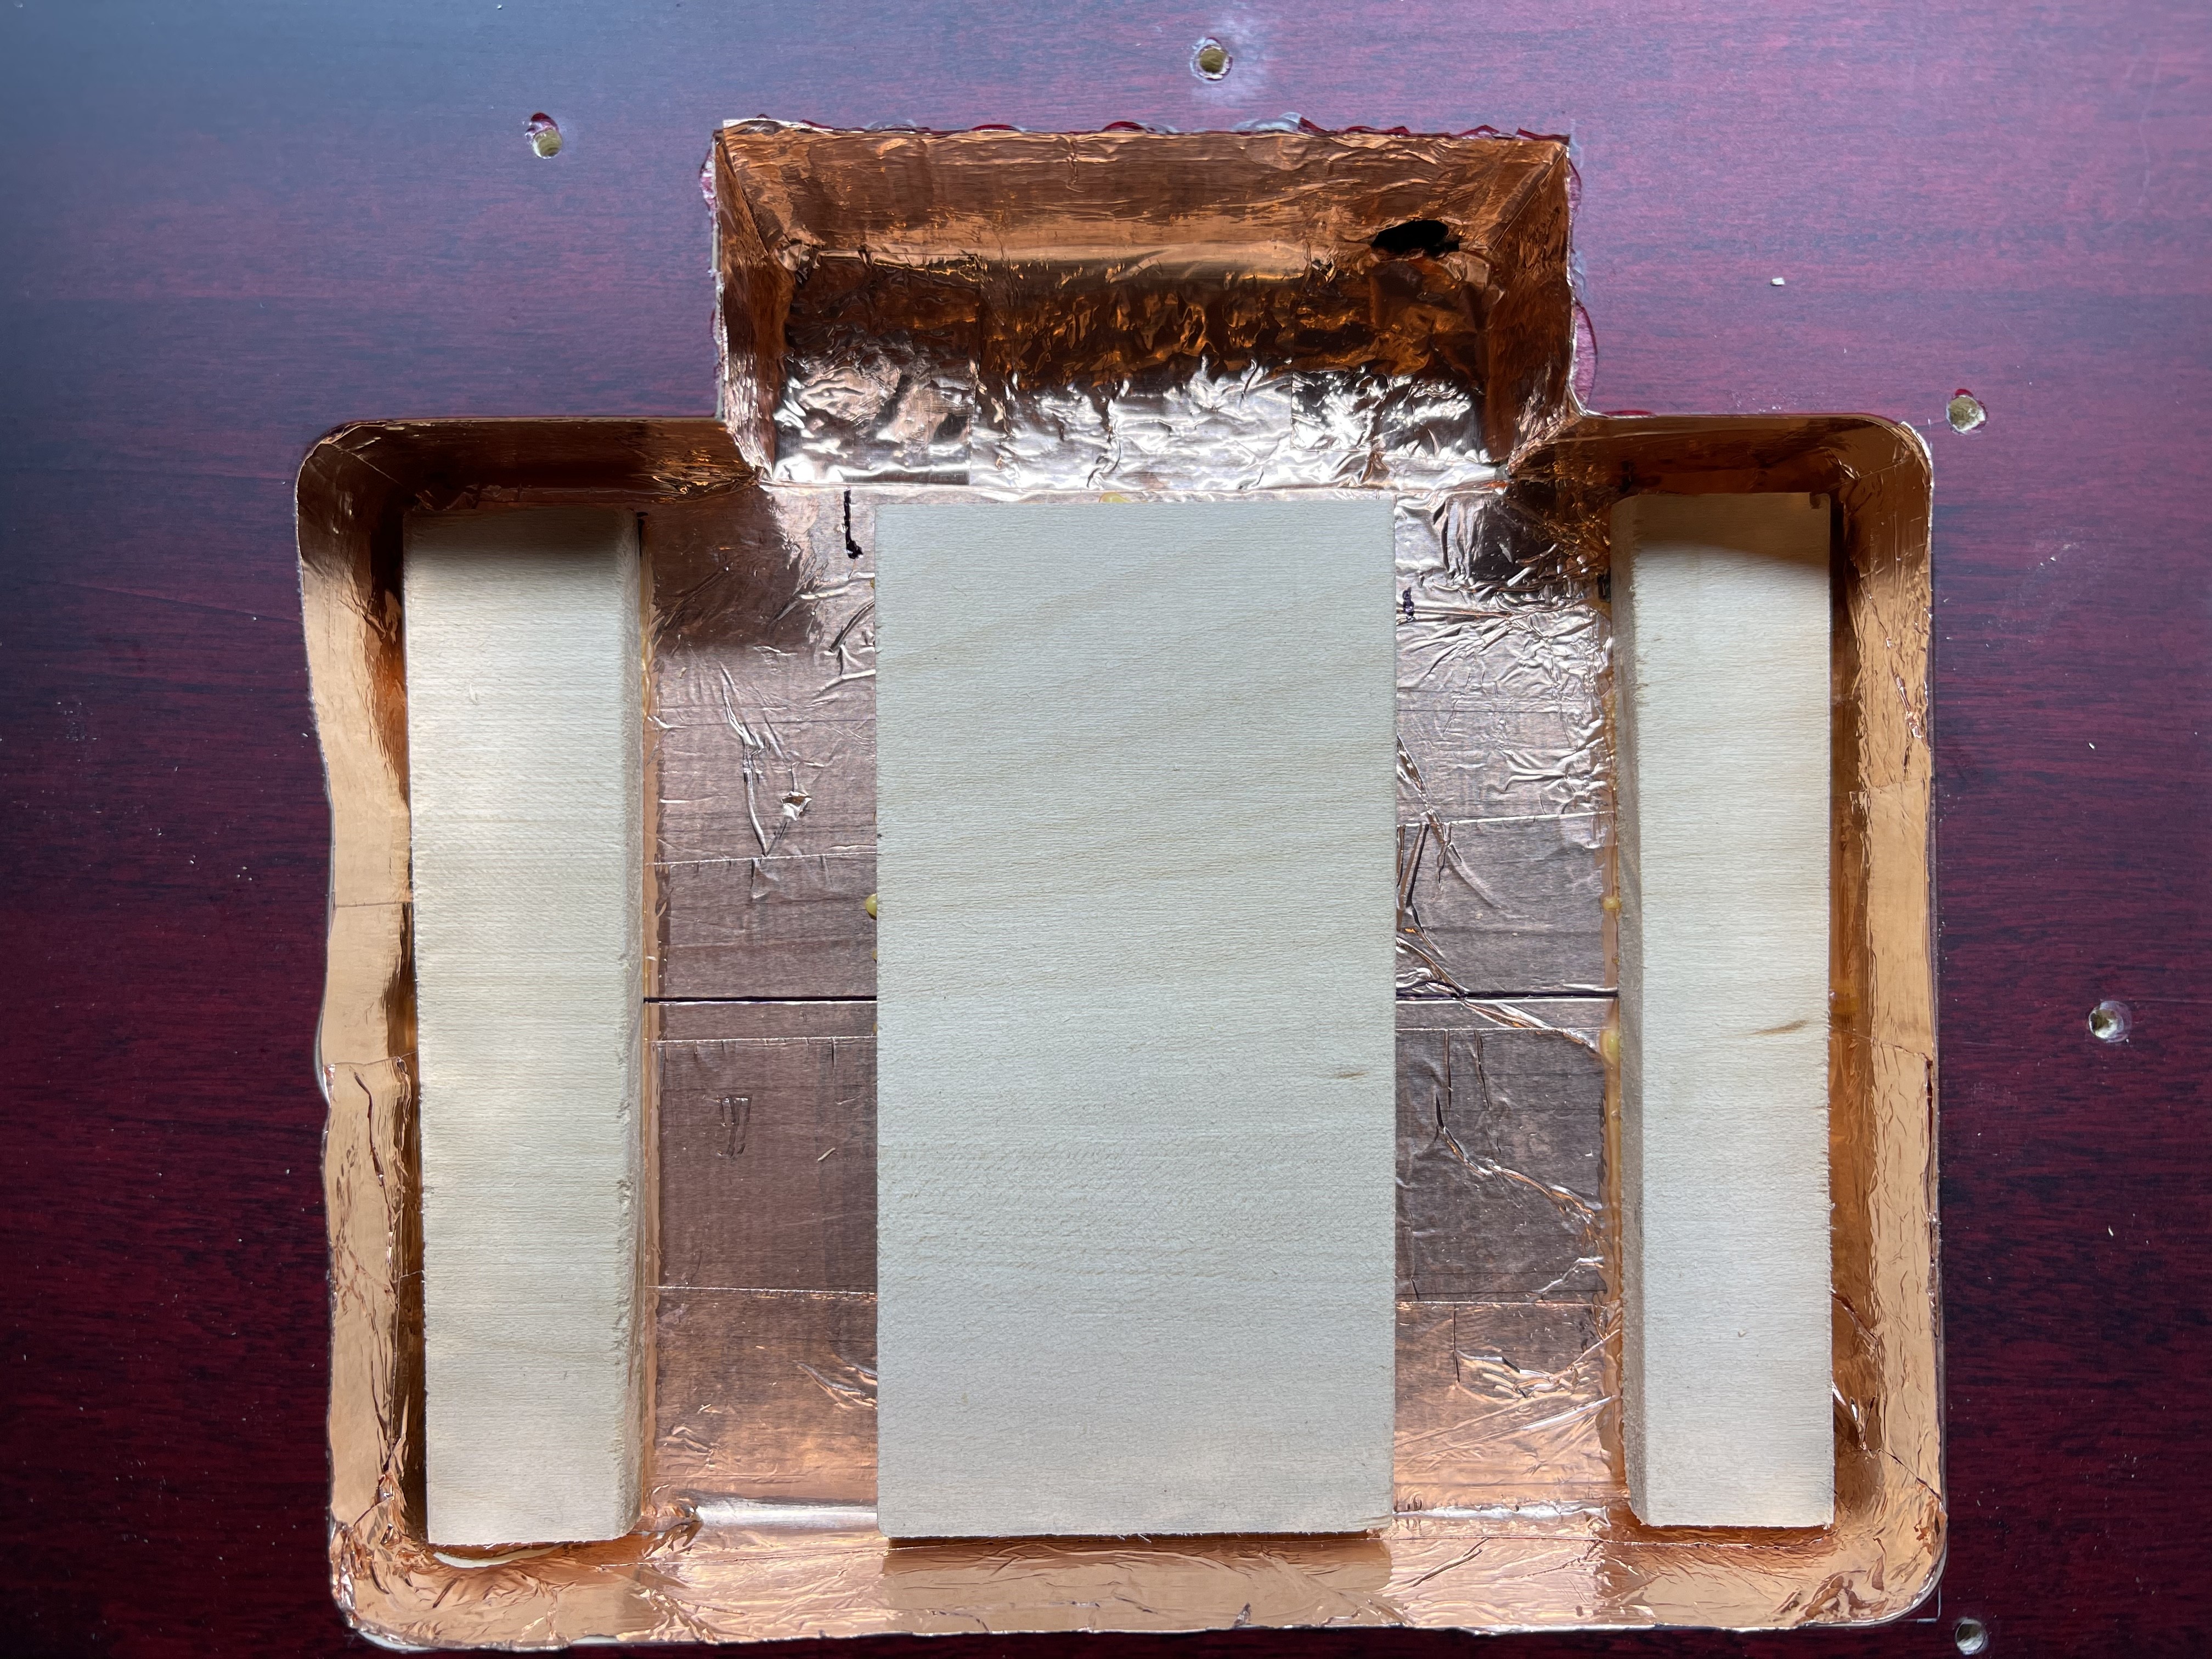
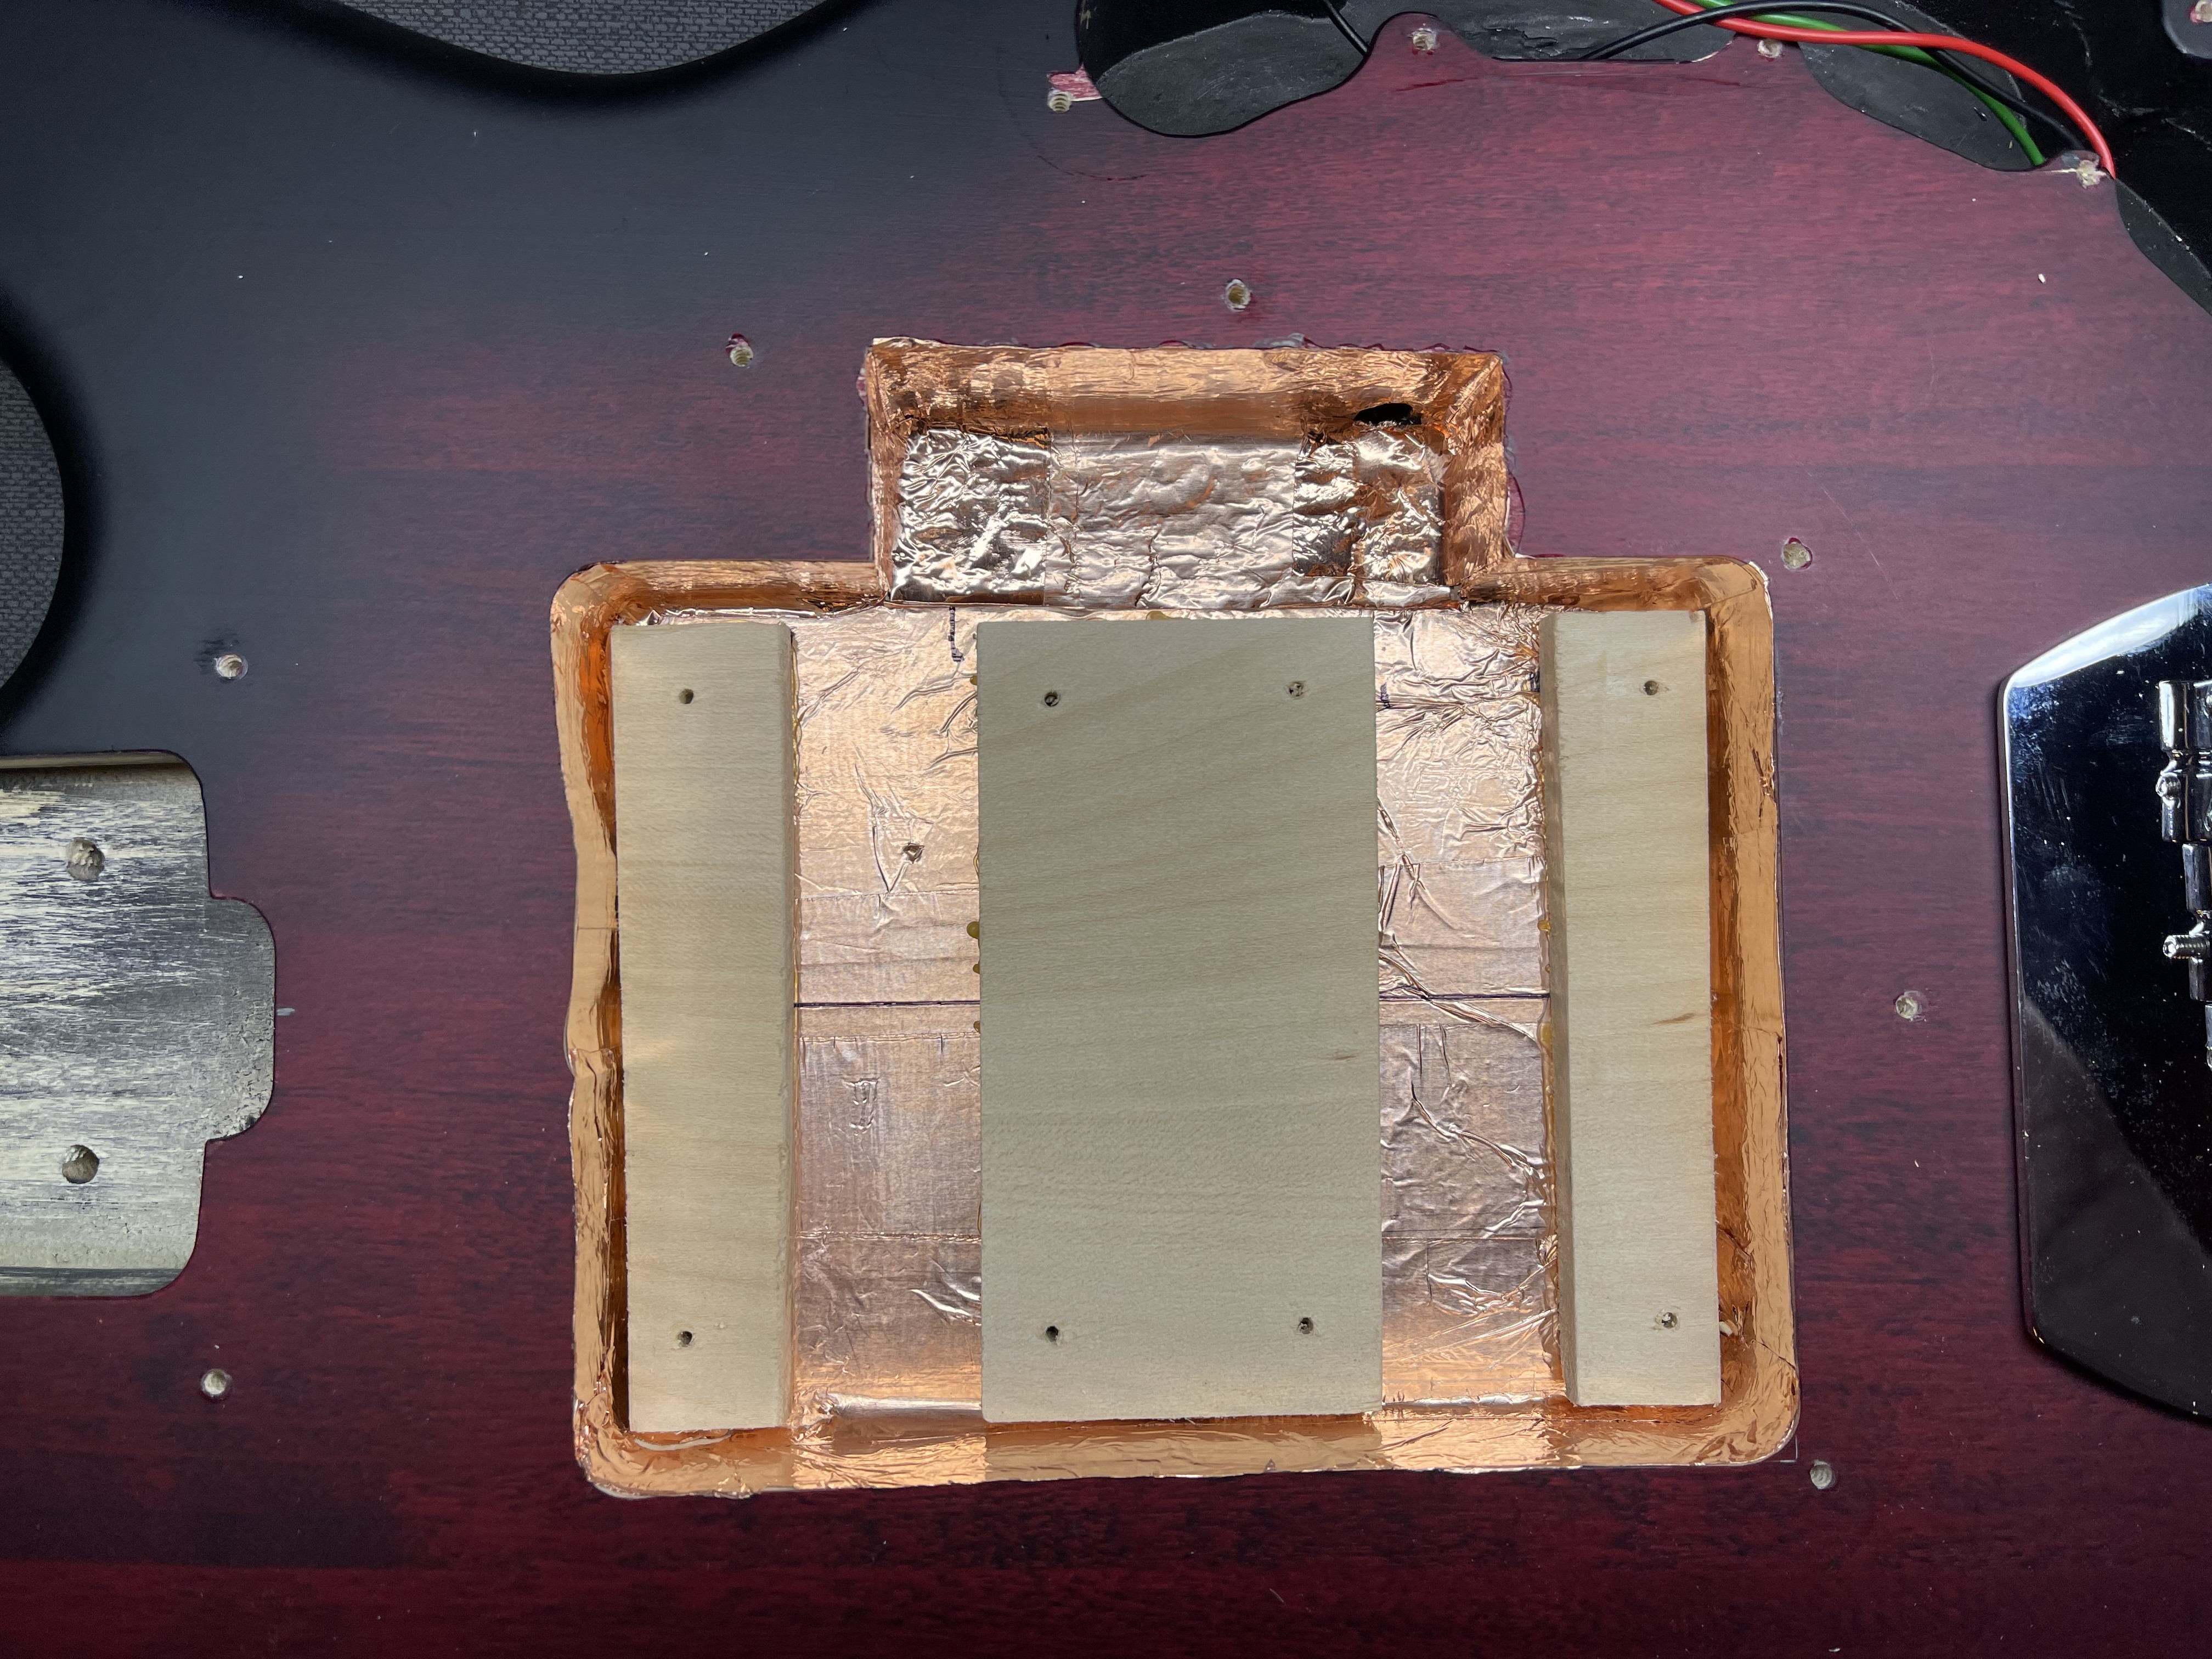
Next, the SIMS pickups need a channel under them deeper than where the screws mount to the body for the wiring harness to sit. The recommended depth for the pickups is 18mm, with a 25mm channel for the harness. The original pickup cavity was at 23mm, which posed a problem. So what I did was made the entire cavity 25mm and decided to build back up to 18mm (with basswood, just like the body) for under the pickup screws. I ended up gluing these to the copper shielding. The shielding has adhesive on the back as well, and the screws will ultimately secure everything, but figured a little glue won’t hurt. If I need to change configurations later I can either pry these blocks up or simply shim in the spaces.
I drew a small pencil centerline mark at the neck joint for reference, and placed the pickups to mark the screw hole locations. I decided the optimal pickup spacing distance was exactly one Staedtler Mars eraser wide (these are amazing erasers, and apparently great pickup spacers too). I checked the centerline marks and pickup centers with a straight edge and marked all the screw holes.
Looks good! Better than that, overall it’s great. Since it’s going below the pickguard anyways, that edge is not so much of a problem.
I guess the one side ended up getting thrown by climb milling and low fixturing force. That’s a problem with wood, because if you clamp the hell out of the workpiece, you damage the surface, but if you don’t, it moves. Dead tree carcasses aren’t a trivial material.
THE TRI-LOGIC TOGGLE SWITCHES:
I traced out the toggle cavity to the pickguard plastic on top and spotted the two center spots to drill the 1/4” holes needed for the toggles.
Drilled the holes and mounted the “good” toggle.
Now just need to wait for the replacement to wire up.
NEXT UP:
While I wait for the toggle I can solder up the preamp to the battery, ground and pickup inputs (that come from the toggles) and route them over to the other cavity.
Will also find a custom pickguard shop (many have suspended making them!) so everything is tidy in the end.
Ah, somebody that knows milling, nice. In metal, you would see that more often when conventional milling in corners (in non-ferrous metal at least), but with soft wood, yeah, climbing pulls the wood into it, and if it grips onto something it easily moves it, unless its in a vice or strap clamped down.
The other pocket looks to have been opened up with a drill, to get the bulk out, then it was cleaned up with a chisel pretty quickly.
But with the pick guard to hide everything, no big deal.
Interesting about the needs of the Sims pickups for different depths.
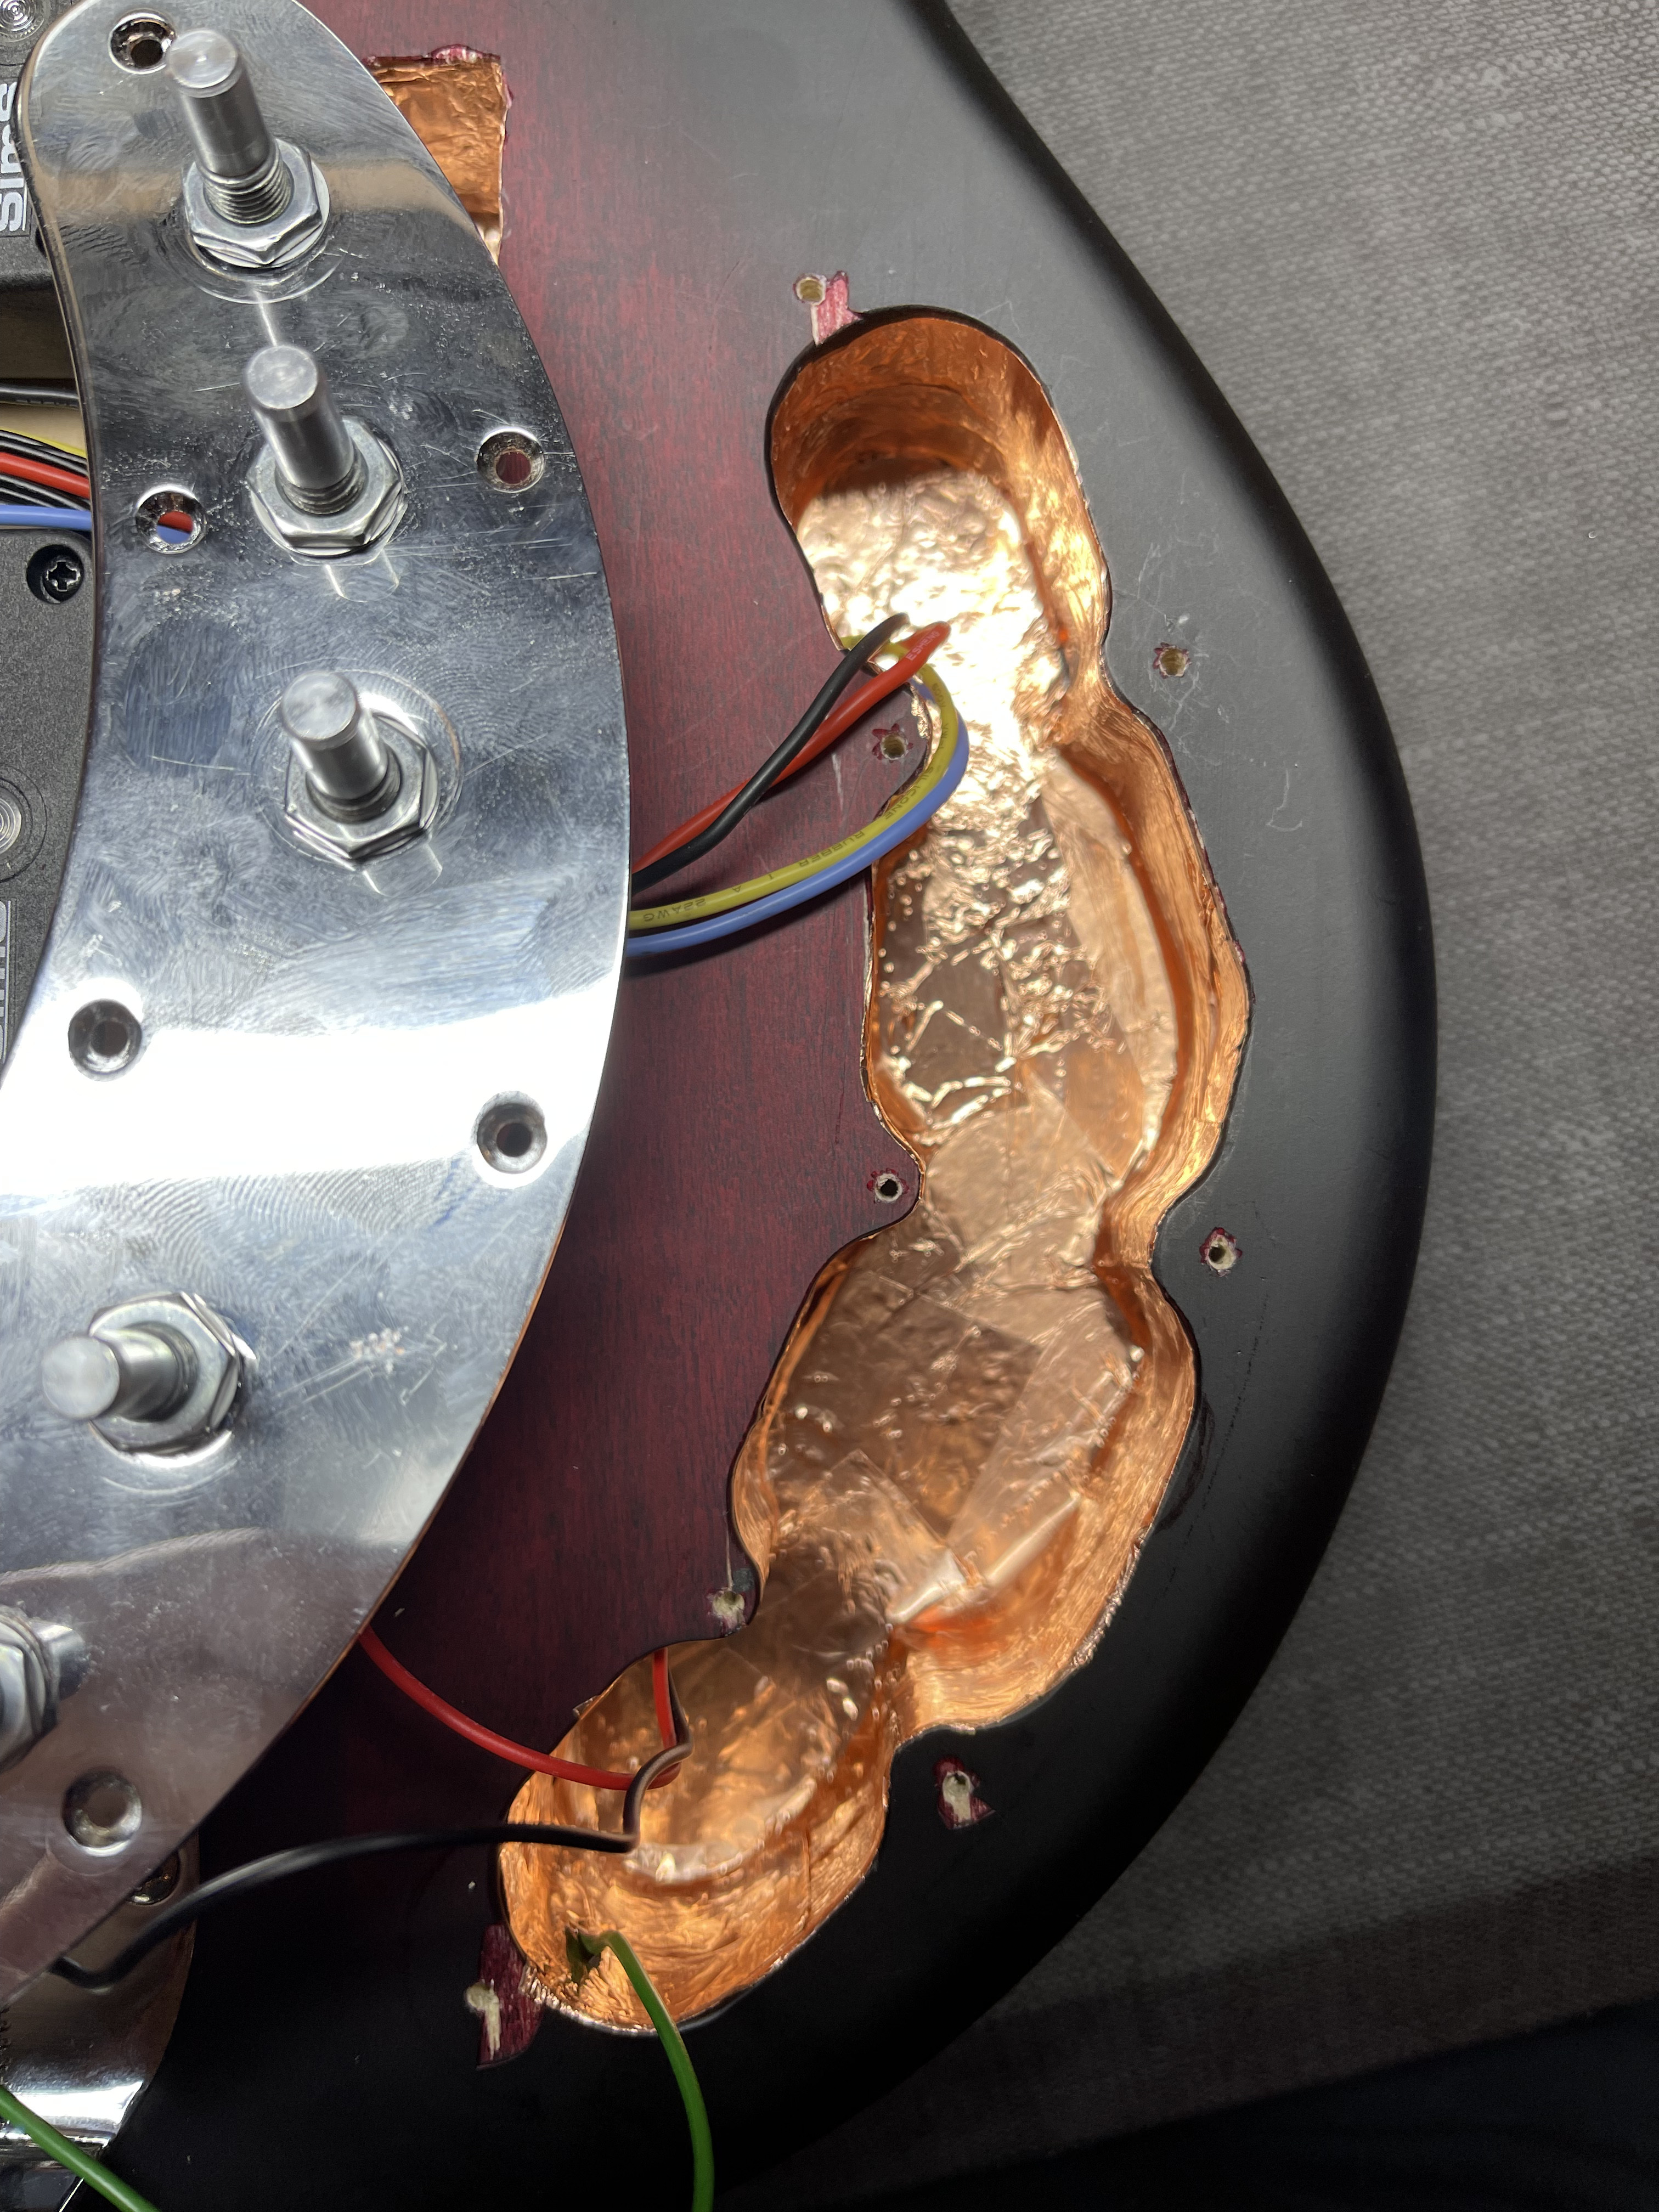
THE CONTROL CAVITY AND PREAMP:
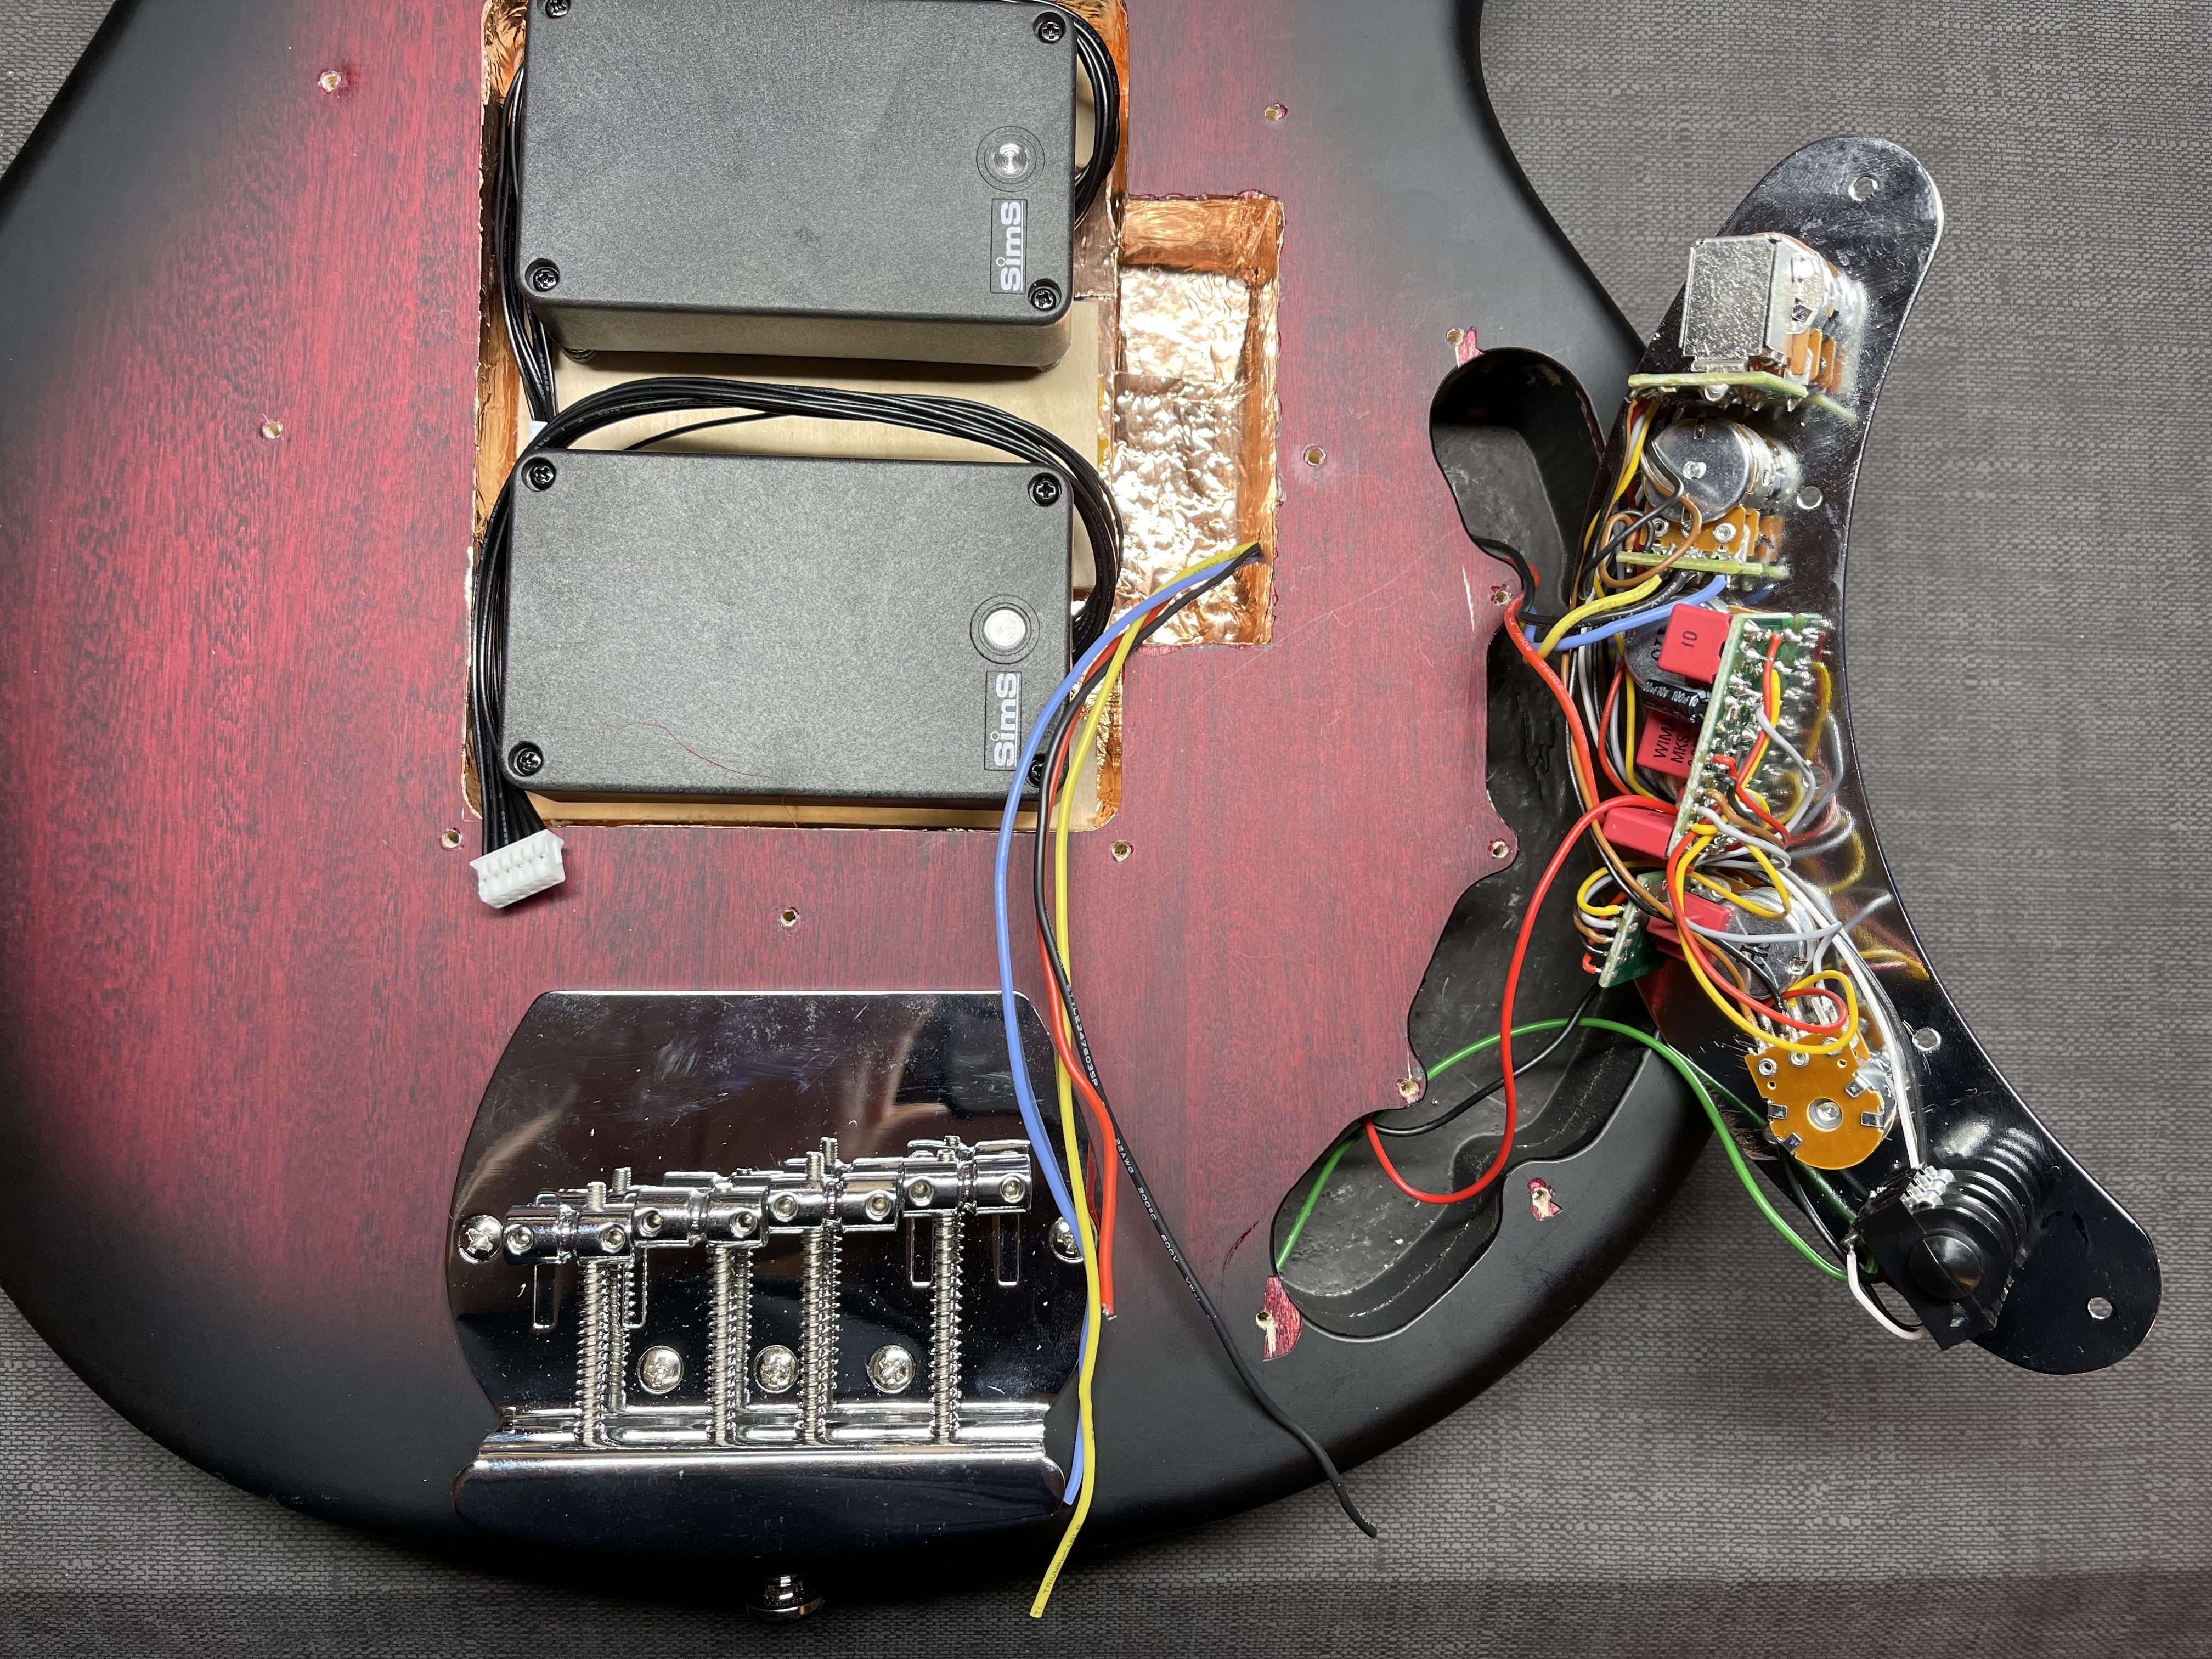
While awaiting the replacement toggle, I wired up/soldered what I could. Most of the preamp is pre-wired so not too much soldering, and, no back of pot soldering nonsense. One ground connection is internally wired throughout (sweet).
I ran the 4 wires that will go to the toggles (neck/bridge hots, ground to the balance pot, and +9V for the pickup LEDs to a common +9v on the bass board. The other ends will have to await the toggle in the mail.
The main preamp only connections to ground And output to the Jack, +9V in and battery negative and ground from bridge to the Jack.
Shielding in and a few “wiggle and pray” test fits I found a config where it all crammed in the existing cavity. Had to drill new screw holes though as the control plate wouldn’t sit in the exact same position with this fully loaded preamp.
Like most things, something has to go wrong, and although you can’t put a price on a good education, I can put a price on learning you shouldnt over tighten pot connections to the control plate. This lesson cost me $25 in a new Glovkenklang push/pull volume pot! Oops. Tighten with care!