I thought I would start a separate thread to chronicle the mods to make a ‘test bed’ bass.
The idea is, to have a bass that it will be ‘easy-ish’ to swap pickups/preamps etc and fiddle over time.
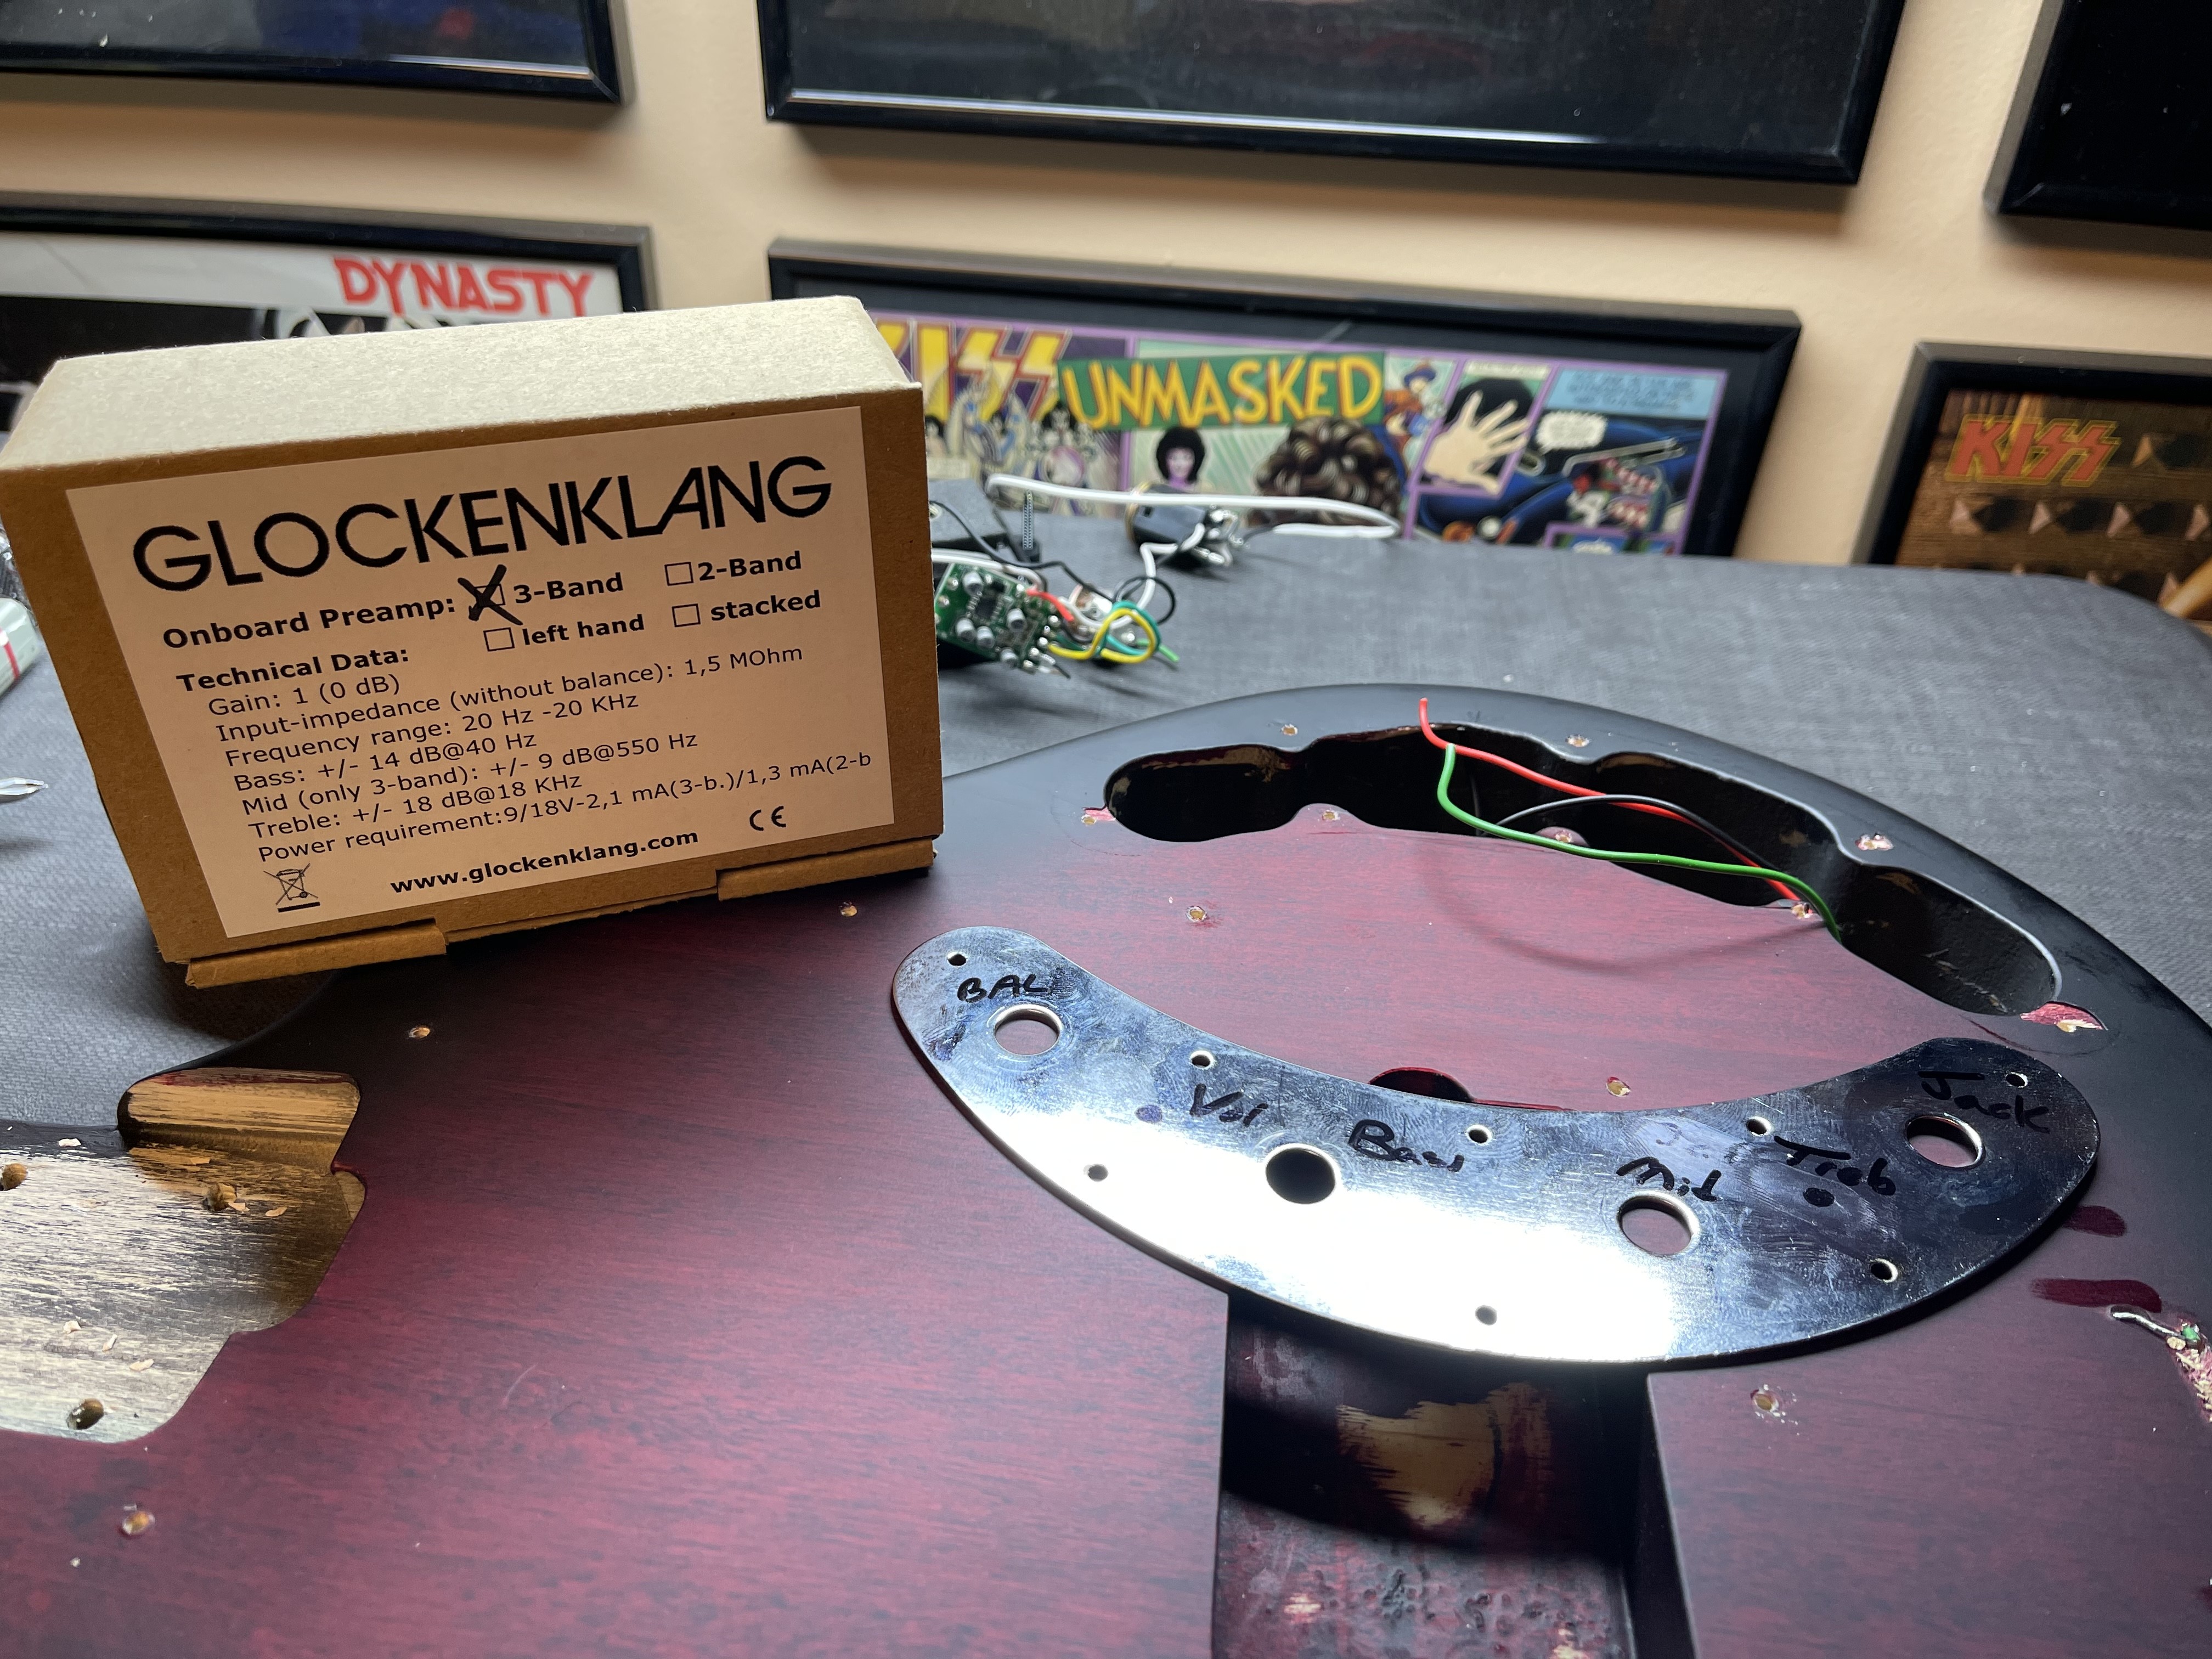
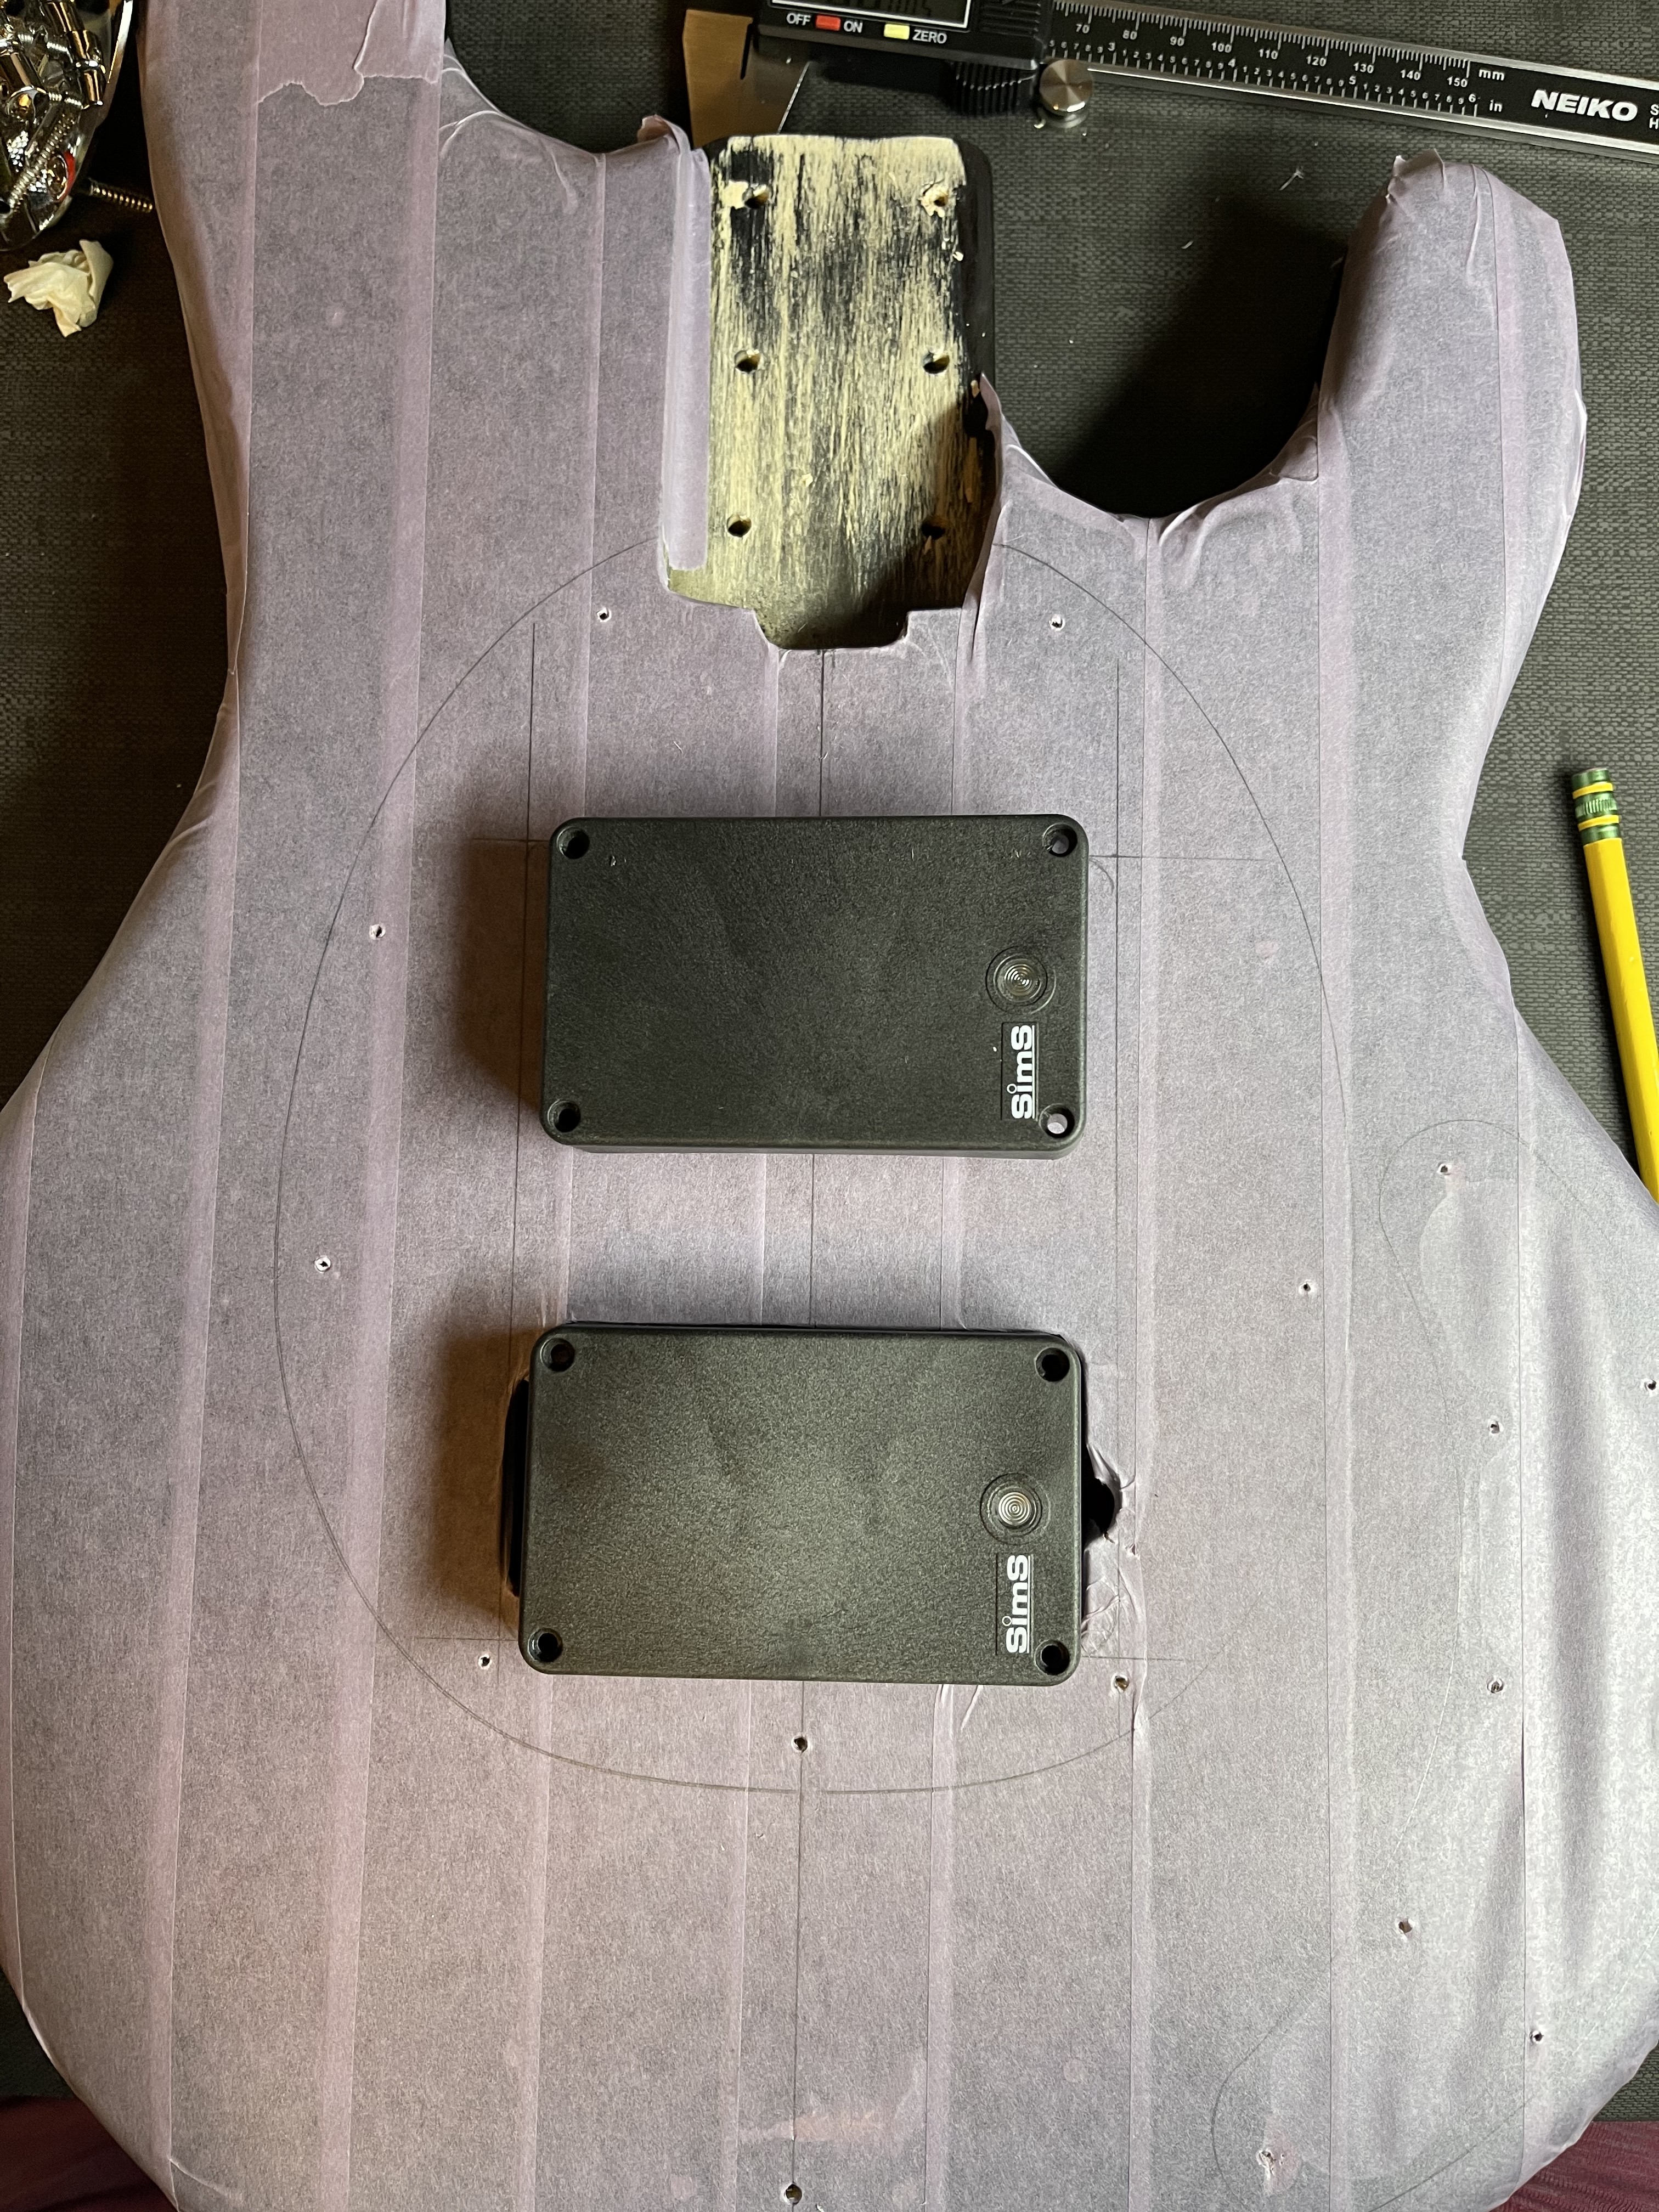
The first test case will be the electronics that will ultimately go into a custom design bass I am working on. But since that will take a long time to design/build, I thought I would use this project to test out the selected electronics: 2 - Sims Quad 4 pickups with a Glockenklang 3-band active/passive preamp.
The Sims pickups were chosen because they can be set to emulate a J, P or MM configuration all in the same pickup. With two pickups you have 15 combinations of pickup configurations to fiddle with and find tones etc from. Mark Smith from Talkingbass.net has these pickups in one of his basses.
The Glockenklang was chosen for two reasons. It is the recommended preamp for the Sims, and, it has a clean ‘pass-through’ tone vs. the other contender, the Aguilar OPB-3, which is described to color the tone on the active side much different to the passive.
The test bed:
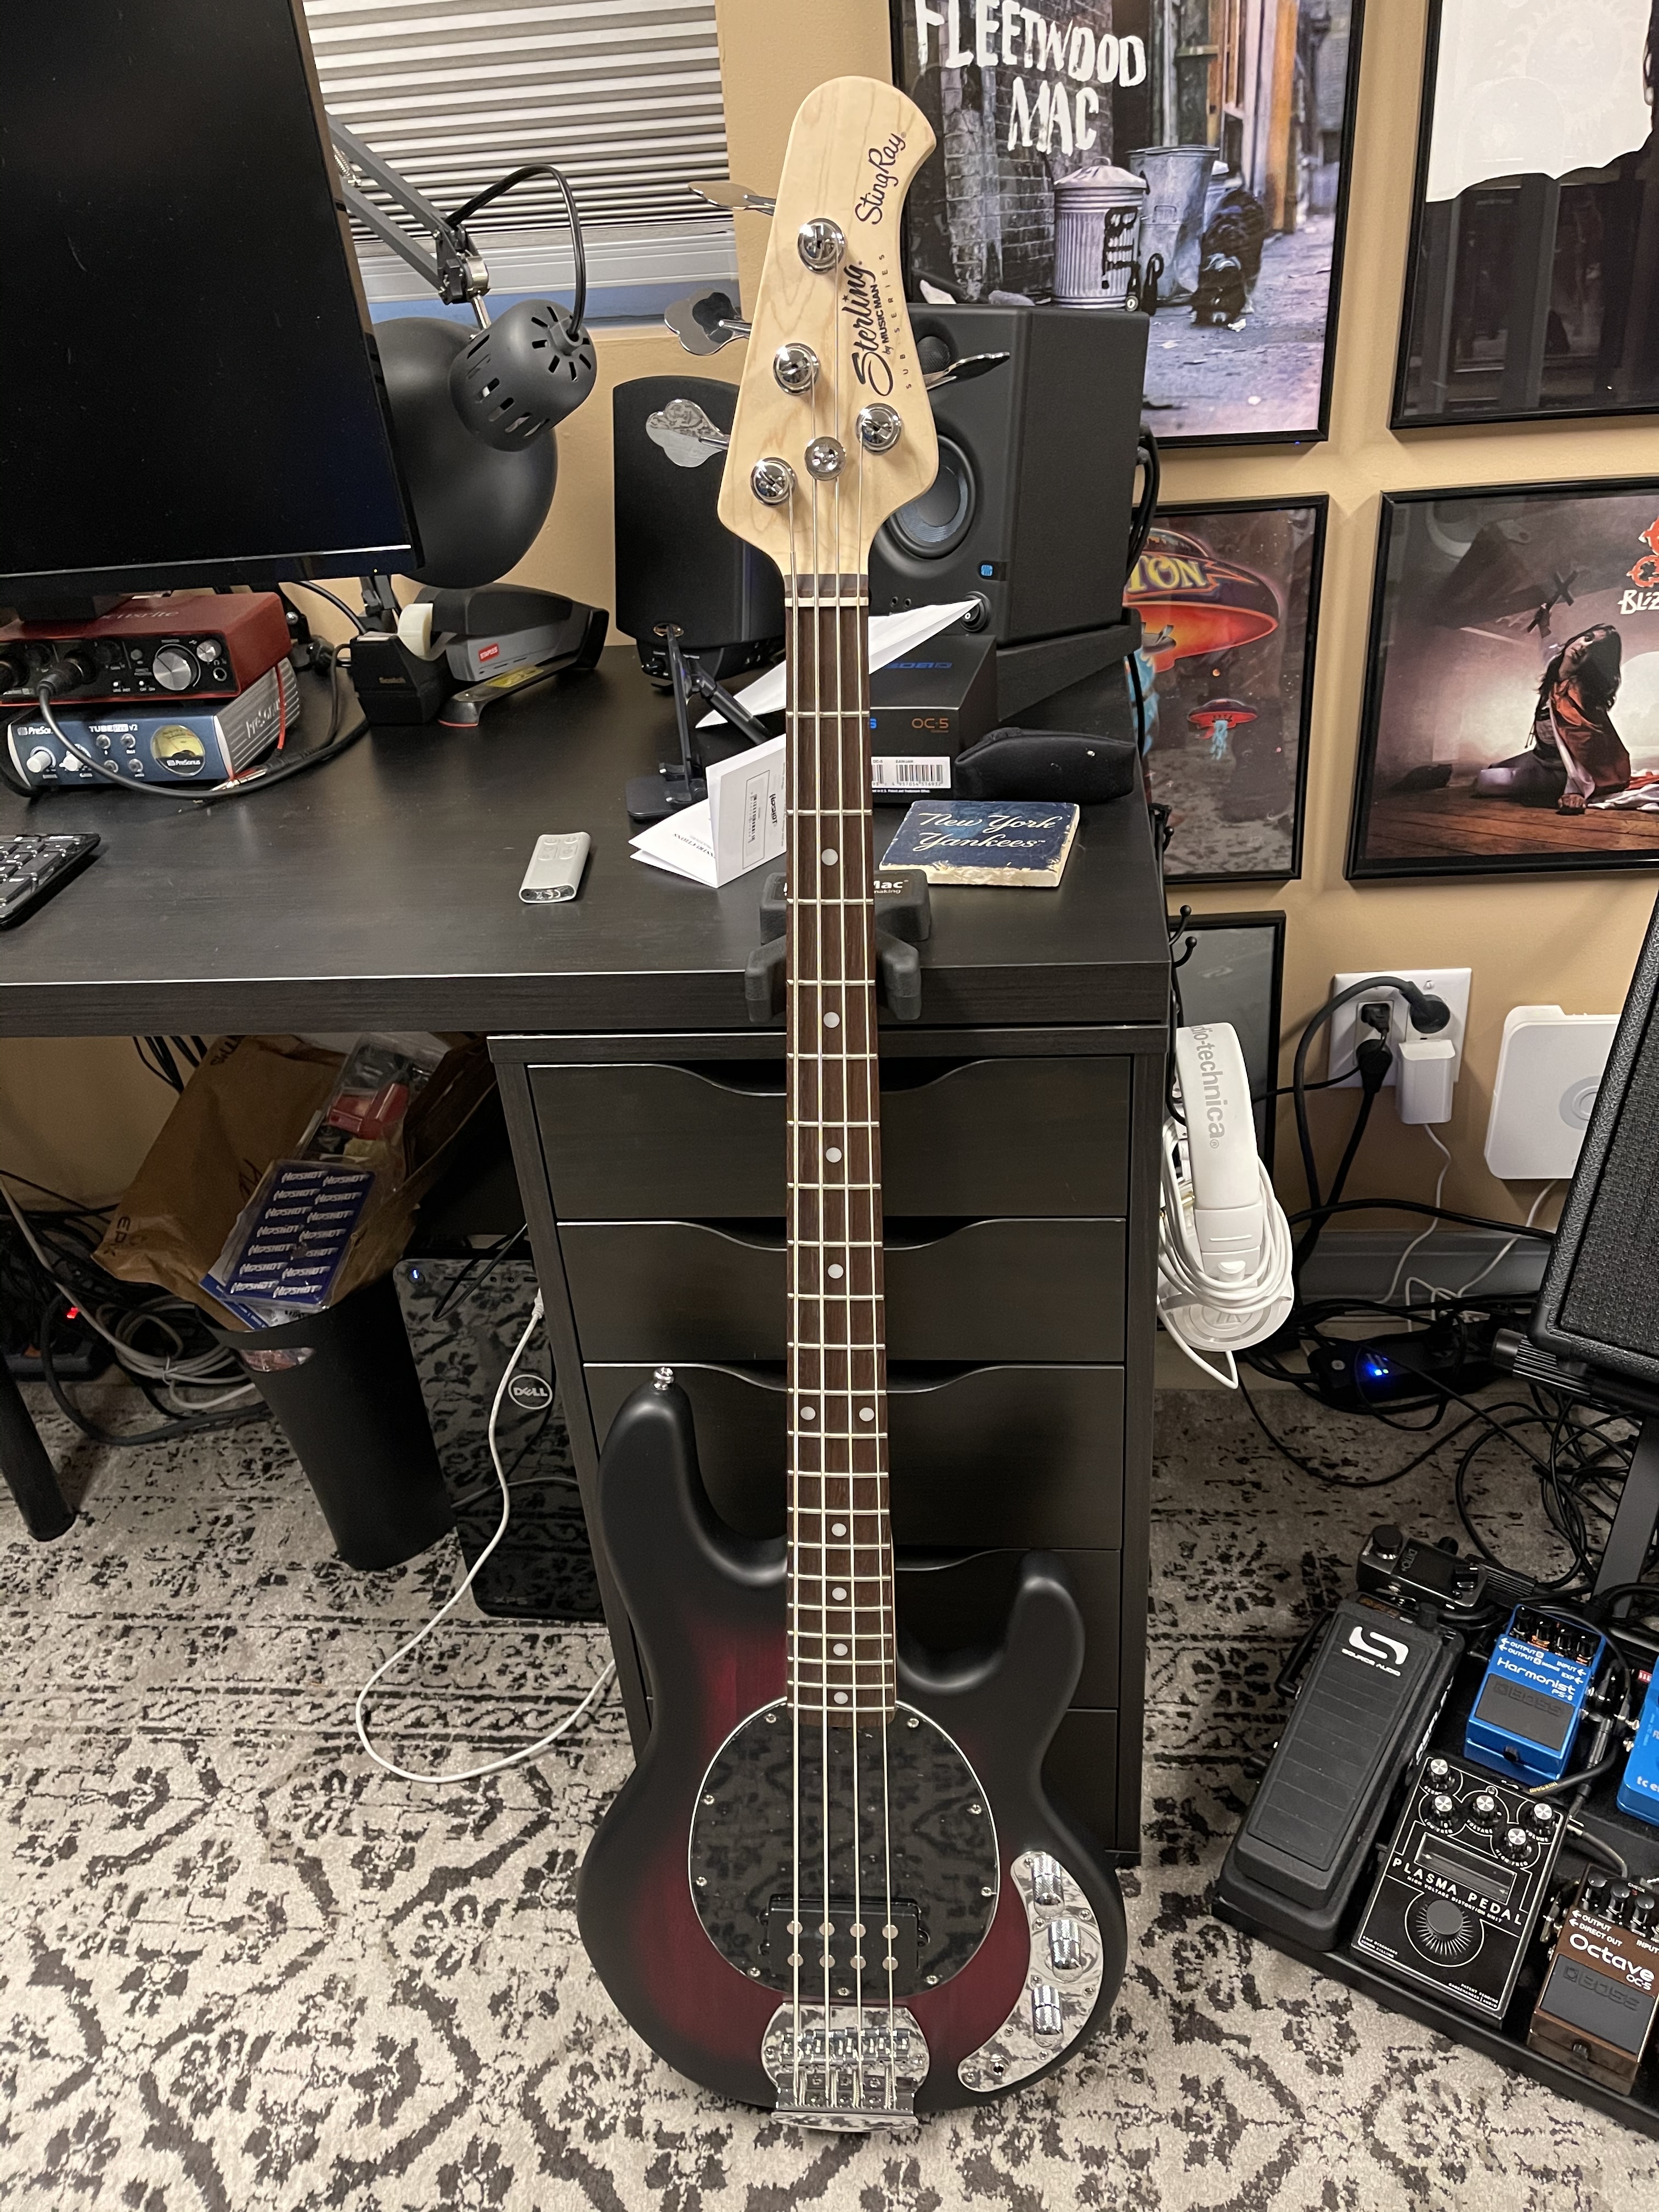
After some researching, and bargain shopping, I selected a Sterling Stingray Ray4 to mod for the project. It was chosen for several reasons. It’s an active system so a battery compartment and sizable control cavity already exist. It also will allow for some very simple routing to open up the pickup area for the Sims or other pickups. It has a pickguard that covers enough real estate to hide the bigger pickup cavity that will be cut. And, it was dirt cheap. I picked up a blemished model from wwbw.com (Guitar Center’s sister company) and used some leftover reward points from the site to get it for $201 delivered.
After a quick play as was, I stripped her down fully to start working on the body mods.
The neck will get a good cleaning and oiling of the fretboard in the meantime.
That’s an interesting choice - I would have gone the other way to expand the tonal capability of the bass.
Early on in exploring preamps I realized that I was not interested in transparent preamps at all and really loved the ones that added color to the tone.
Yeah looking at the picture, one idea I has was that since the pickguard will hide it anyway, you may end up just routing out a big trench down the middle of the bass so you can move the Sims around until you find the optimal positioning for you. Then cut the final pickguard to match.
Bonus that it will lighten the bass up a bunch. May end up with unusual tone but that’s probably ok for this project? May require some surgery to resurrect it as a Frankenray later, if you care about that and aren’t going to just chuck it when done.
I did go back and forth on this one, but ultimately decided, at least for now, that I wanted to hear the pickups clean in both modes. The good news is I can always swap it out and try the Aguilar before the pickups move to their forever bass.
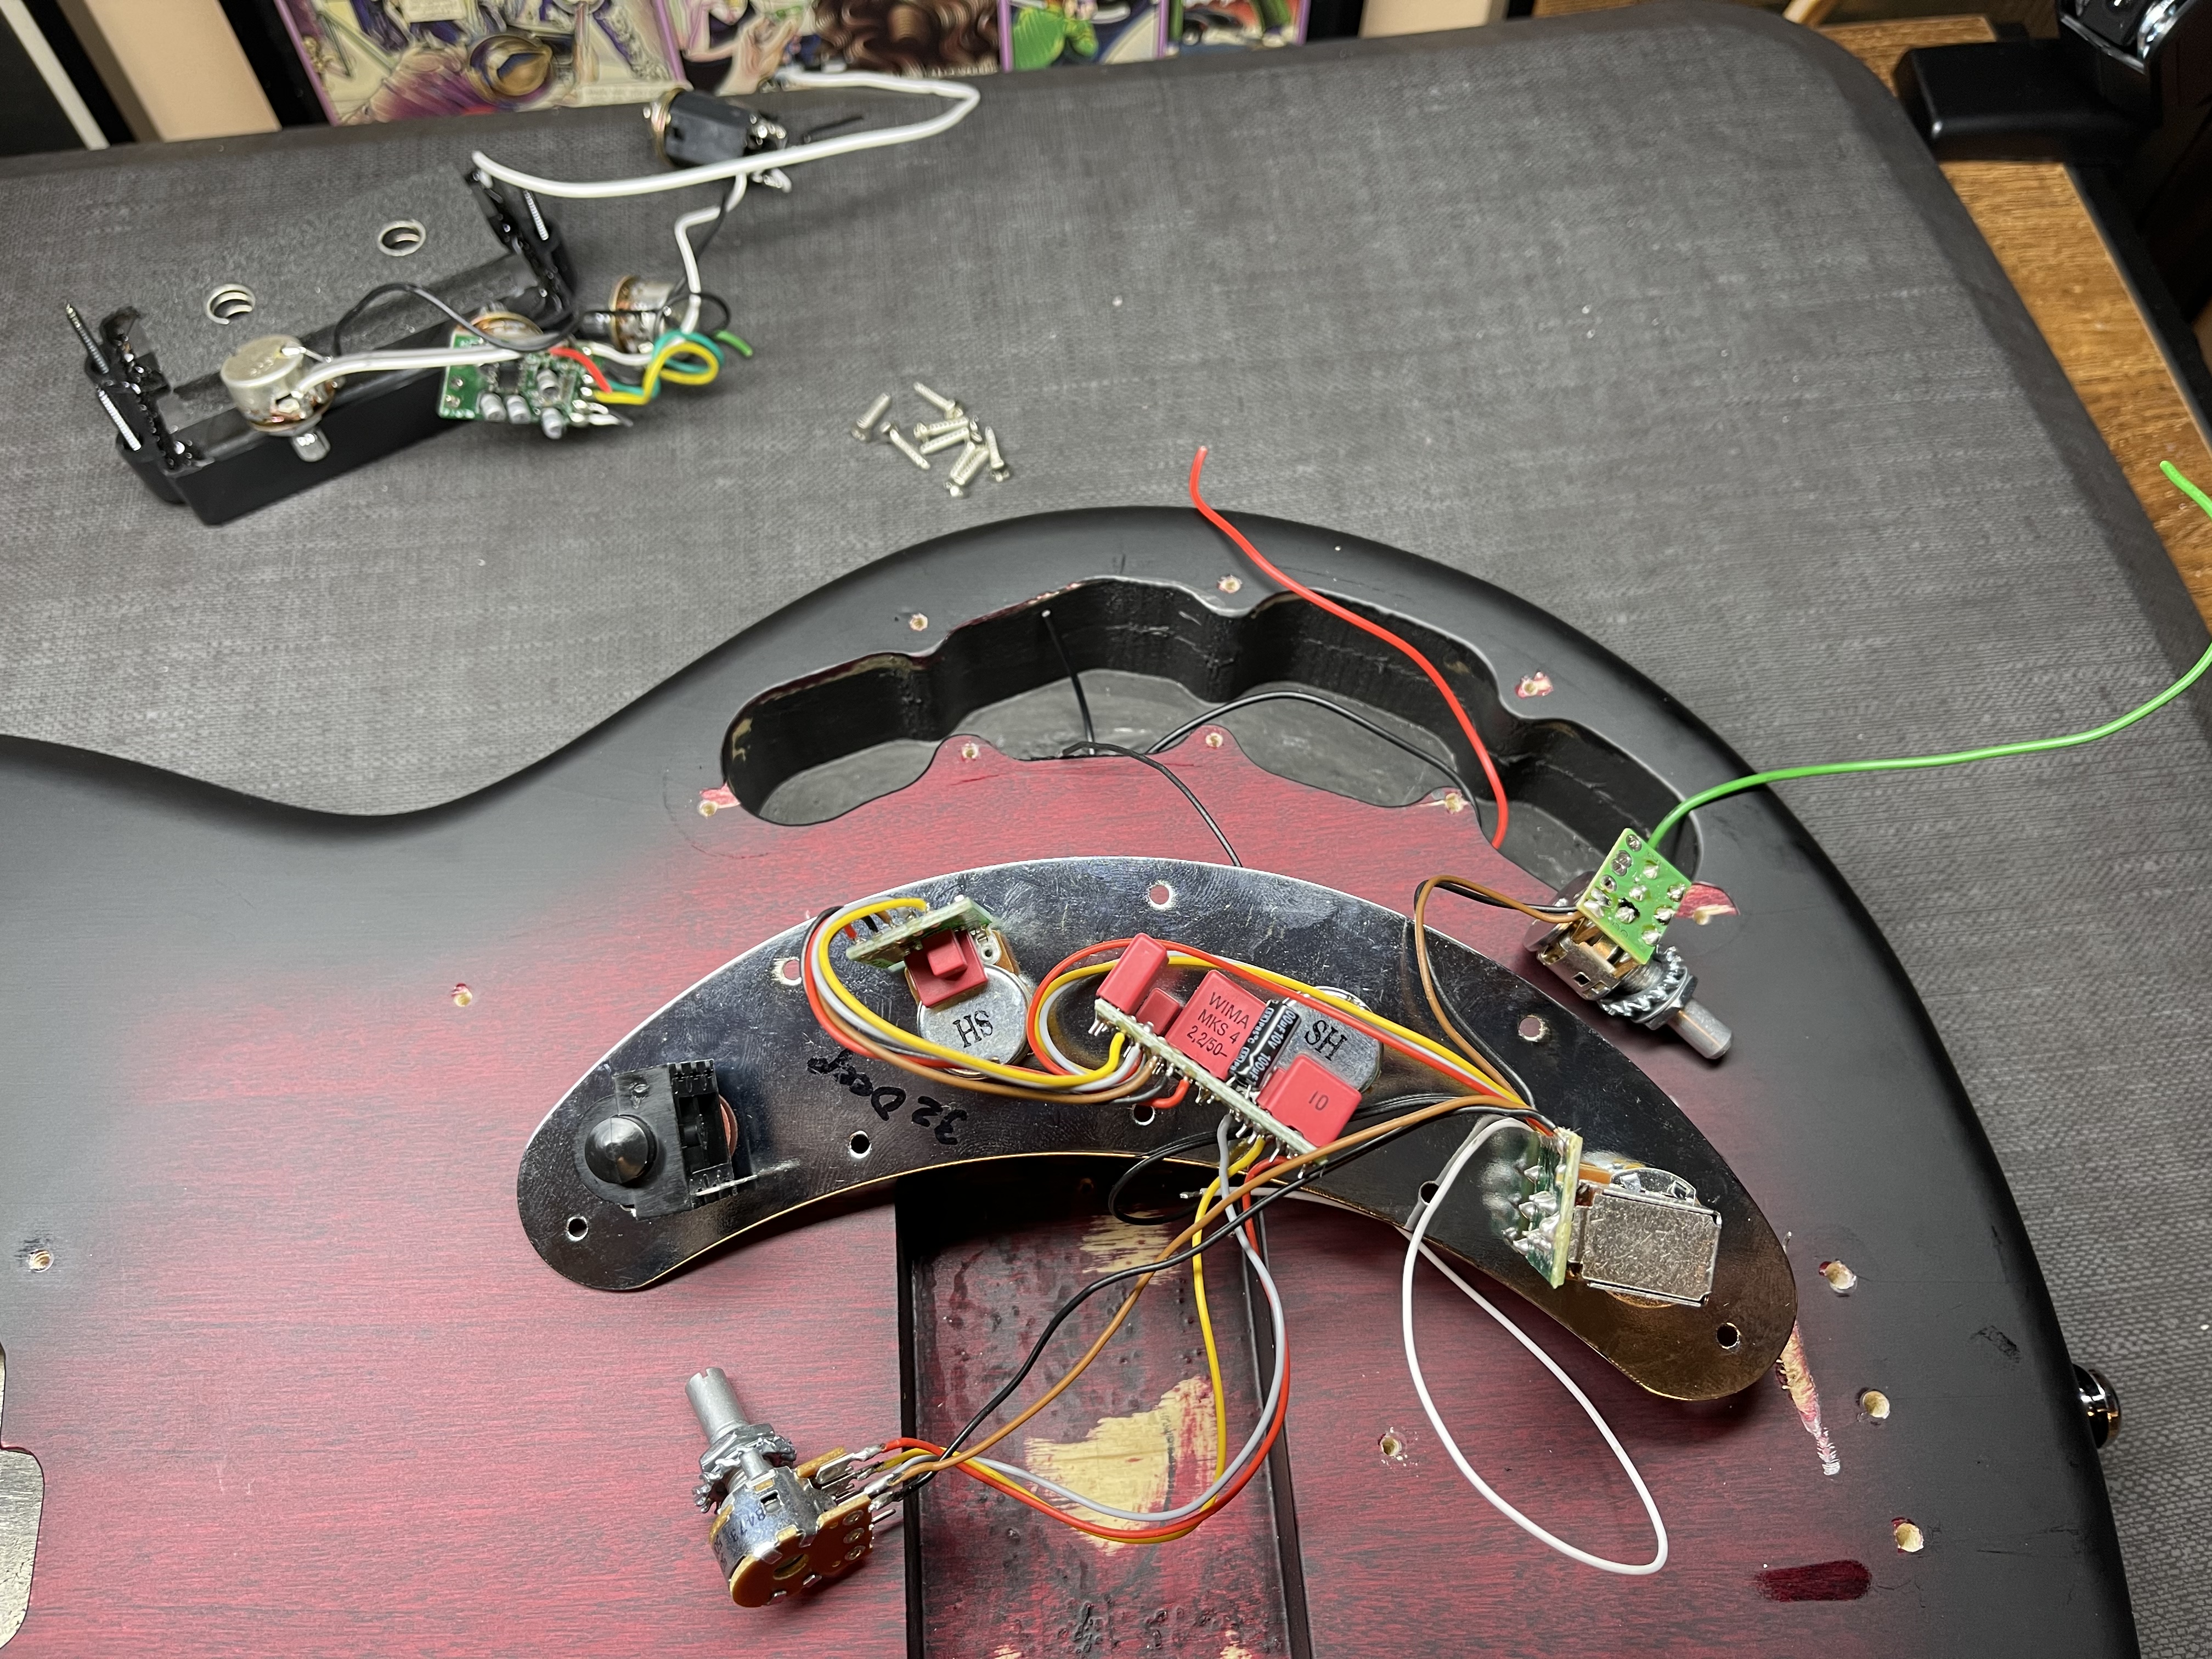
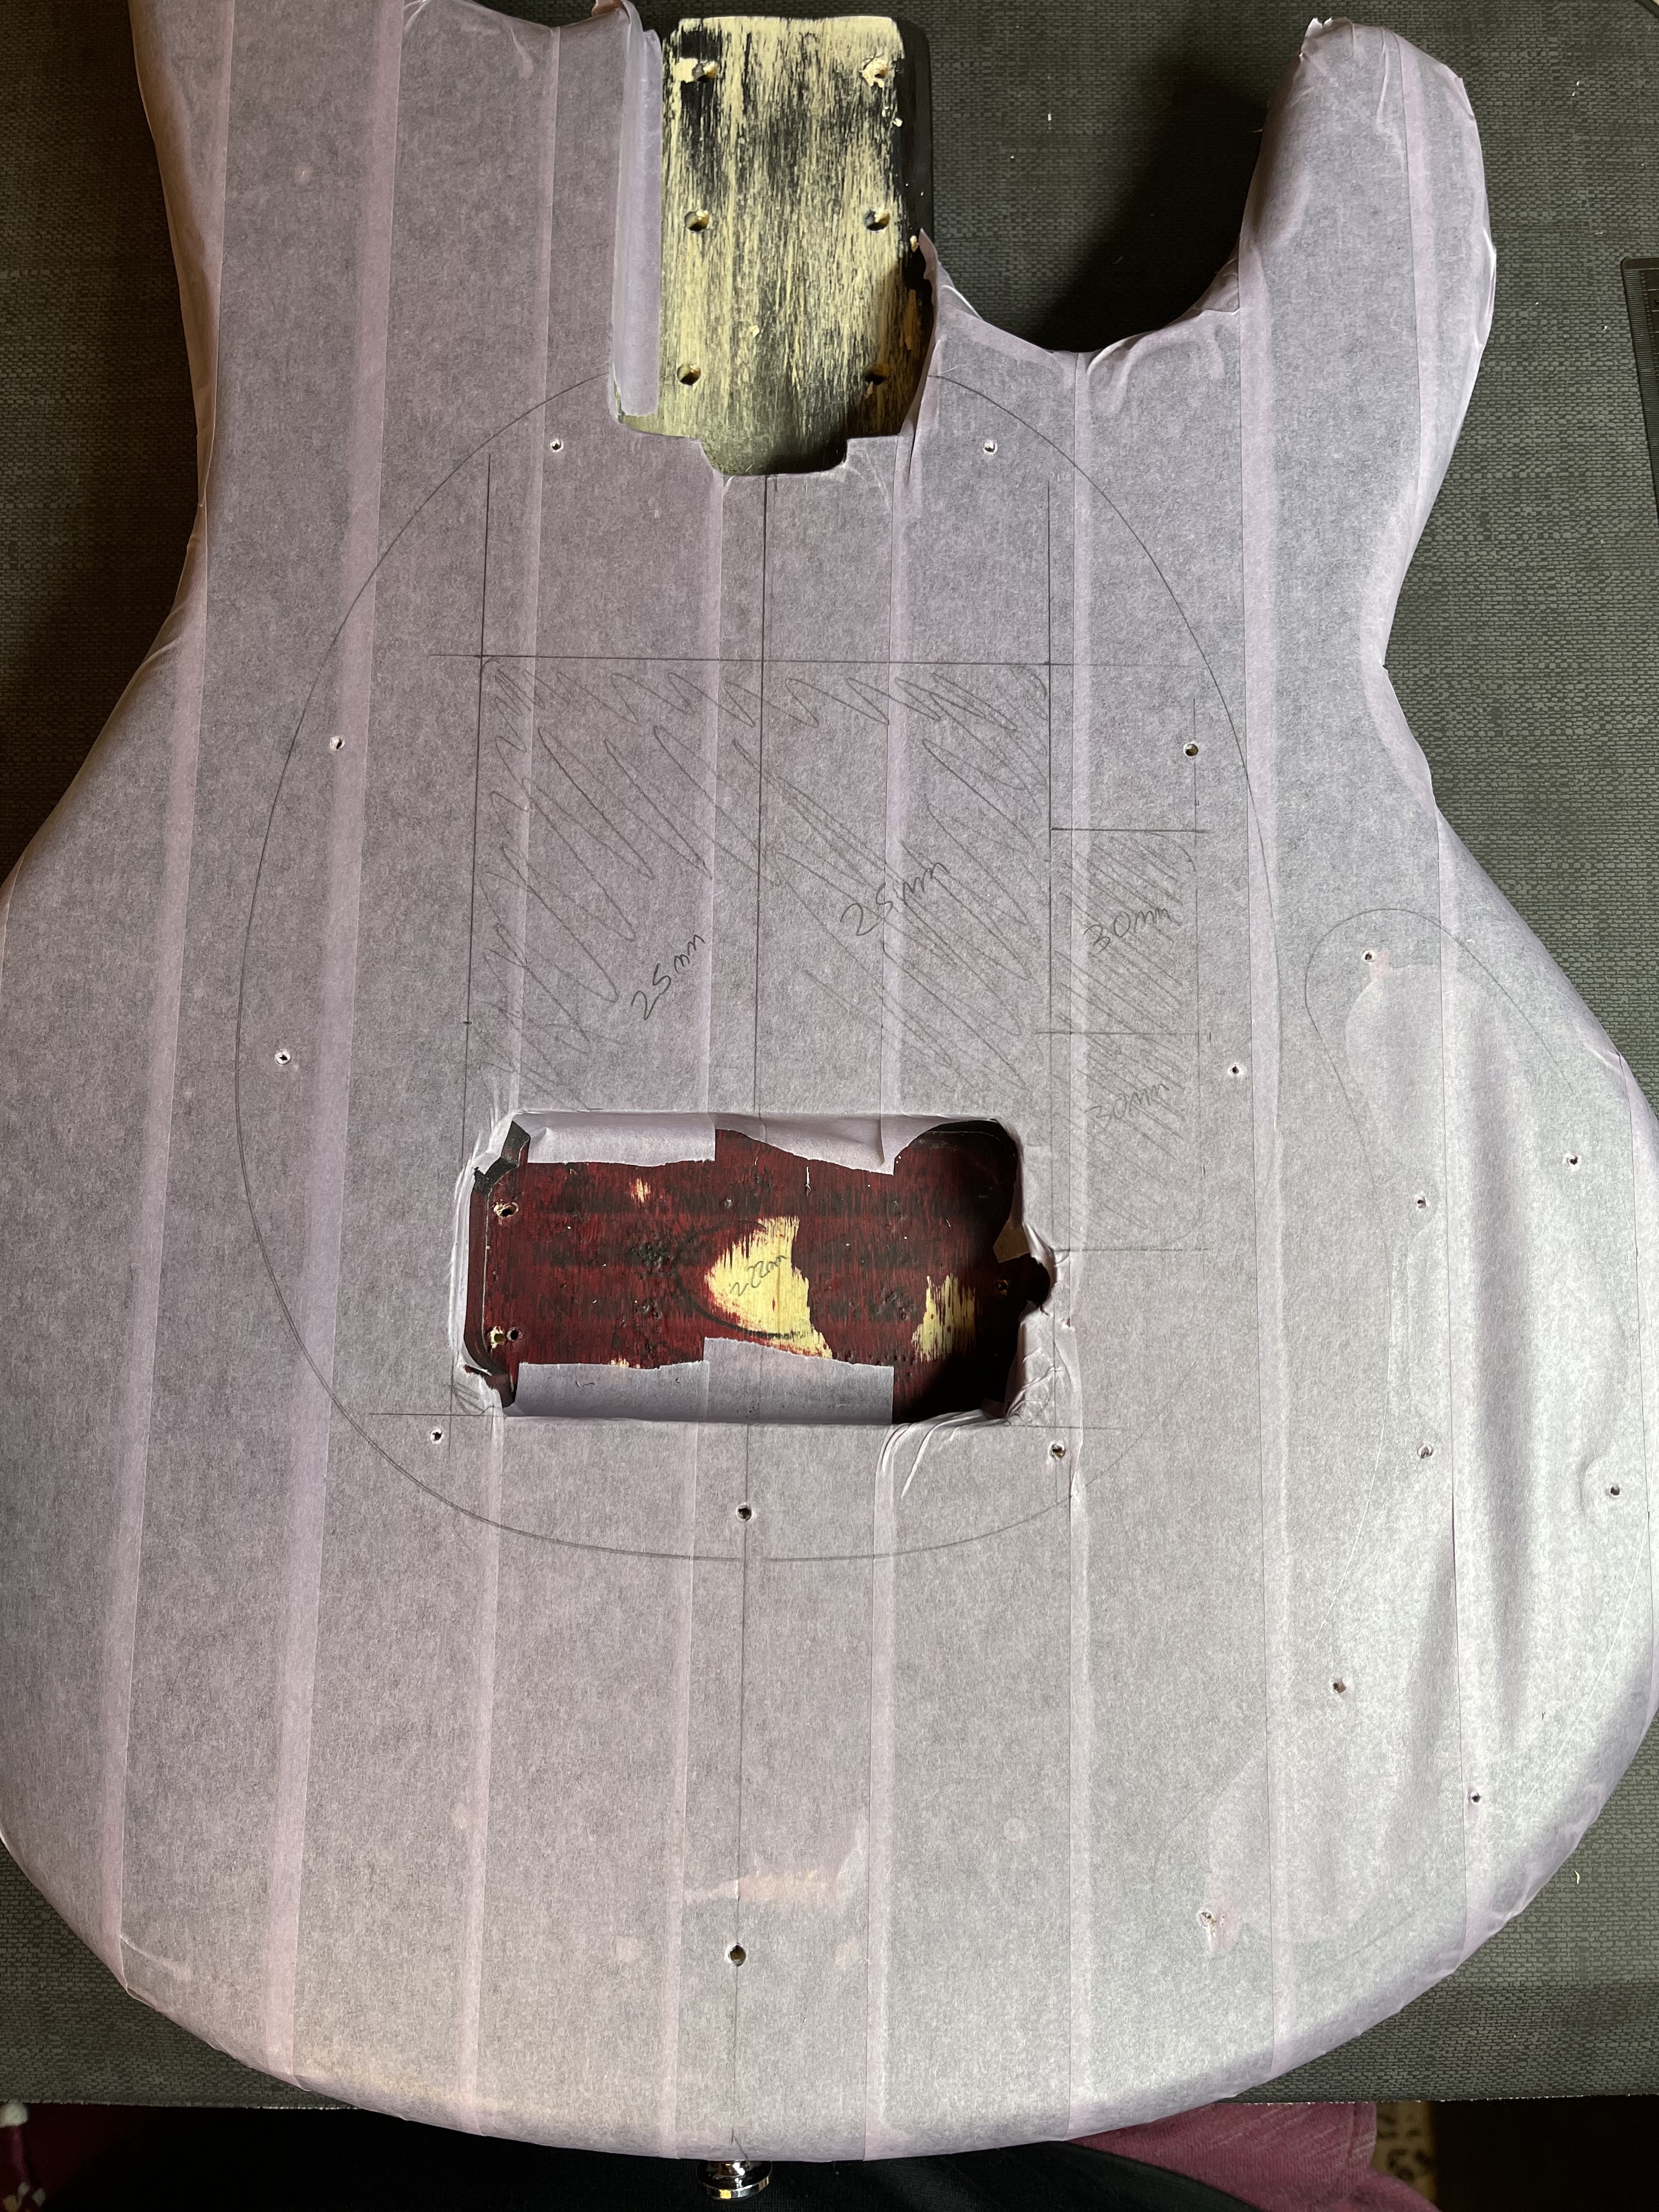
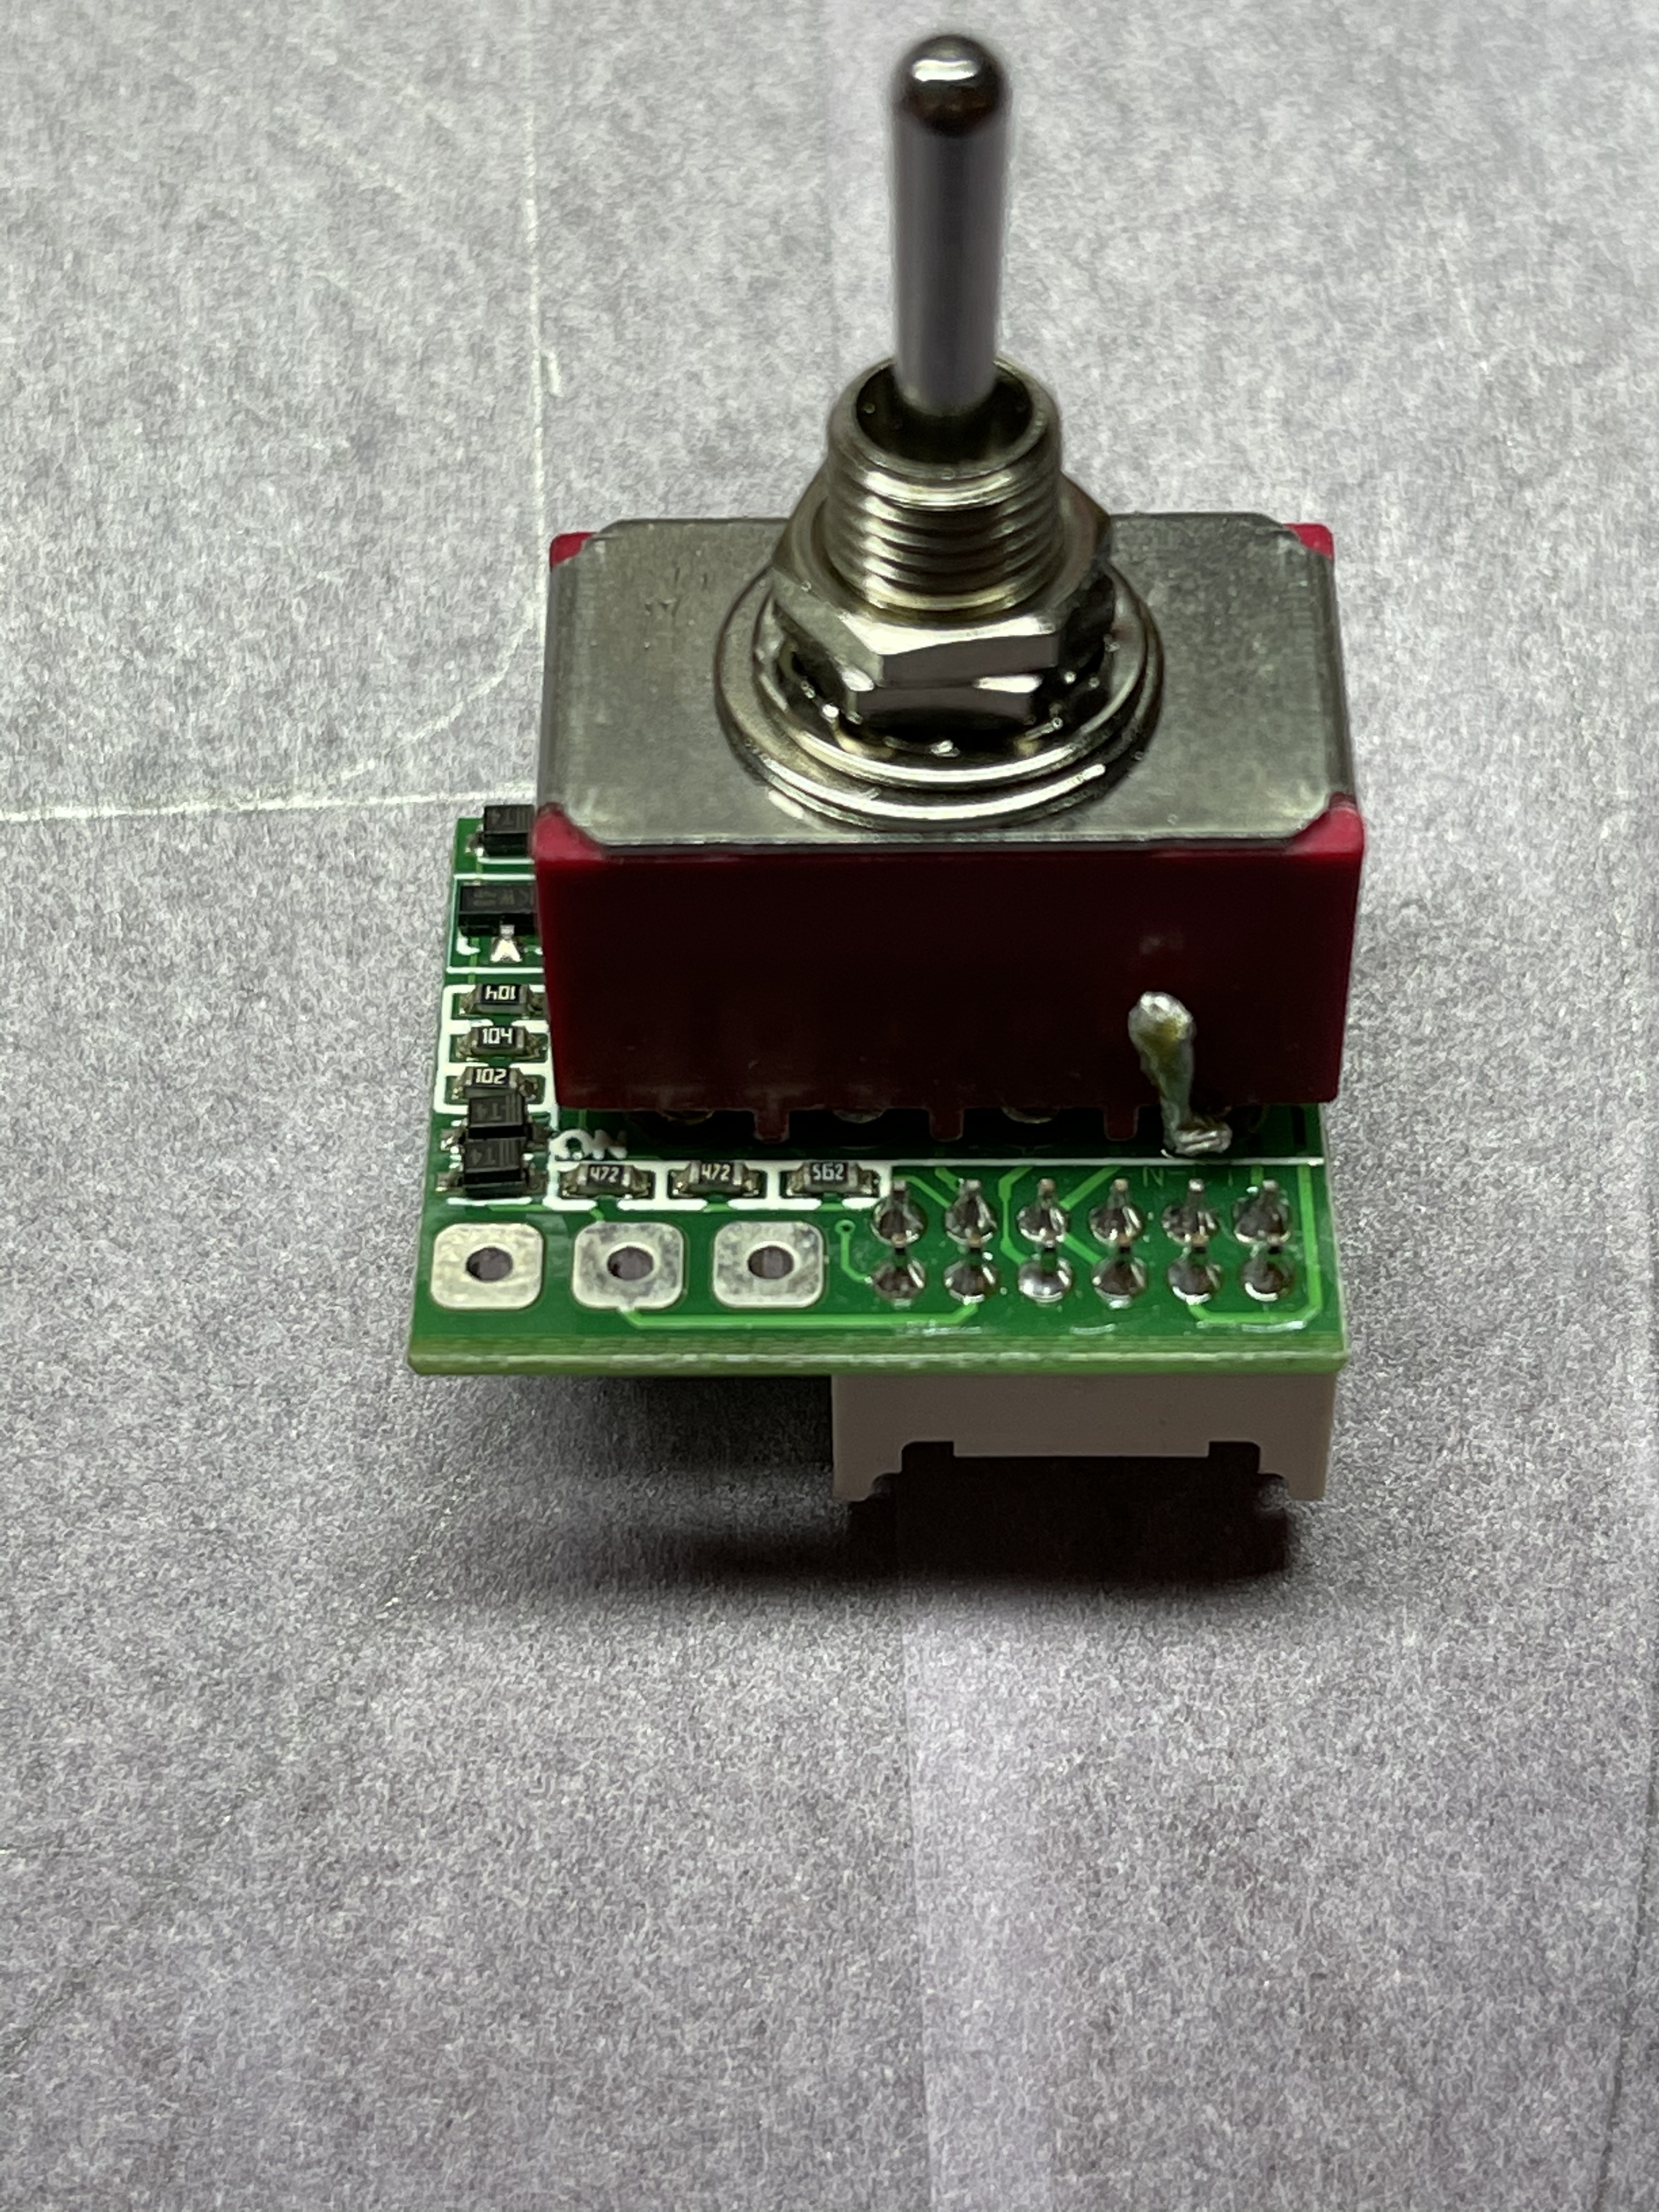
The preamp has 5 knobs and the output jack, which has to fit under the plate that held 3 knobs. The preamp has volume, pickup blend, bass, mid, treble knobs. The volume knob is push-pull for active/passive. The bass circuit board is pretty big and dictated knob layout a bit. The other factor was the location of the existing channel from the pickup area which connects to the blend pot.
The bass pot circuit board needed a depth of 32mm. Luckily the control cavity was already cut to exactly that!
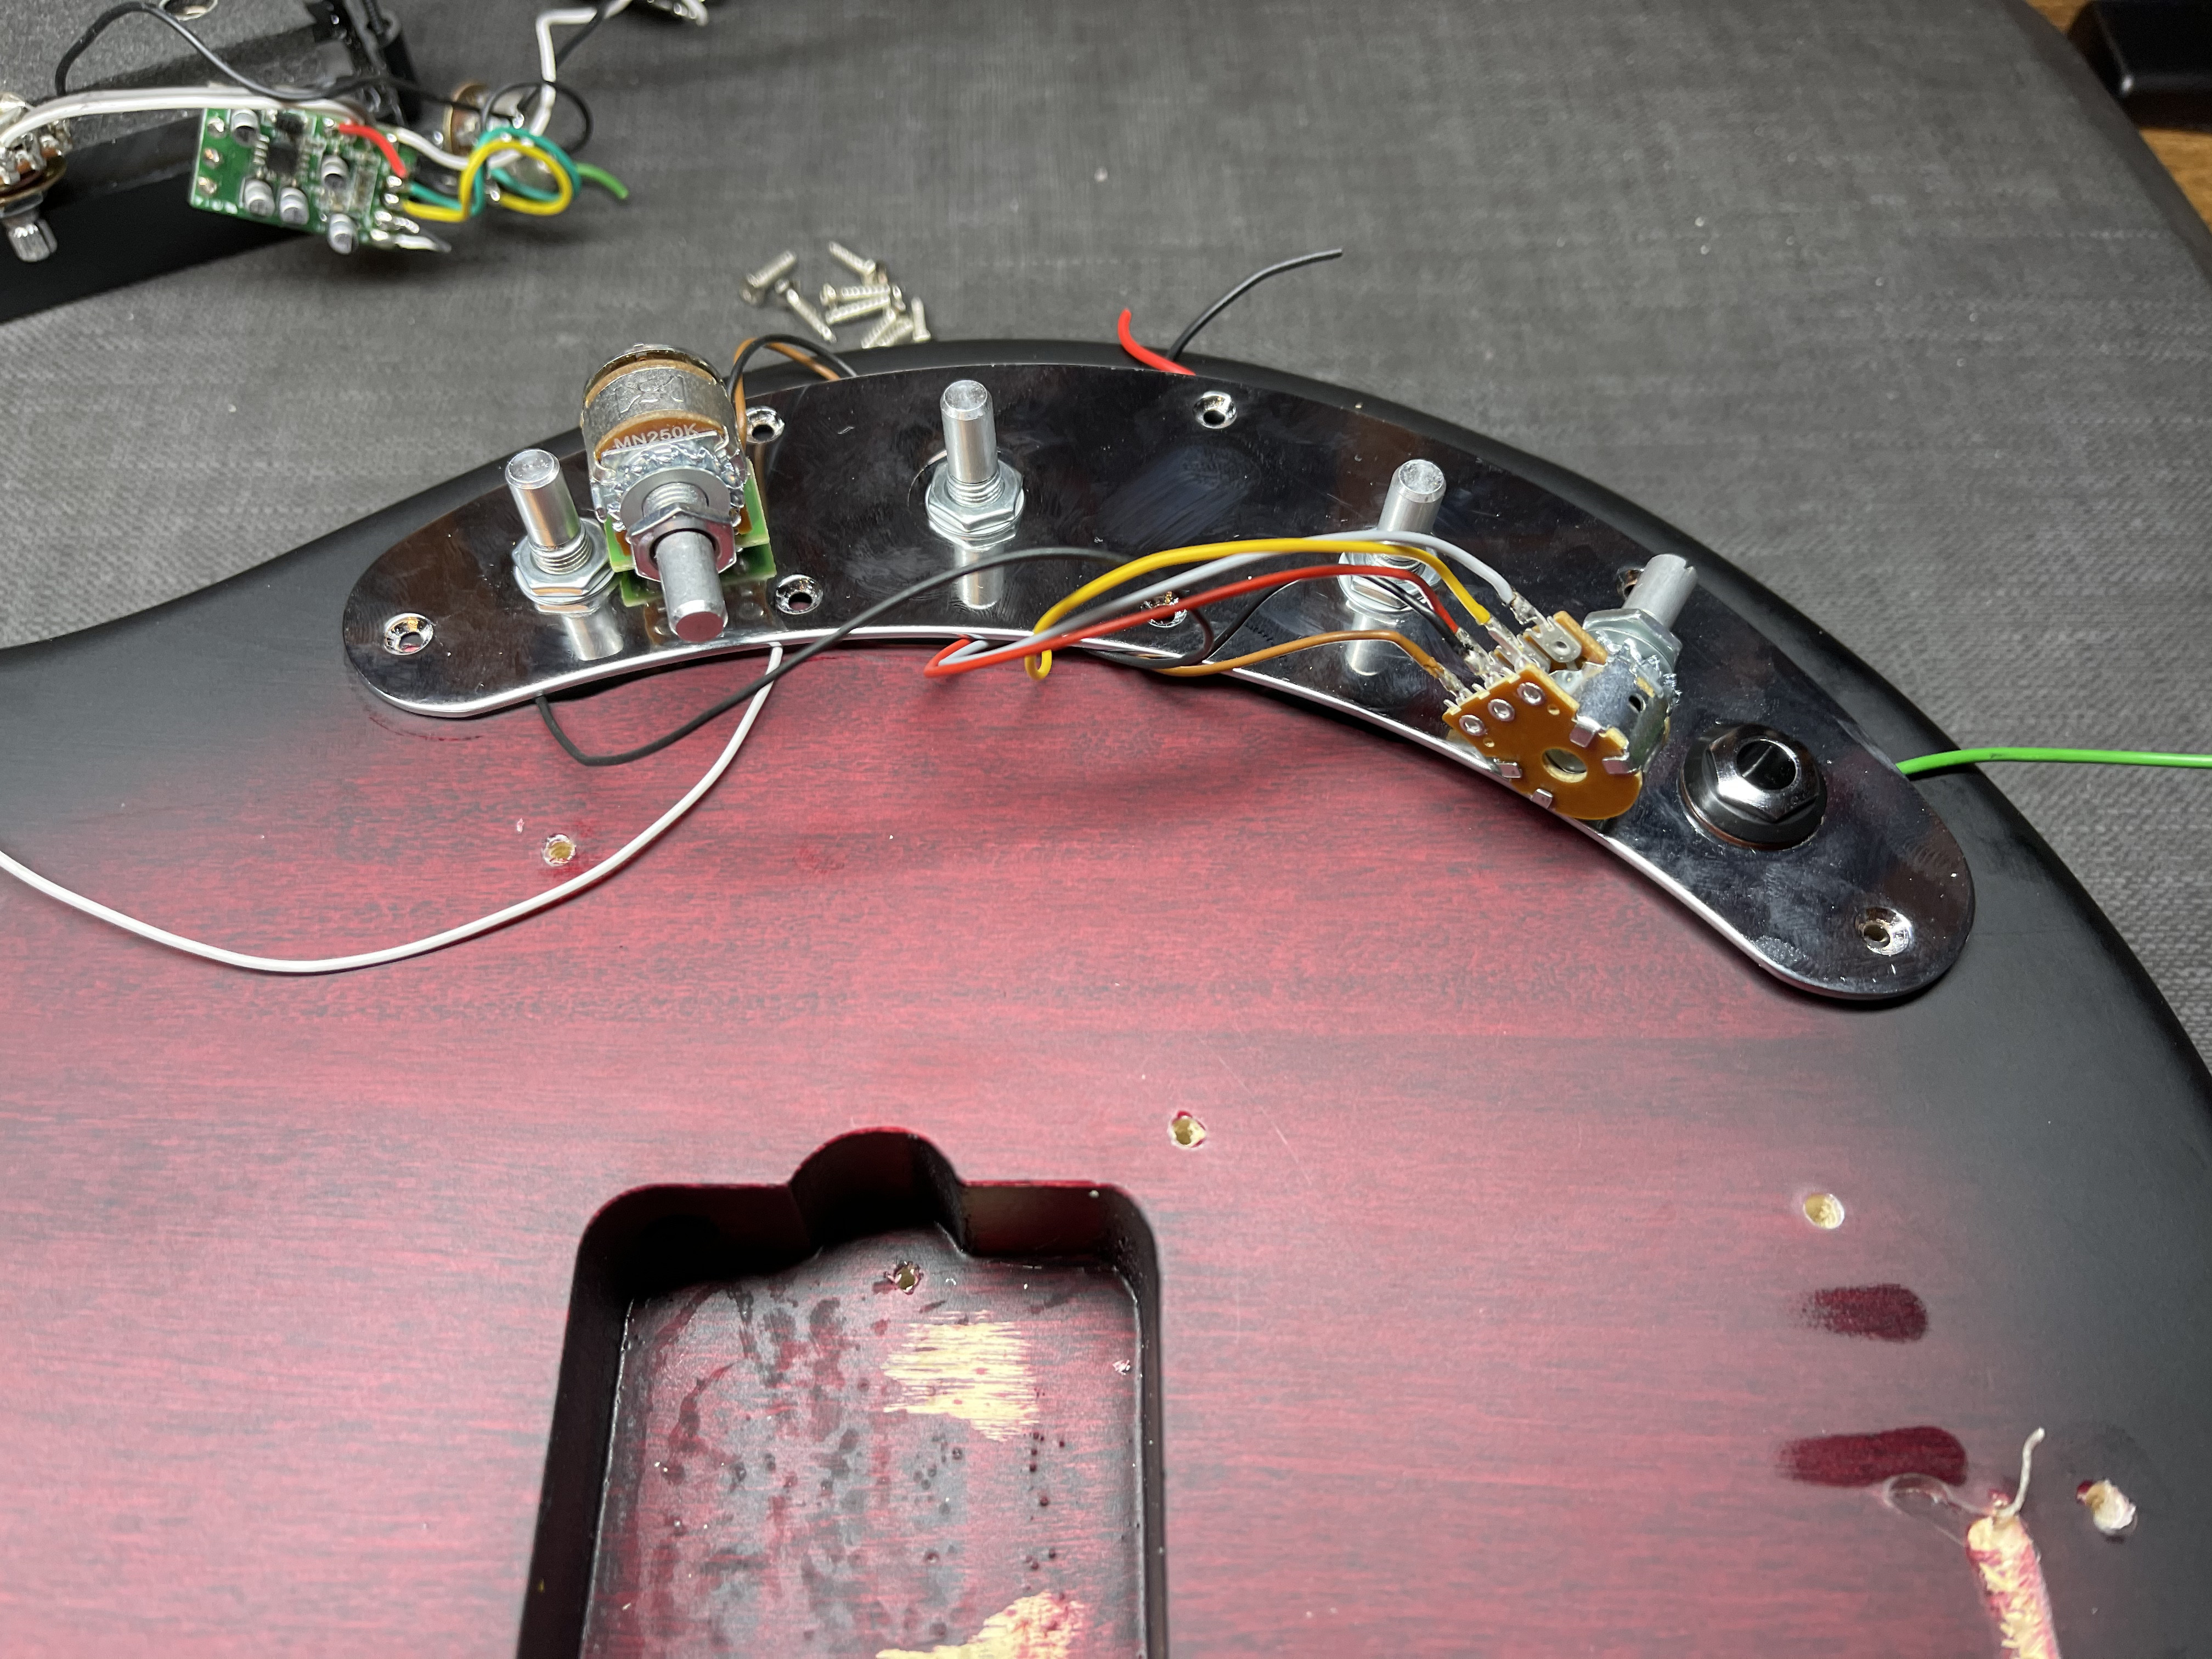
Two new holes will be drilled at the ‘dots’ for the additional two knobs.
The good new is the Sims pickups are about as big as you can get, so one cutout should serve for all in the future.
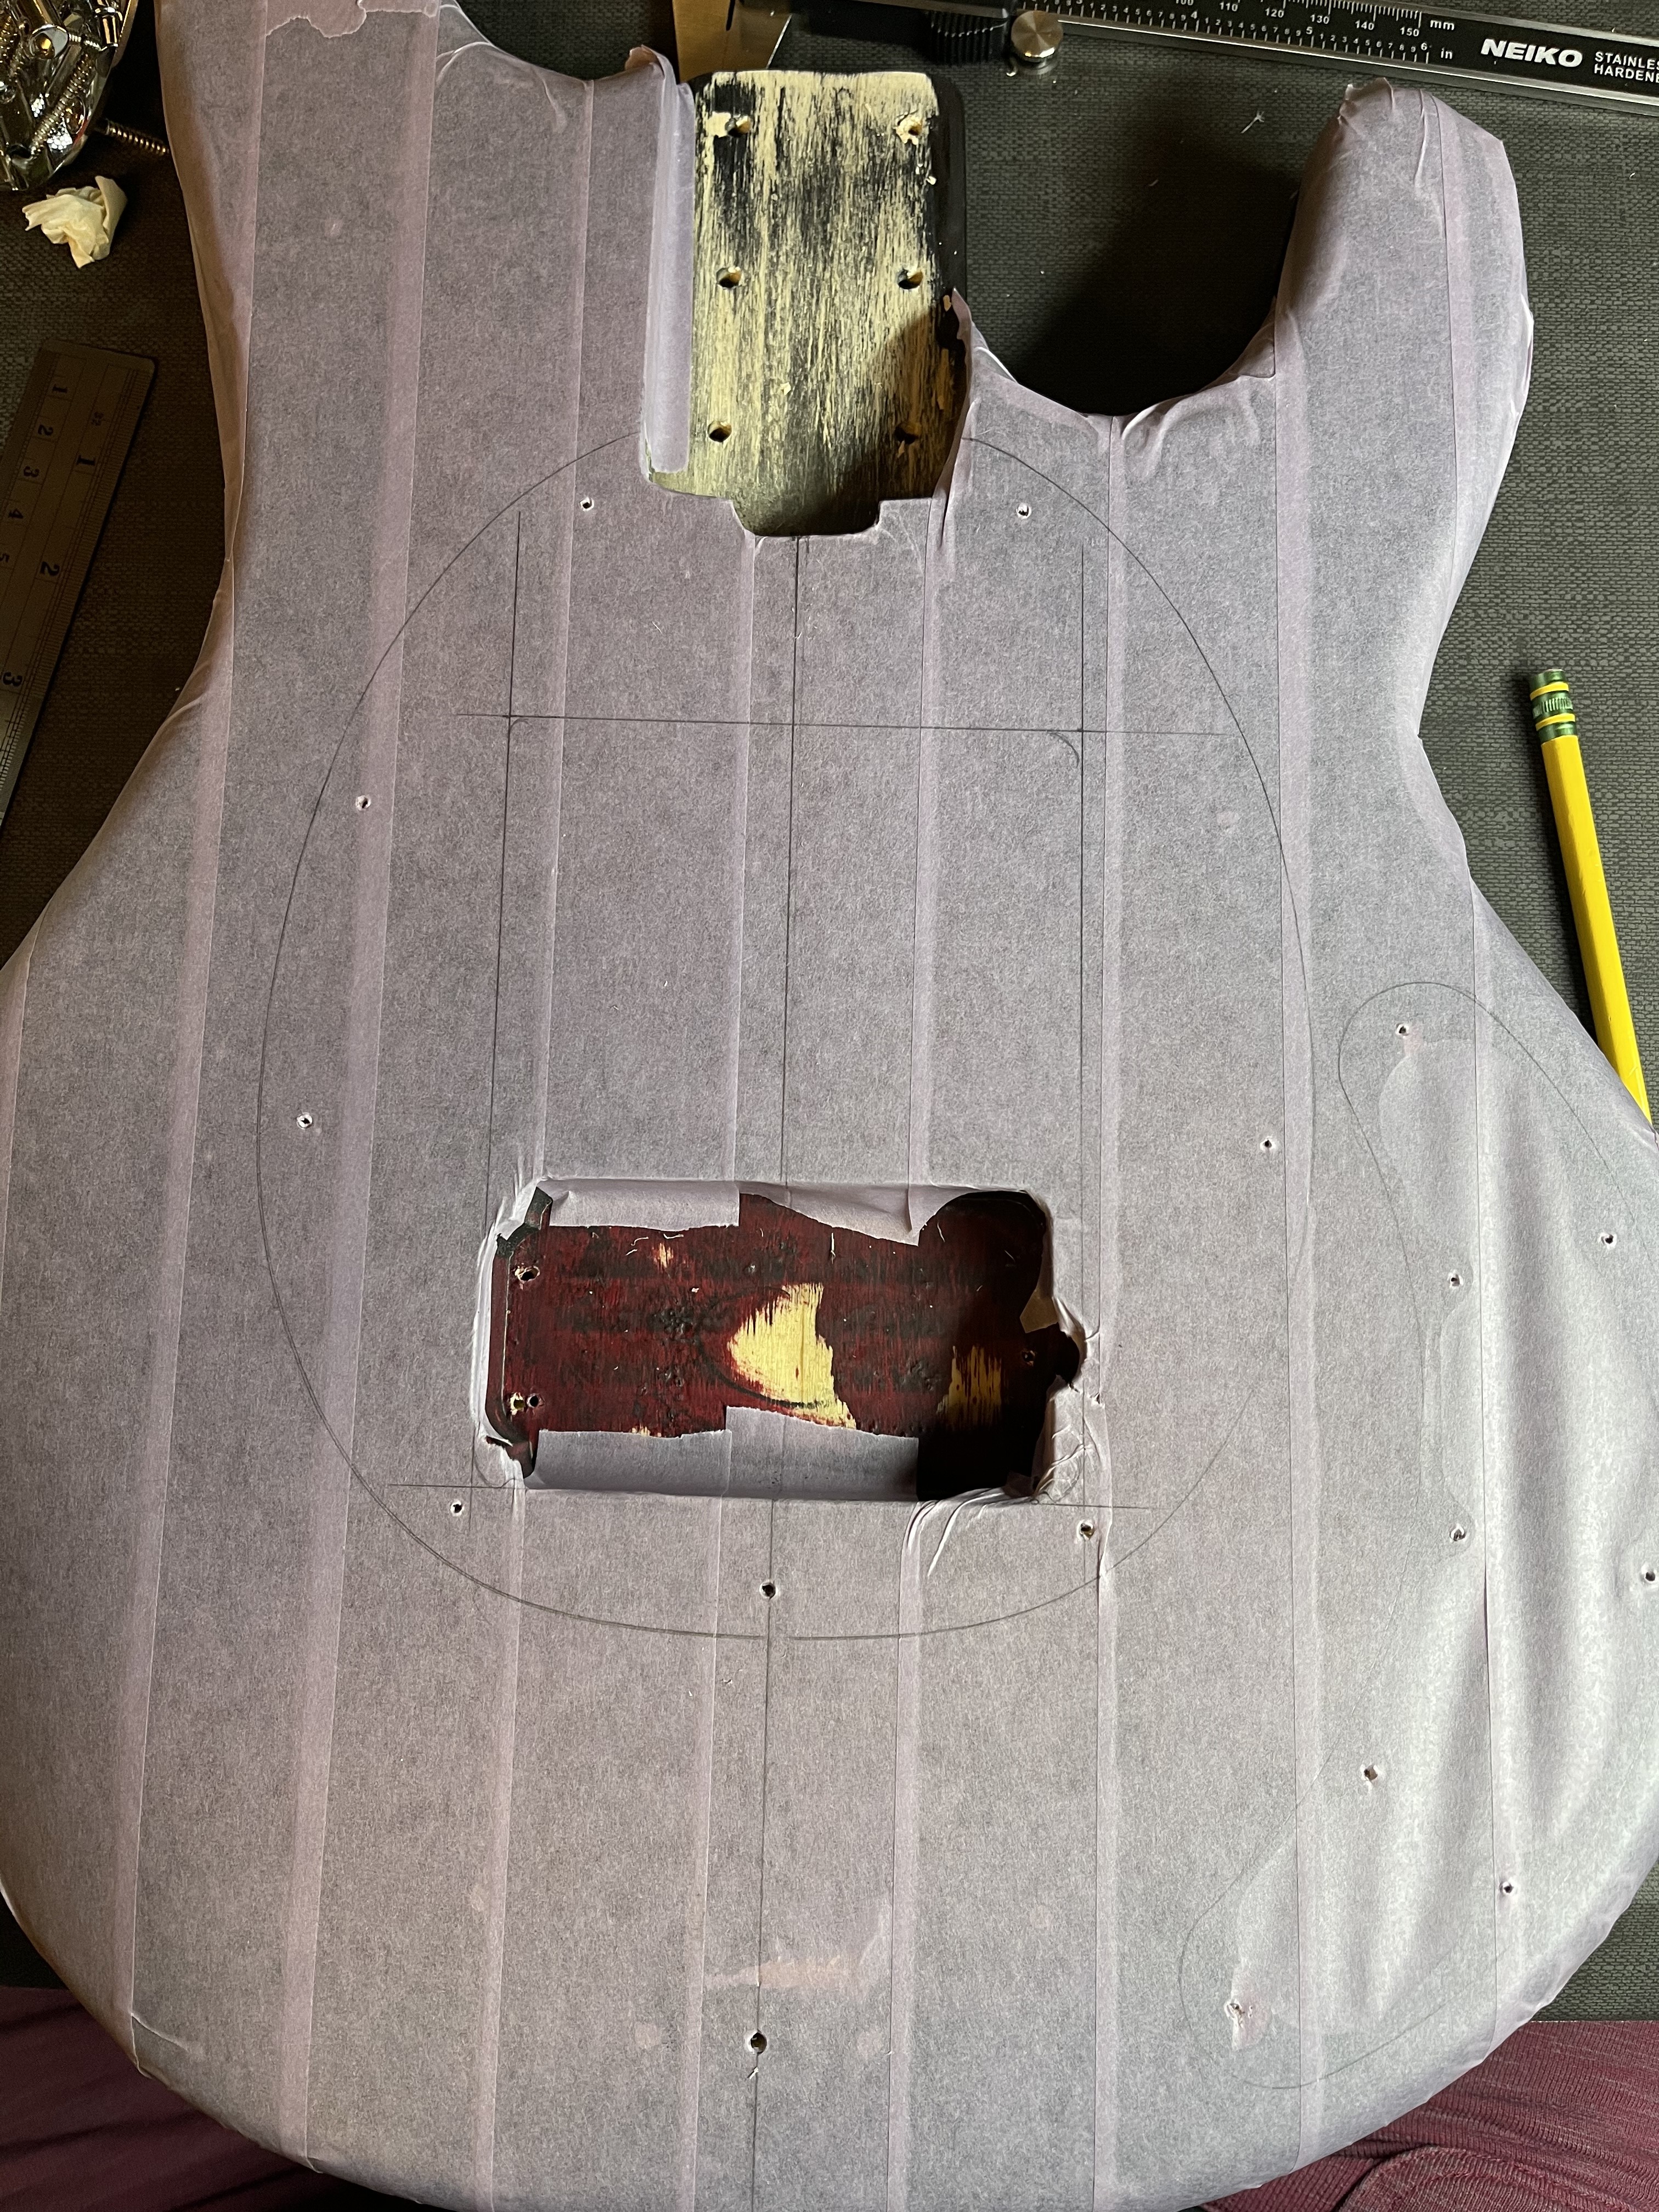
I masked the bass and drew in a centerline and a trace of the pickup guard so I know to stay confined to that area.
Sims recommends an 18mm deep pocket for the pickups, however, they need a 25mm deep channel down the middle for the connecting harness underneath. The Ray4 cavity was already cut to 23mm, so 18 was out of the question. The plan will be to cut down to 25mm in the entire cavity and shim up under the screws with thin basswood board the needed 7mm. Not sure what this will do to tone, we shall see and hear.
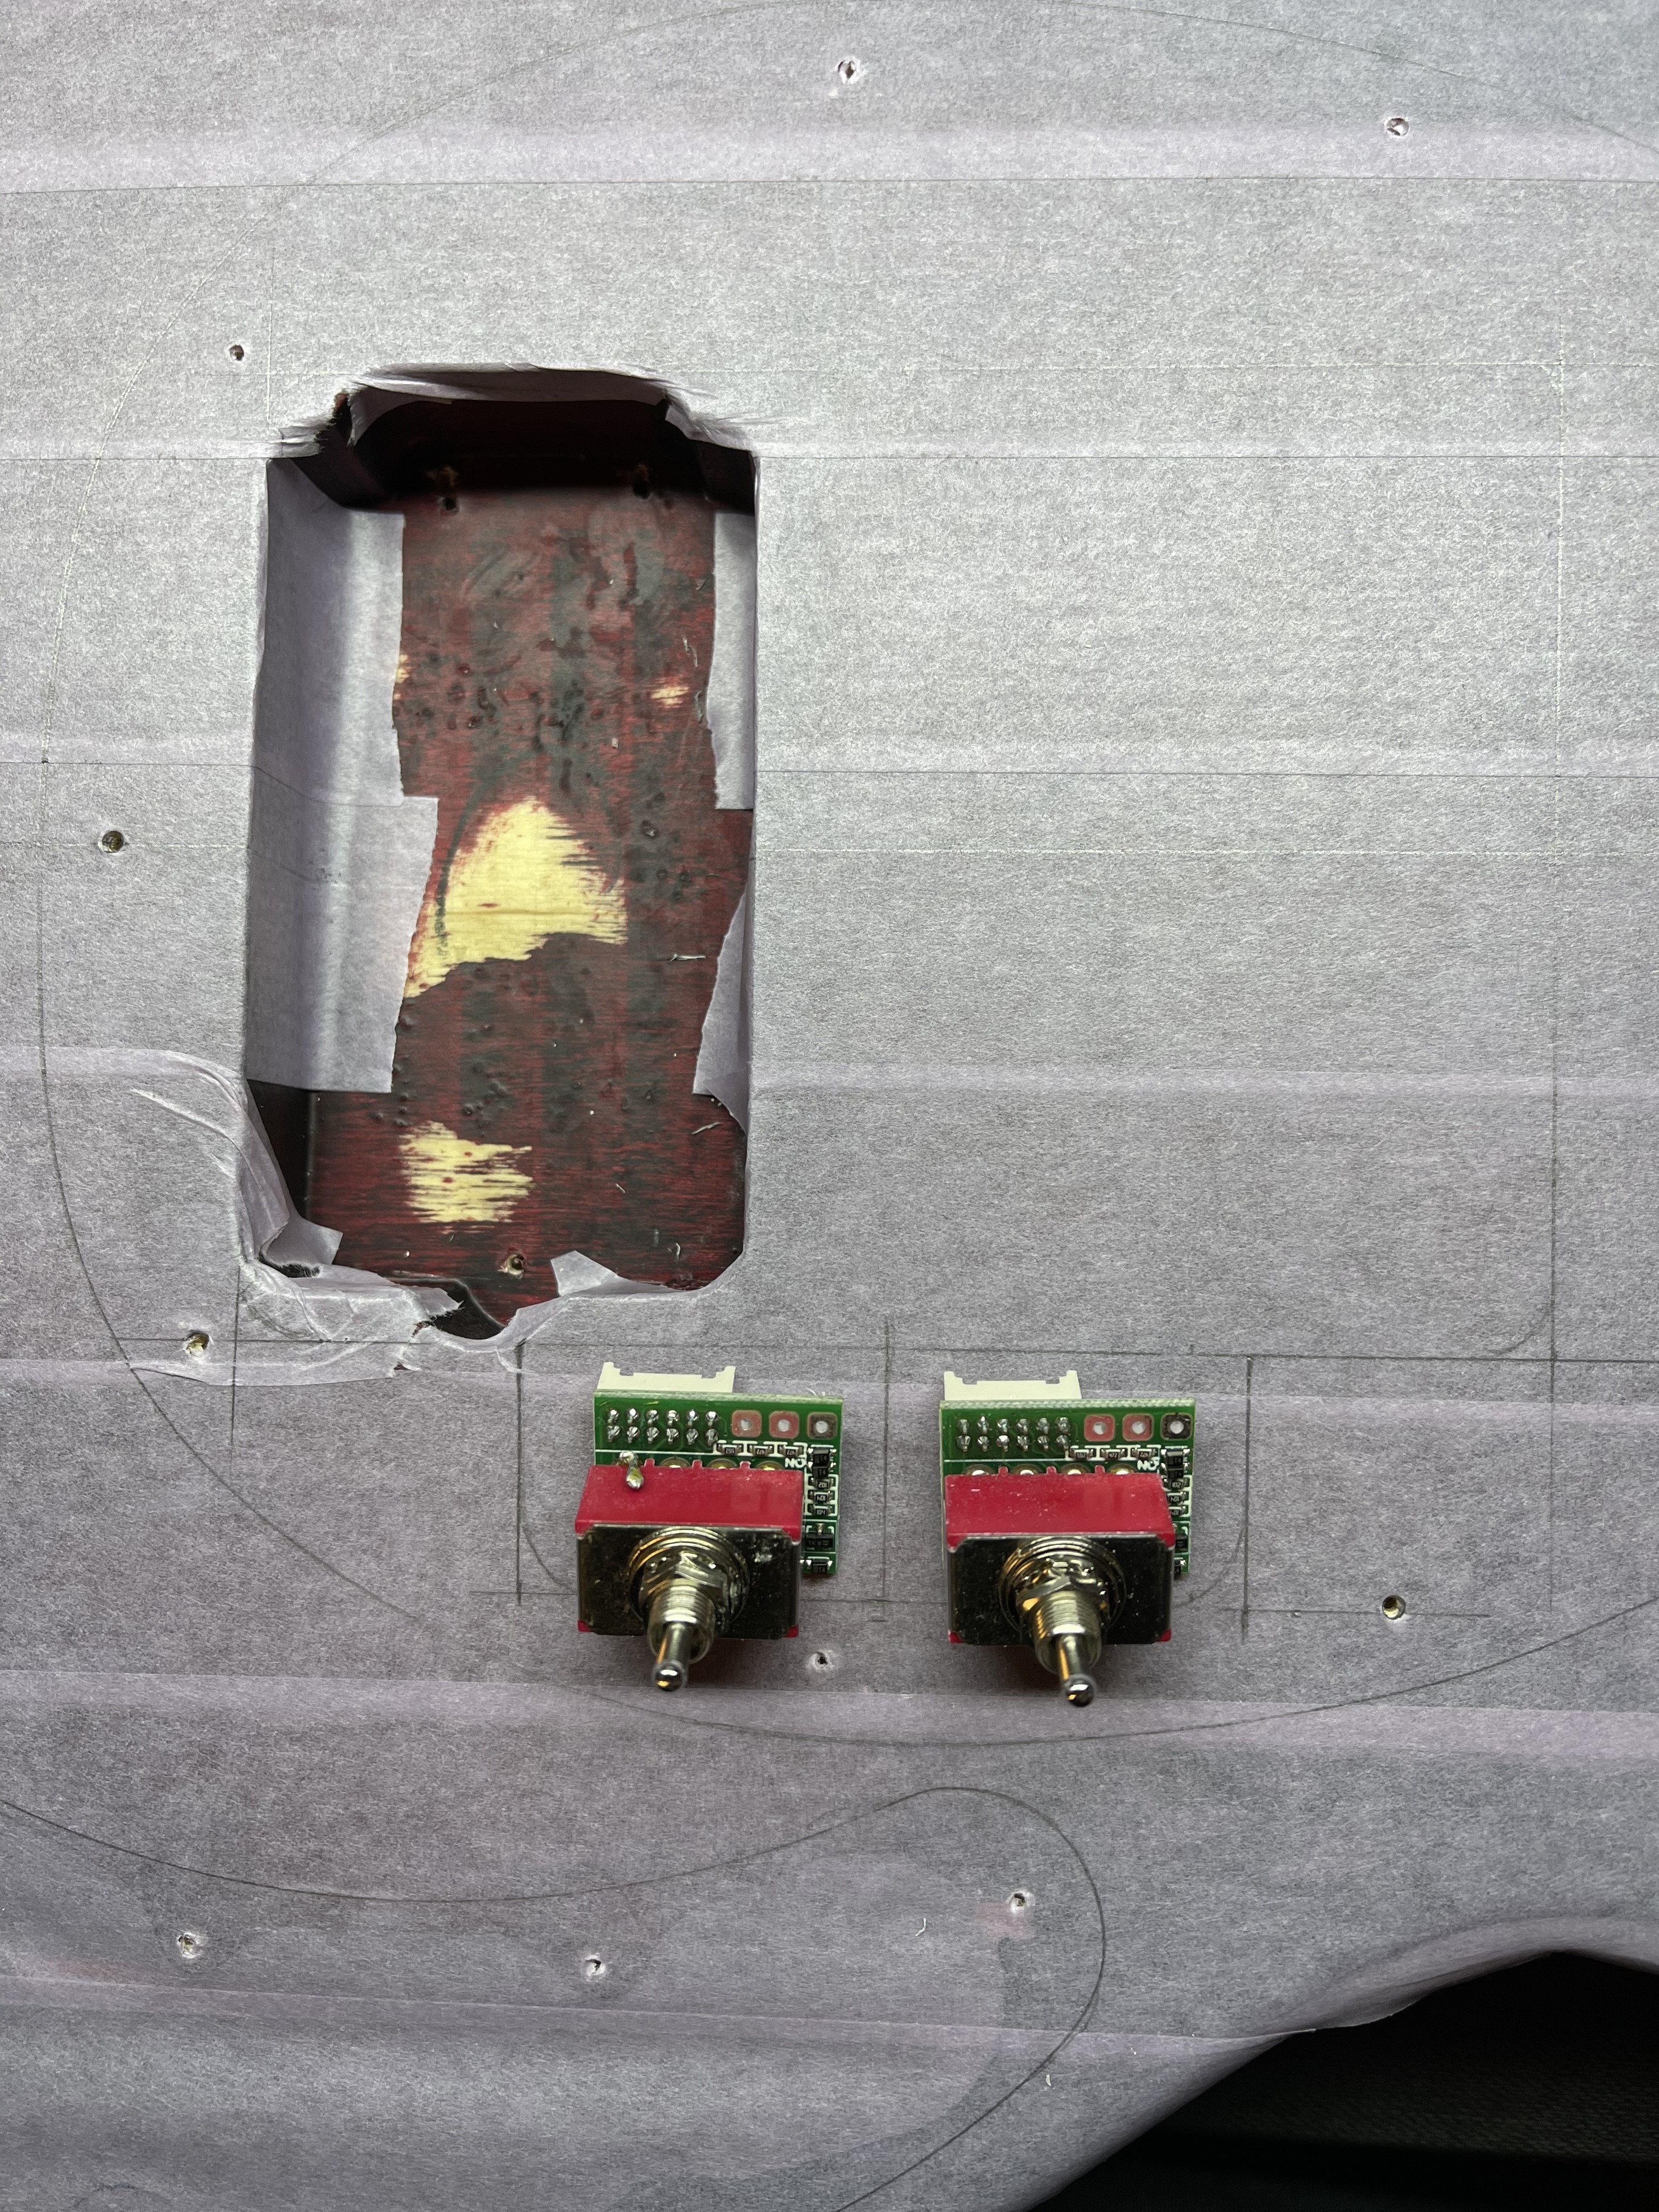
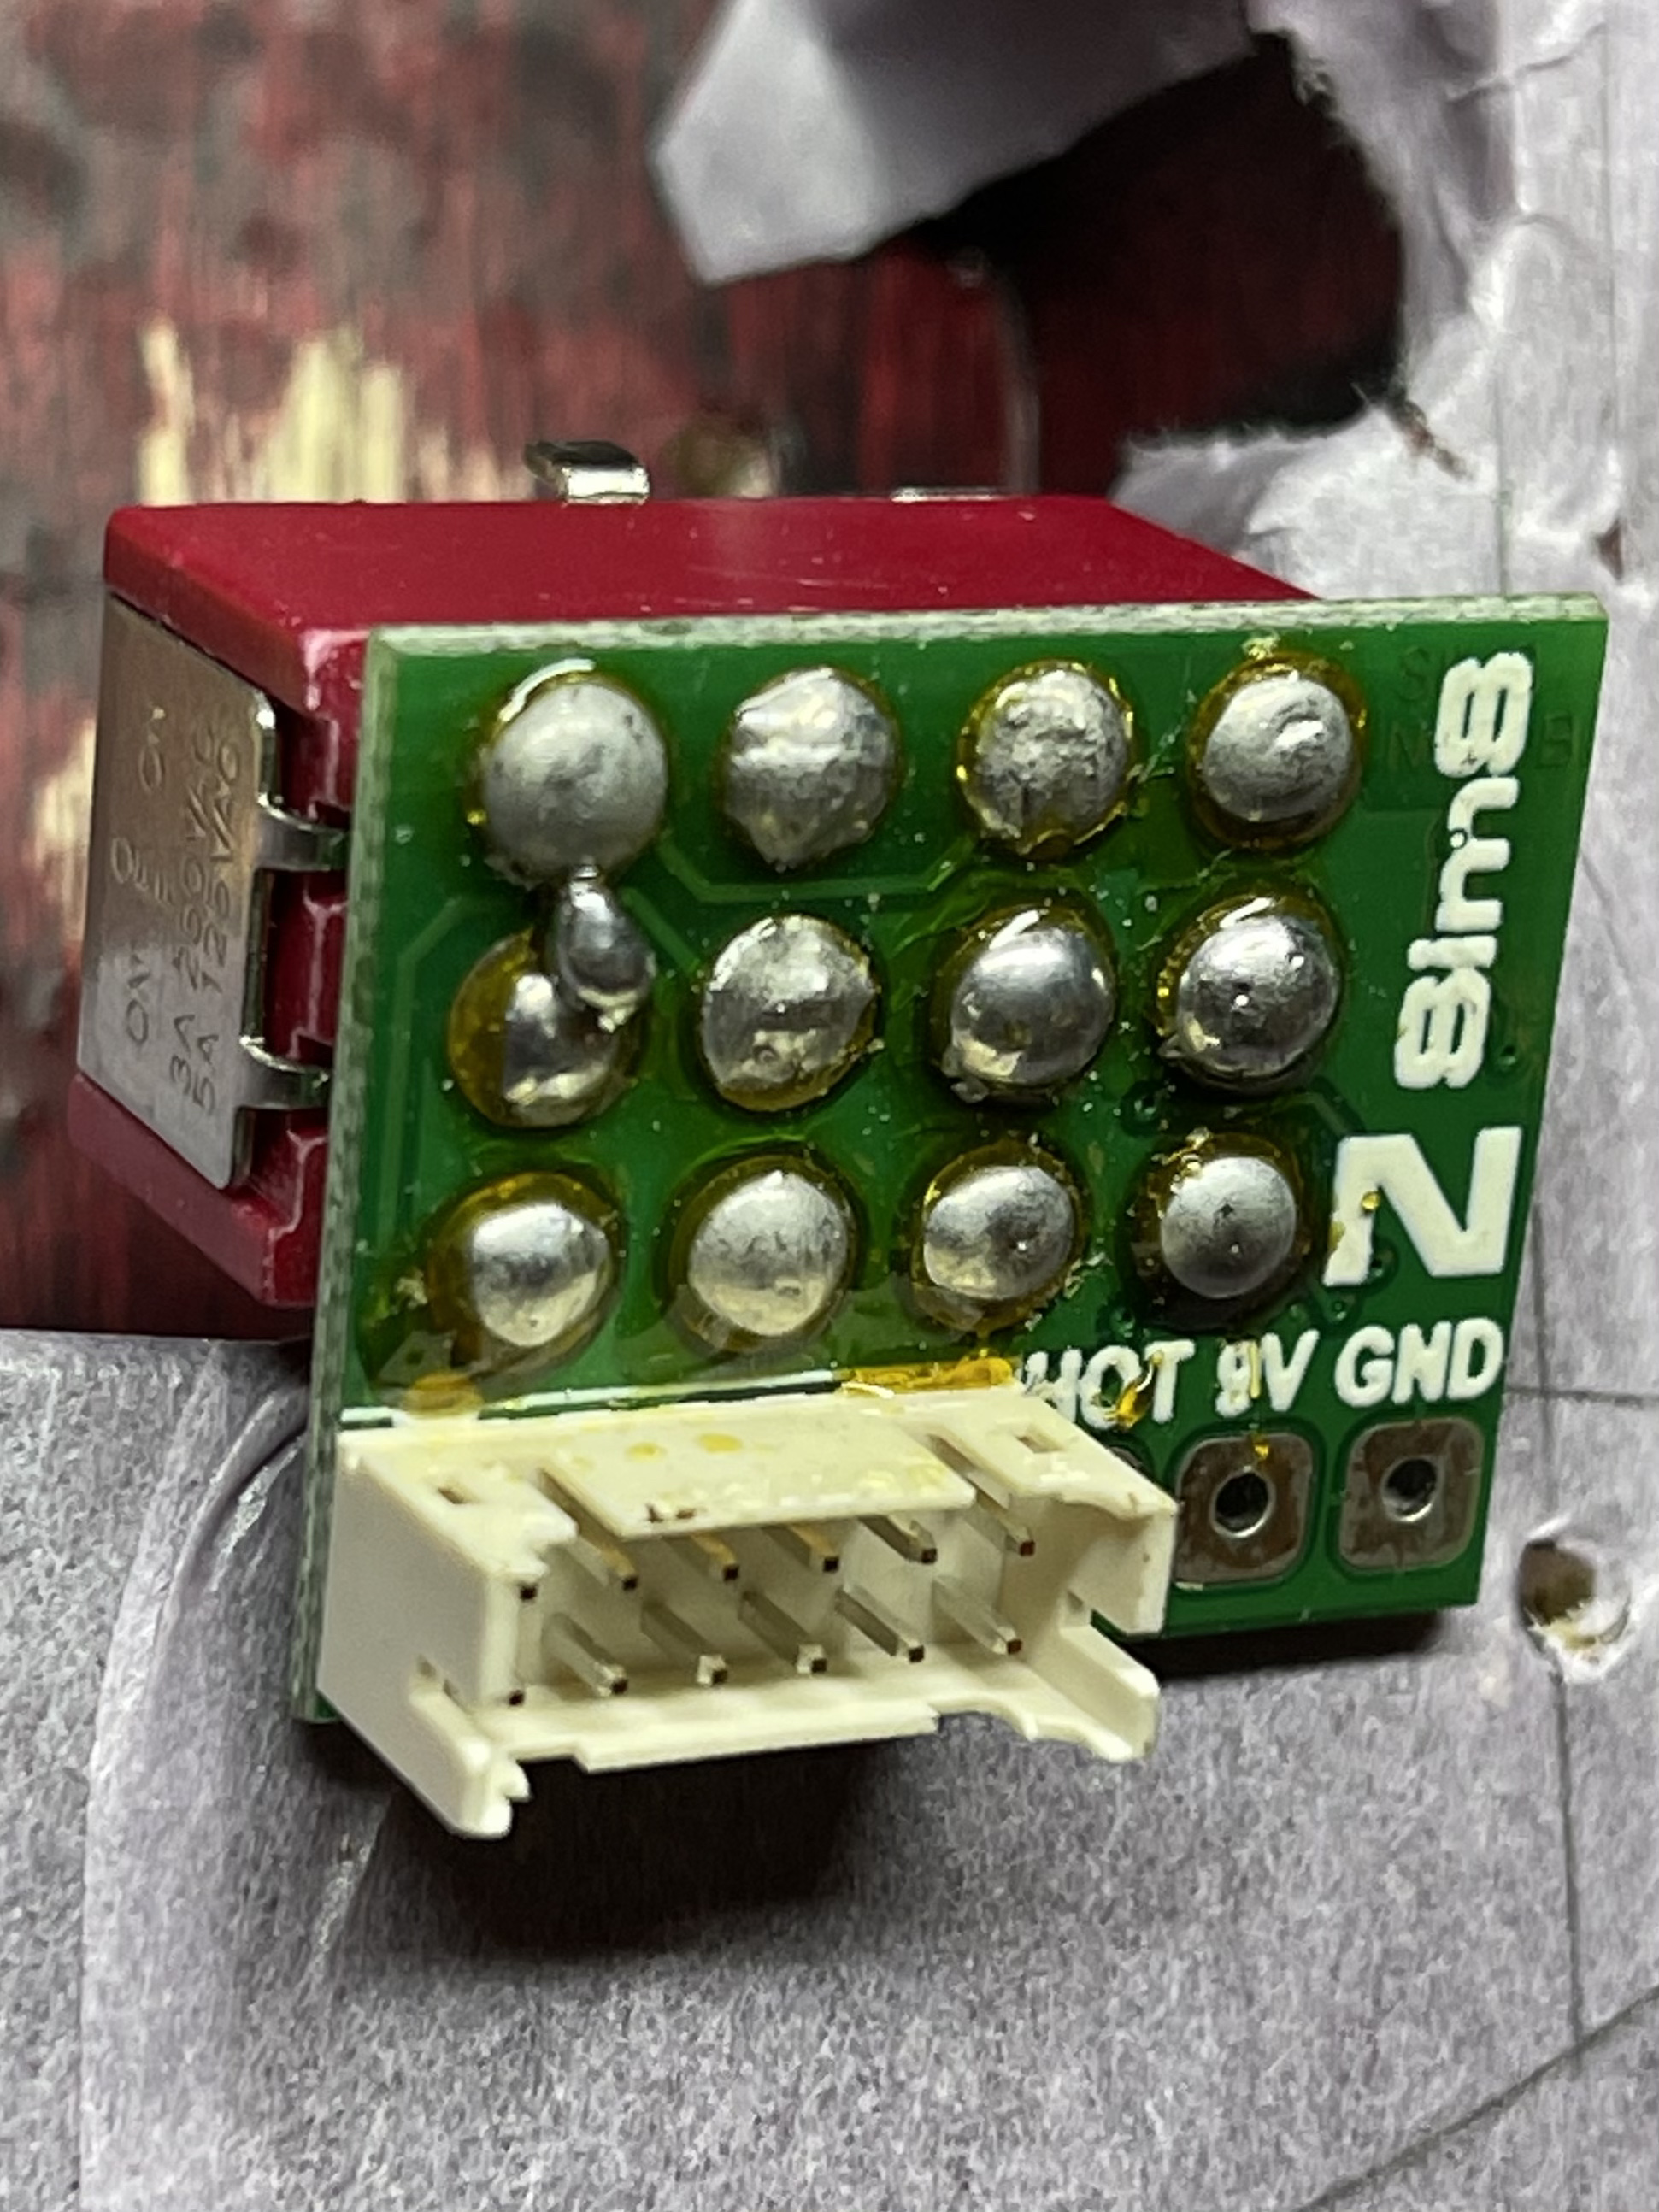
The wiring harnesses from each of the pickups go to a toggle switch that switches the pickups between the J/P/MM modes and sends power to the LEDs that indicate the mode you are in. Sims shows a routing through the back of the bass with some complex templates needed to be made. Instead, I will cut a side cavity to the main pickup cavity and place the toggles there. The need 30mm of depth, so this area will step down by 5 mm. Then I will attach the toggles to the pickguard vs. through the back and to the body wood.
Conveniently, this new cavity is directly over the wiring channel to the control cavity. All wiring from the pickups to the preamp comes off of these two toggles.
So, I think I have a plan. Thankfully, I have a good friend with a full blown woodworking shop in his basement. Tomorrow night we will do some routing and drilling.
Good choice with the Glockenkang preamp, it’s awesome! The Aguilar is very good too. They both have a unique tone. I would say Glockenklang sound “cold” and Aguilar “warm”. Glockenklang goes well with humbucker type of pickups so that does seems a good choice for the Sims.
Good luck with your project and would appreciate to hear some sound snippets when you are done.
I have nothing to add to this topic, but as an inveterate tinkerer I’m going to pull up a chair, grab some popcorn and watch your progress with interest.
As I was test fitting the pickup “Tri-Logic” toggles, I noticed some errand solder across terminals and shooting into the air. Not good. Quick email to Sims and they are sending over a new one.
This will delay powering up a bit depending on UK->US post times. Have plenty to do in the meantime.