Muy excellente! I will noodle over this for a little bit and get back to you with some ideas. Can you also give me an idea of the clearance between your routing and the pickup when it’s in the cavity? I.e. can you squeeze a credit card down both sides?
2 Likes
No…its tight. Have to apply pressure to push down and pull out
2 Likes
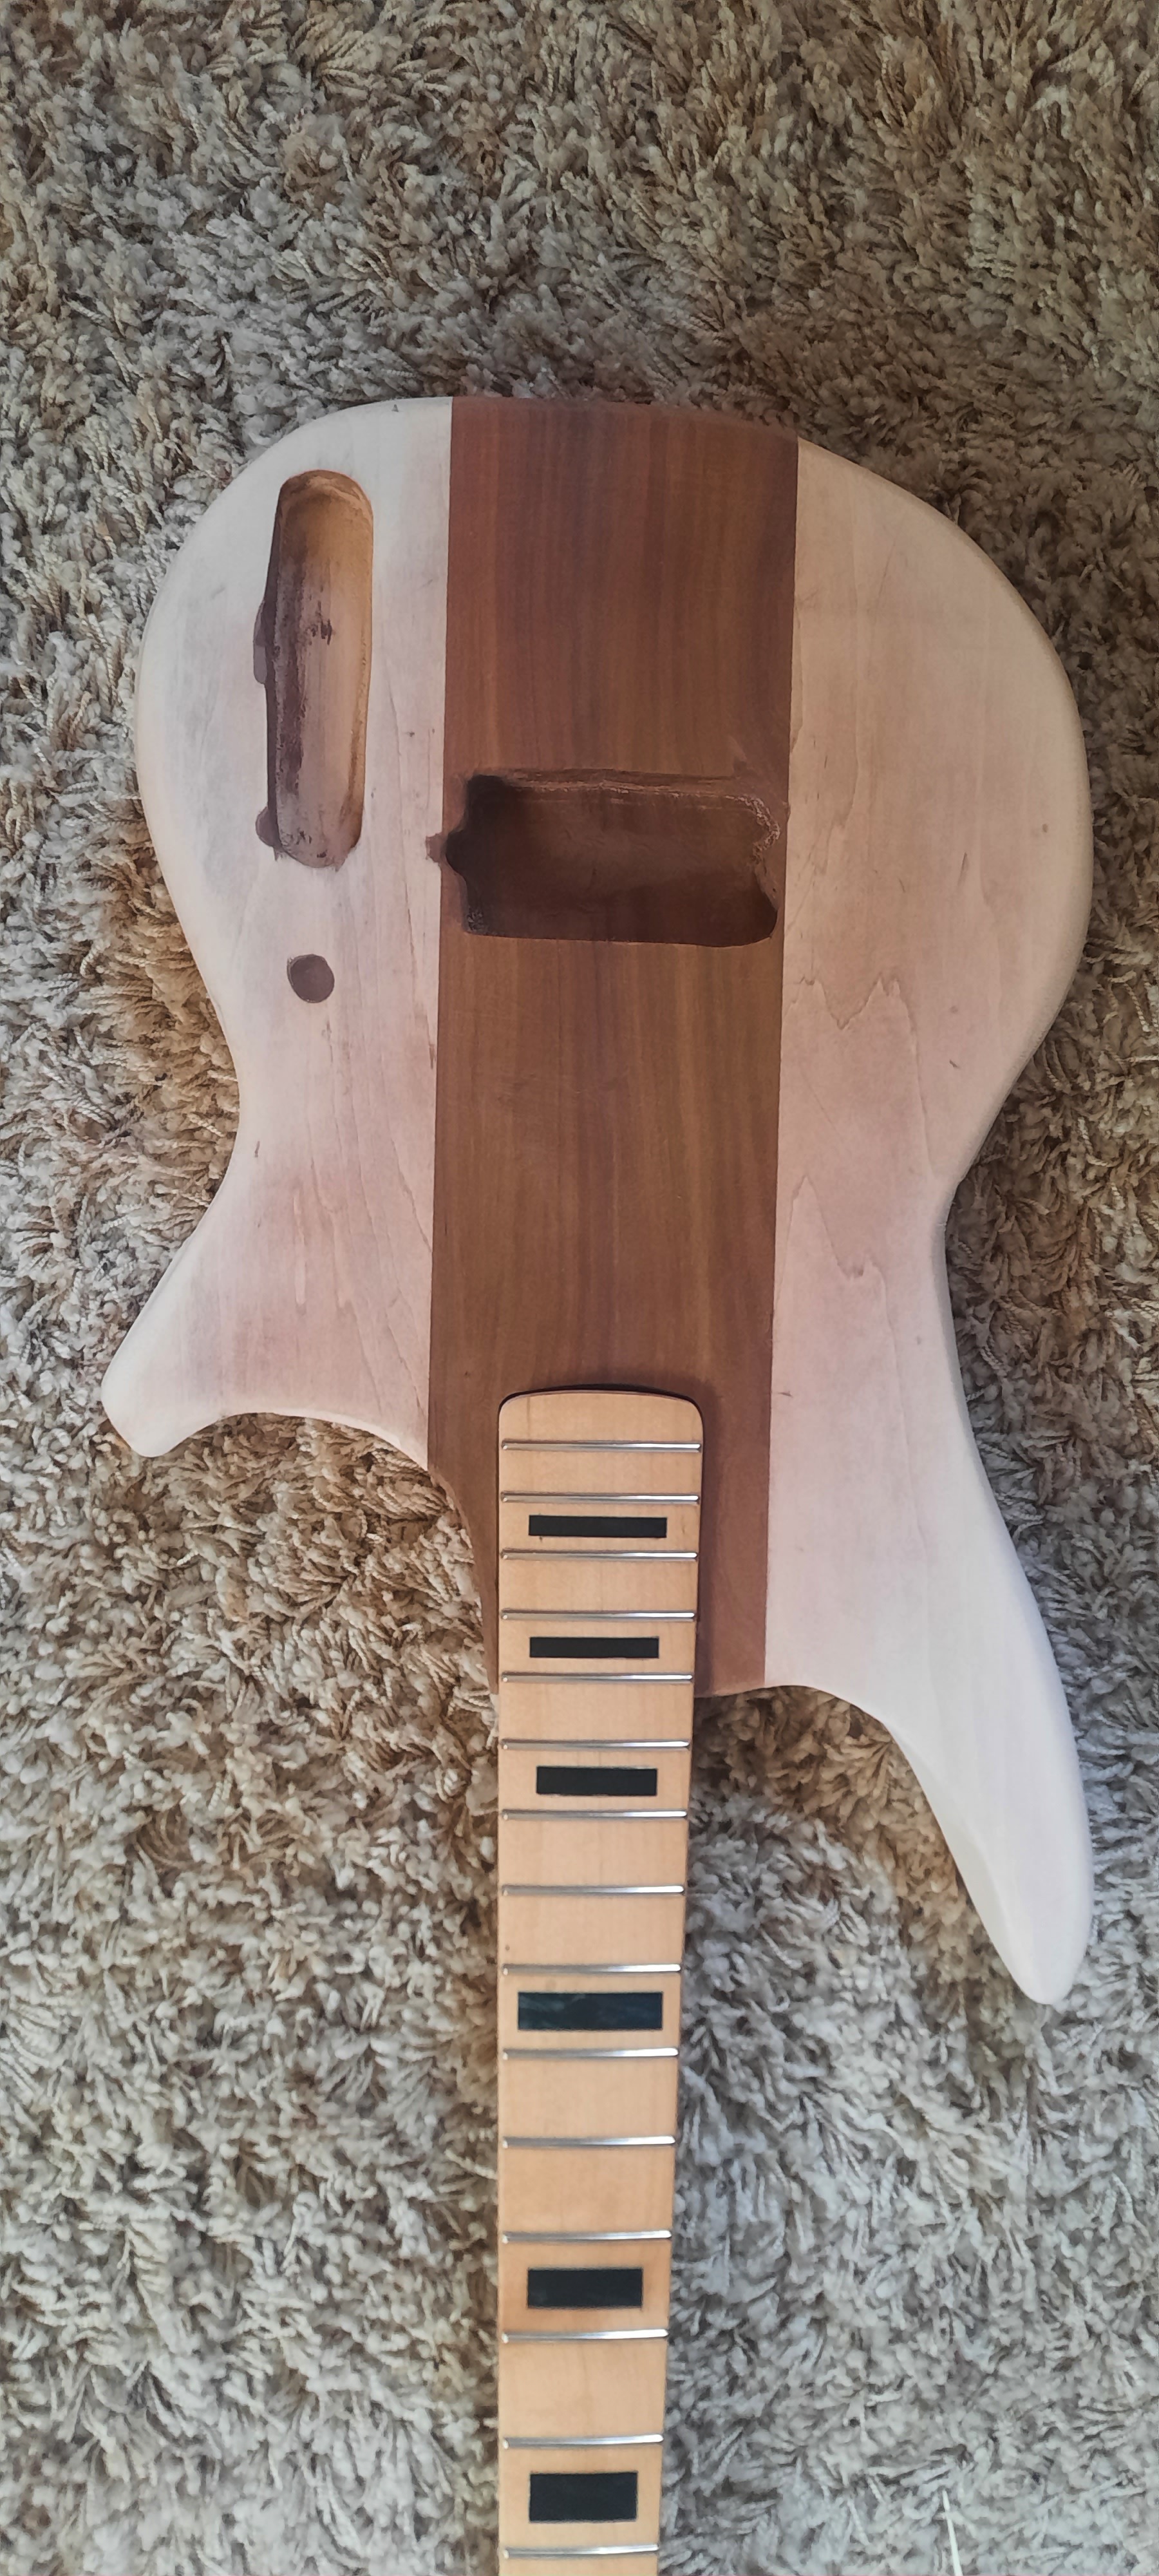
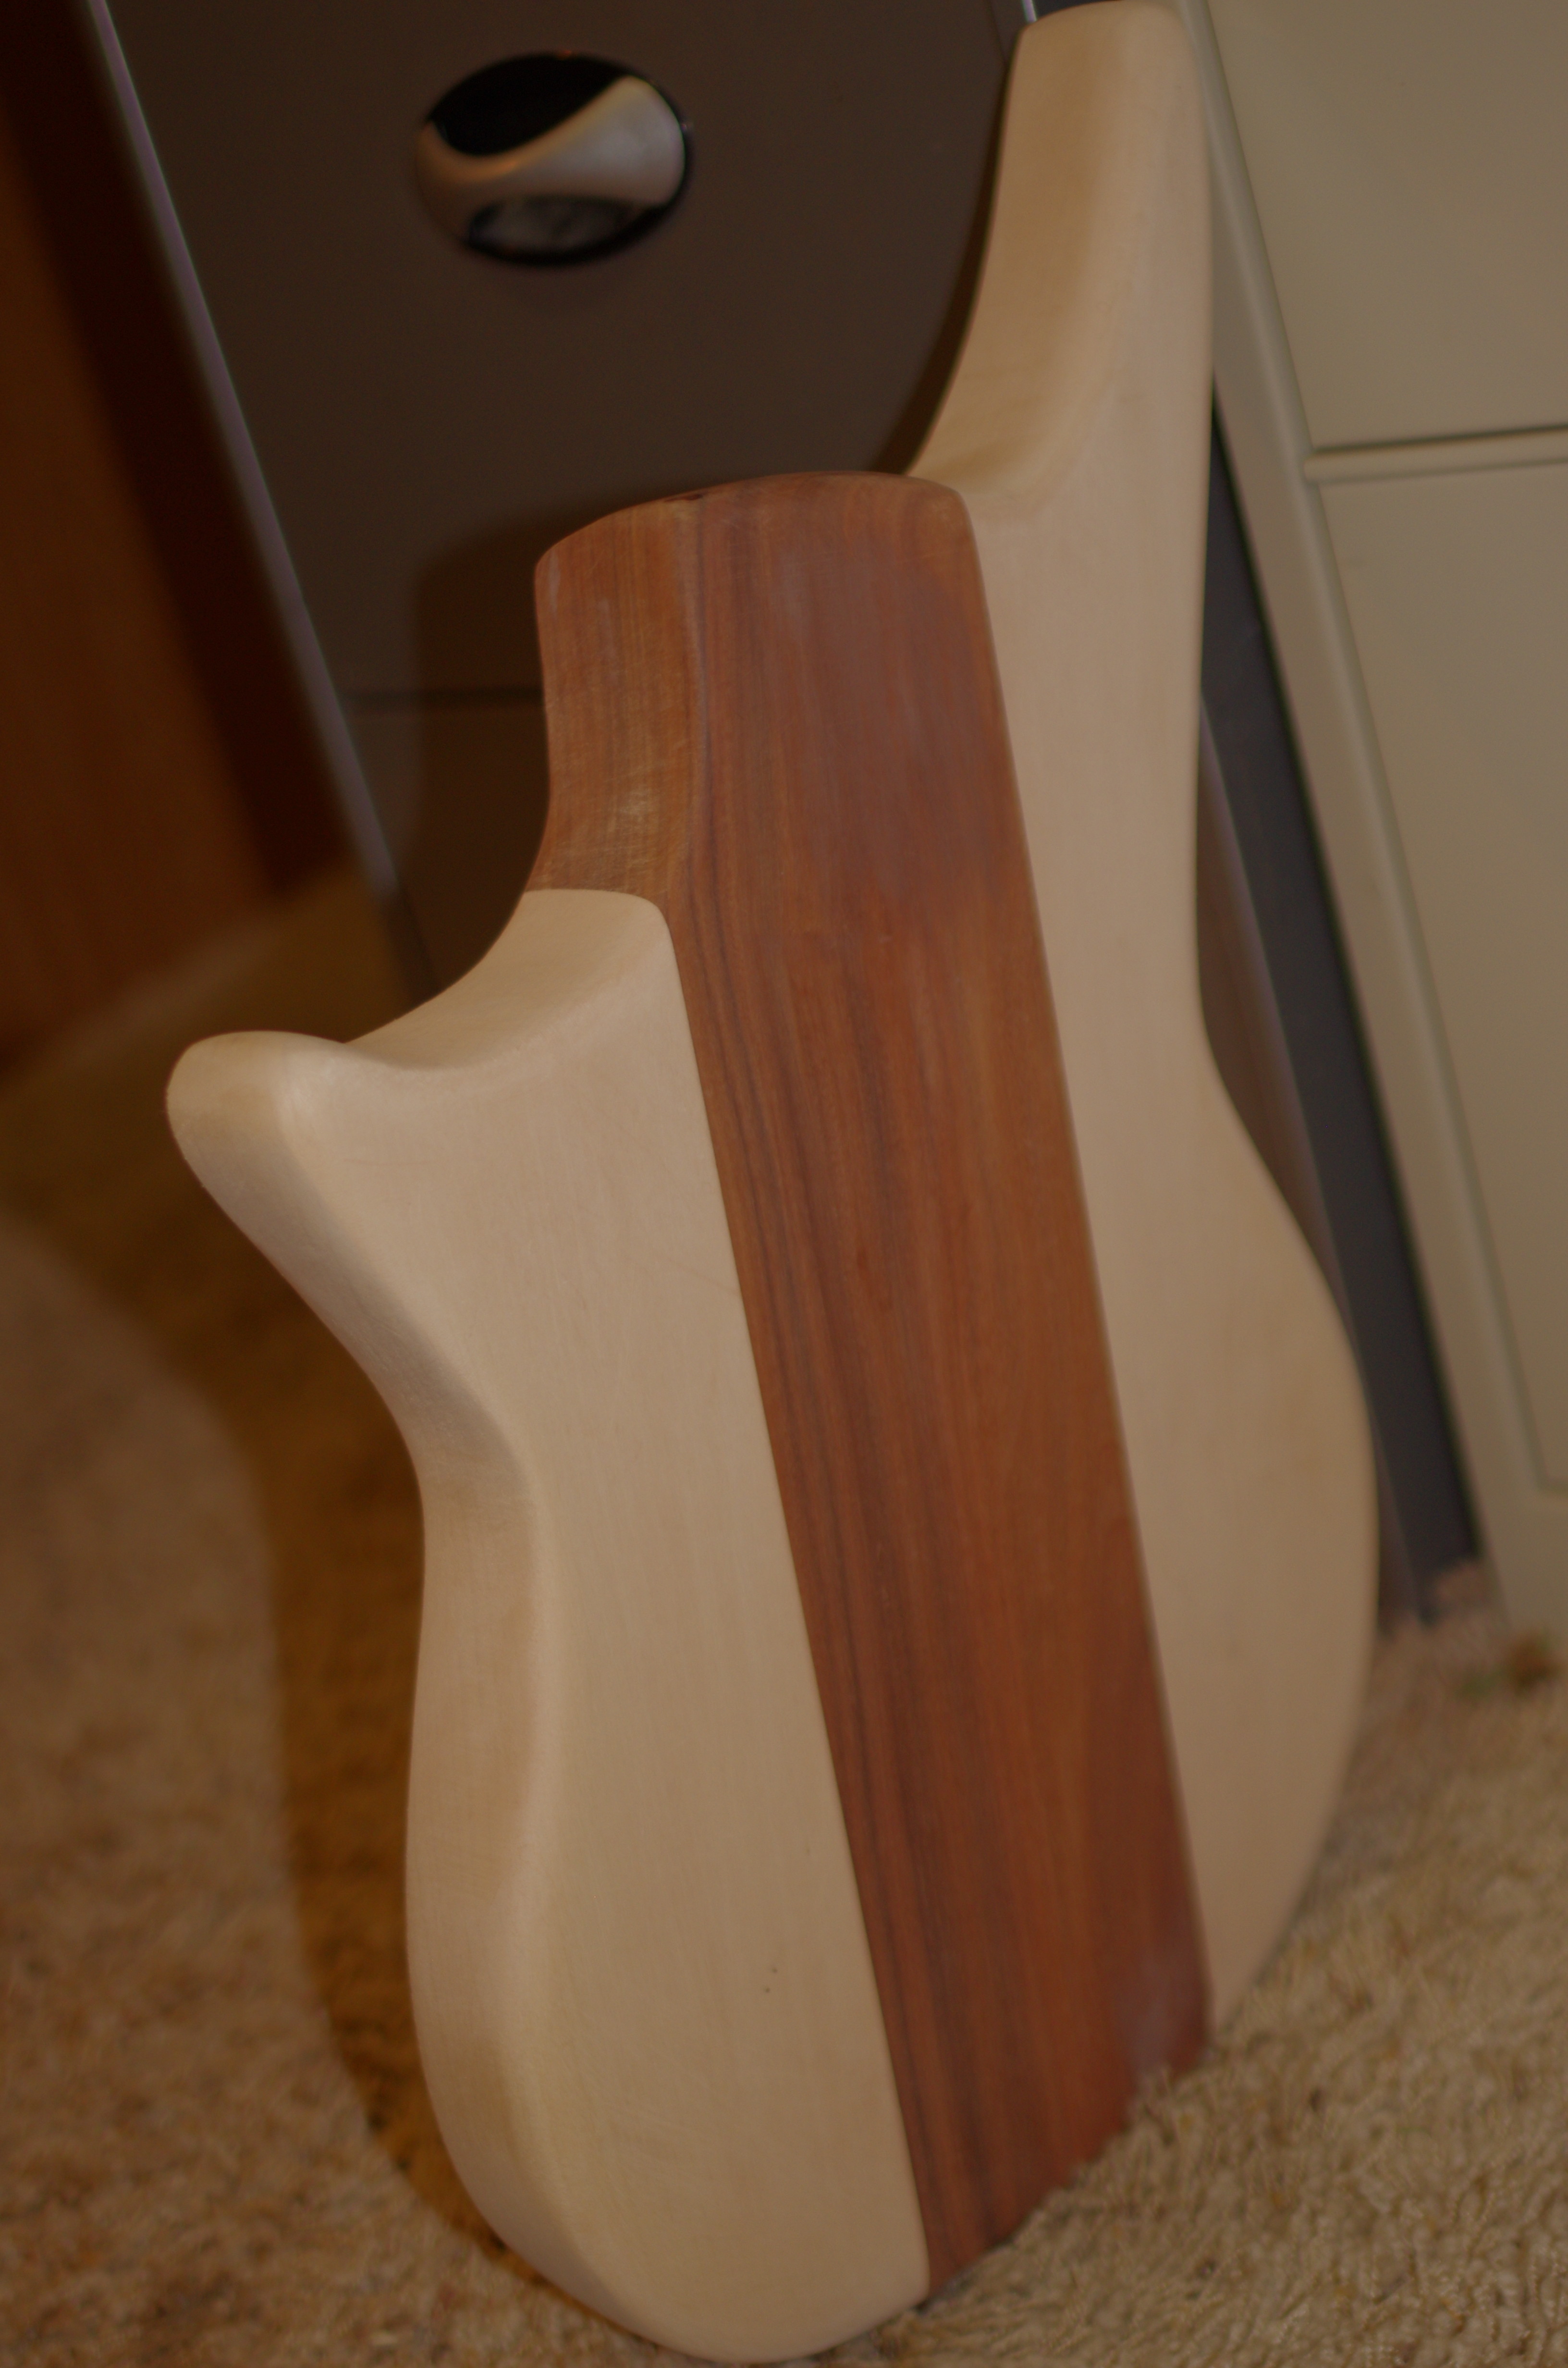
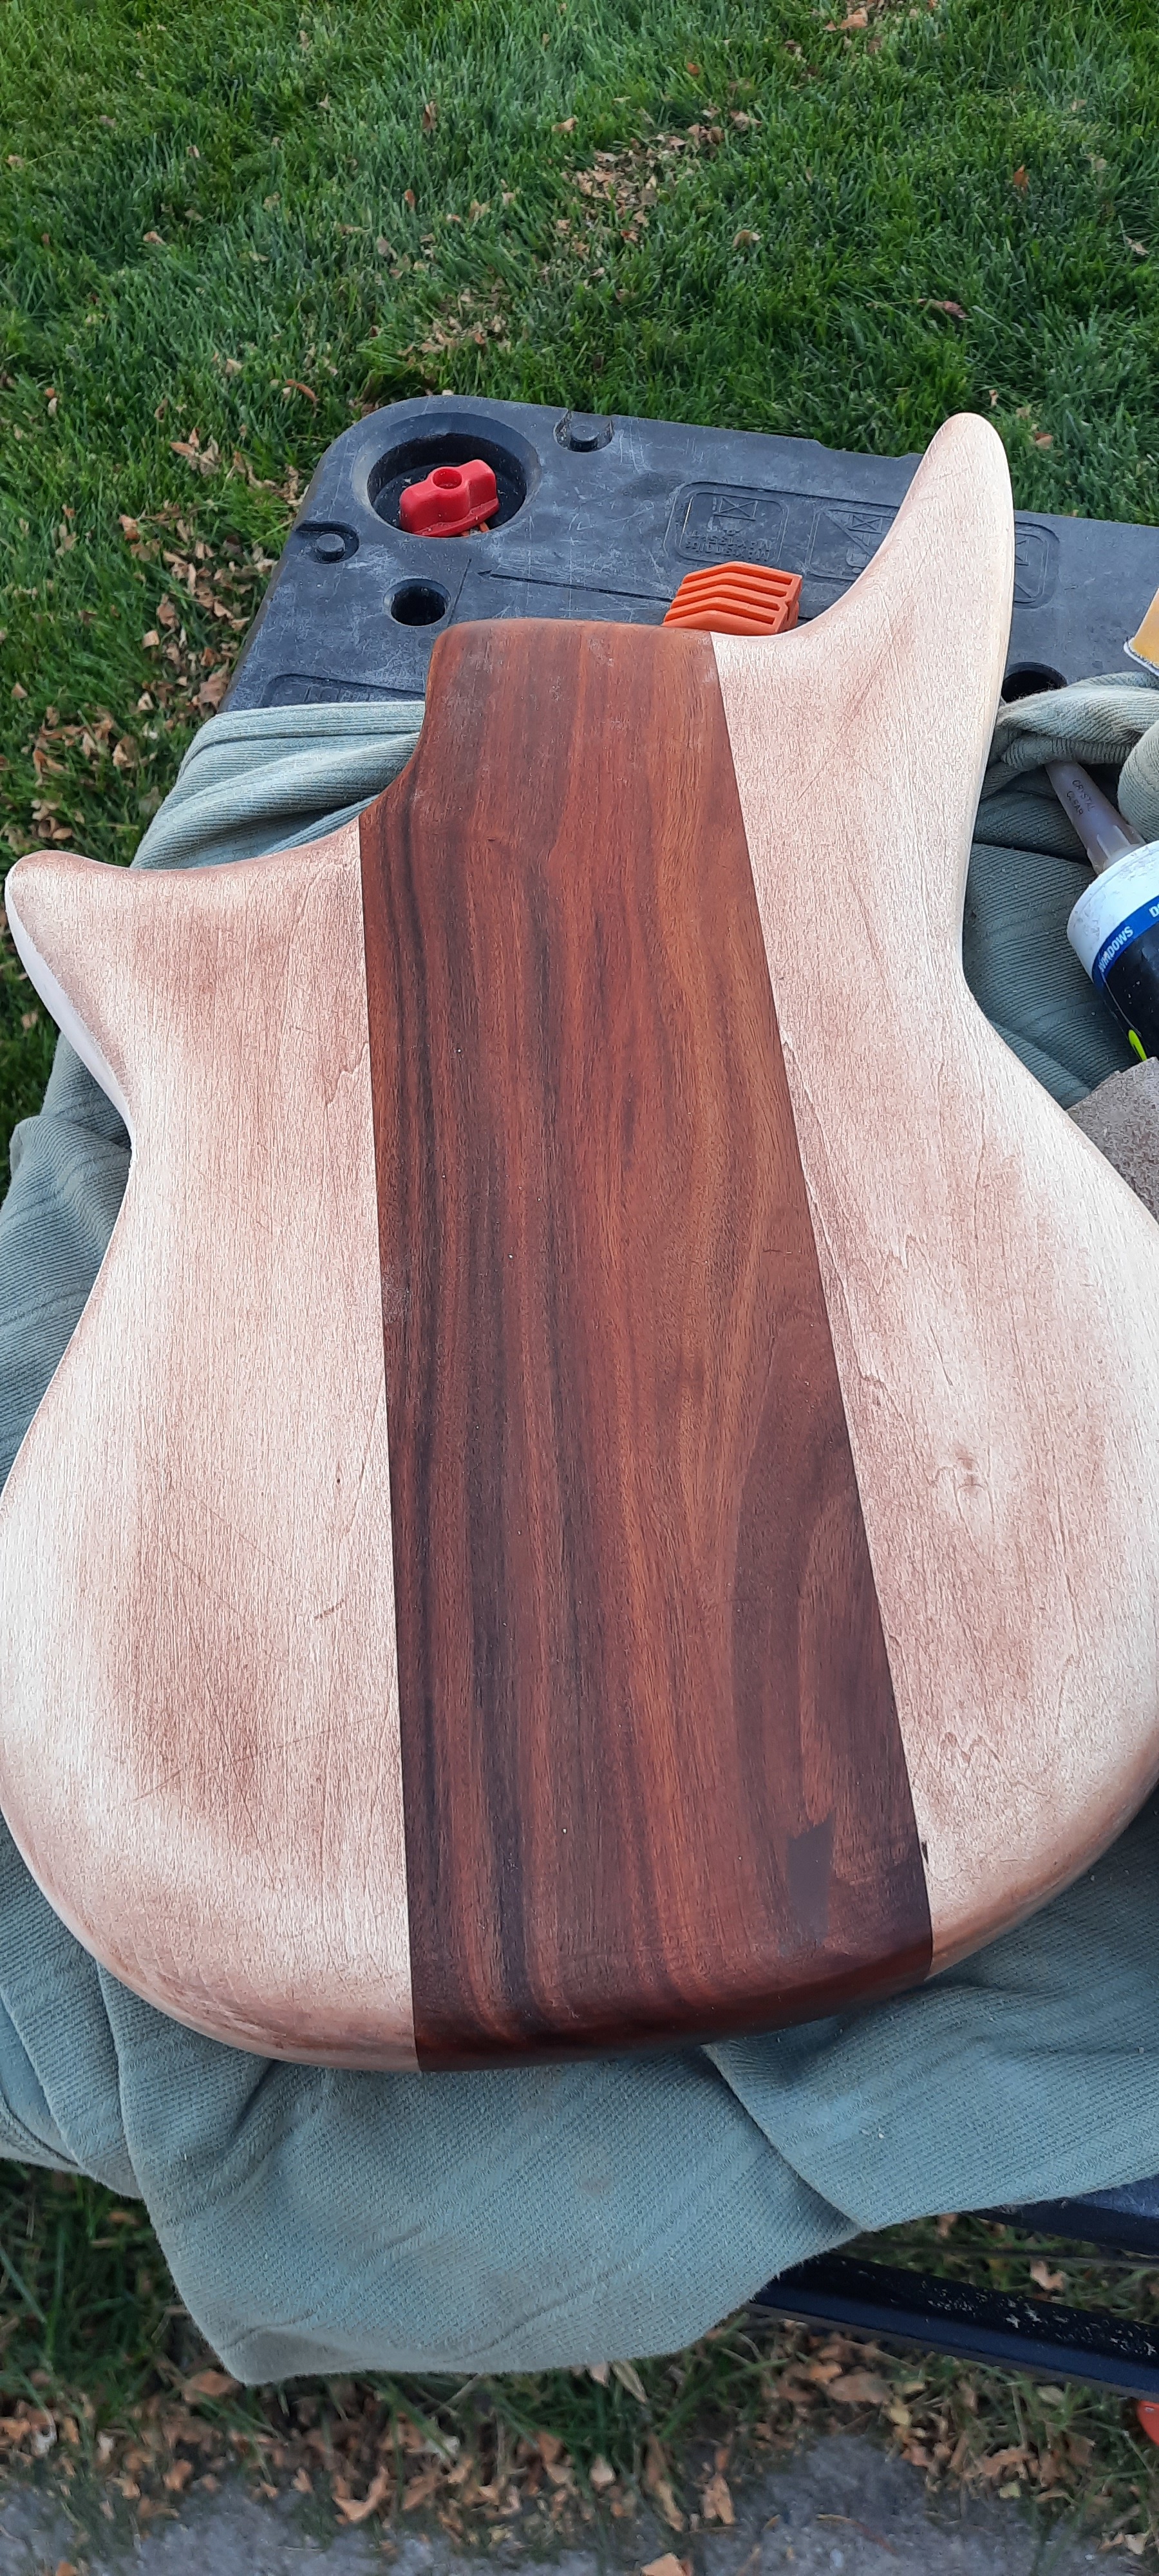
Took the day of off work so I wouldn’t go postal. Decided to work on my build. The body design did not turn out like I had intended, as doing all those cross curves was a lot harder on the thicker wood than on my practice piece. So, I kind of “used the force” and let the saw kind of dictate the shape. This is the first rough cut. I need to bring the sides in, round off/narrow the horns, and I made an aweful mess of the neck pocket area…nothing that can’t be fixed though. No real prior experience with the saber saw.
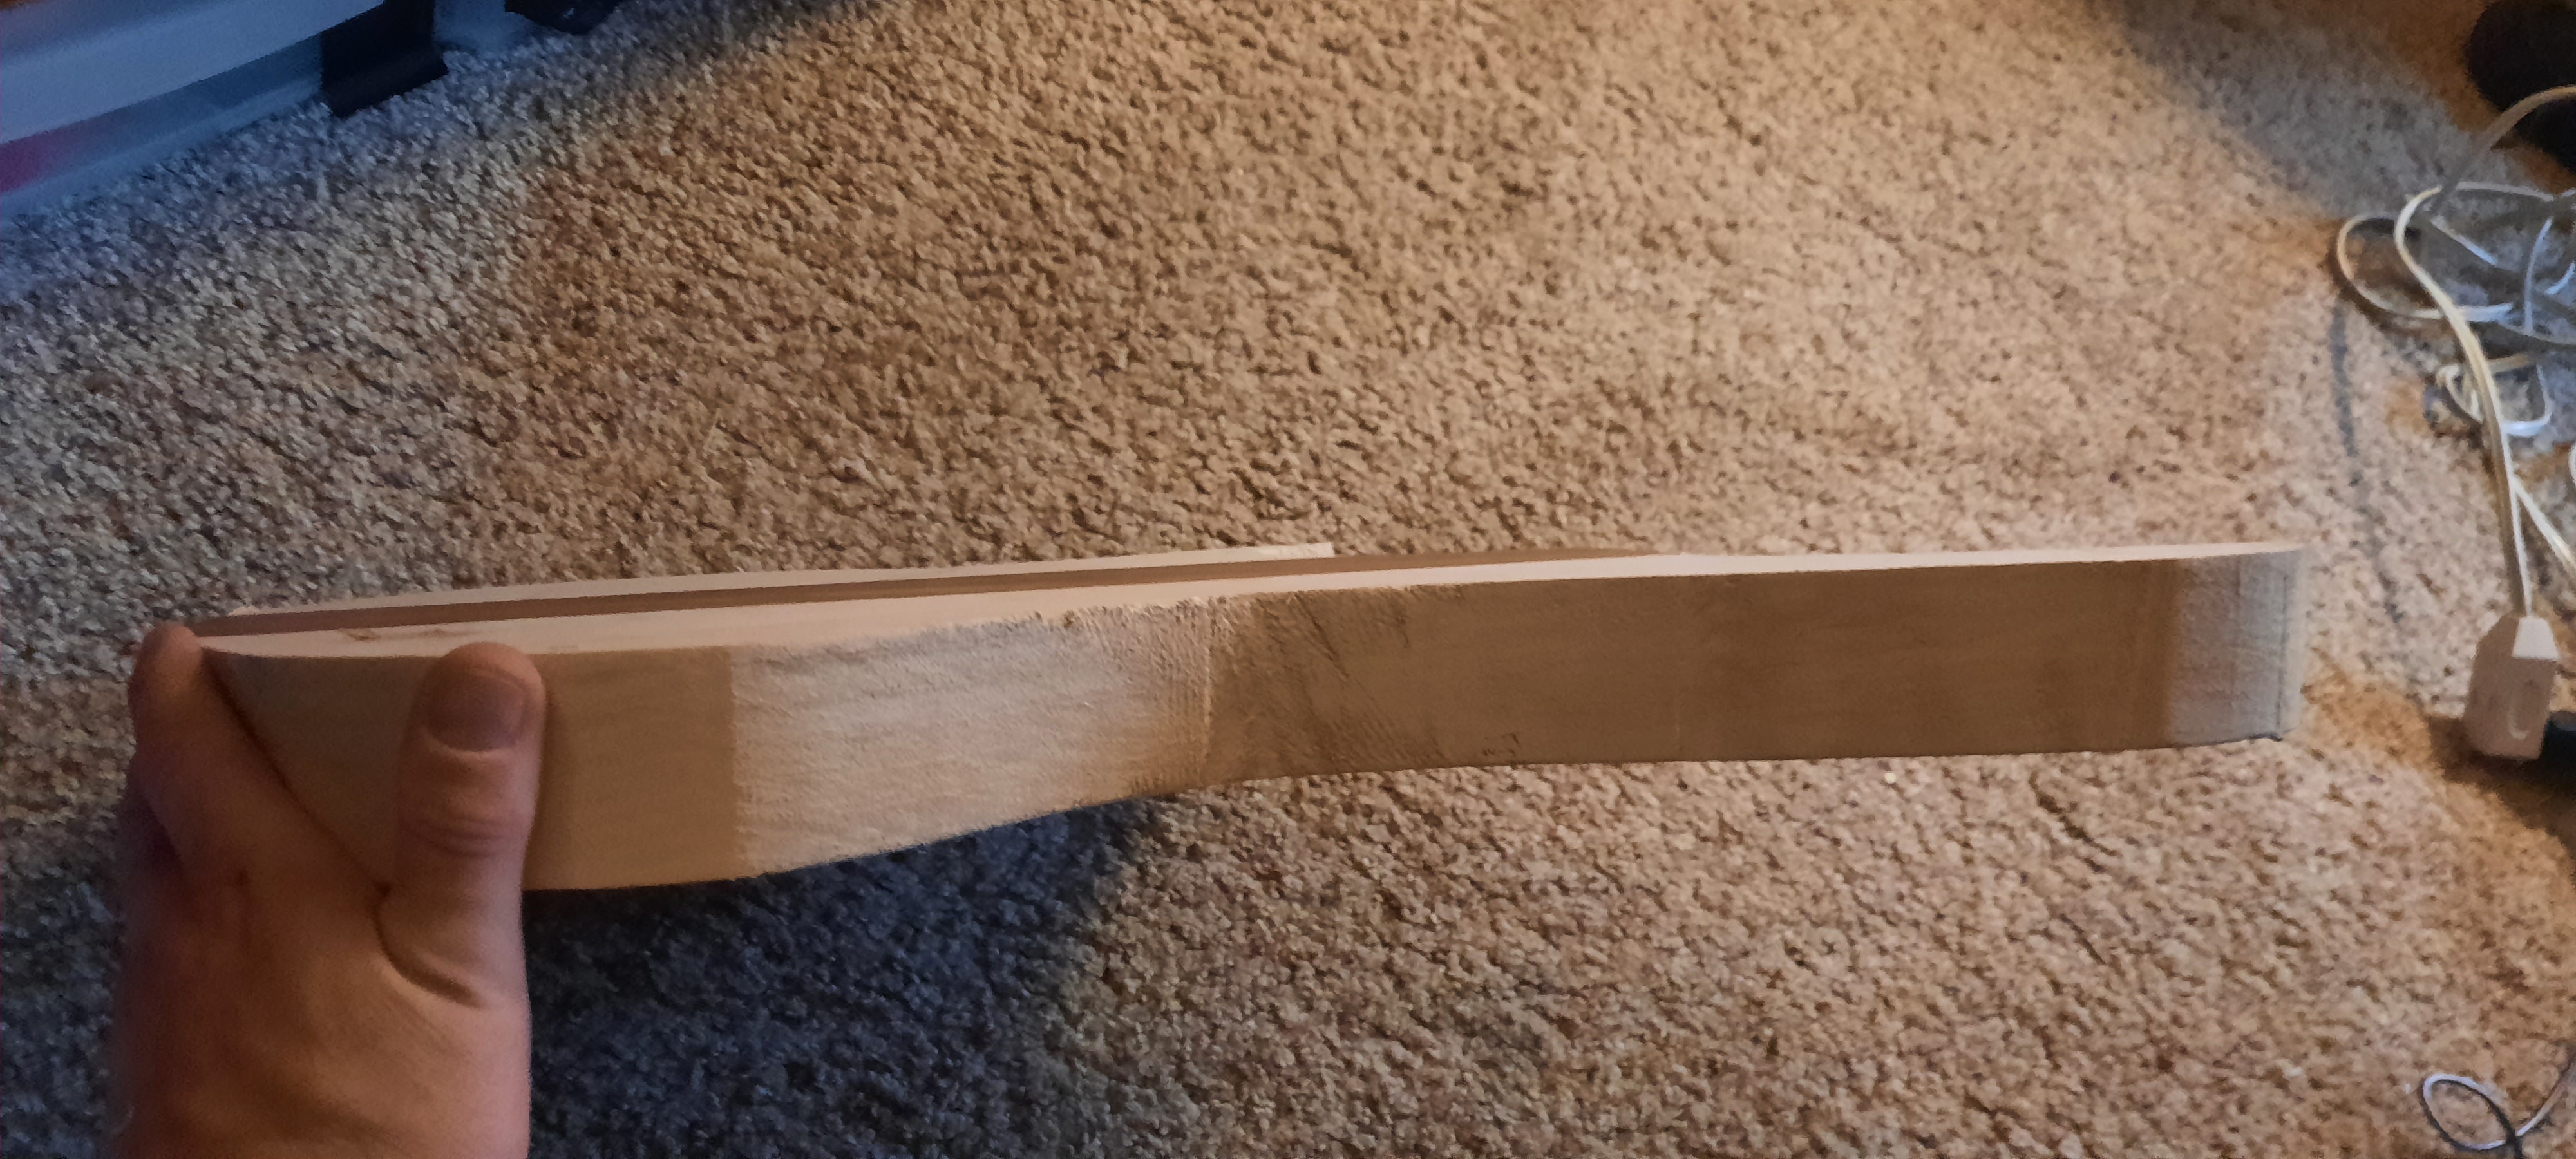
My bigger concern is that I never realized how thick this damn thing is. Its nearly 2.0 thick and heavy as a mf’er.
4 Likes
My Fender P is 42mm (with finish), so ya, yours is a wee thick.
Can double as a good club for a giant.
1 Like
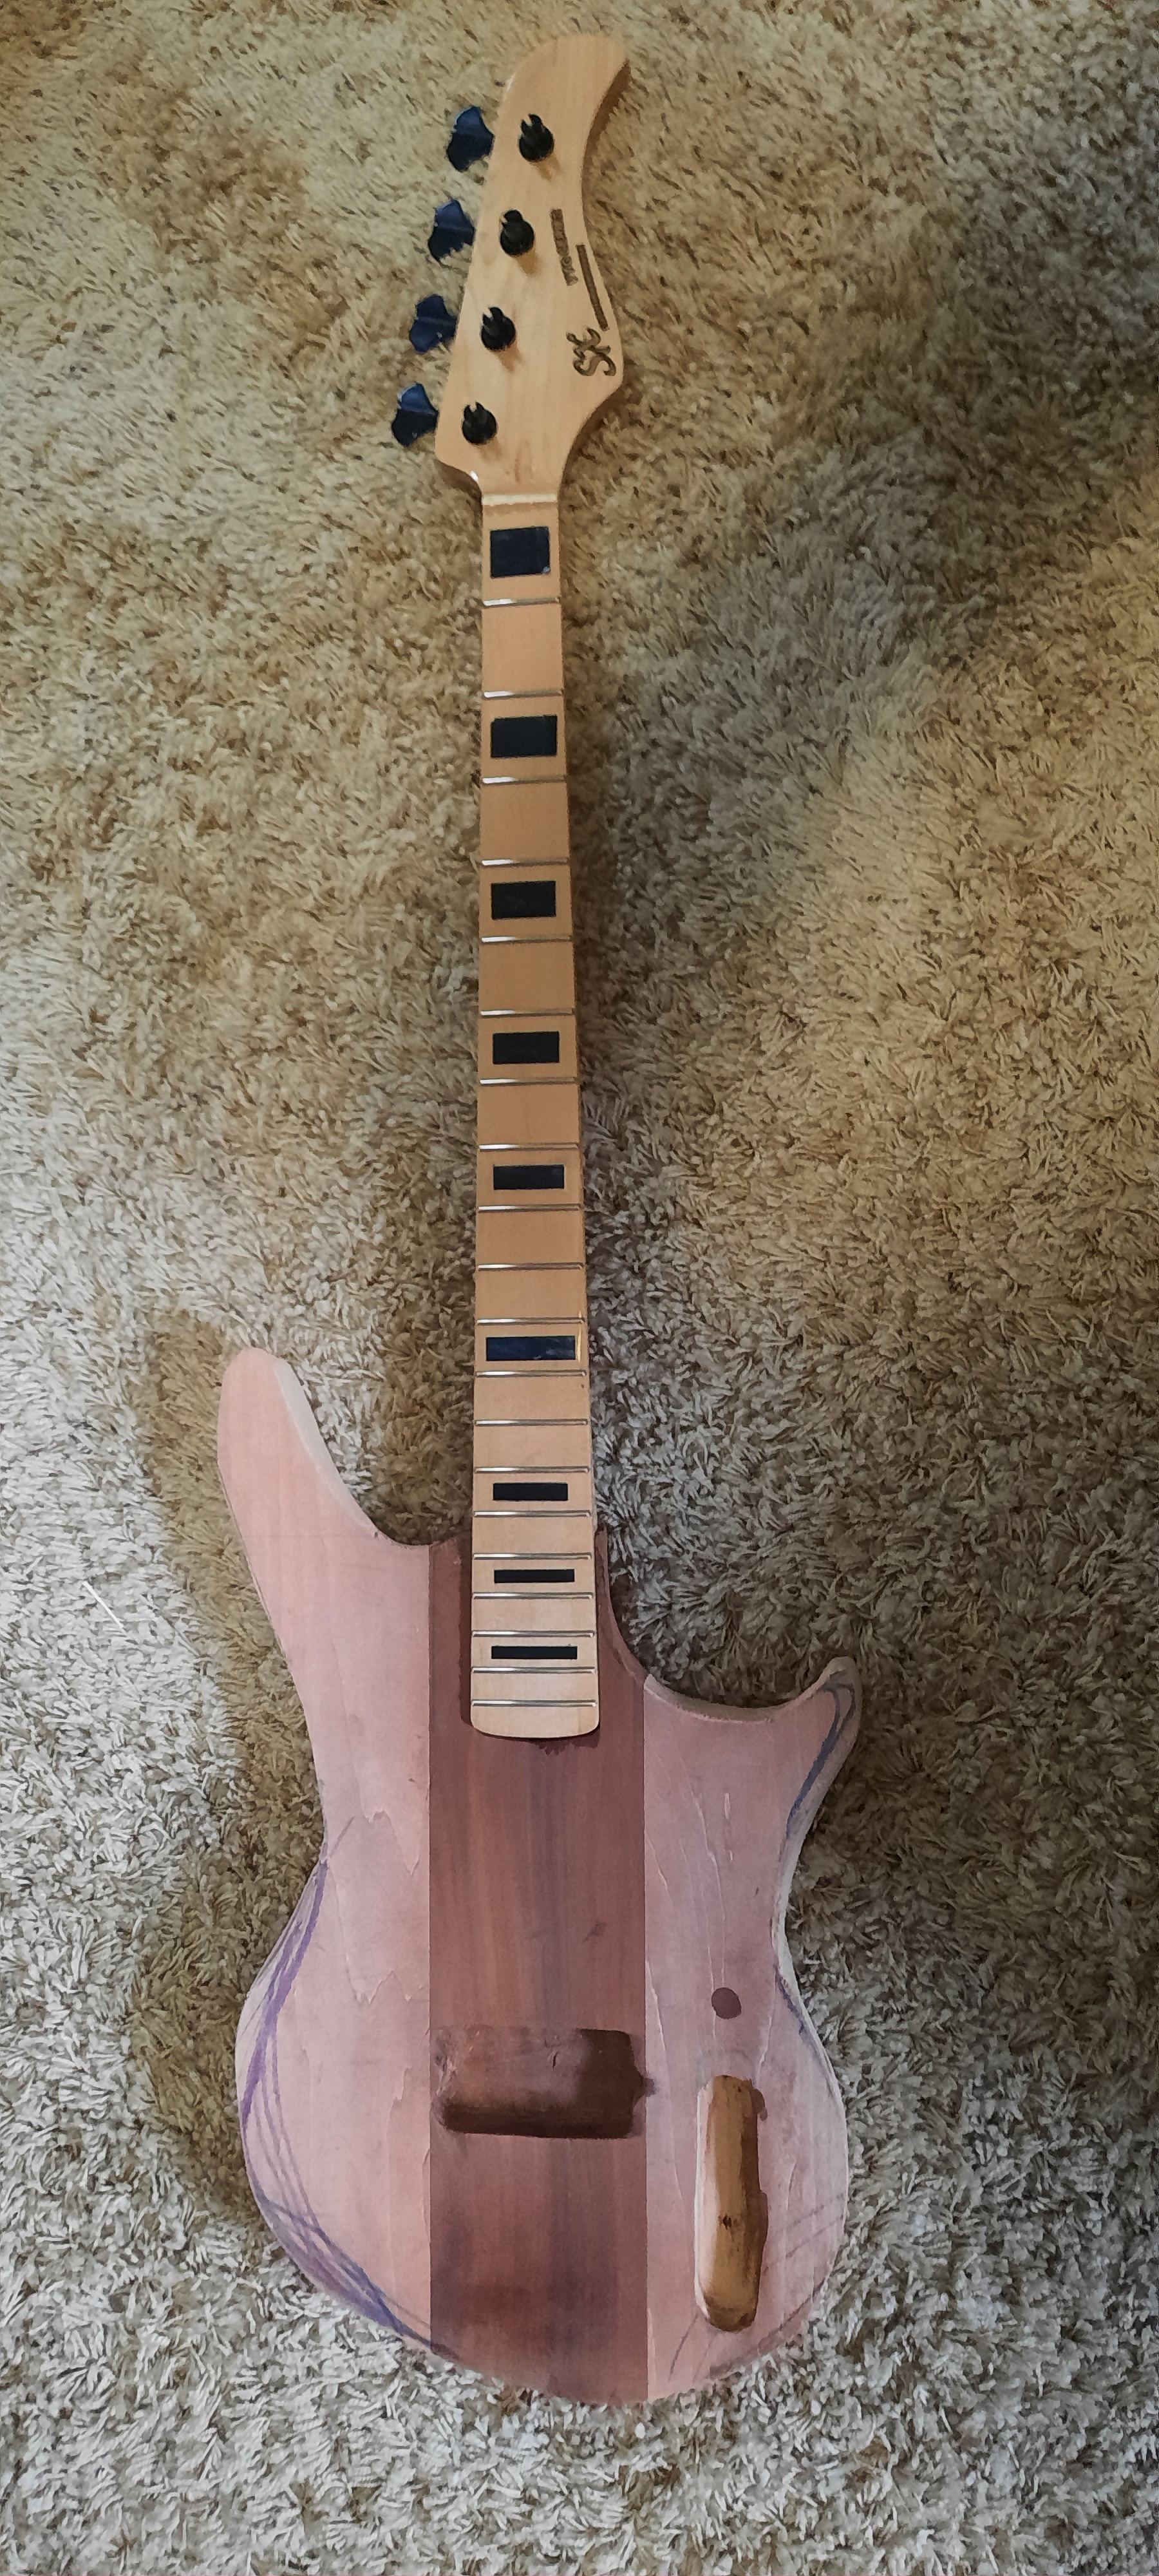
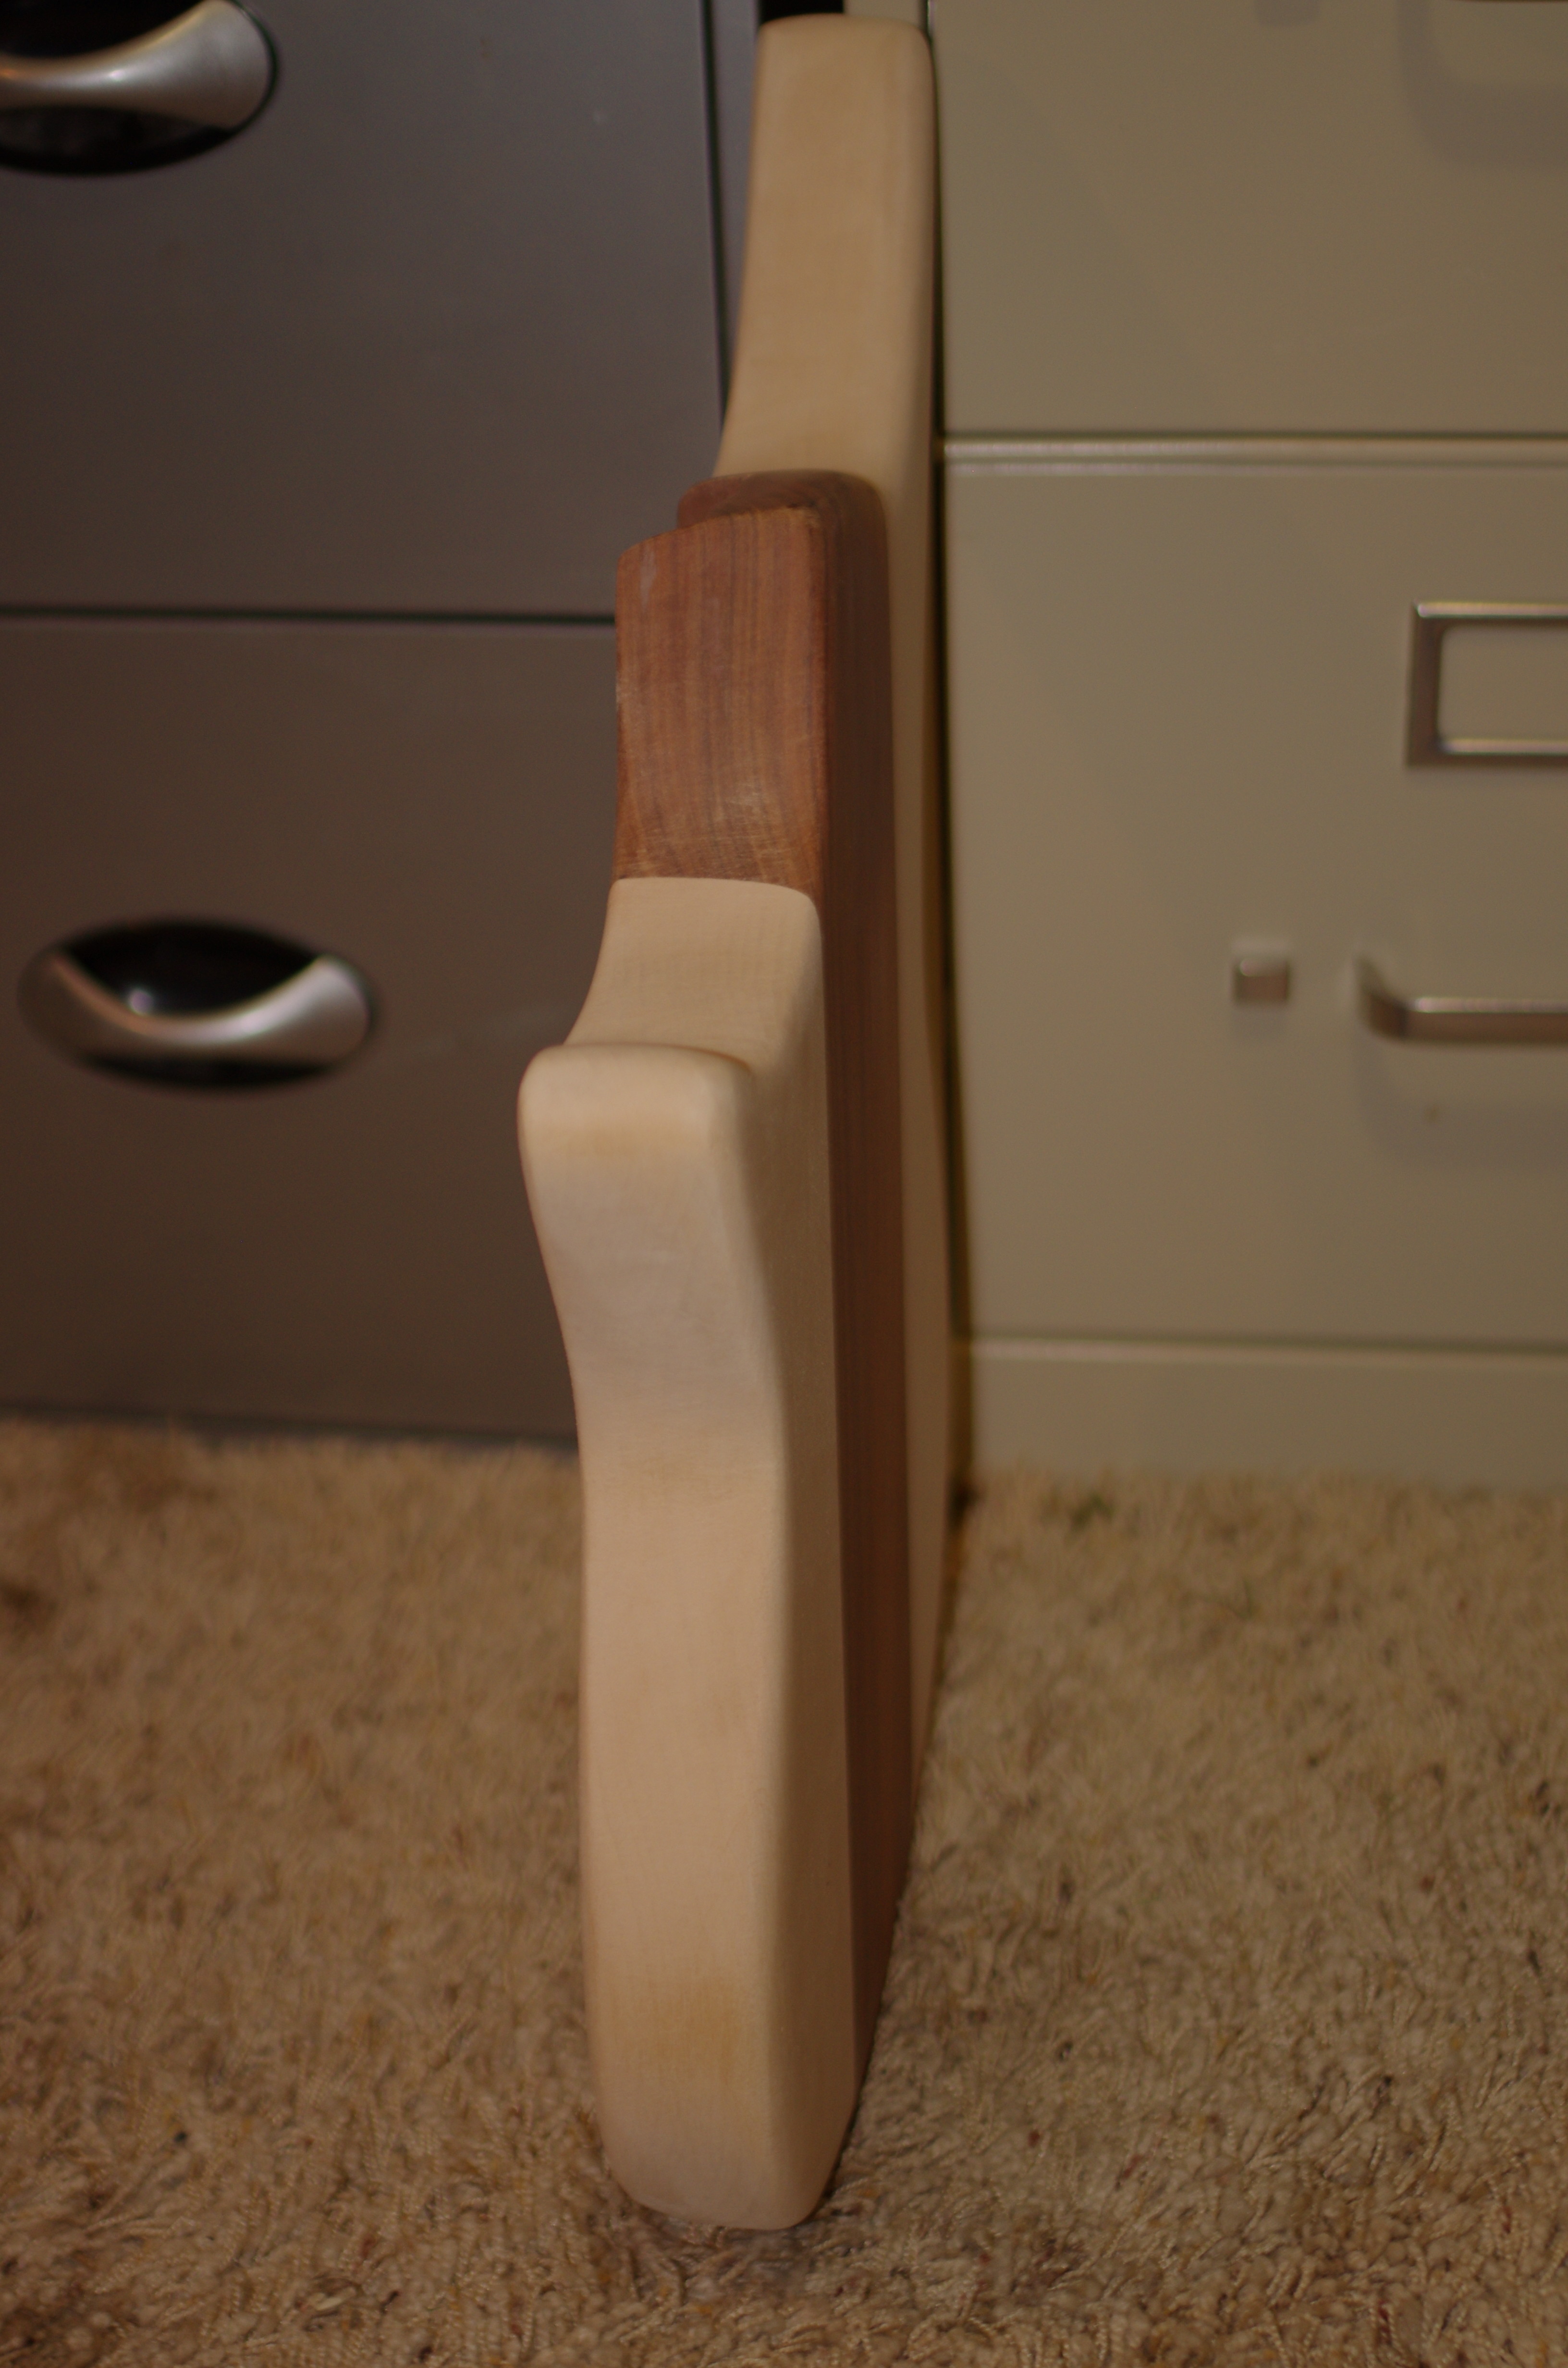
I like your headstock. It’s got a bit of a Marcus Miller vibe.
BTW. I’ve built a CAD model of your PUP. Next, I’ll make some plate designs and PM them to you. You can then choose the ones you like, and I’ll print them.
3 Likes
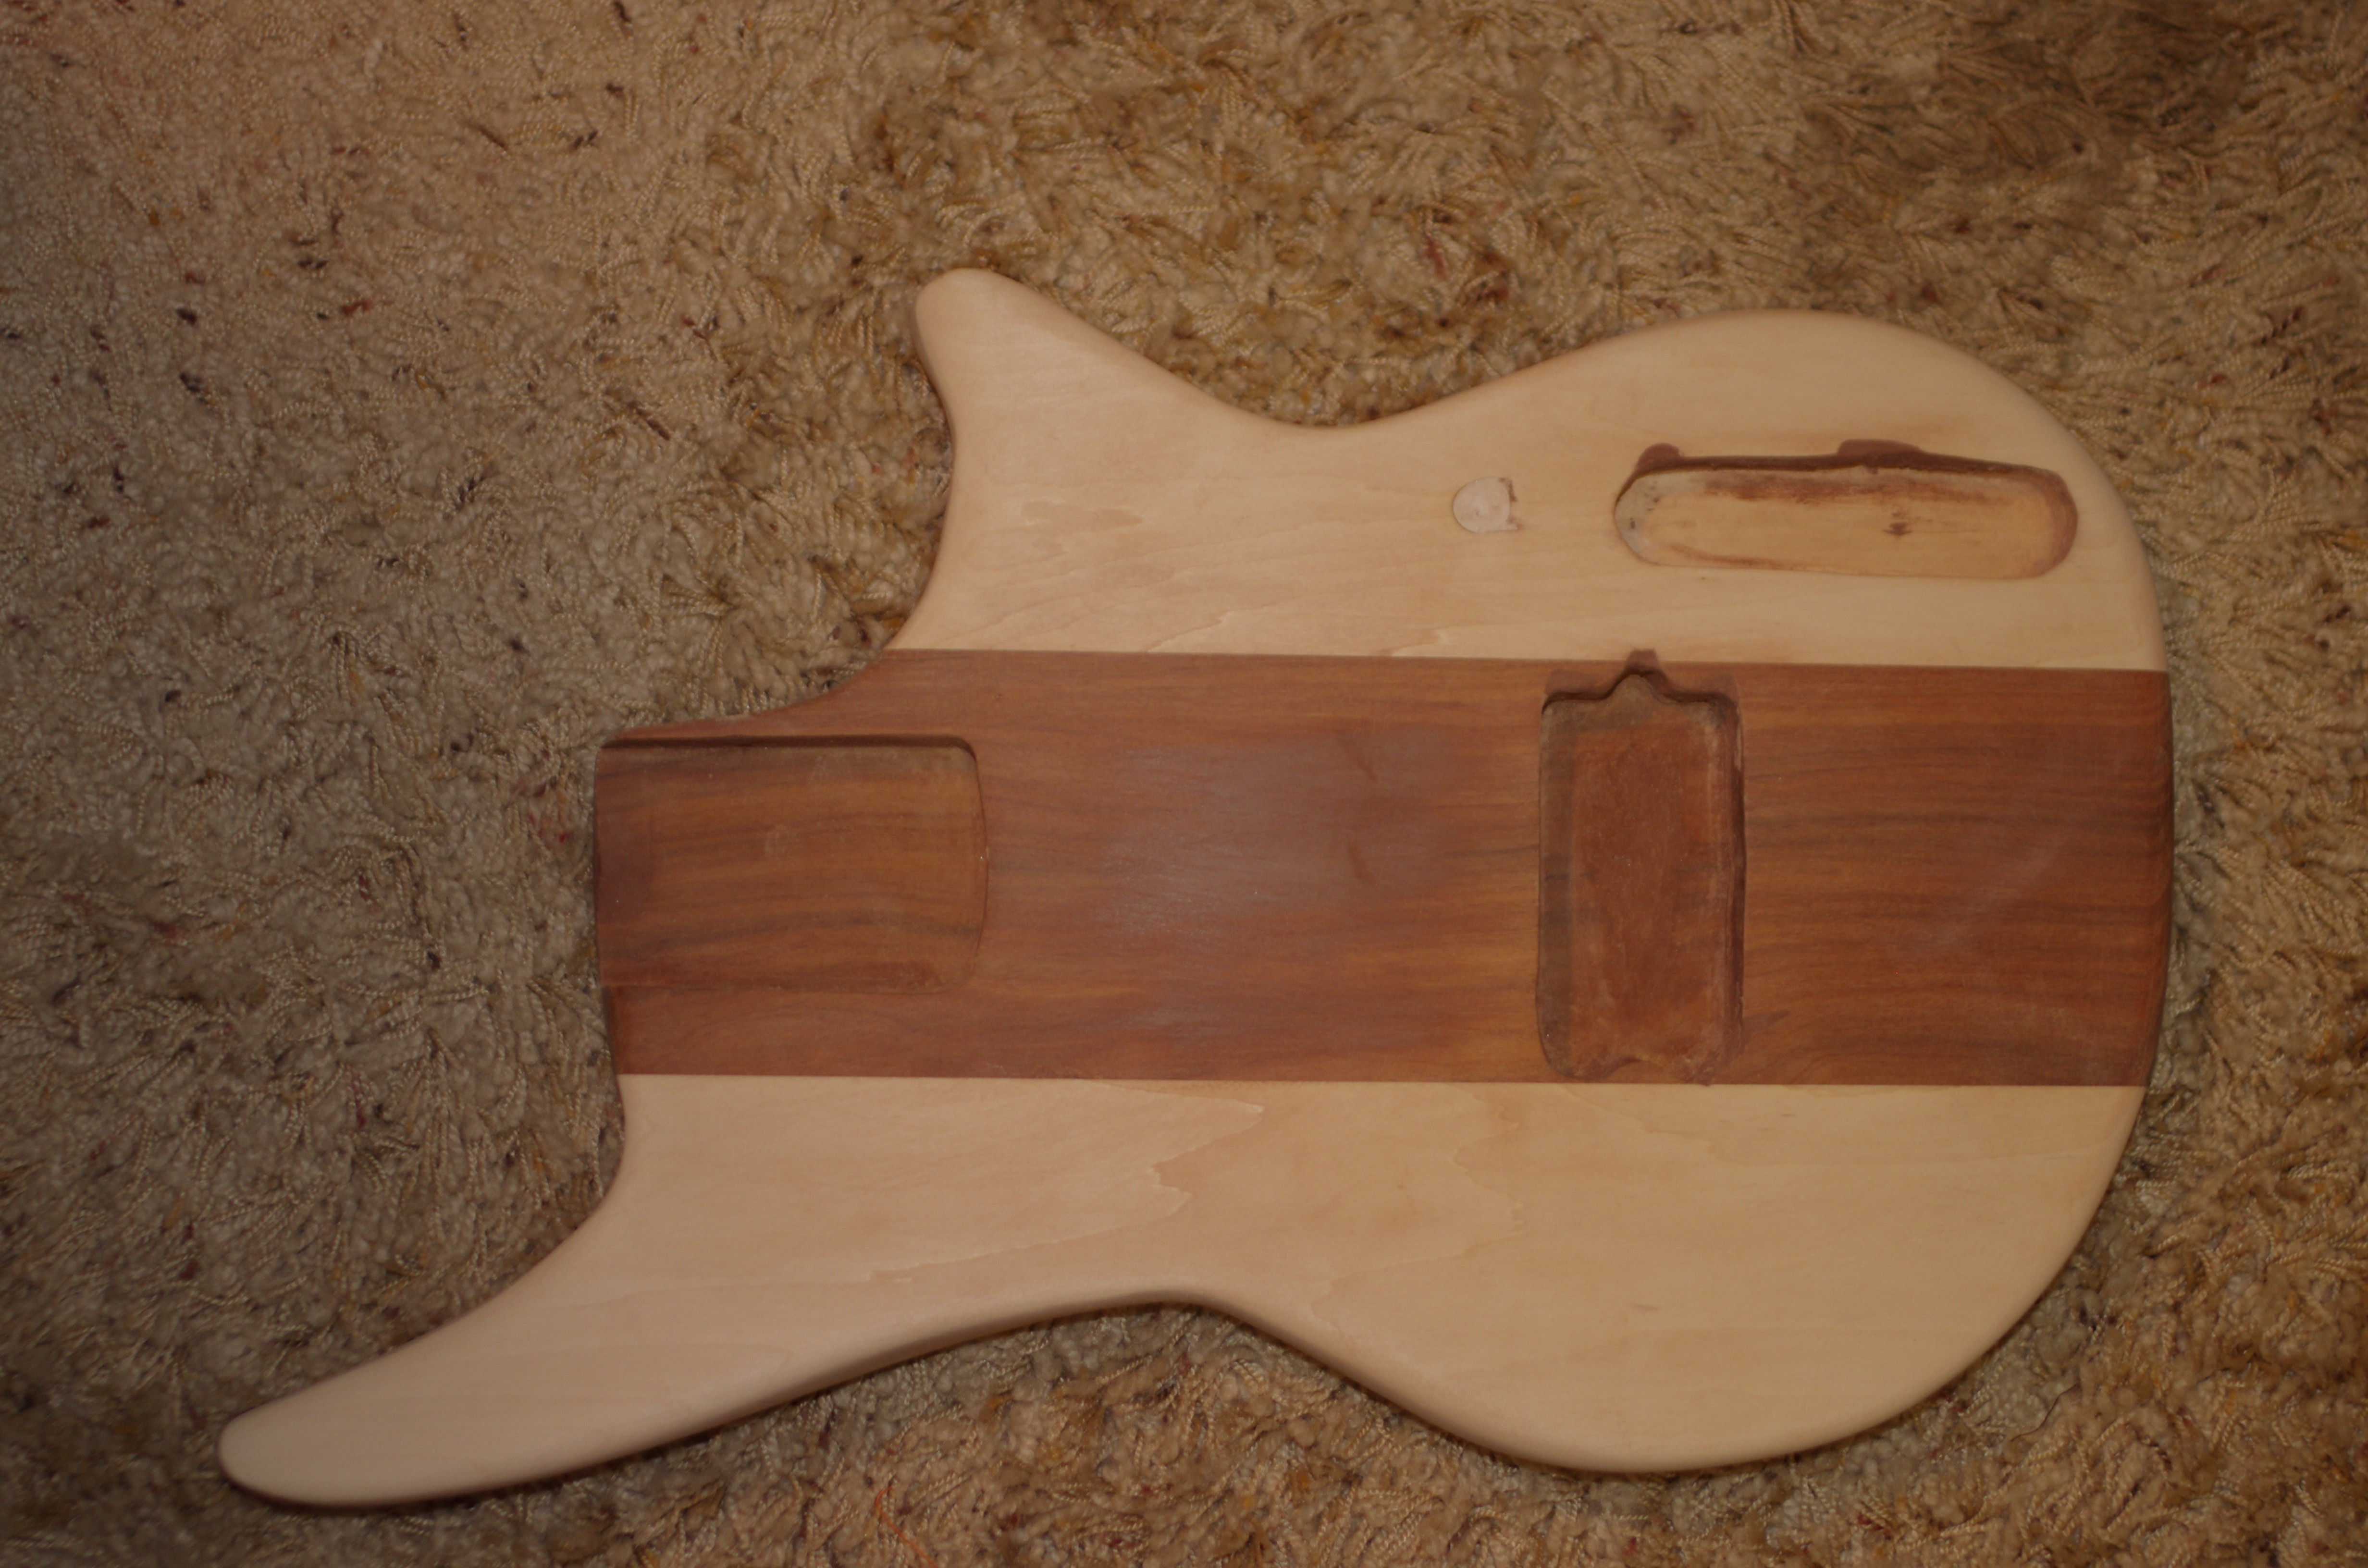
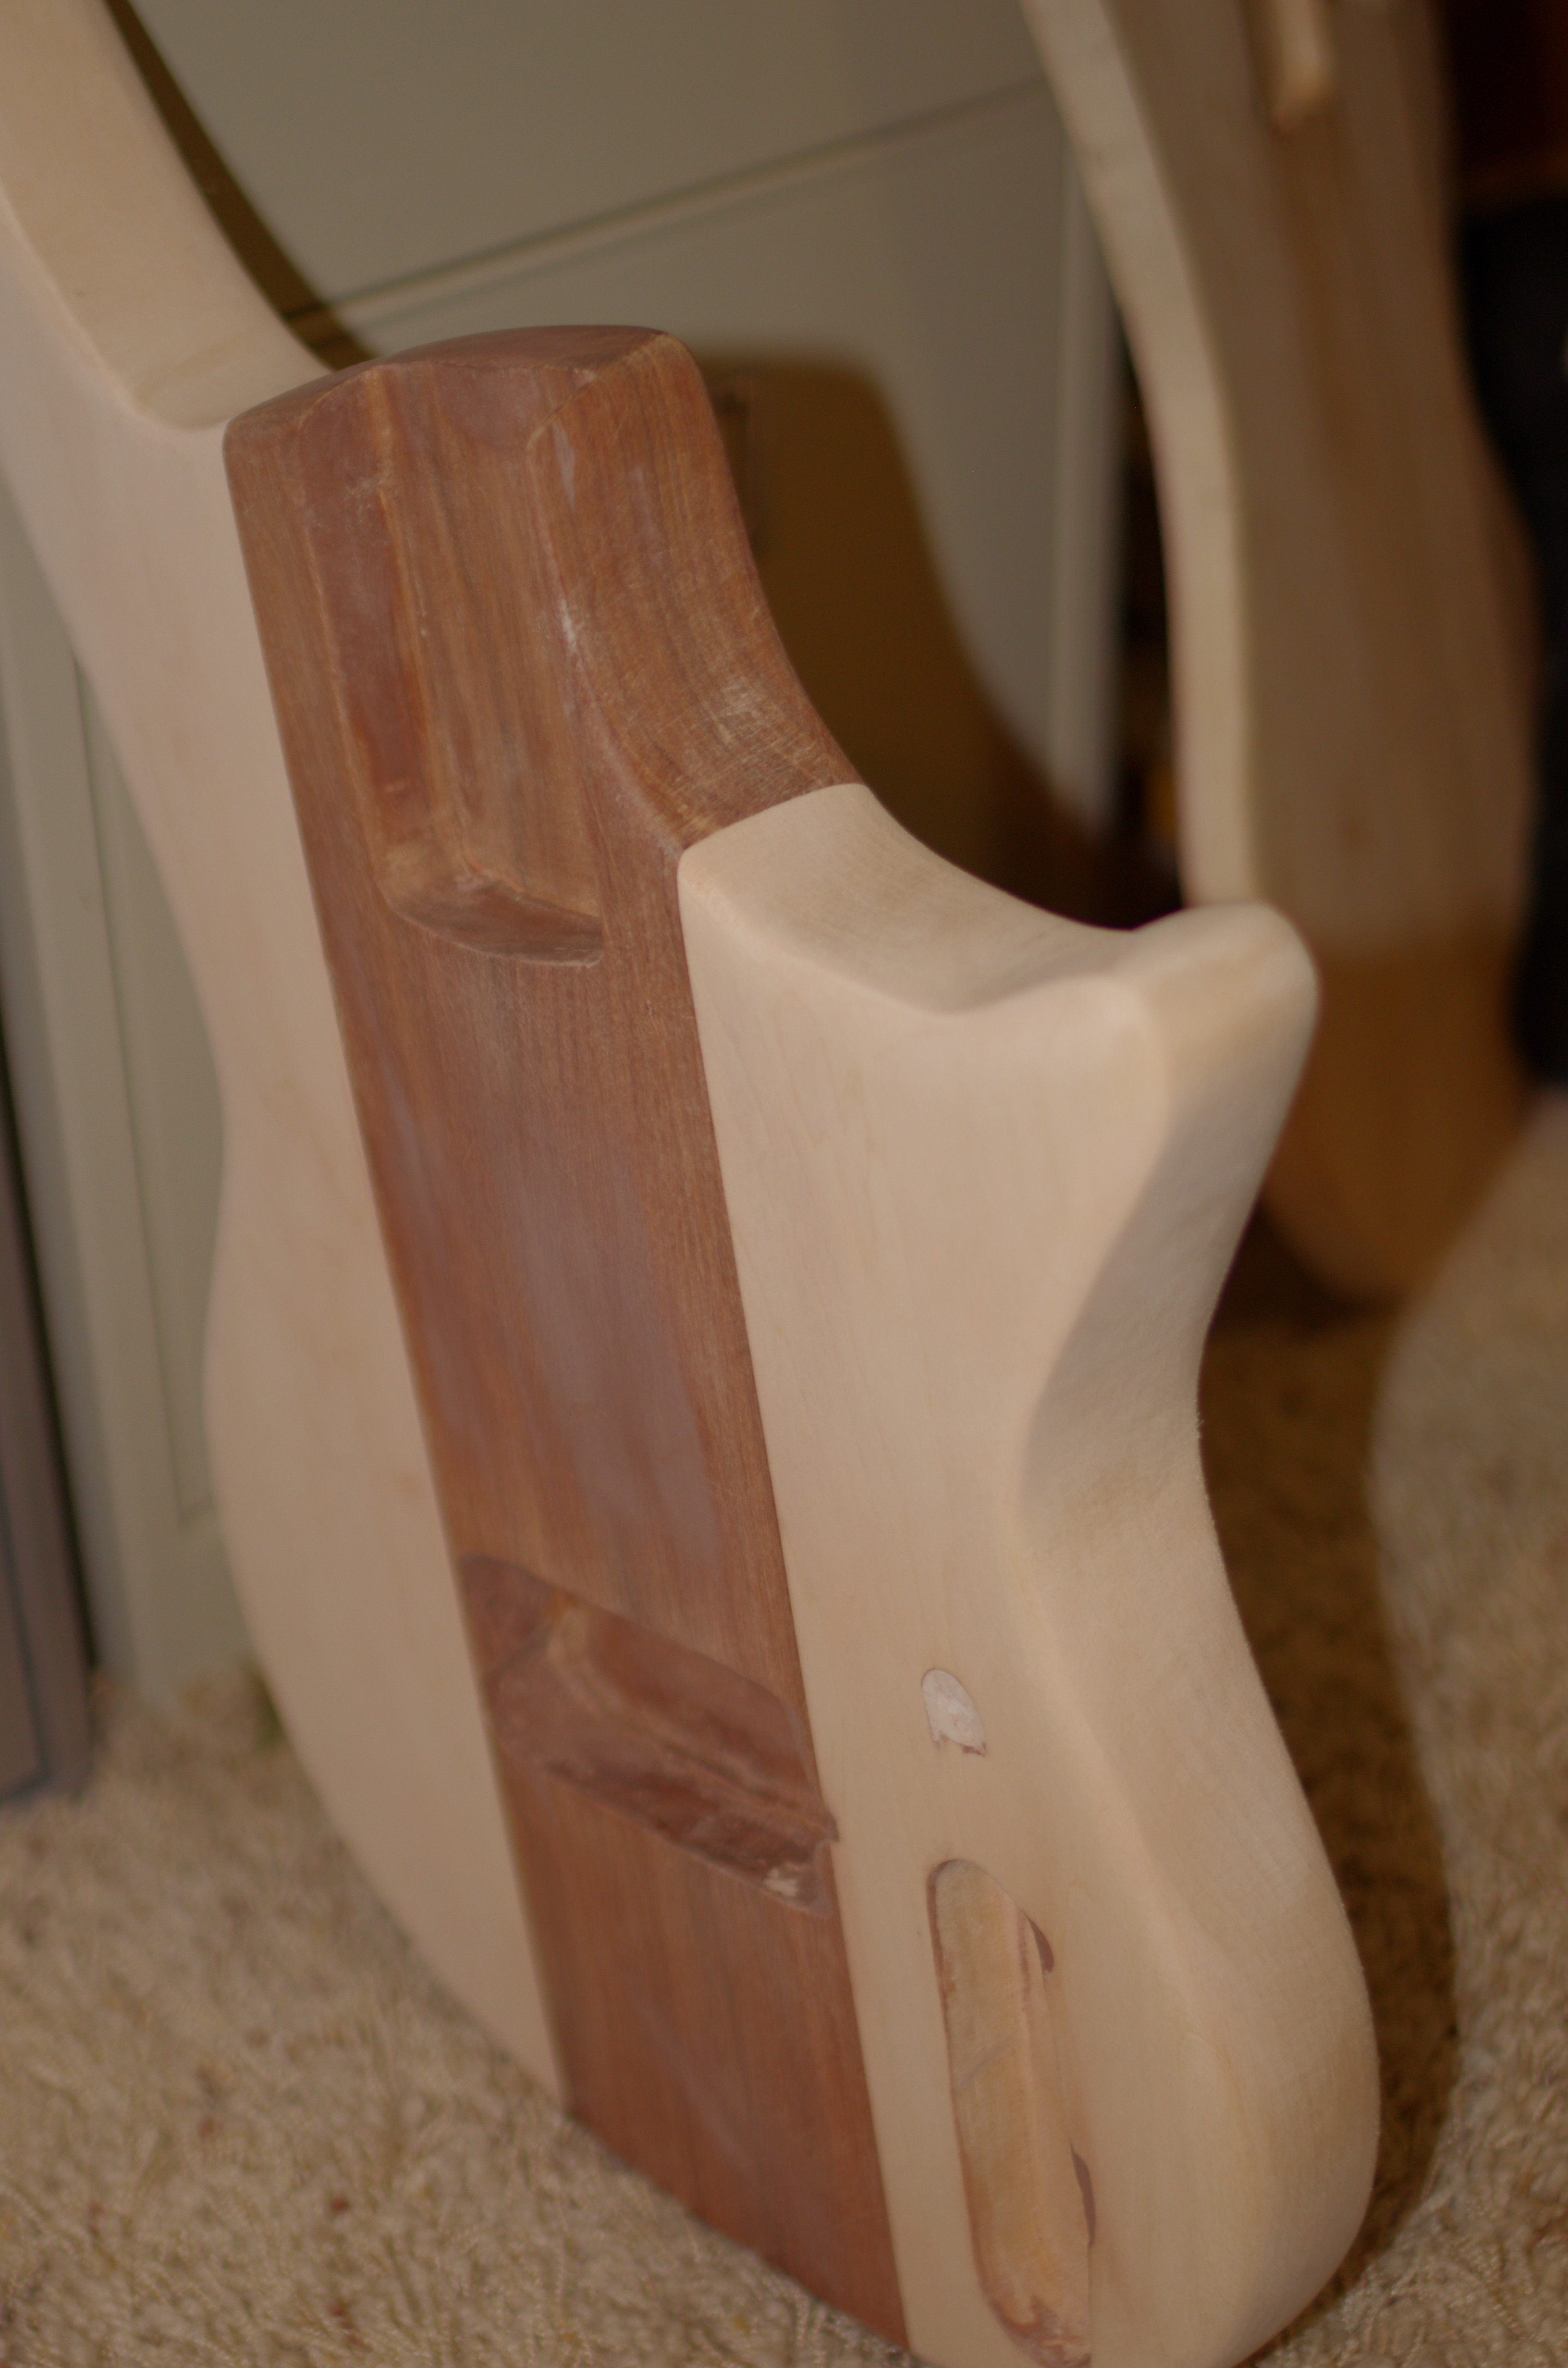
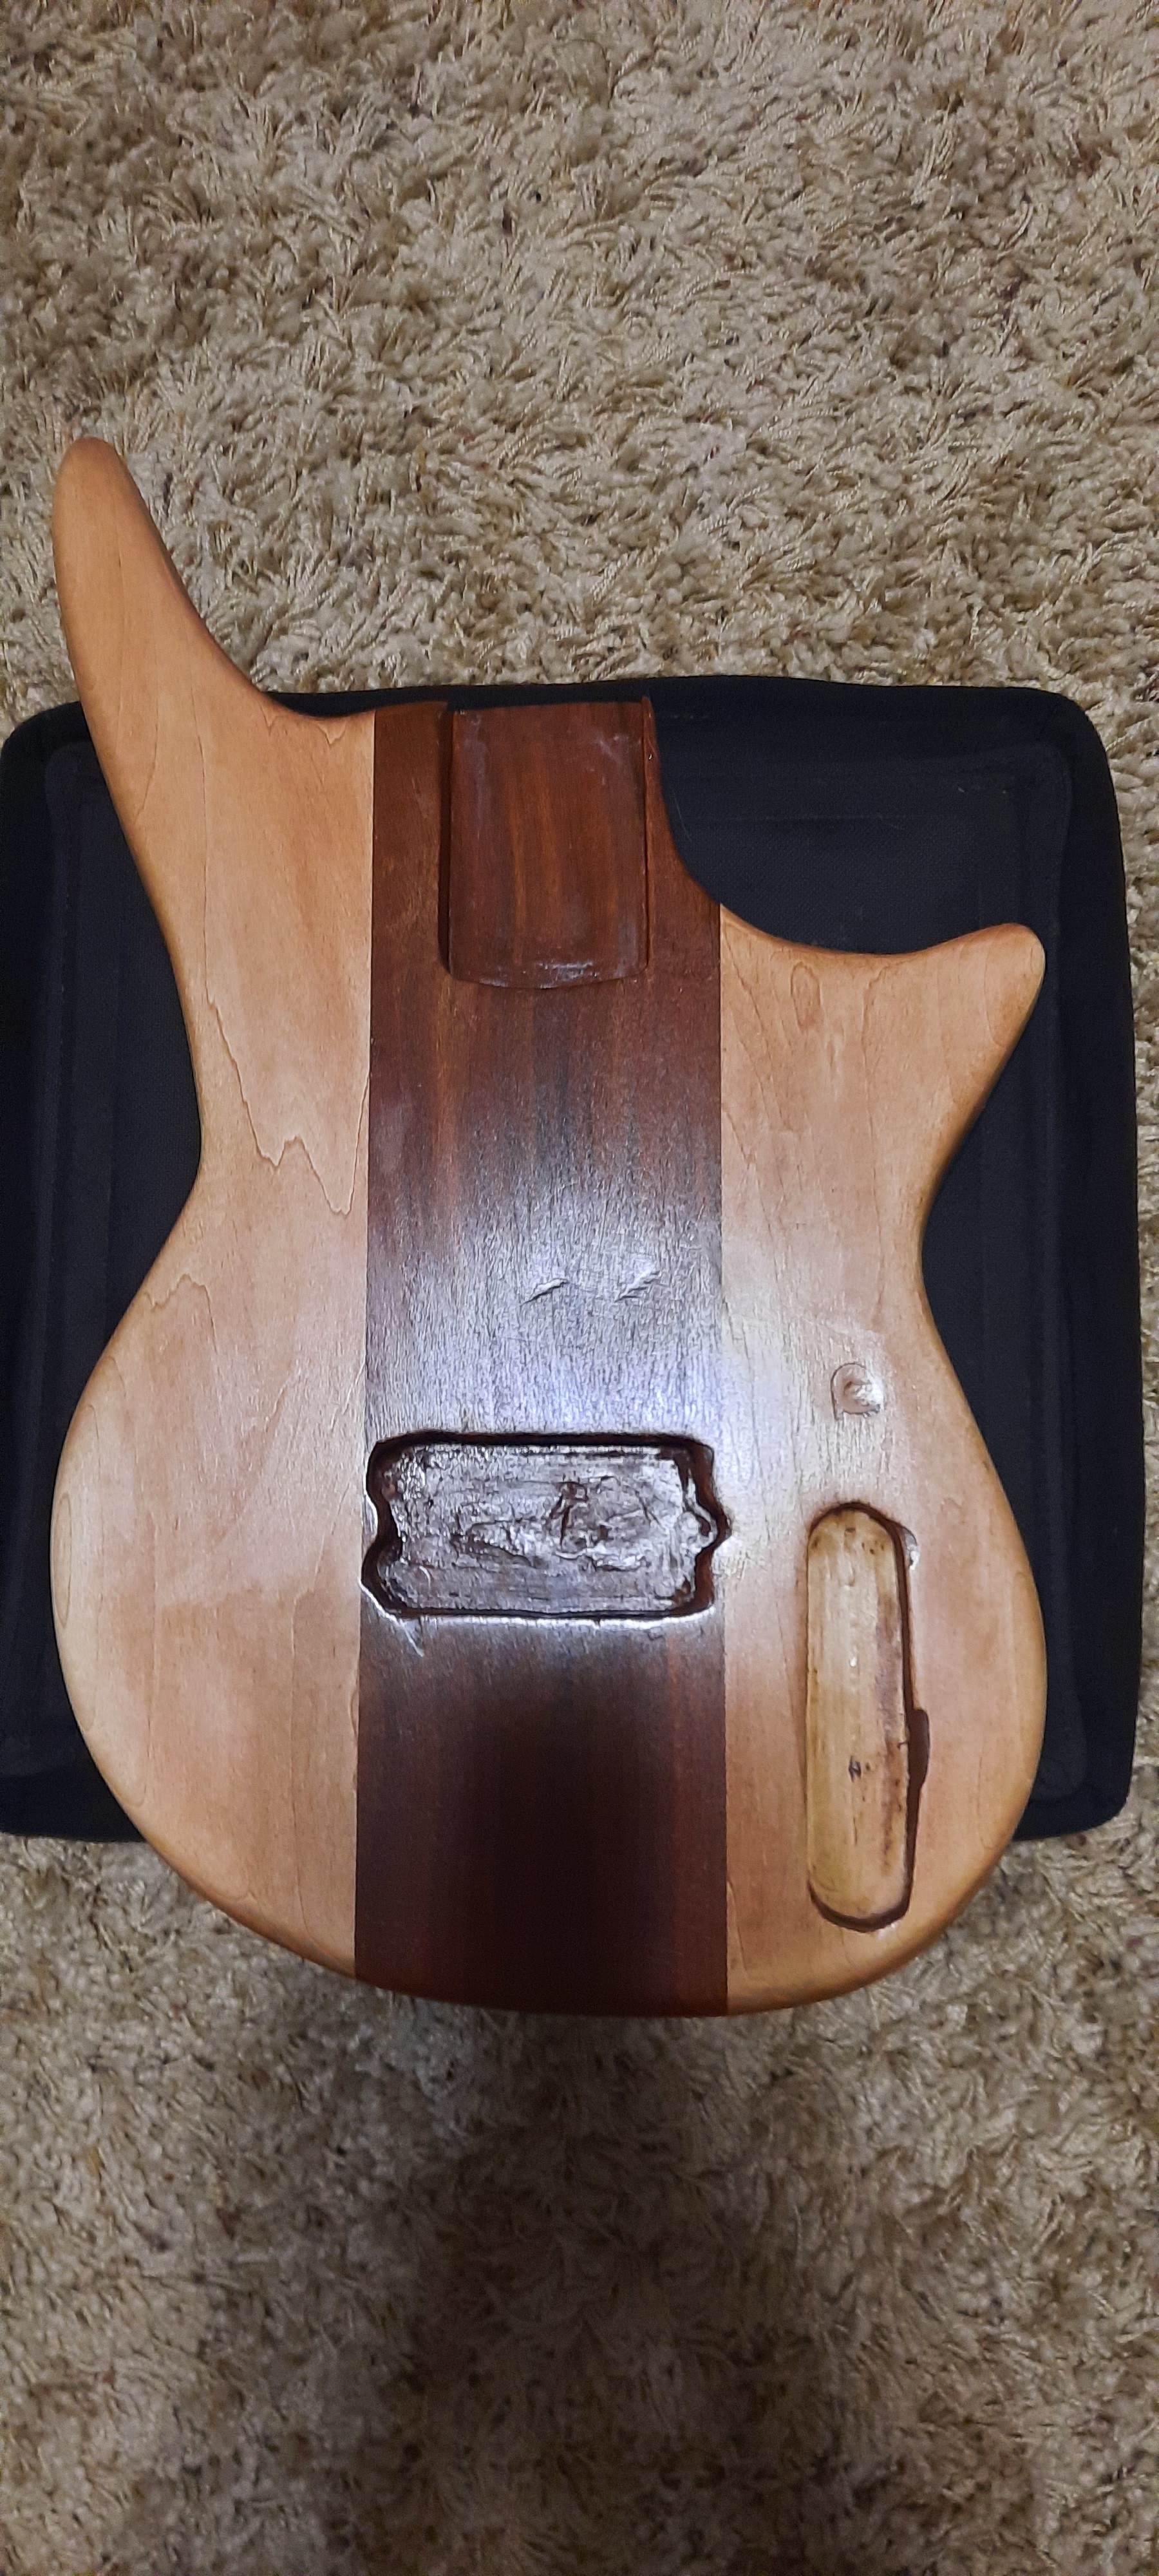
So how bad did i mess up the second cut (the pic with the neck attached)? I doesnt really look that good and not sure how to fix it
Looks much better! It’s almost got a Peavey vibe.
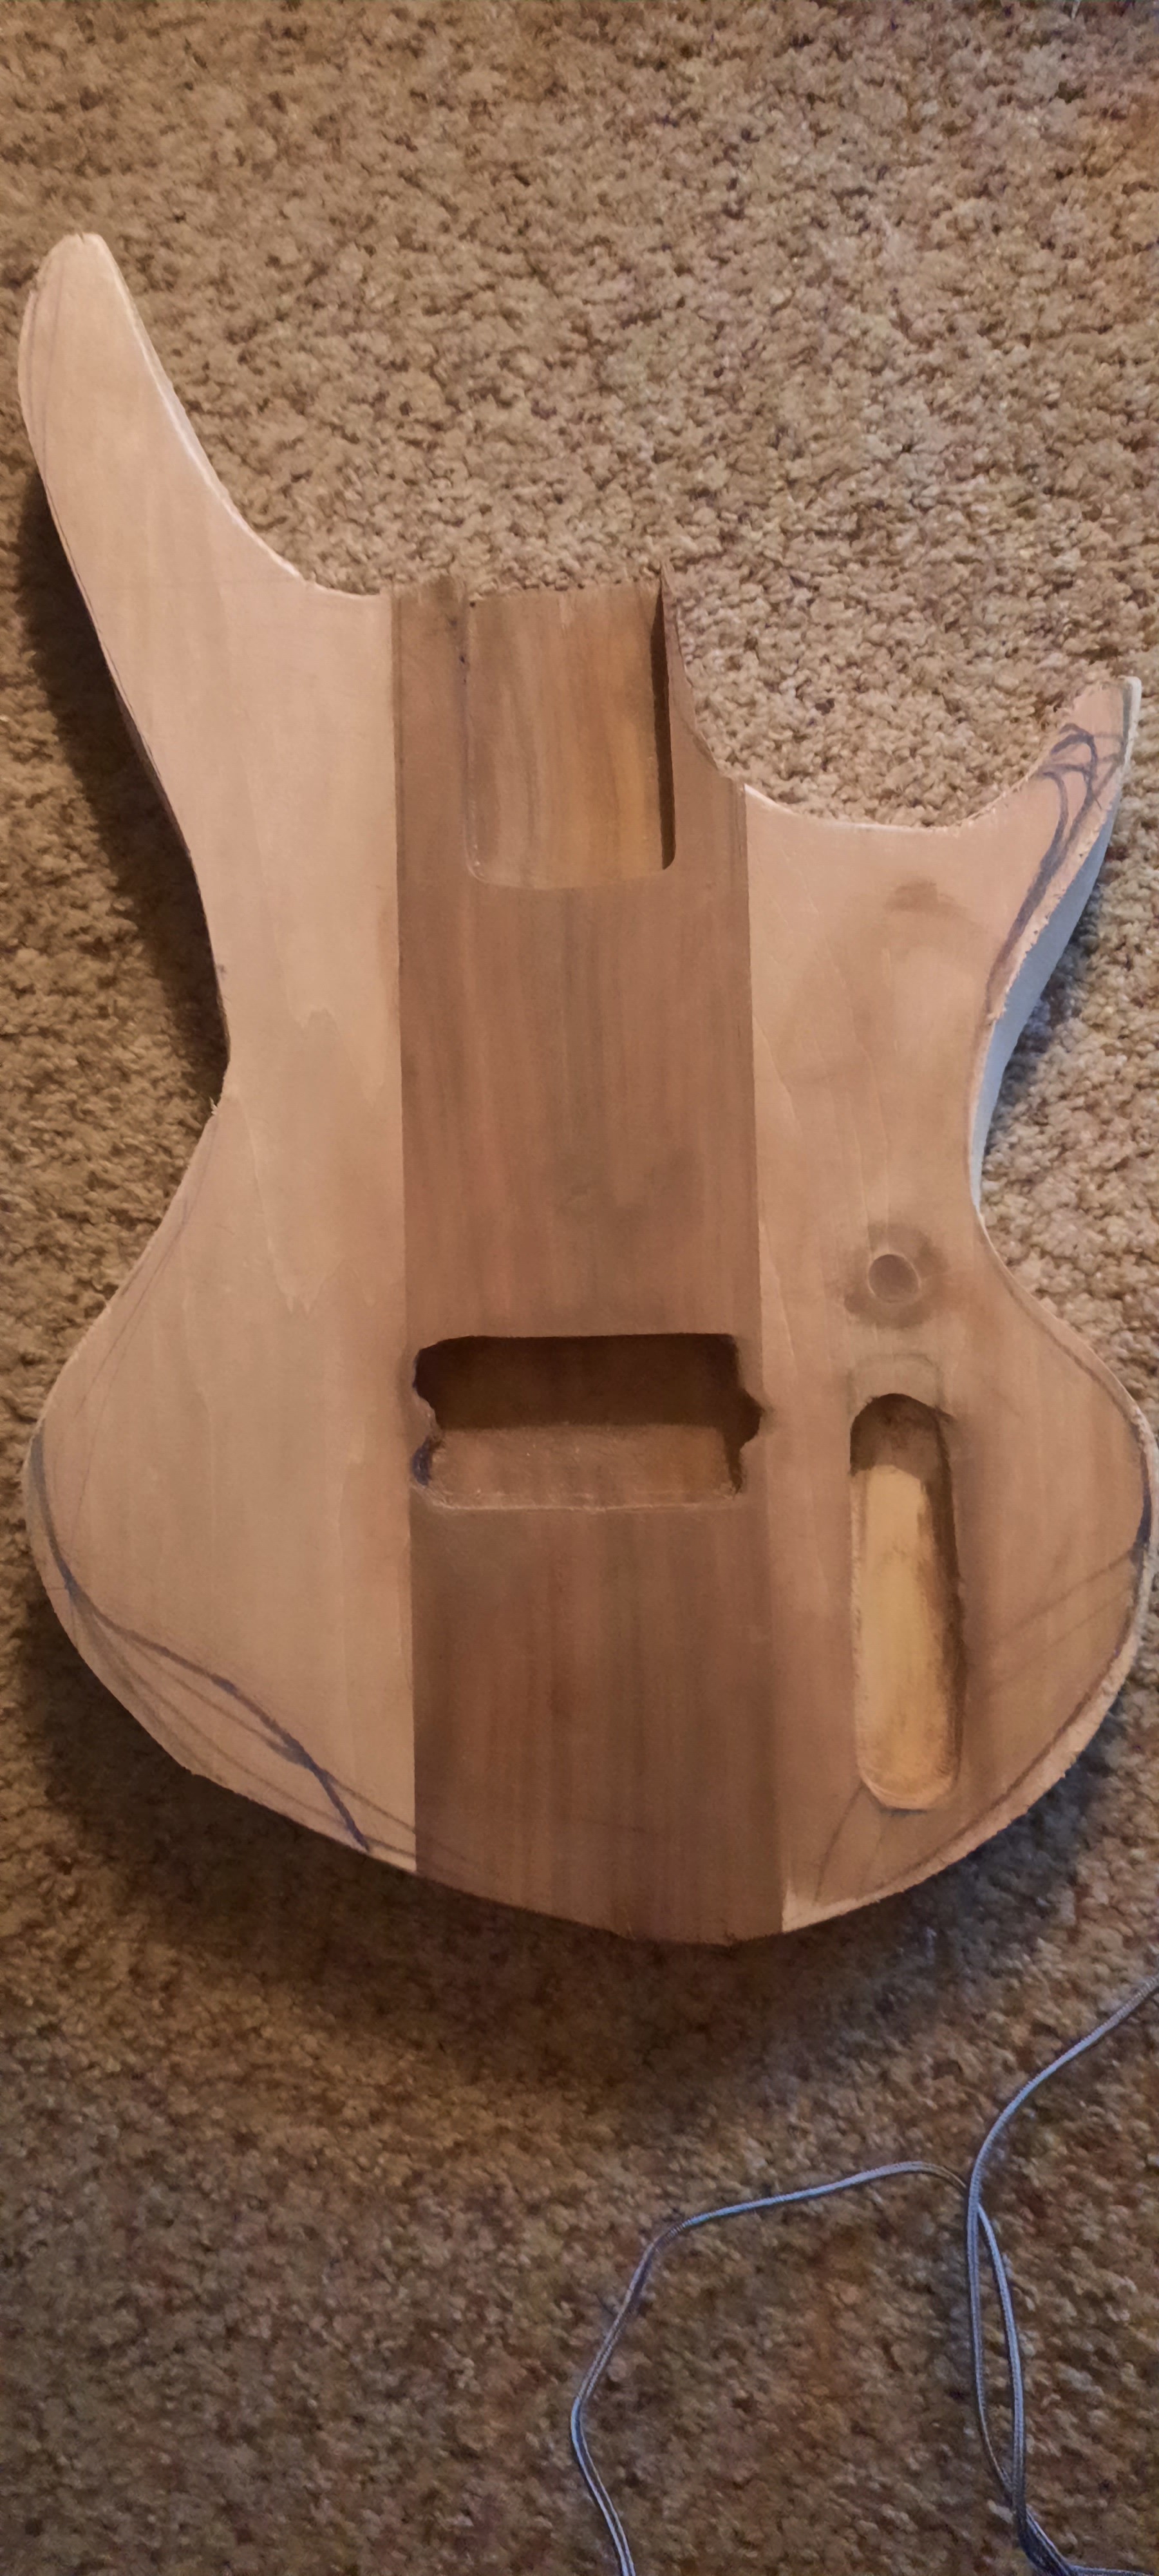
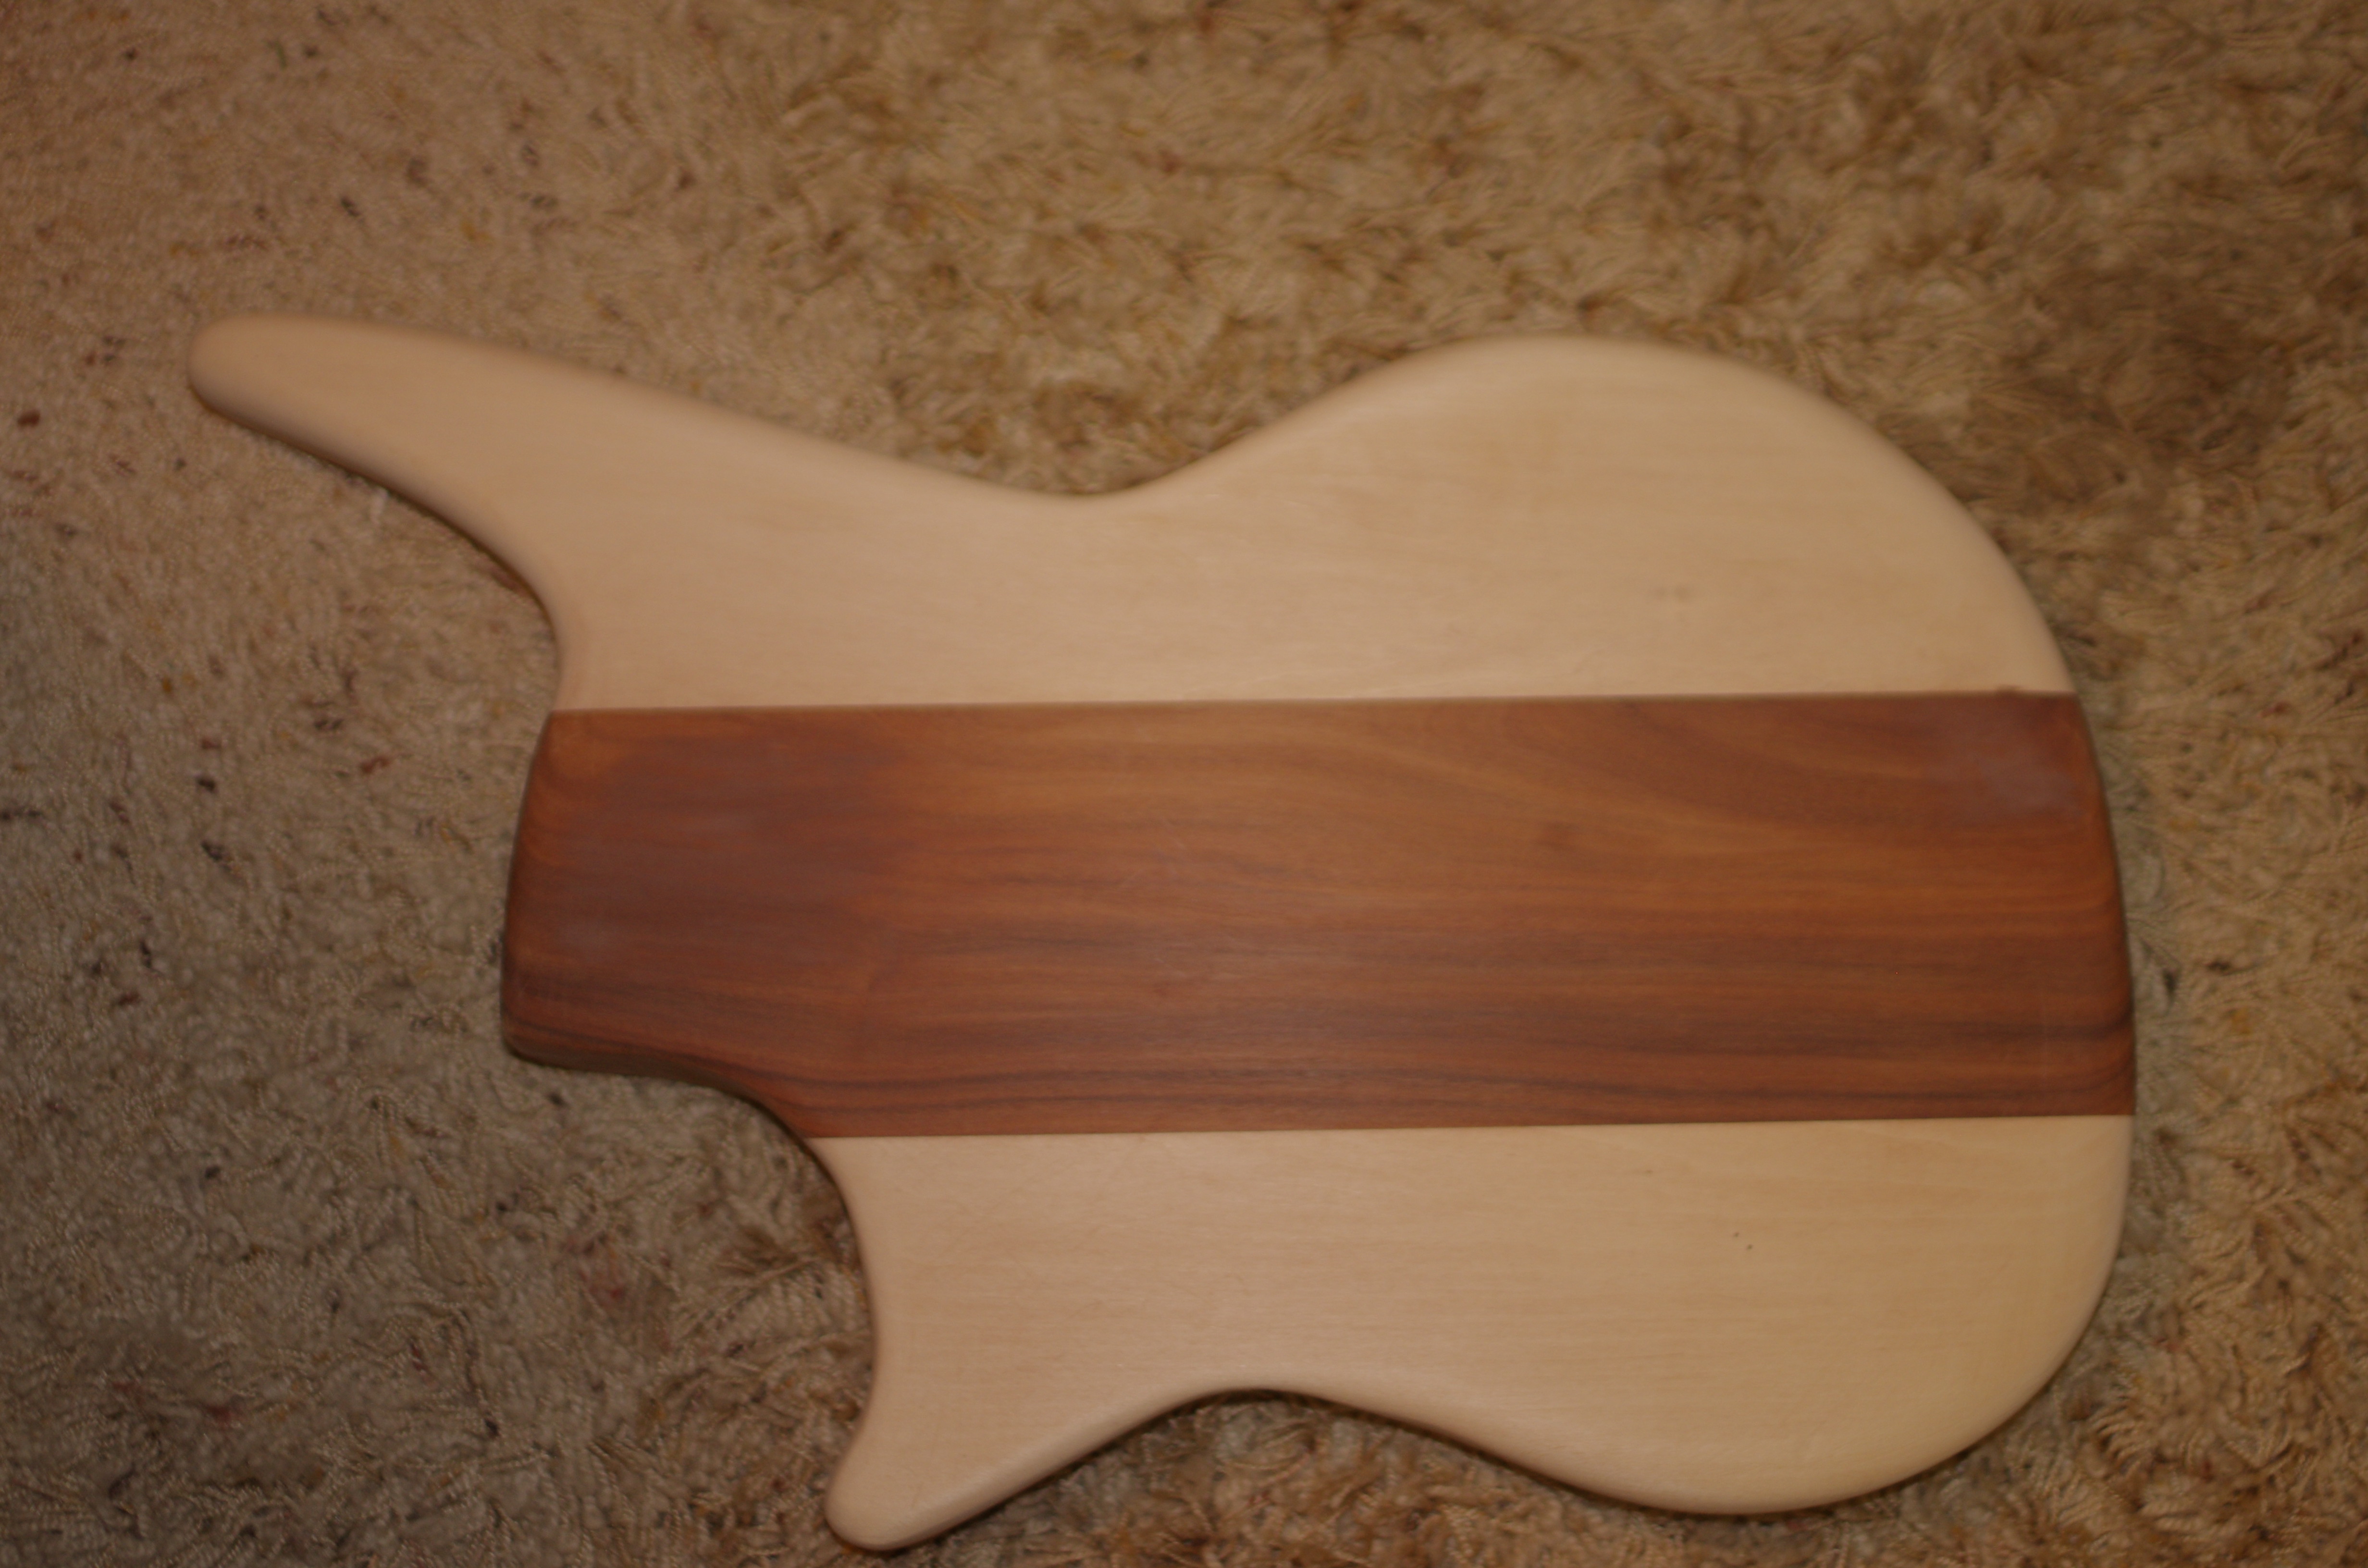
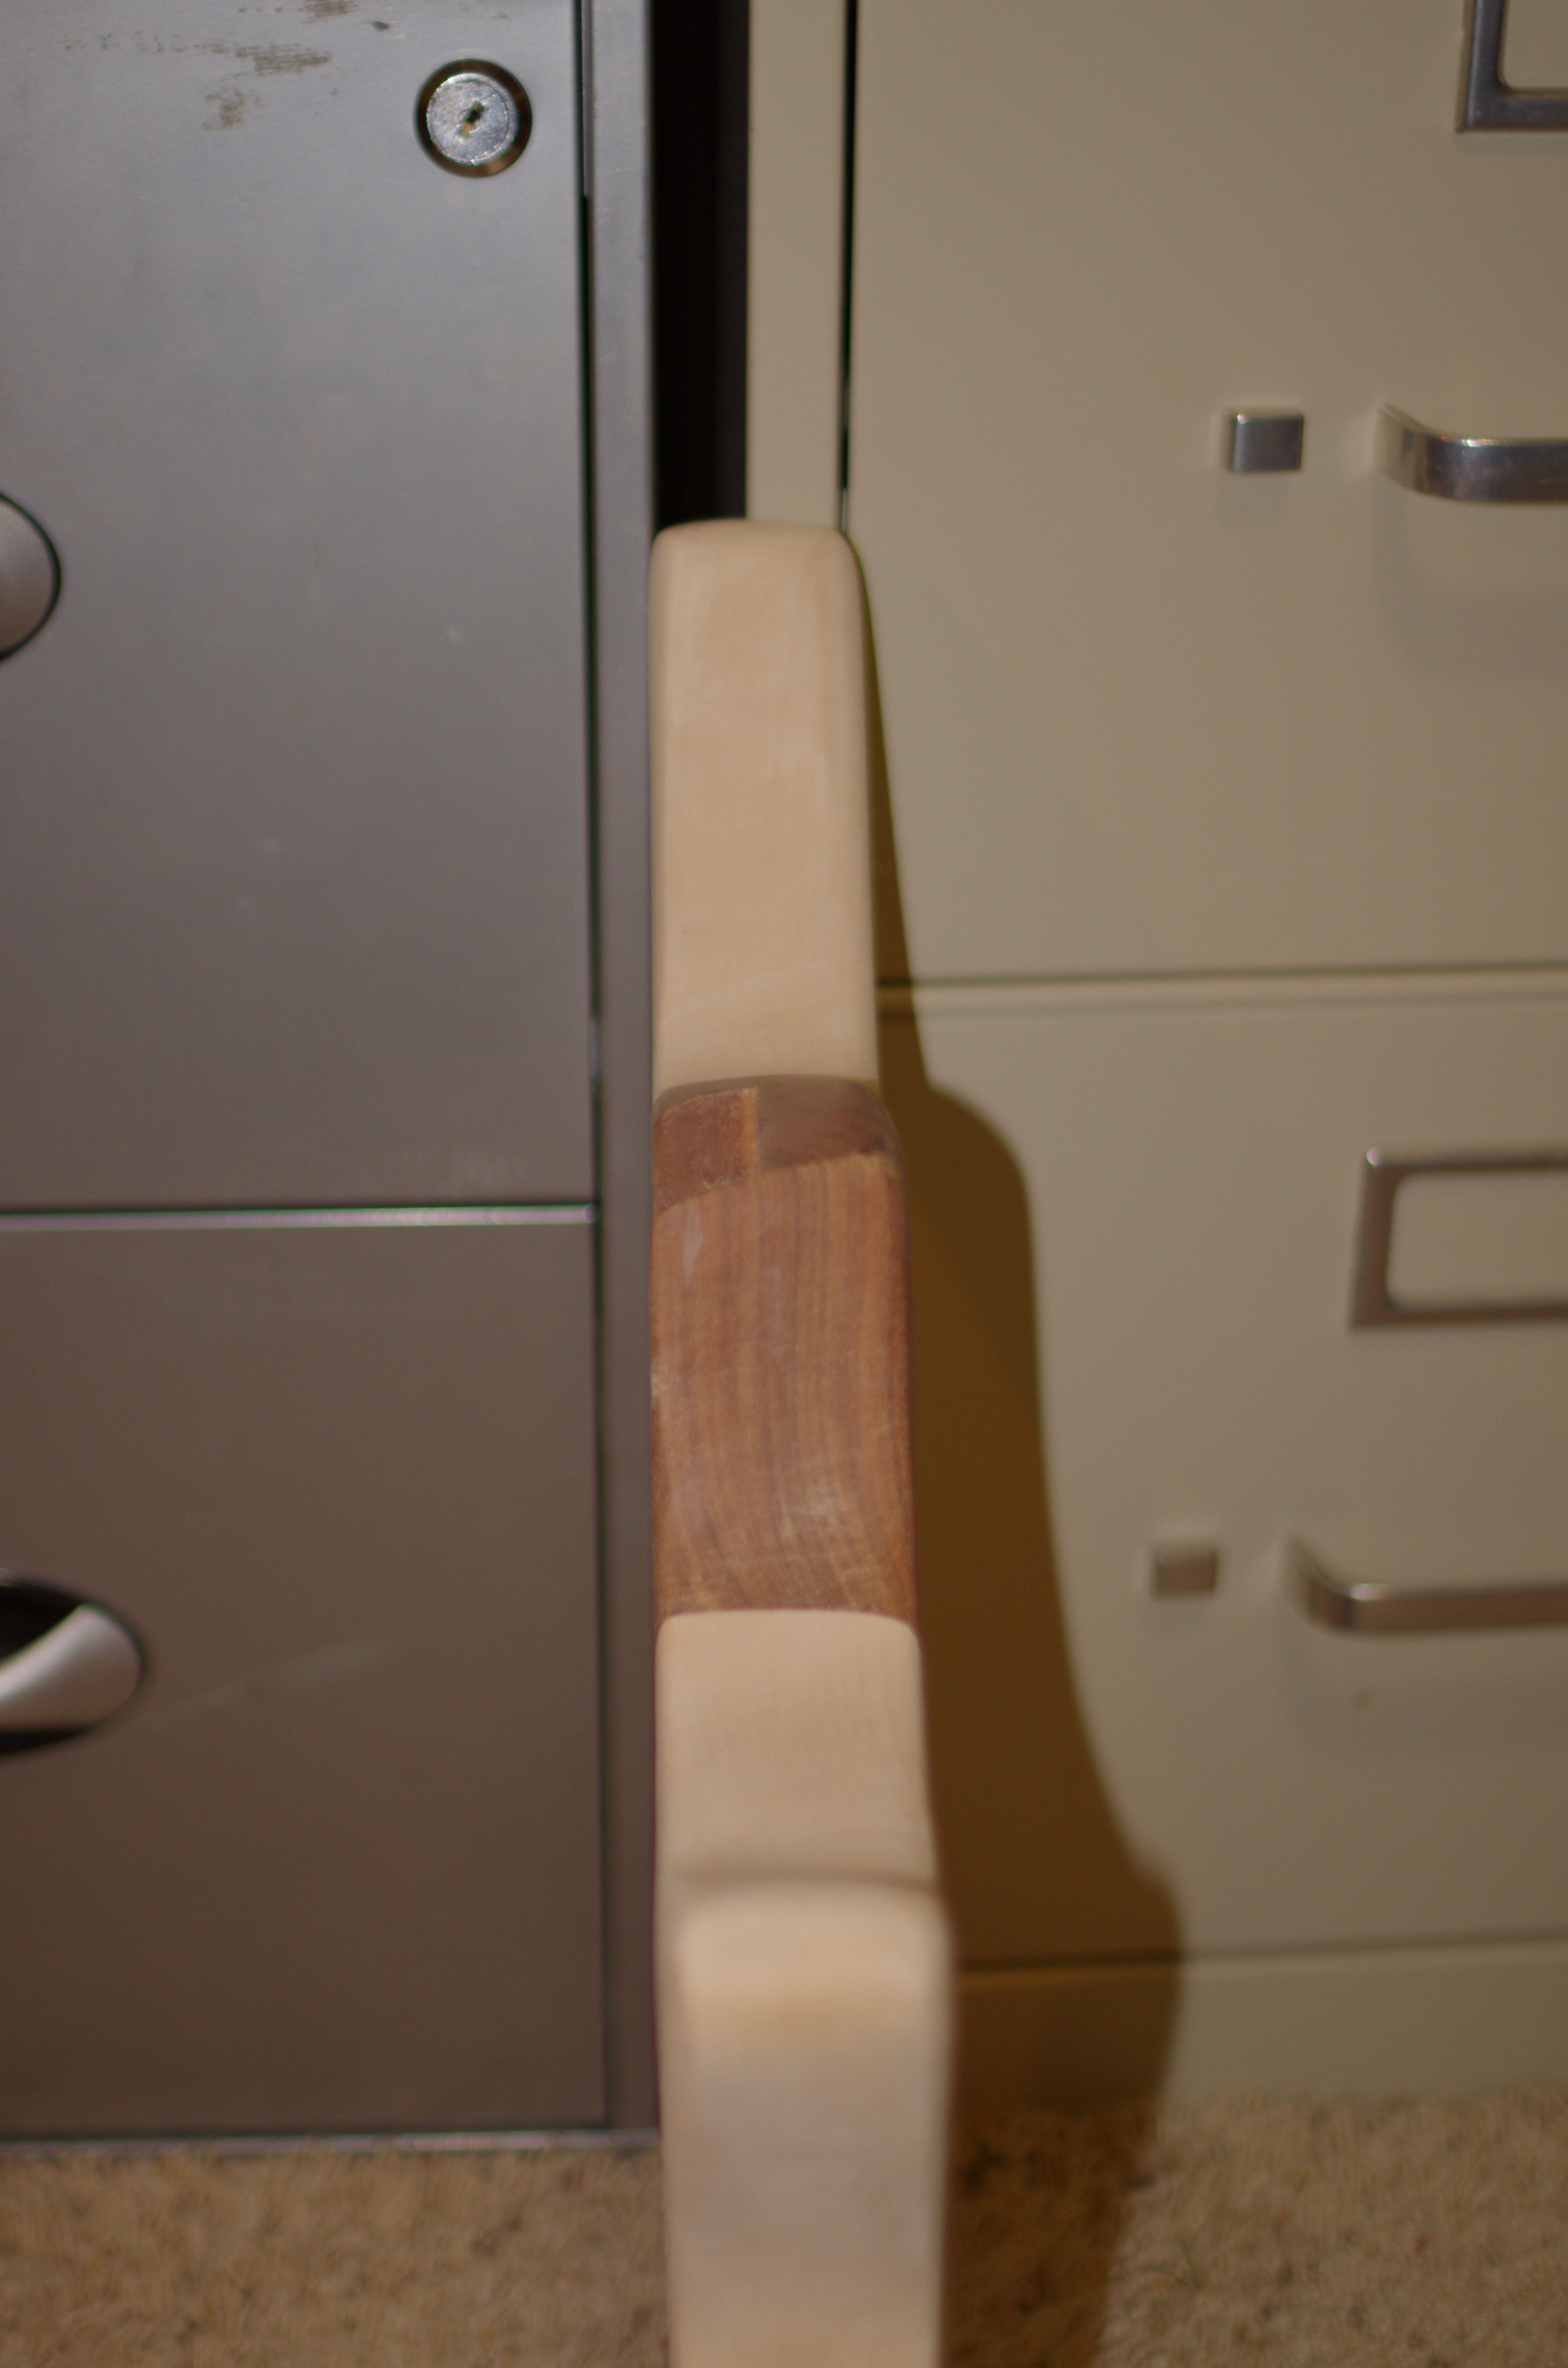
Pretty sure I am at the final body shape/contours Final shaping and 60 grit sanding done. Going to triple check with the level and square and then start the sanding down process to prep for finishing. I need to take a break from sanding anyways. I don’t have a belt sander and my cheapo B&D palm sander died. So I went with 60 grit on a block of wood and lots of elbow grease. Did the curves using an old tube of caulk wrapped in sandpaper. I “think” it is where I want it. Went with rounded off edges
Oh, body weighs 6.5 pounds and is 1.83 inches thick. I was going to plane it, but haven’t got a planer and it sits nice n my lap, so I just decided to go with it.
7 Likes
Looking good!
Thick, but not crazy thick.
1 Like
School me on finishes for basswood/rosewood body. Want something that i can brush or wipe on that will harden and provide good protection. Confused by all the tru oil, tung oil, dsnish oil, linseed oul, boiled linseed ol, osmo, minwax poly options. My first build and first timeworking with stain, so want something thar doesnt require a master clasd. Thanks! Assume i have zer0 knowledge on how these work or interact
1 Like
All the oils you mention are boiled linseed oil with some varnish (to provide a hard finish) and accelerator (thinners) to get it onto the wood in flowing liquid form. Wipe on with a clean cloth, let it dry for 15 minutes then wipe the excess off with a dry cloth. Leave to dry for 24 hours then repeat. I put six coats on then start wet sanding between coats for another six. The result should be a satin finish which moves with the wood.
1 Like
@Old_WannaBe It’s looking really good. Crazy how that bass in another thread was shaped so much like your original design.
@jonathanhaynes43 How is Tung Oil different? I read it comes from the nuts of the Tung tree. And what is the significance of a drying oil? Also, what do you use if you want to keep that open grain feel of the wood? And what does open grain really mean?
1 Like
It is indeed, but once heated they all polymerise (turn into long chain molecules) so they harden on contact with air. The oil fill sup grain, and if you sand it back after every coat the finish is flat (hence it shines by reflecting light). I think you would need to start with very open grained wood and not put too many coats on if you want to keep a rougher surface.
1 Like
All really good useful stuff from @jonathanhaynes43 here. I’d just add that the drying process is as important as anything else. The previous layer of finish must be completely cured before you apply the next layer. If you don’t and try and rush it there’s a chance you’ll end up with a milky or not perfectly clear finish (ask me how i know).
So just as in learning bass, patience is your friend.
3 Likes
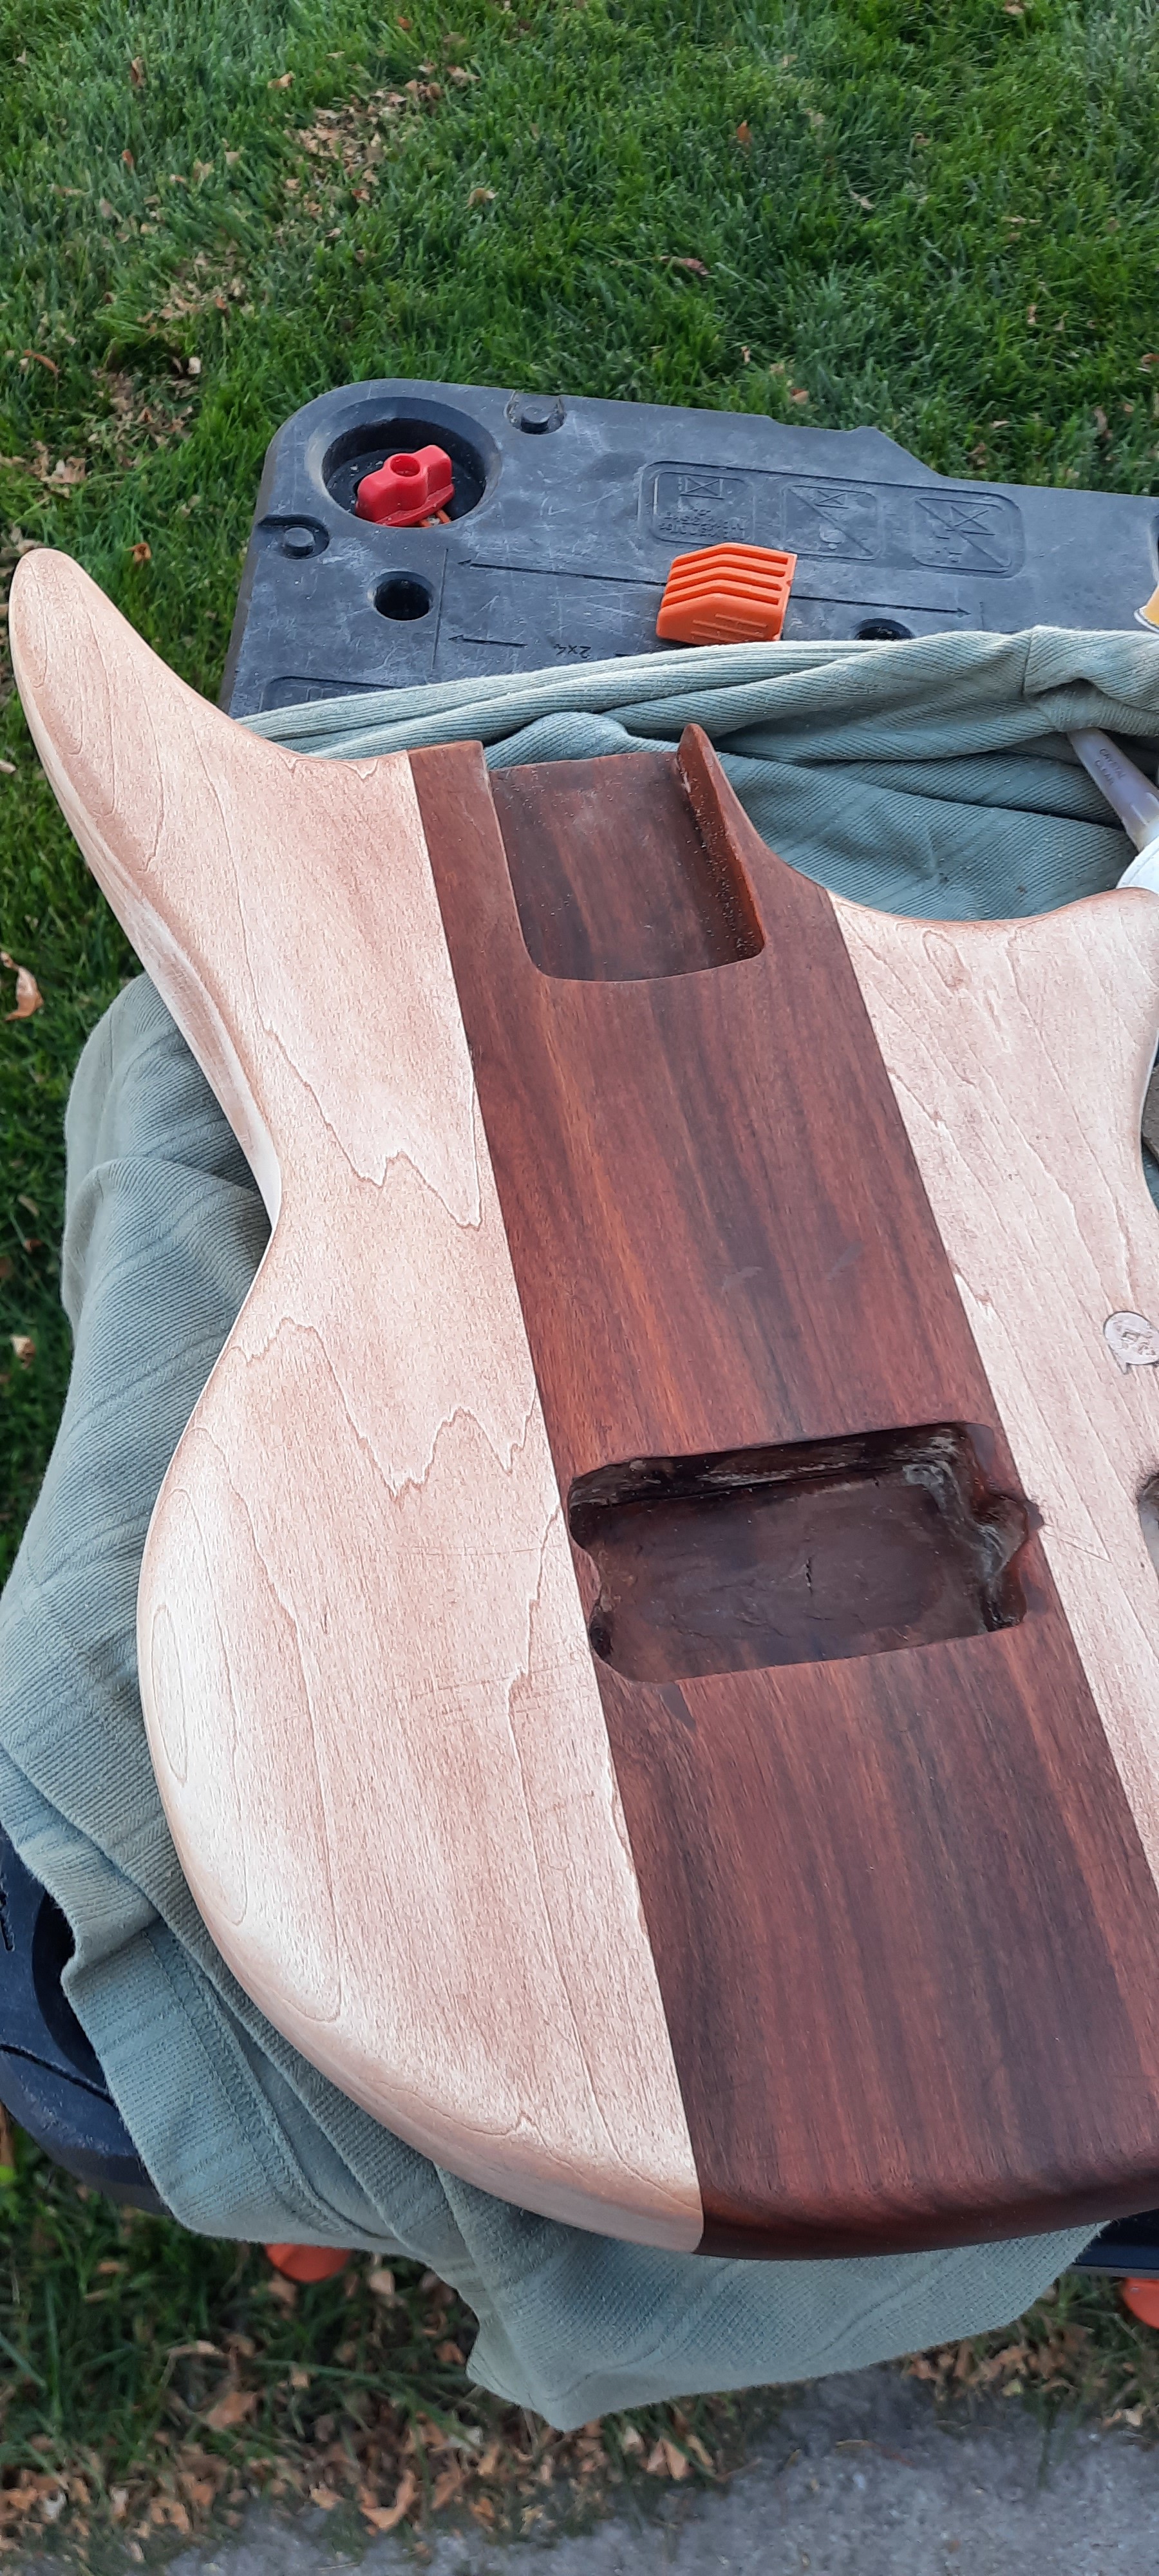
Applied some wood filler to pop the grain and 1st coat of tru oil. I effed up the sides so have to resand and try those again.
4 Likes
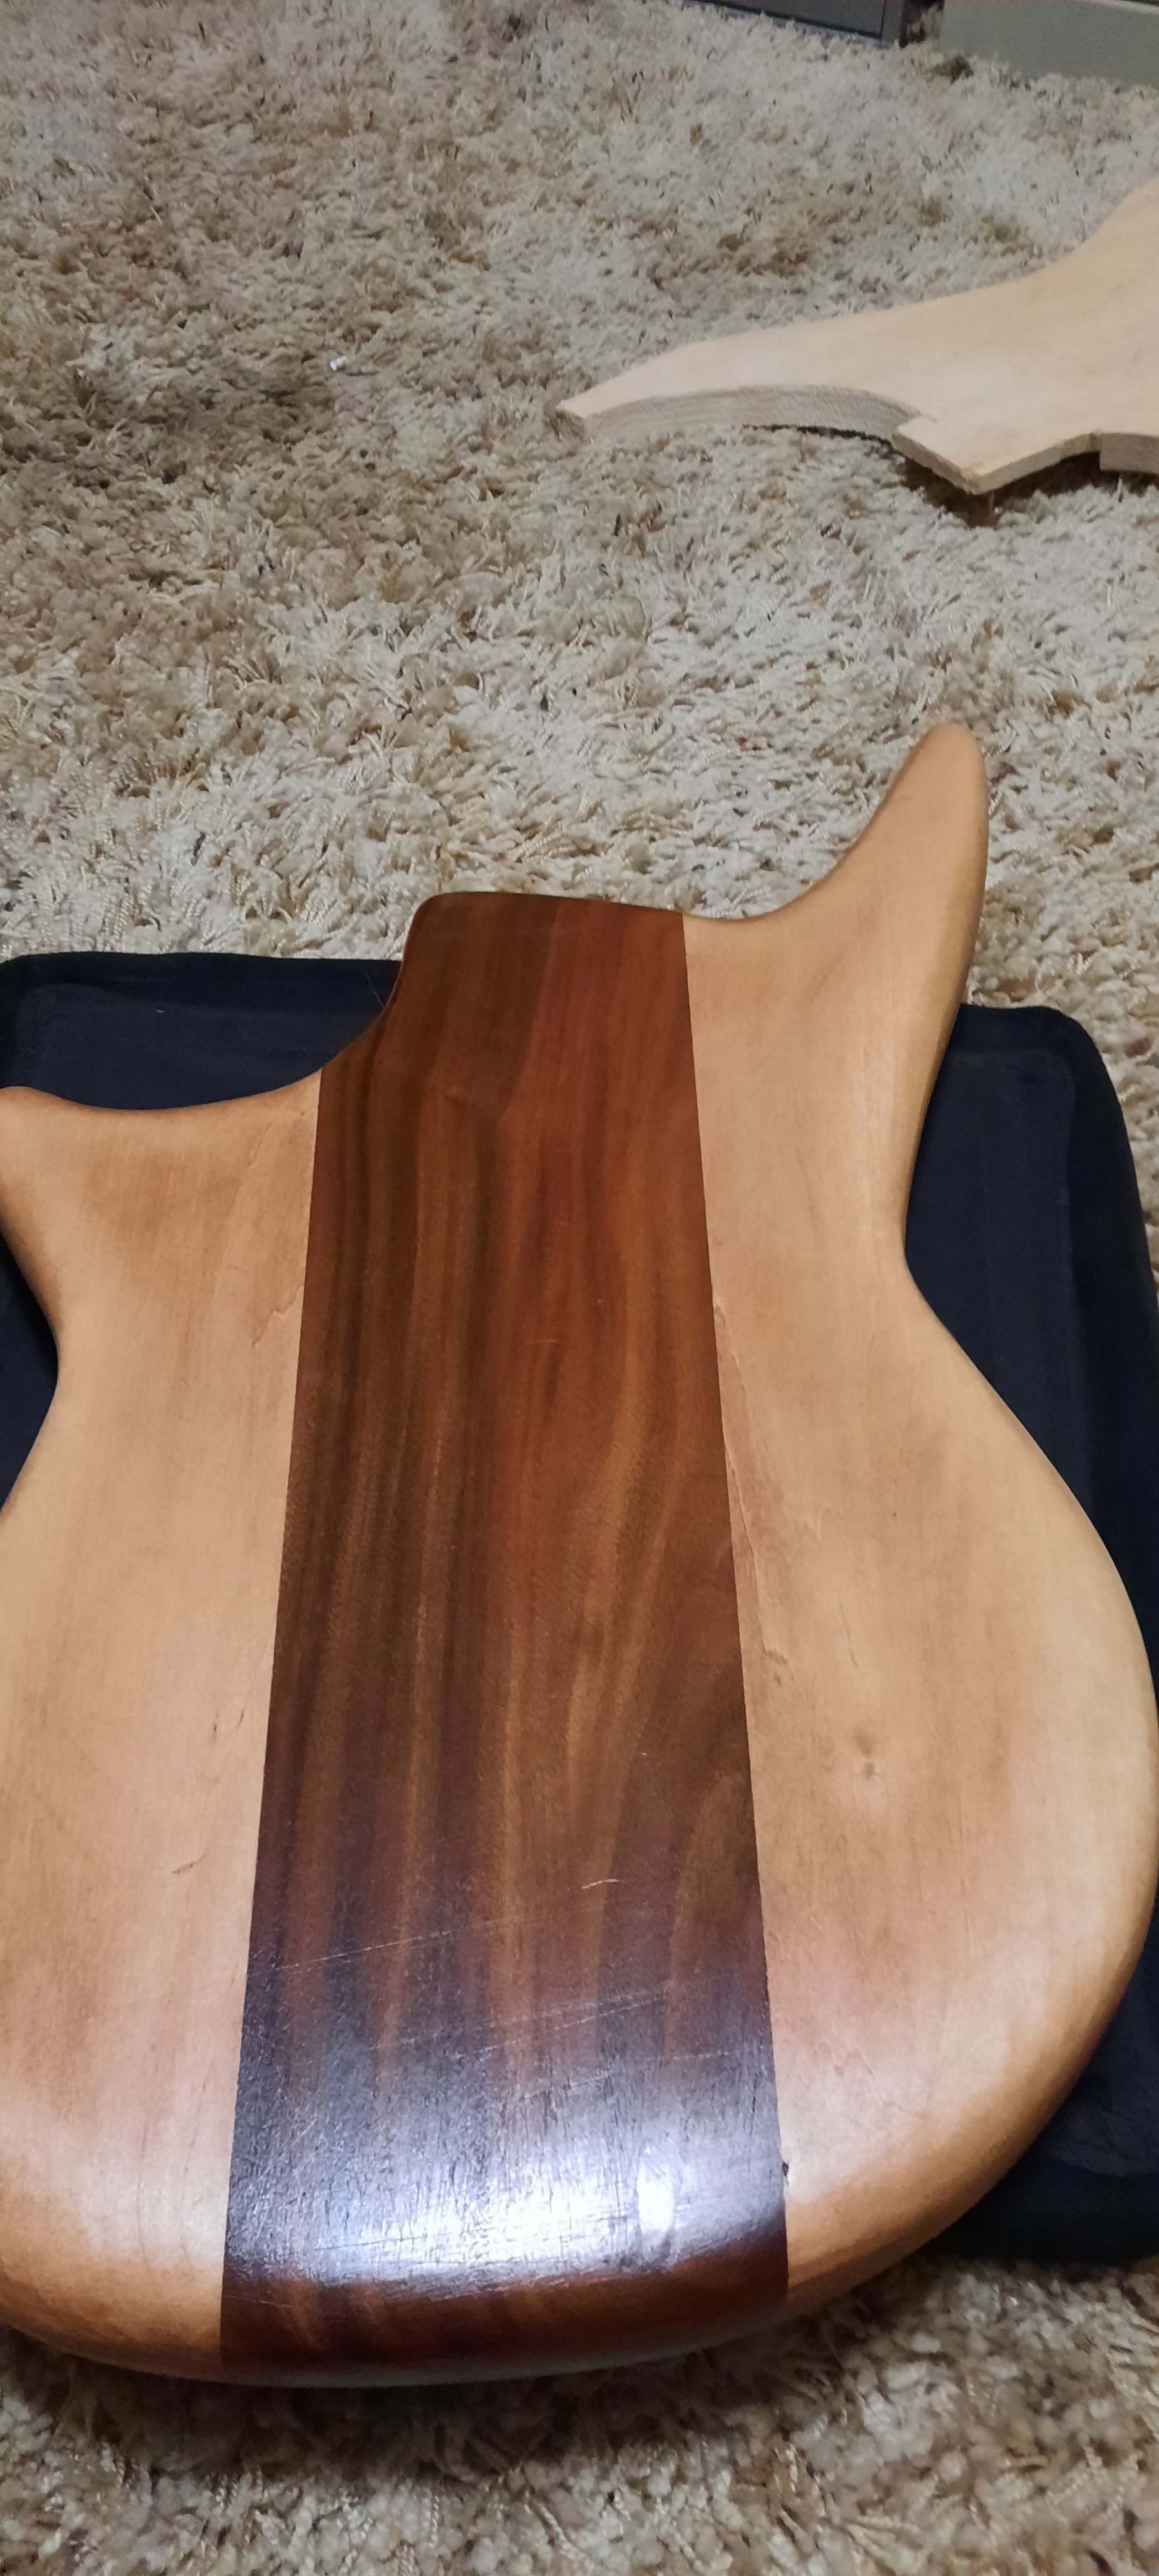
Wood Filler plus 2 coats of true oil. I could say either 1) I effed up the filler part and it looks like an uneven mess; or 2) I spent many of hours shooting for “distressed wood” look. Take your pick
6 Likes
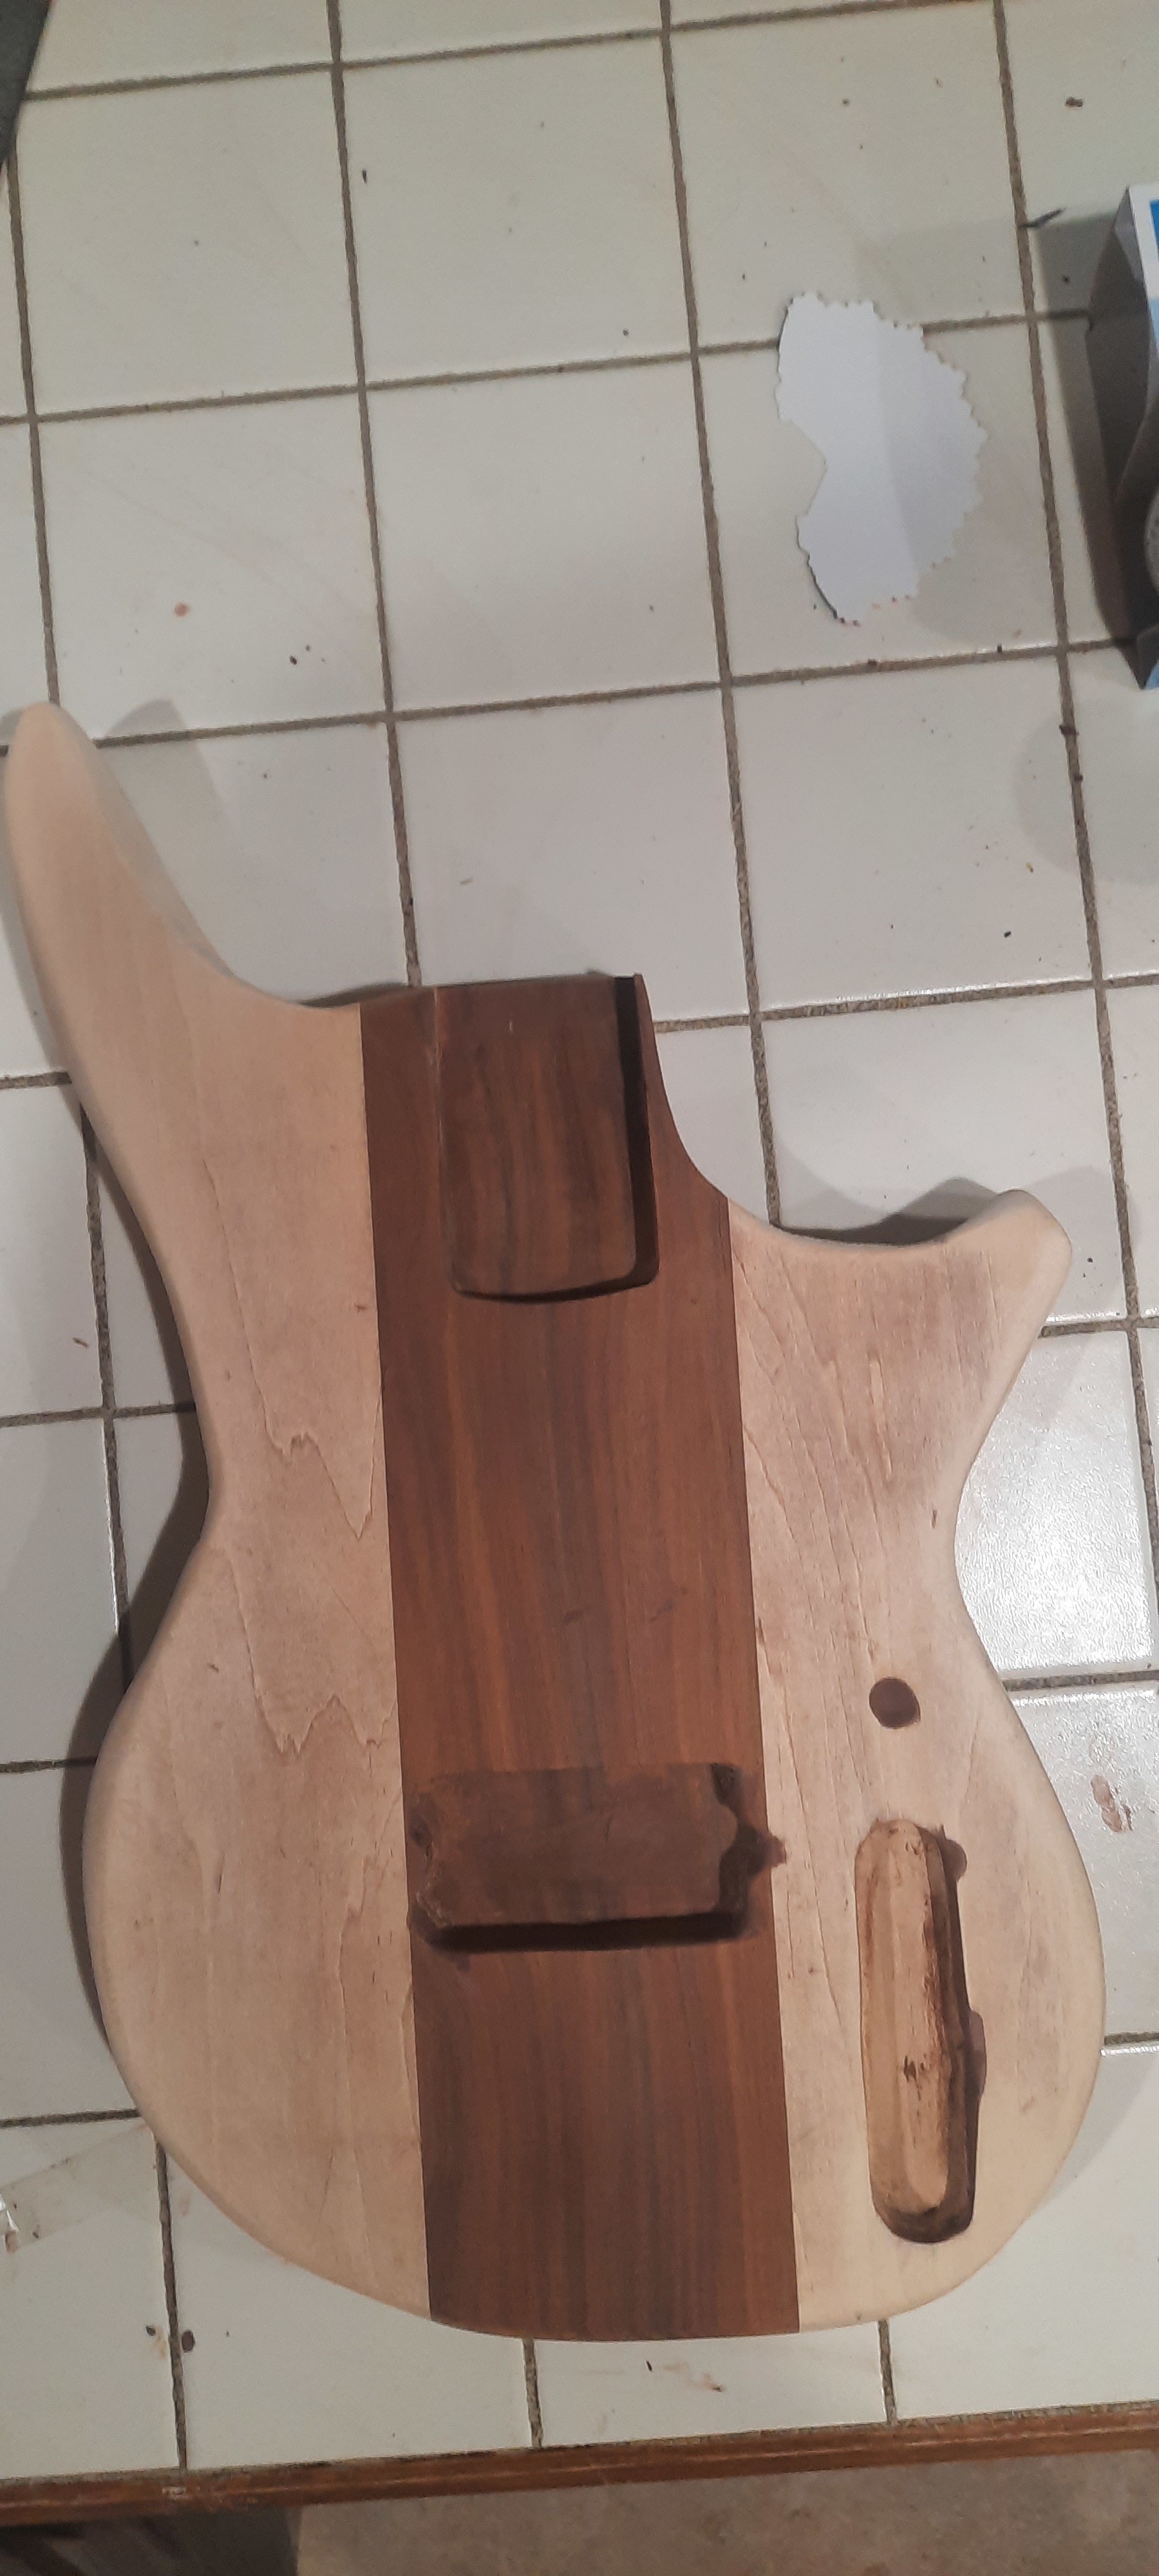
What kind of wood is the center piece?
Rosewood
1 Like