Project Basses

Oh cool, I missed the drilled option on the basic kit. The deluxe kit doesn’t seem to have a drilled option.

This is a super tempting preamp. Looking forward to hearing how yours sounds. Could be a fun project after I finish this tube preamp rabbit hole I am going down. I love the G-K sound.

3 Likes

I ended up taking the chance and ordering the Guma Antique kit (they just got it back in stock). Looks relatively straightforward as the ICs are socketed. I should probably line up a local source of cheap replacement SMD J201s though :slight_smile:

Actually, thinking ahead, I just ordered four extra JFETs, because I am certain to destroy at least one. They are cheap so why not.

4 Likes

so cool @howard ! I can’t wait to read your review about this kit ! as you know I plan to buy and build it too :v::grin:

by the way I love the J201, those JFETs sounds and behave really close to a 12AX7. that’s the JFET I used to design and build a preamp to mod a vintage Traynor reverb unit for one of my best friends … a video with me doing a little bit of guitar noodling (3.5 years ago) to show this modded reverb :

Now my friend, who used to be the guitar player of my last band (post-rock / psychedelic stoner) moved to another continent, he sold almost all his gear and kept only one guitar and this reverb unit :grin:

3 Likes

Great story and video! Awesome that he saved the thing you made him. That reverb sounds great. So does the telecaster of course :slight_smile:

Apparently the TO-92 J201’s are getting super rare, like $4 each now. And the Dirty Little Secret clone kit I posted in the “Post your pedal ideas” topic uses five :money_with_wings:

The SMD ones were only 35 cents each though.

1 Like

wow, I might be rich because I think I have a ton of them …

yeah, honestly the modded Traynor reverb unit sounds insane. and yeah the Fender Telecaster Cabronita is a little gem.

and you forgot the VAC Hayseed 30, a boutique amp (based on the Vox AC30/4 and the 1963 AC30/6 Top Boost JMI) … that I modded … :grin:

3 Likes

I was surprised too, but check it out:

https://www.mouser.com/Semiconductors/Discrete-Semiconductors/Transistors/JFET/_/N-ax1rp?keyword=j201

1 Like

hard to understand

2 Likes

Apparently they are obsoleted in favor of the newer SMD mounted ones and other TO-92 package transistors have replaced them. There’s also lots of places selling tiny SMD to TO-92 adapter PCBs.

This is funny for me because the only transistors I have ever used were the packages like TO-3, TO-18, TO-92, etc. I guess some packages are redundant with SMD now.

1 Like

very probably

2 Likes

I clearly have a lot of catching up to do :slight_smile:

I found a few people discussing this on various DIY forums.

1 Like

I thank I could finish the 400RB preamp during this rainy sunday … but no, because I accidentally destroyed a ON/ON switch :woozy_face:

6 Likes

Five months and ONE day after ordering, DHL drops off my Fishman Fluence dual soapbar kit!
YEEHAA!
Looking at the date on them, it’s no wonder they took forever to turn up.

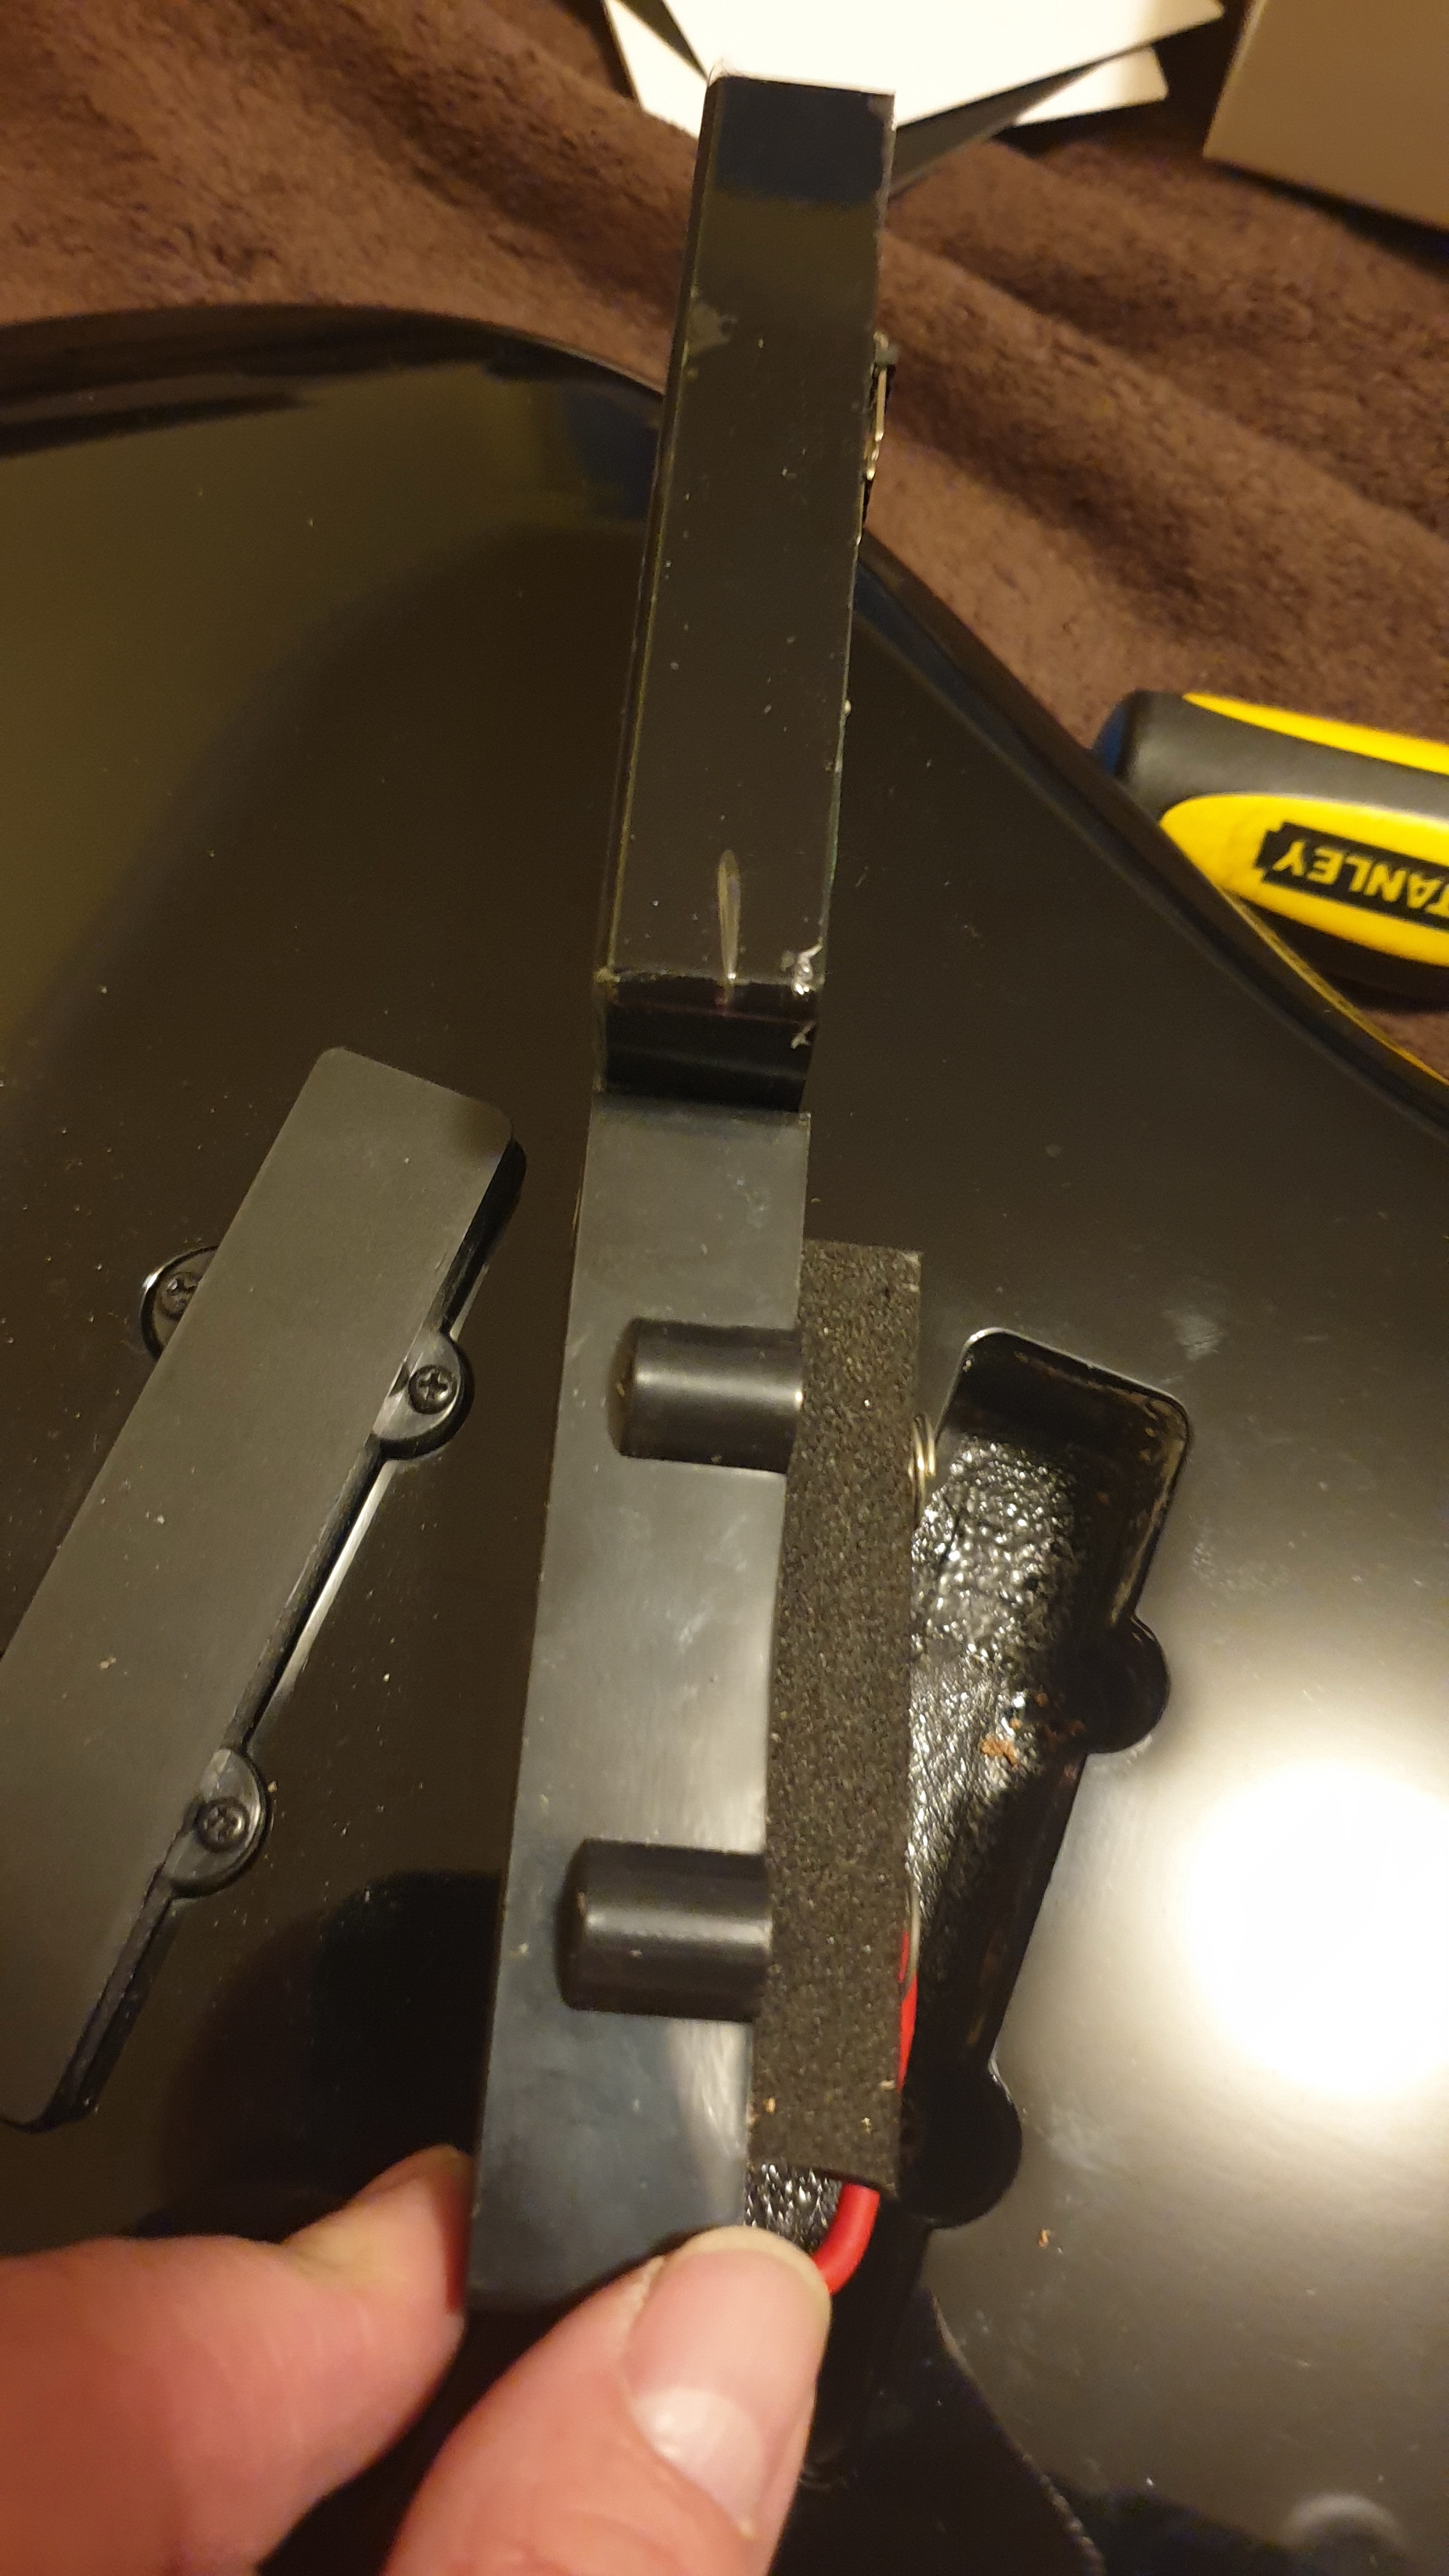
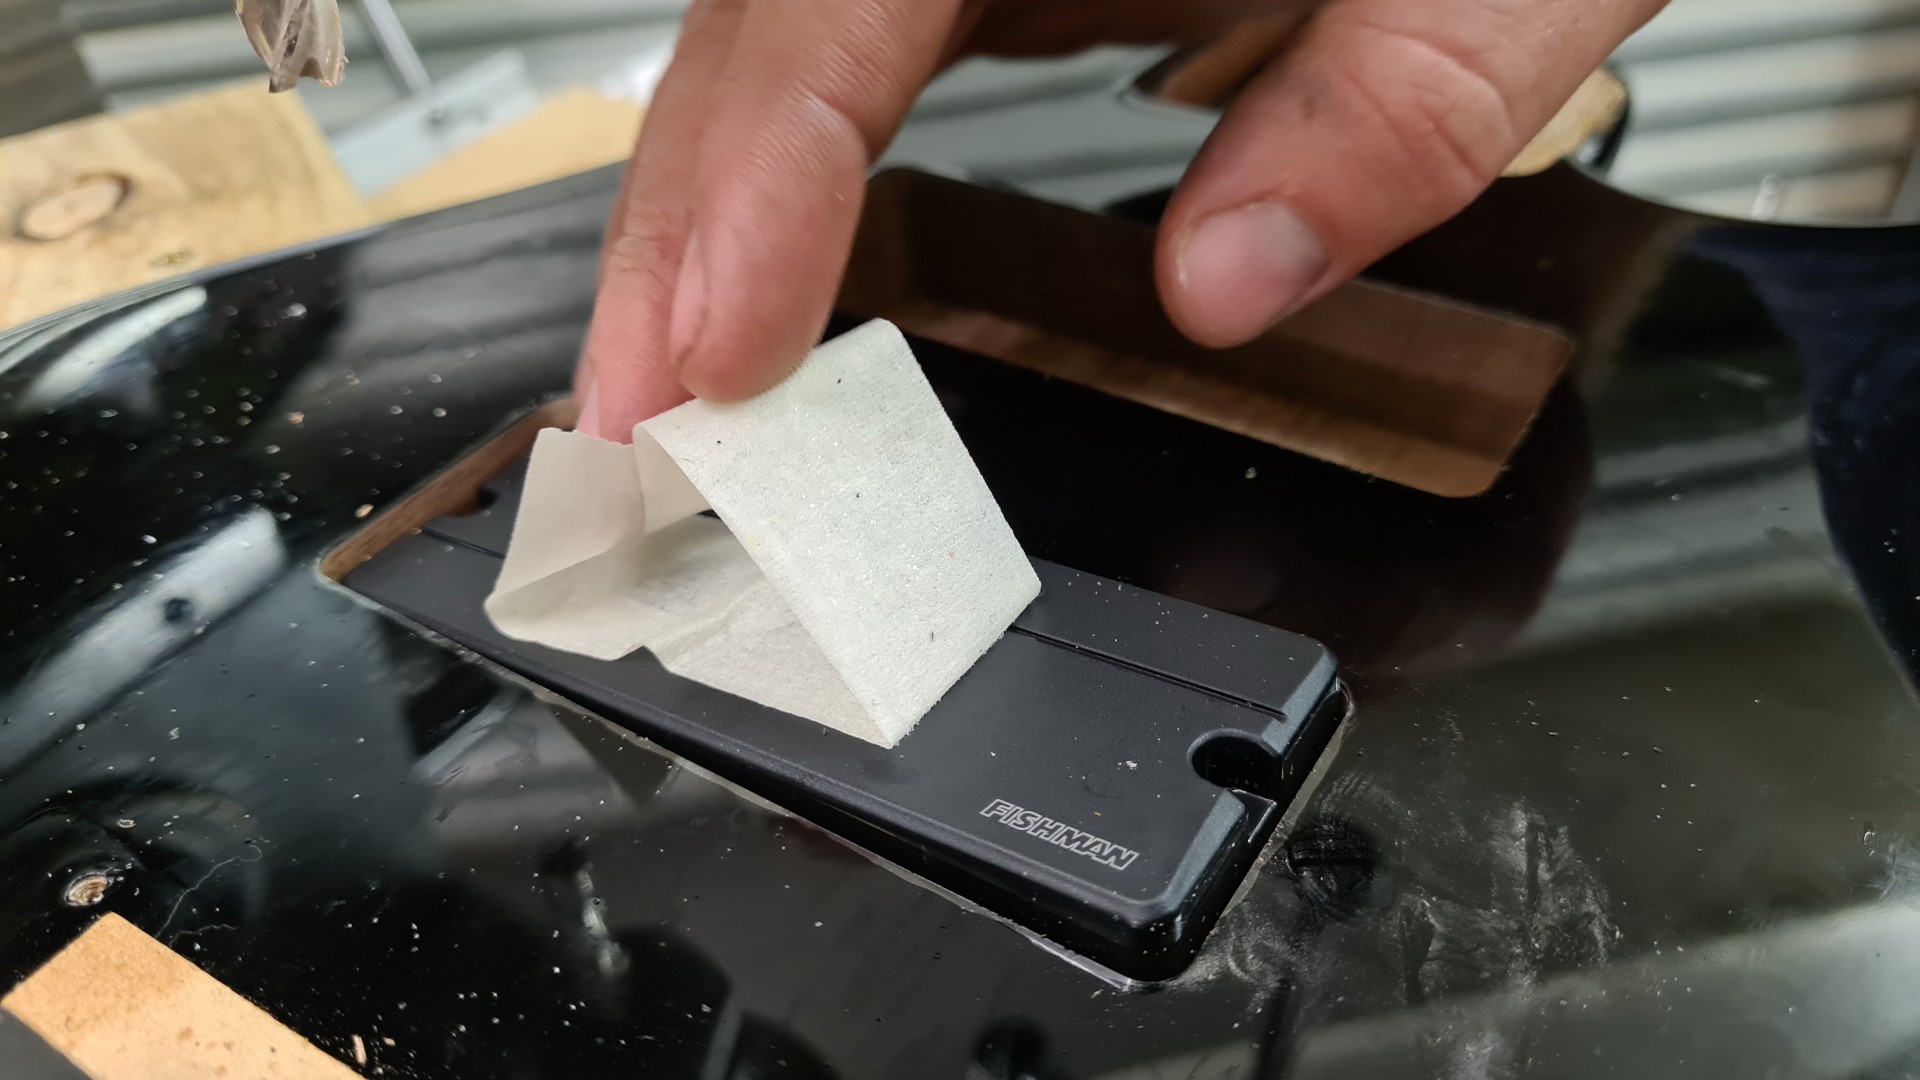
There’s not much room in here. Luckily, most of the electronics is under the pickup.


I quickly rip out the jazz pickups and check them for depth. Am I going to run out of thickness with these chunky boys?
Apparently not. That was lucky because I never checked before buying them.

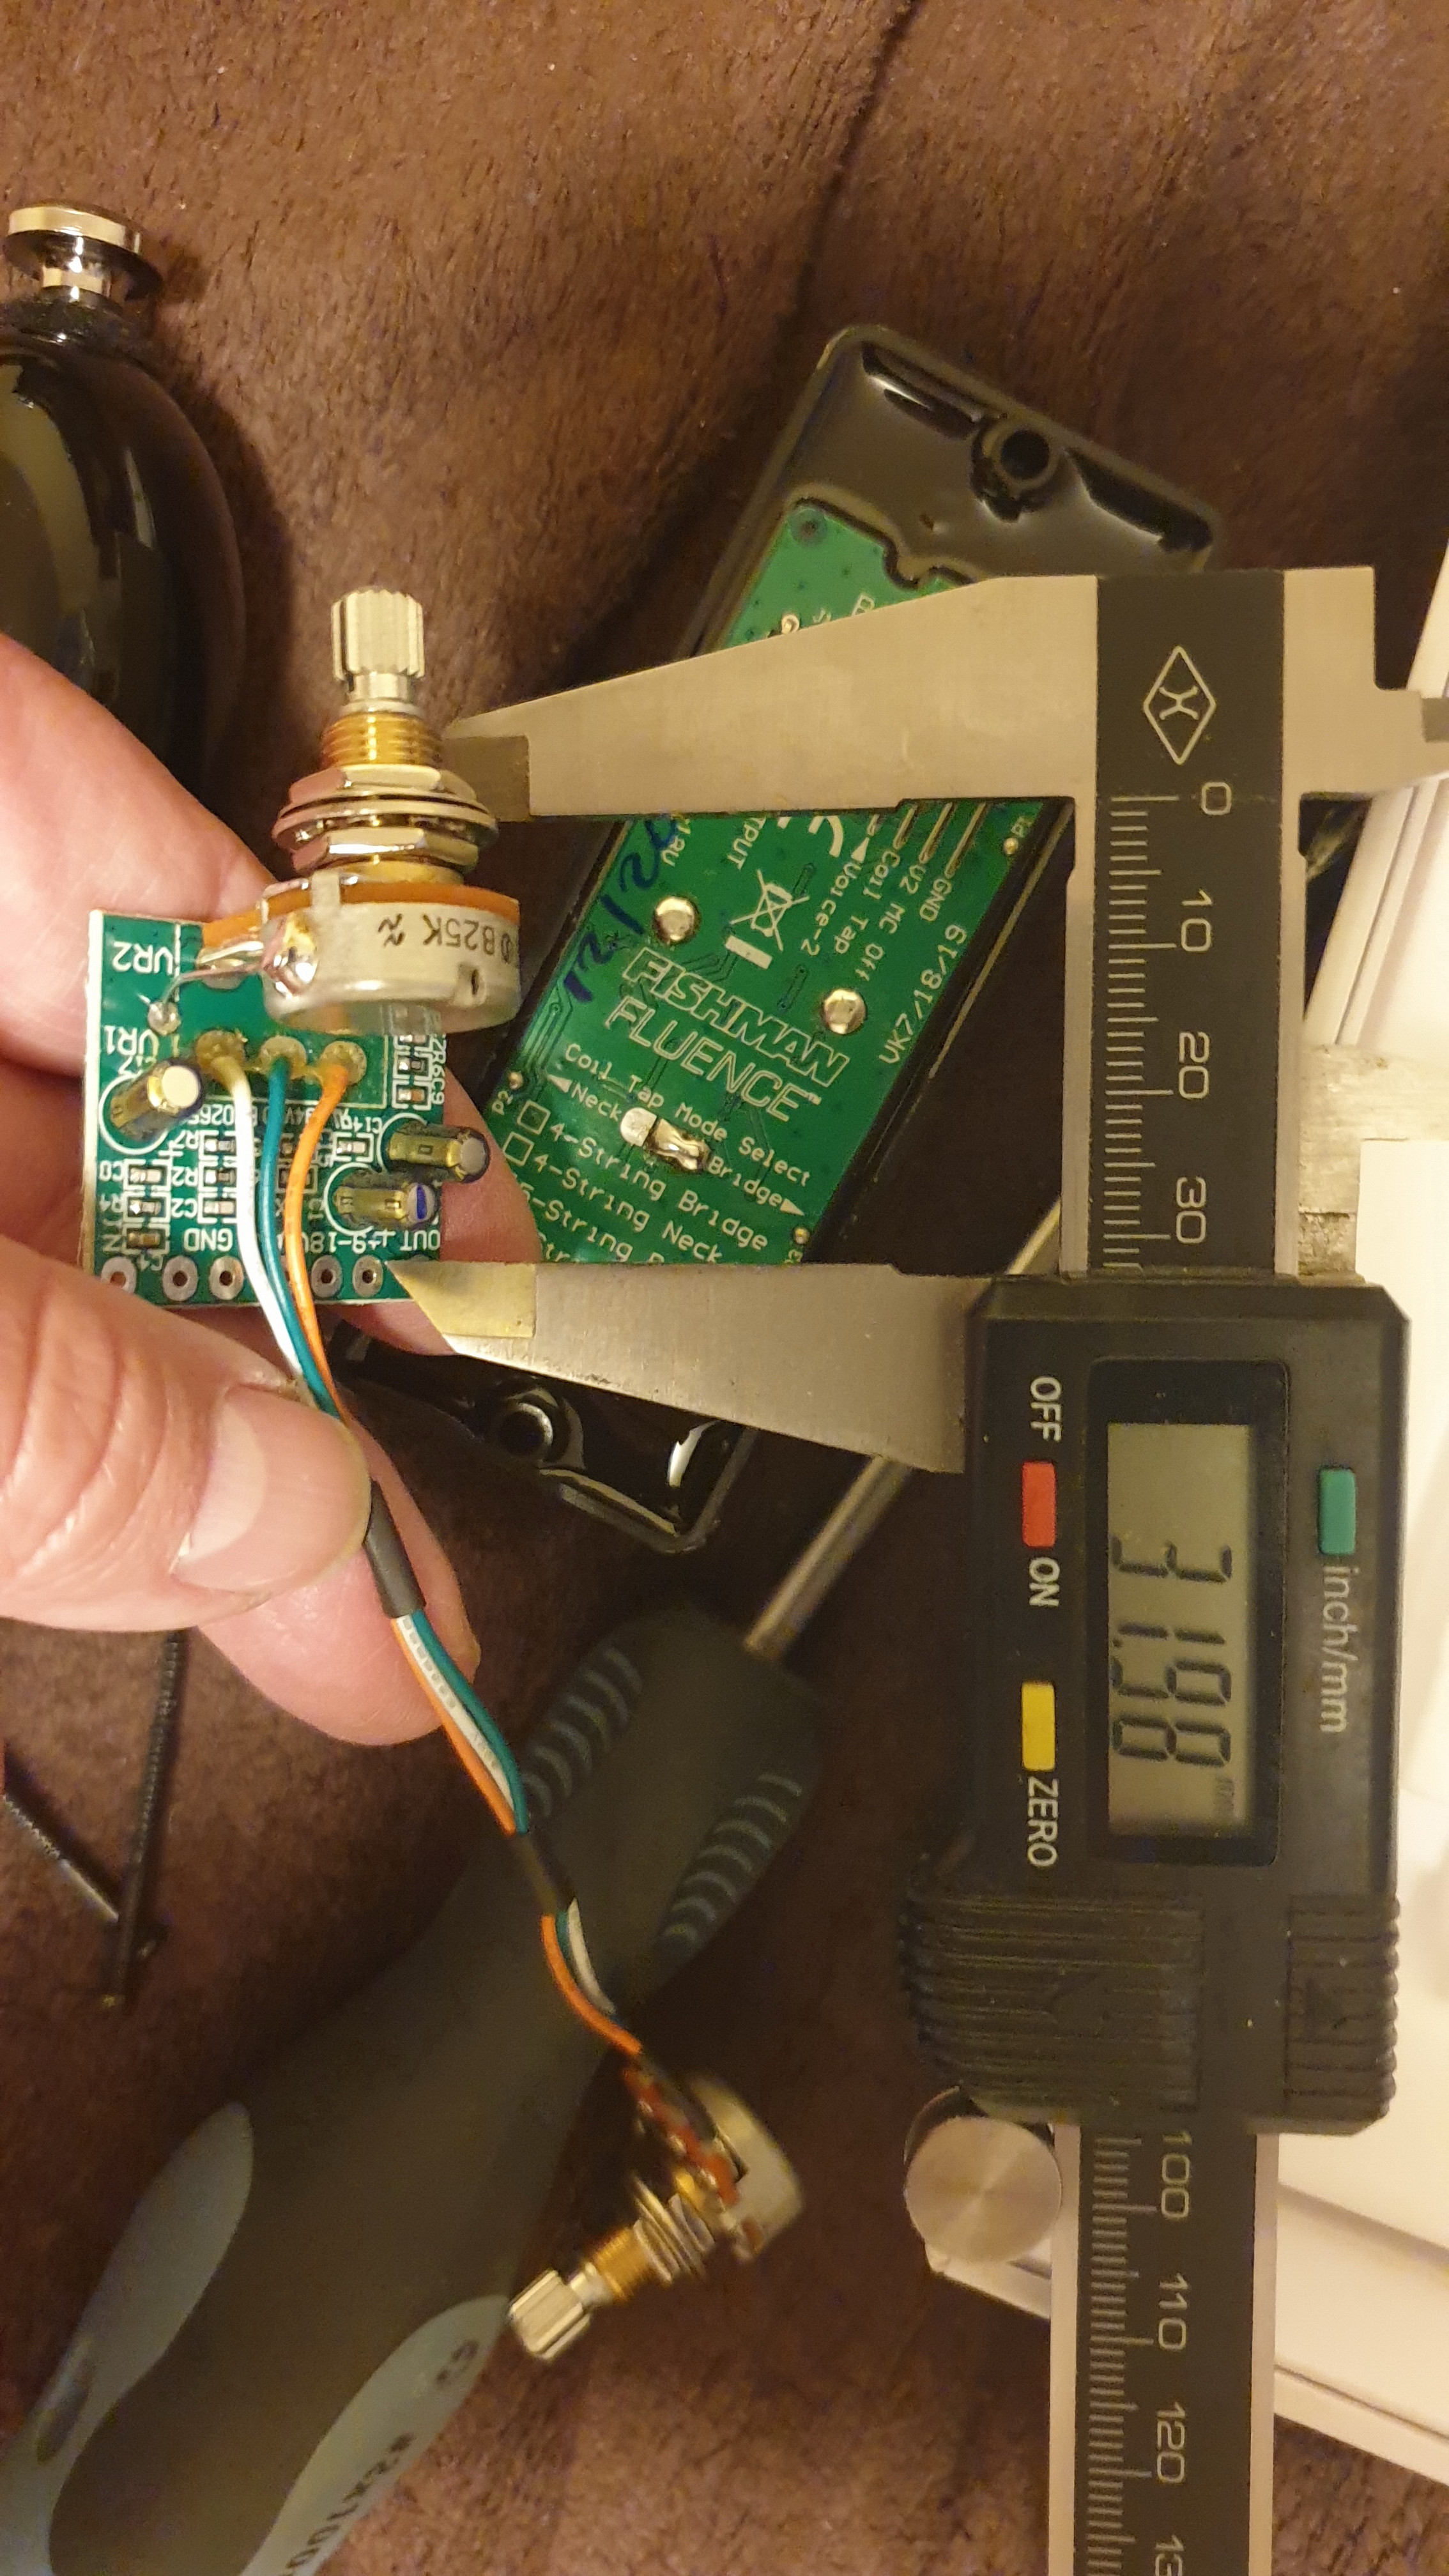
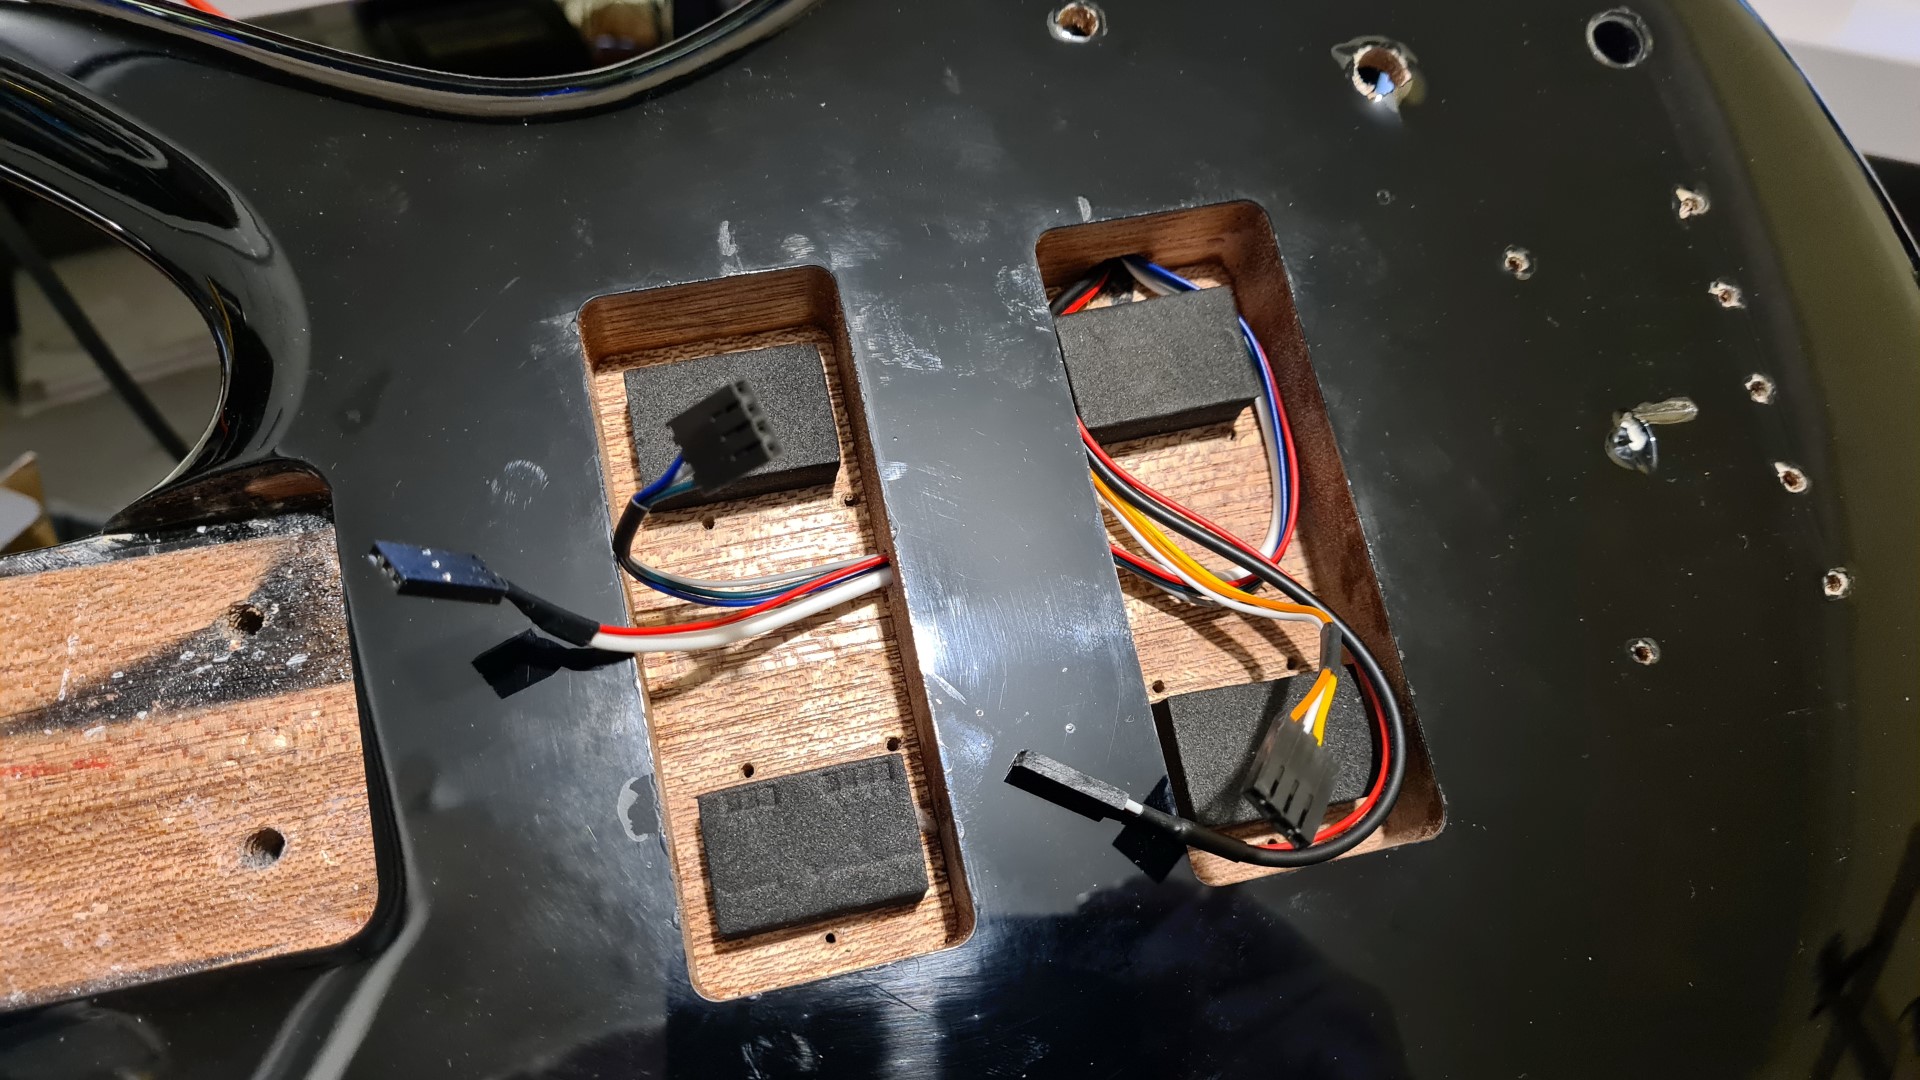
Well, the pots have big boards on them with prepared soldering points.
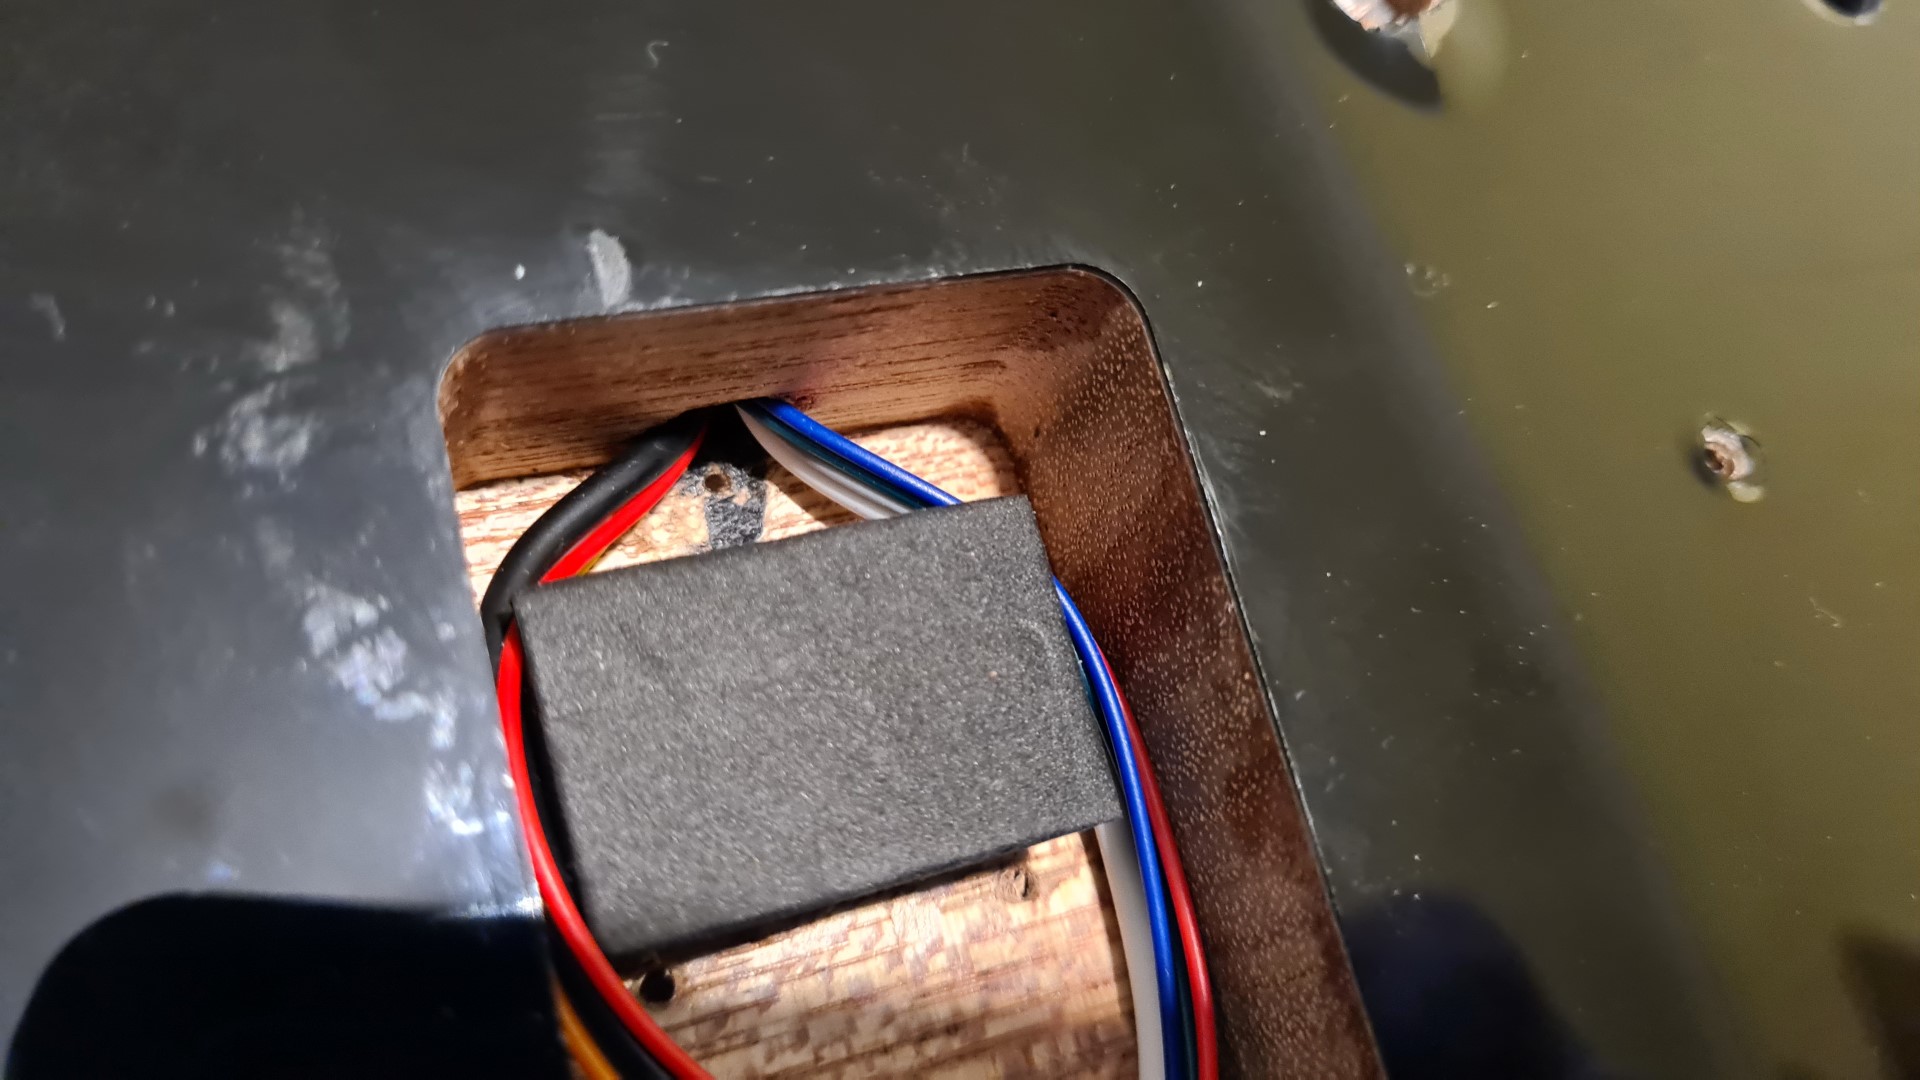
I wonder if I have enough depth in this tiny shortscale? Best I check that as well.
Out with the verniers…

And I’m cooking! My complete lack of research is going to be badly rewarded with room to install things.

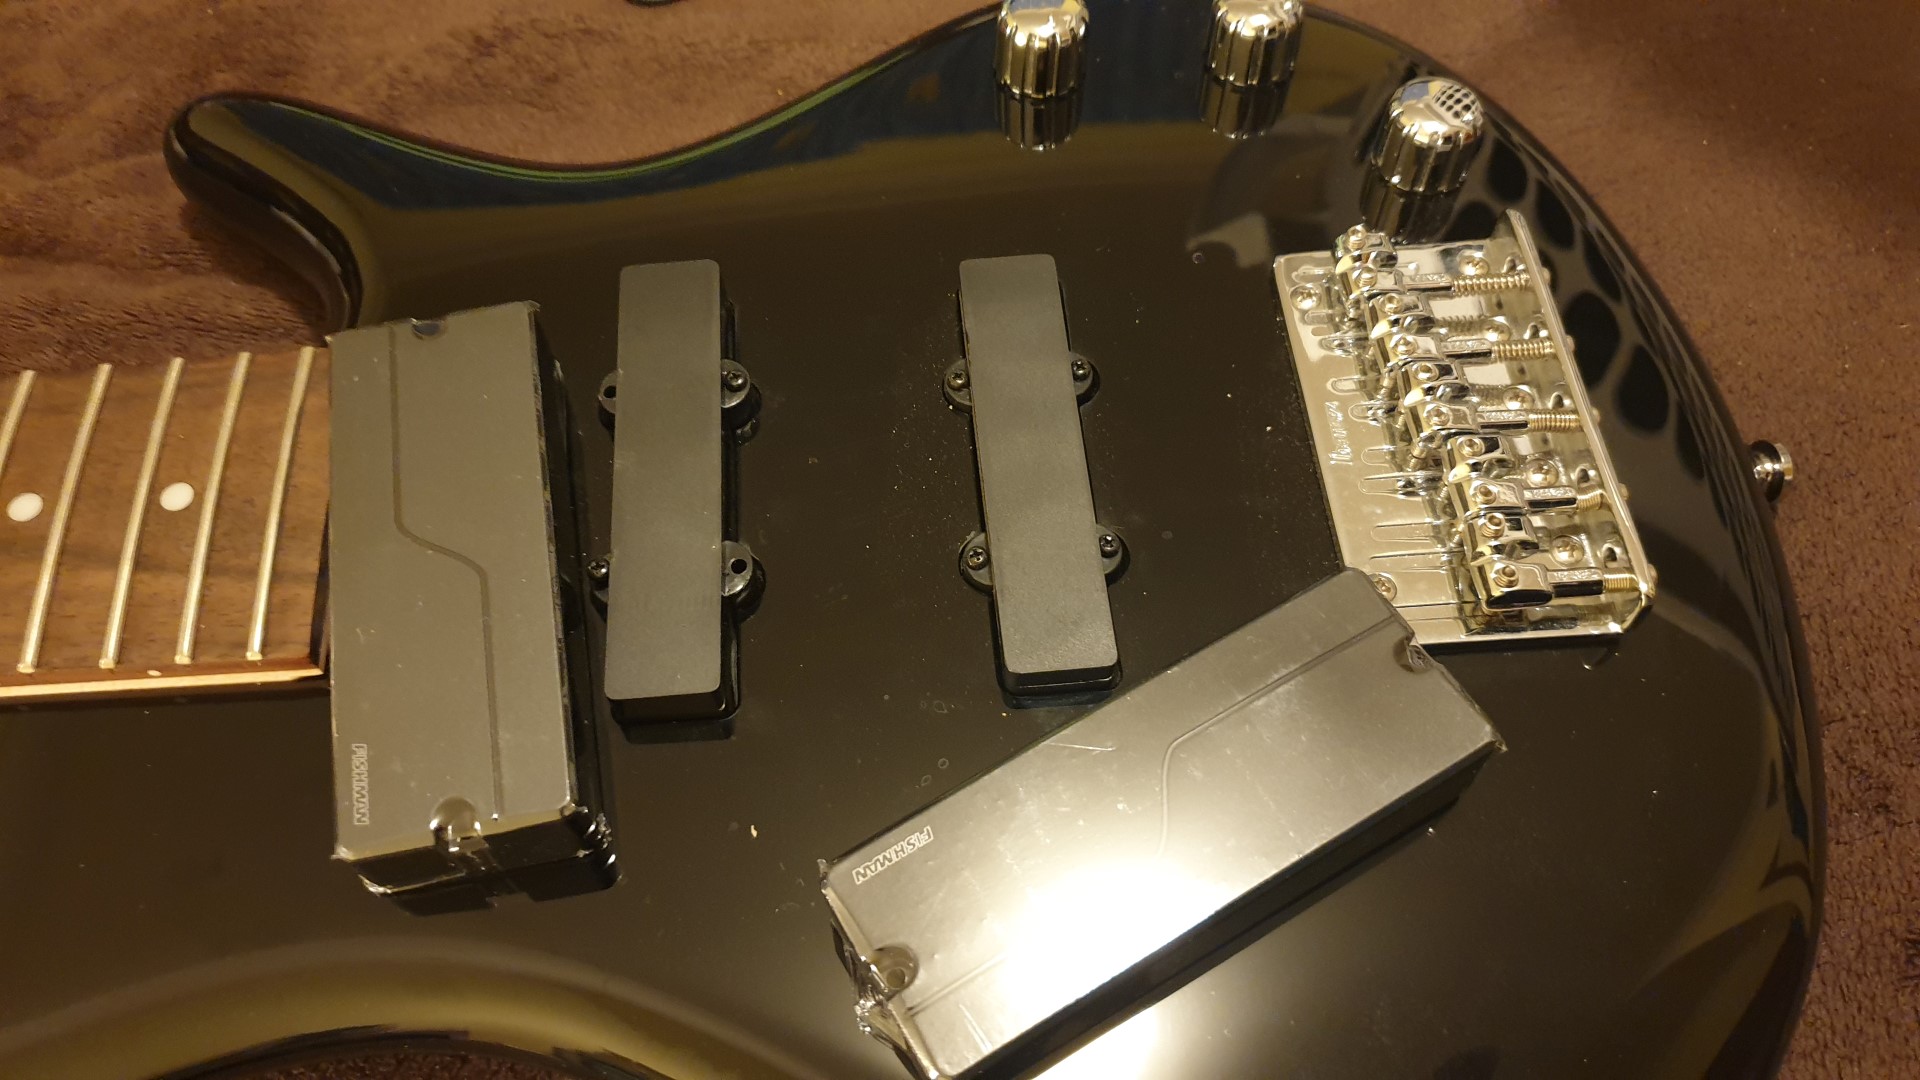
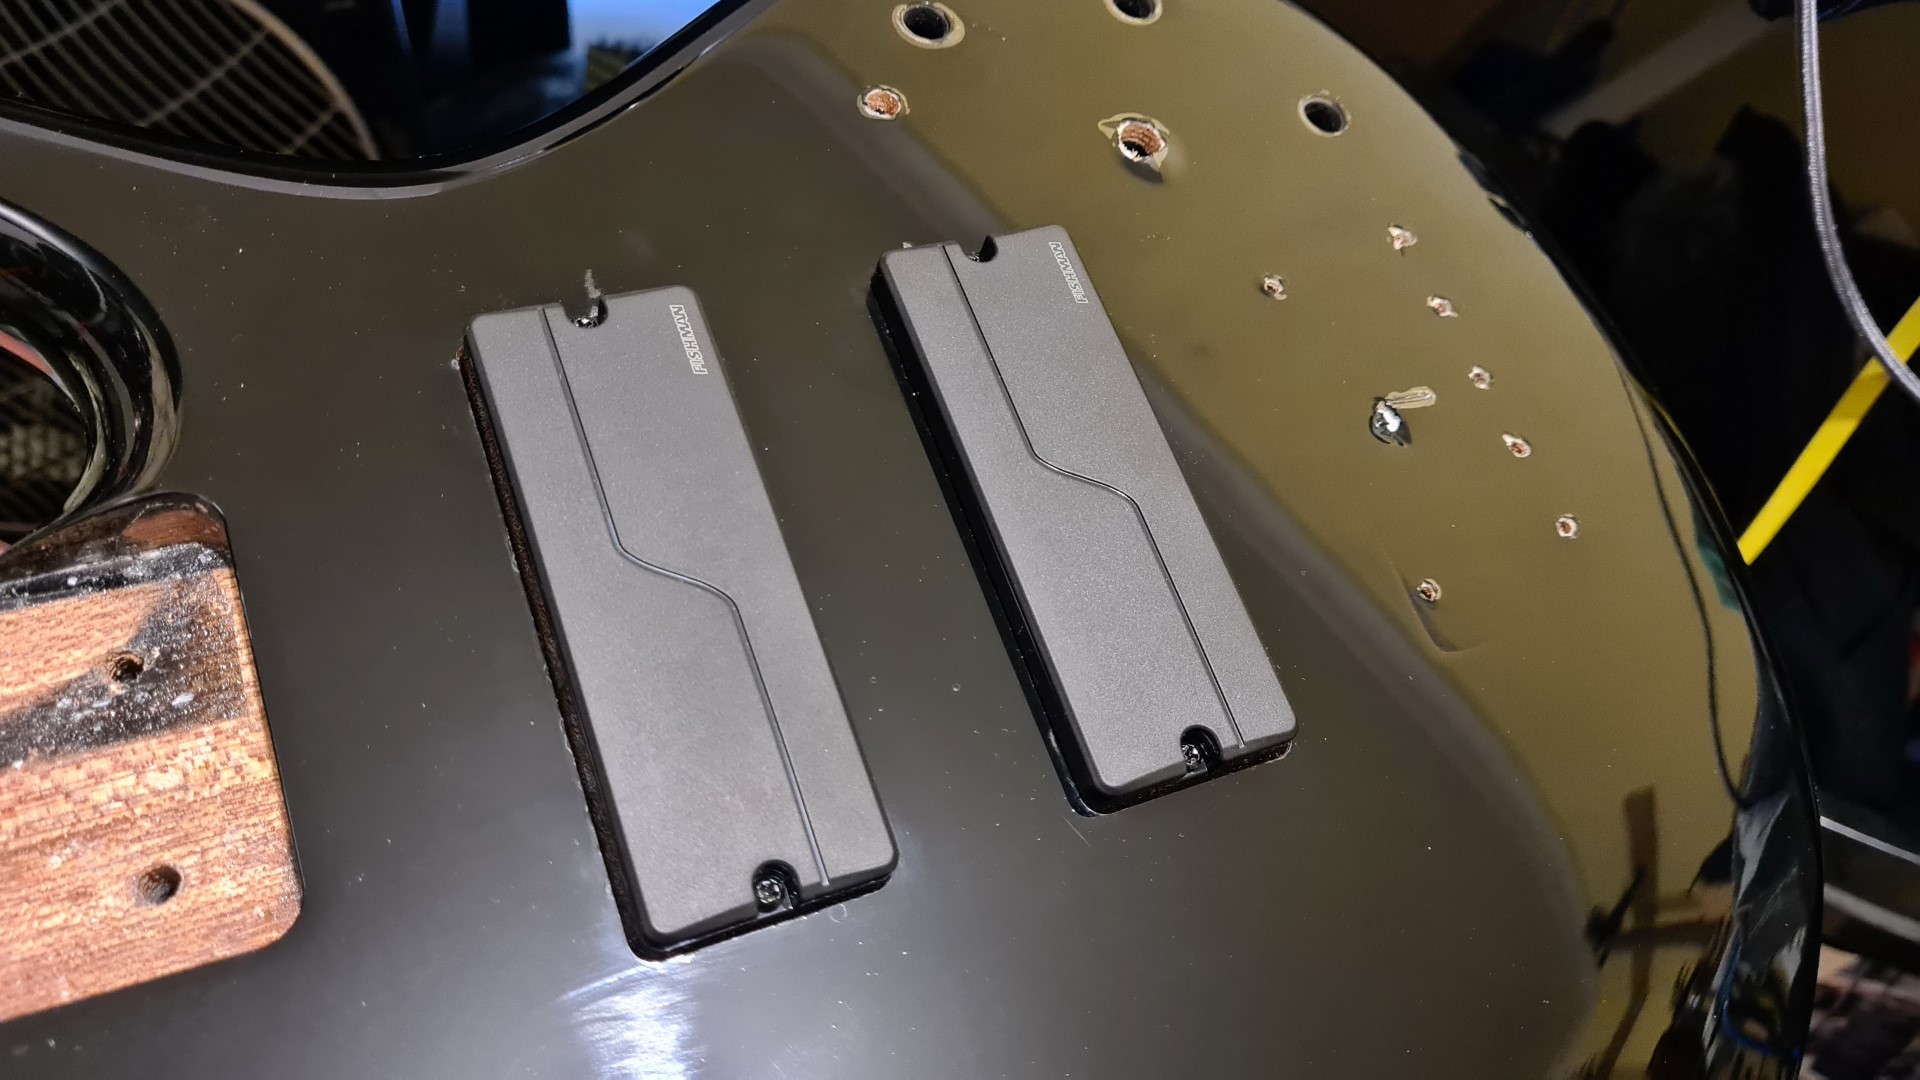
I just need to decide where to position them. I want to put the bridge one centrally over the current spot and move the neck one forward a bit…

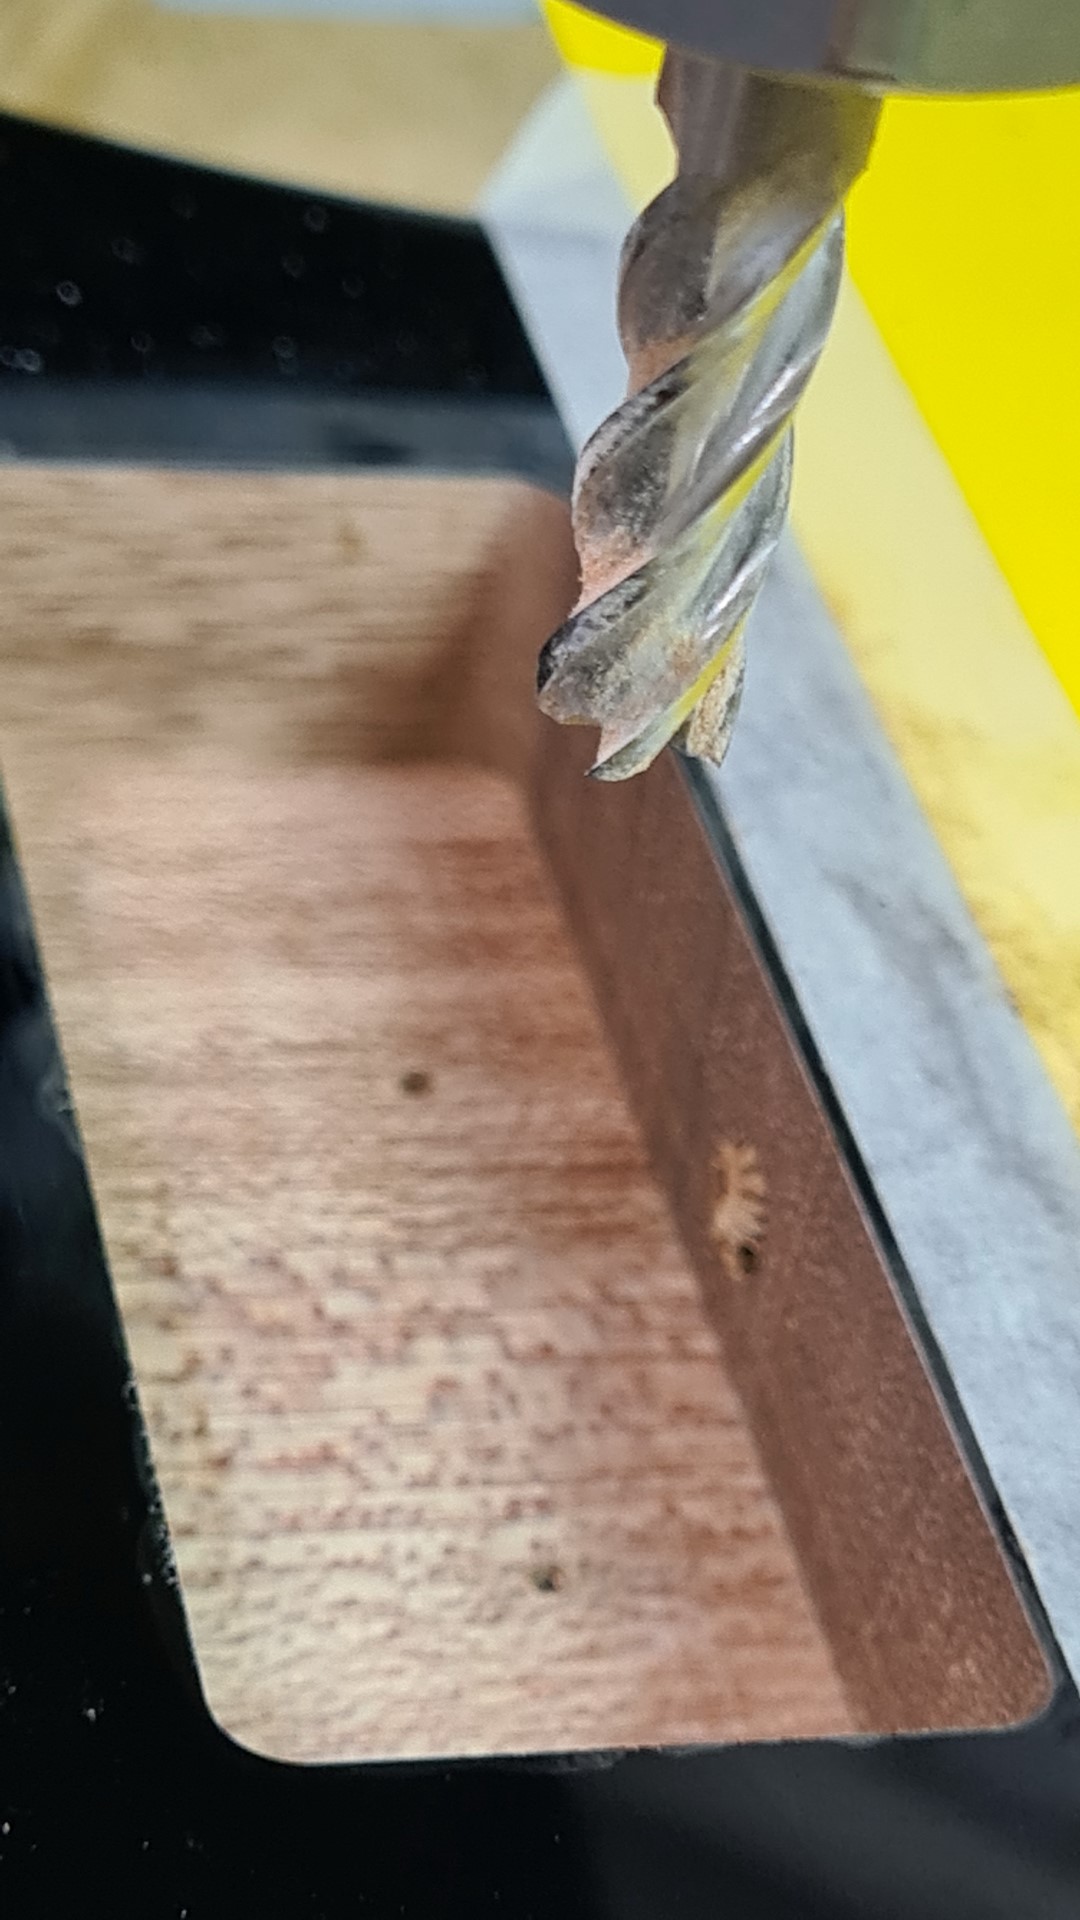
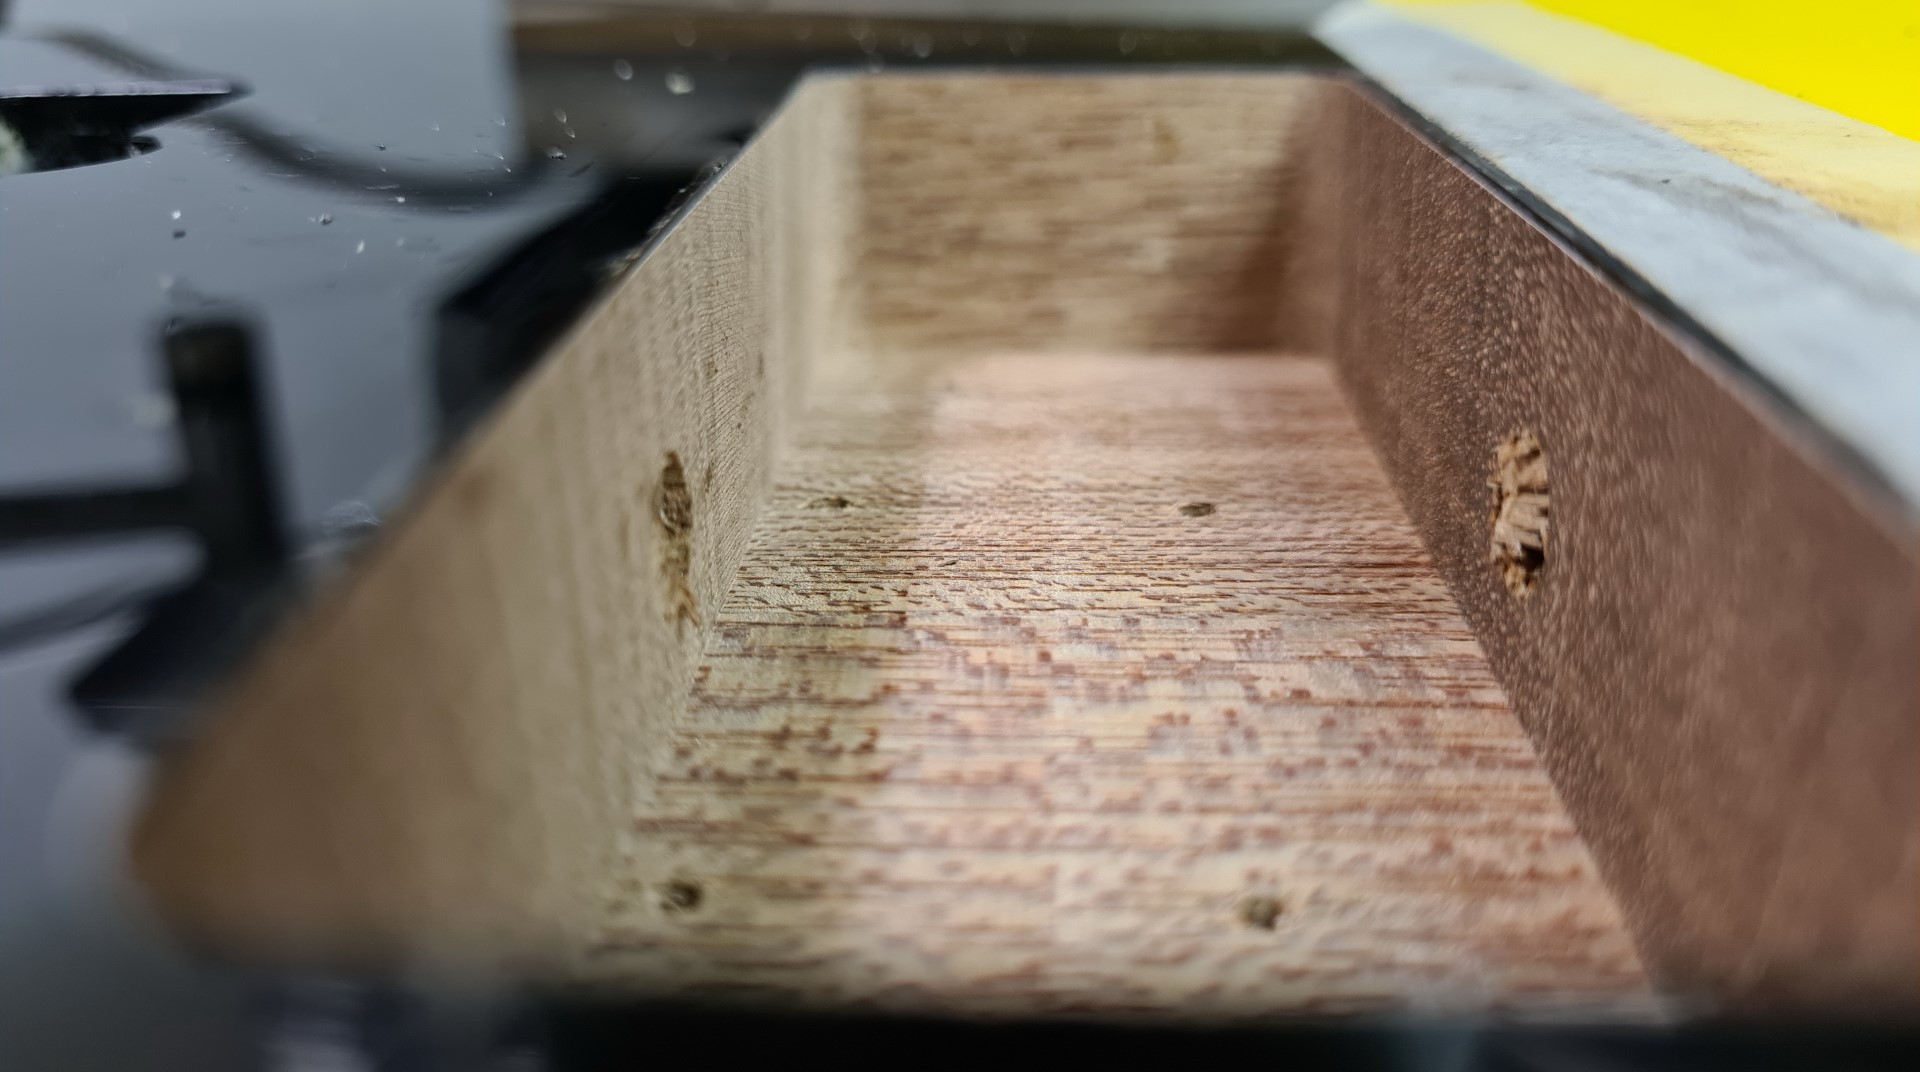
How can I convince my friend to rout out the new pickups on his milling machine?

Just then, I got a message telling me that the postman is about to deliver a parcel and if I’m not home, they’ll take it to the post office where I’ll be forced to swim through a shark tank for the amusement of the staff, in order to retrieve it.
That’s a bit over the top.
Last time they only wanted me to juggle flaming chainsaws before they handed it over.
I’ll have to drive home wet…

But I forgot that I was home and met the van in the driveway.
He hands over a second set of pickups. Aha.
Right.

My humbuckers have arrived. Ordered 4.5 months apart and yet arrive on the same day.

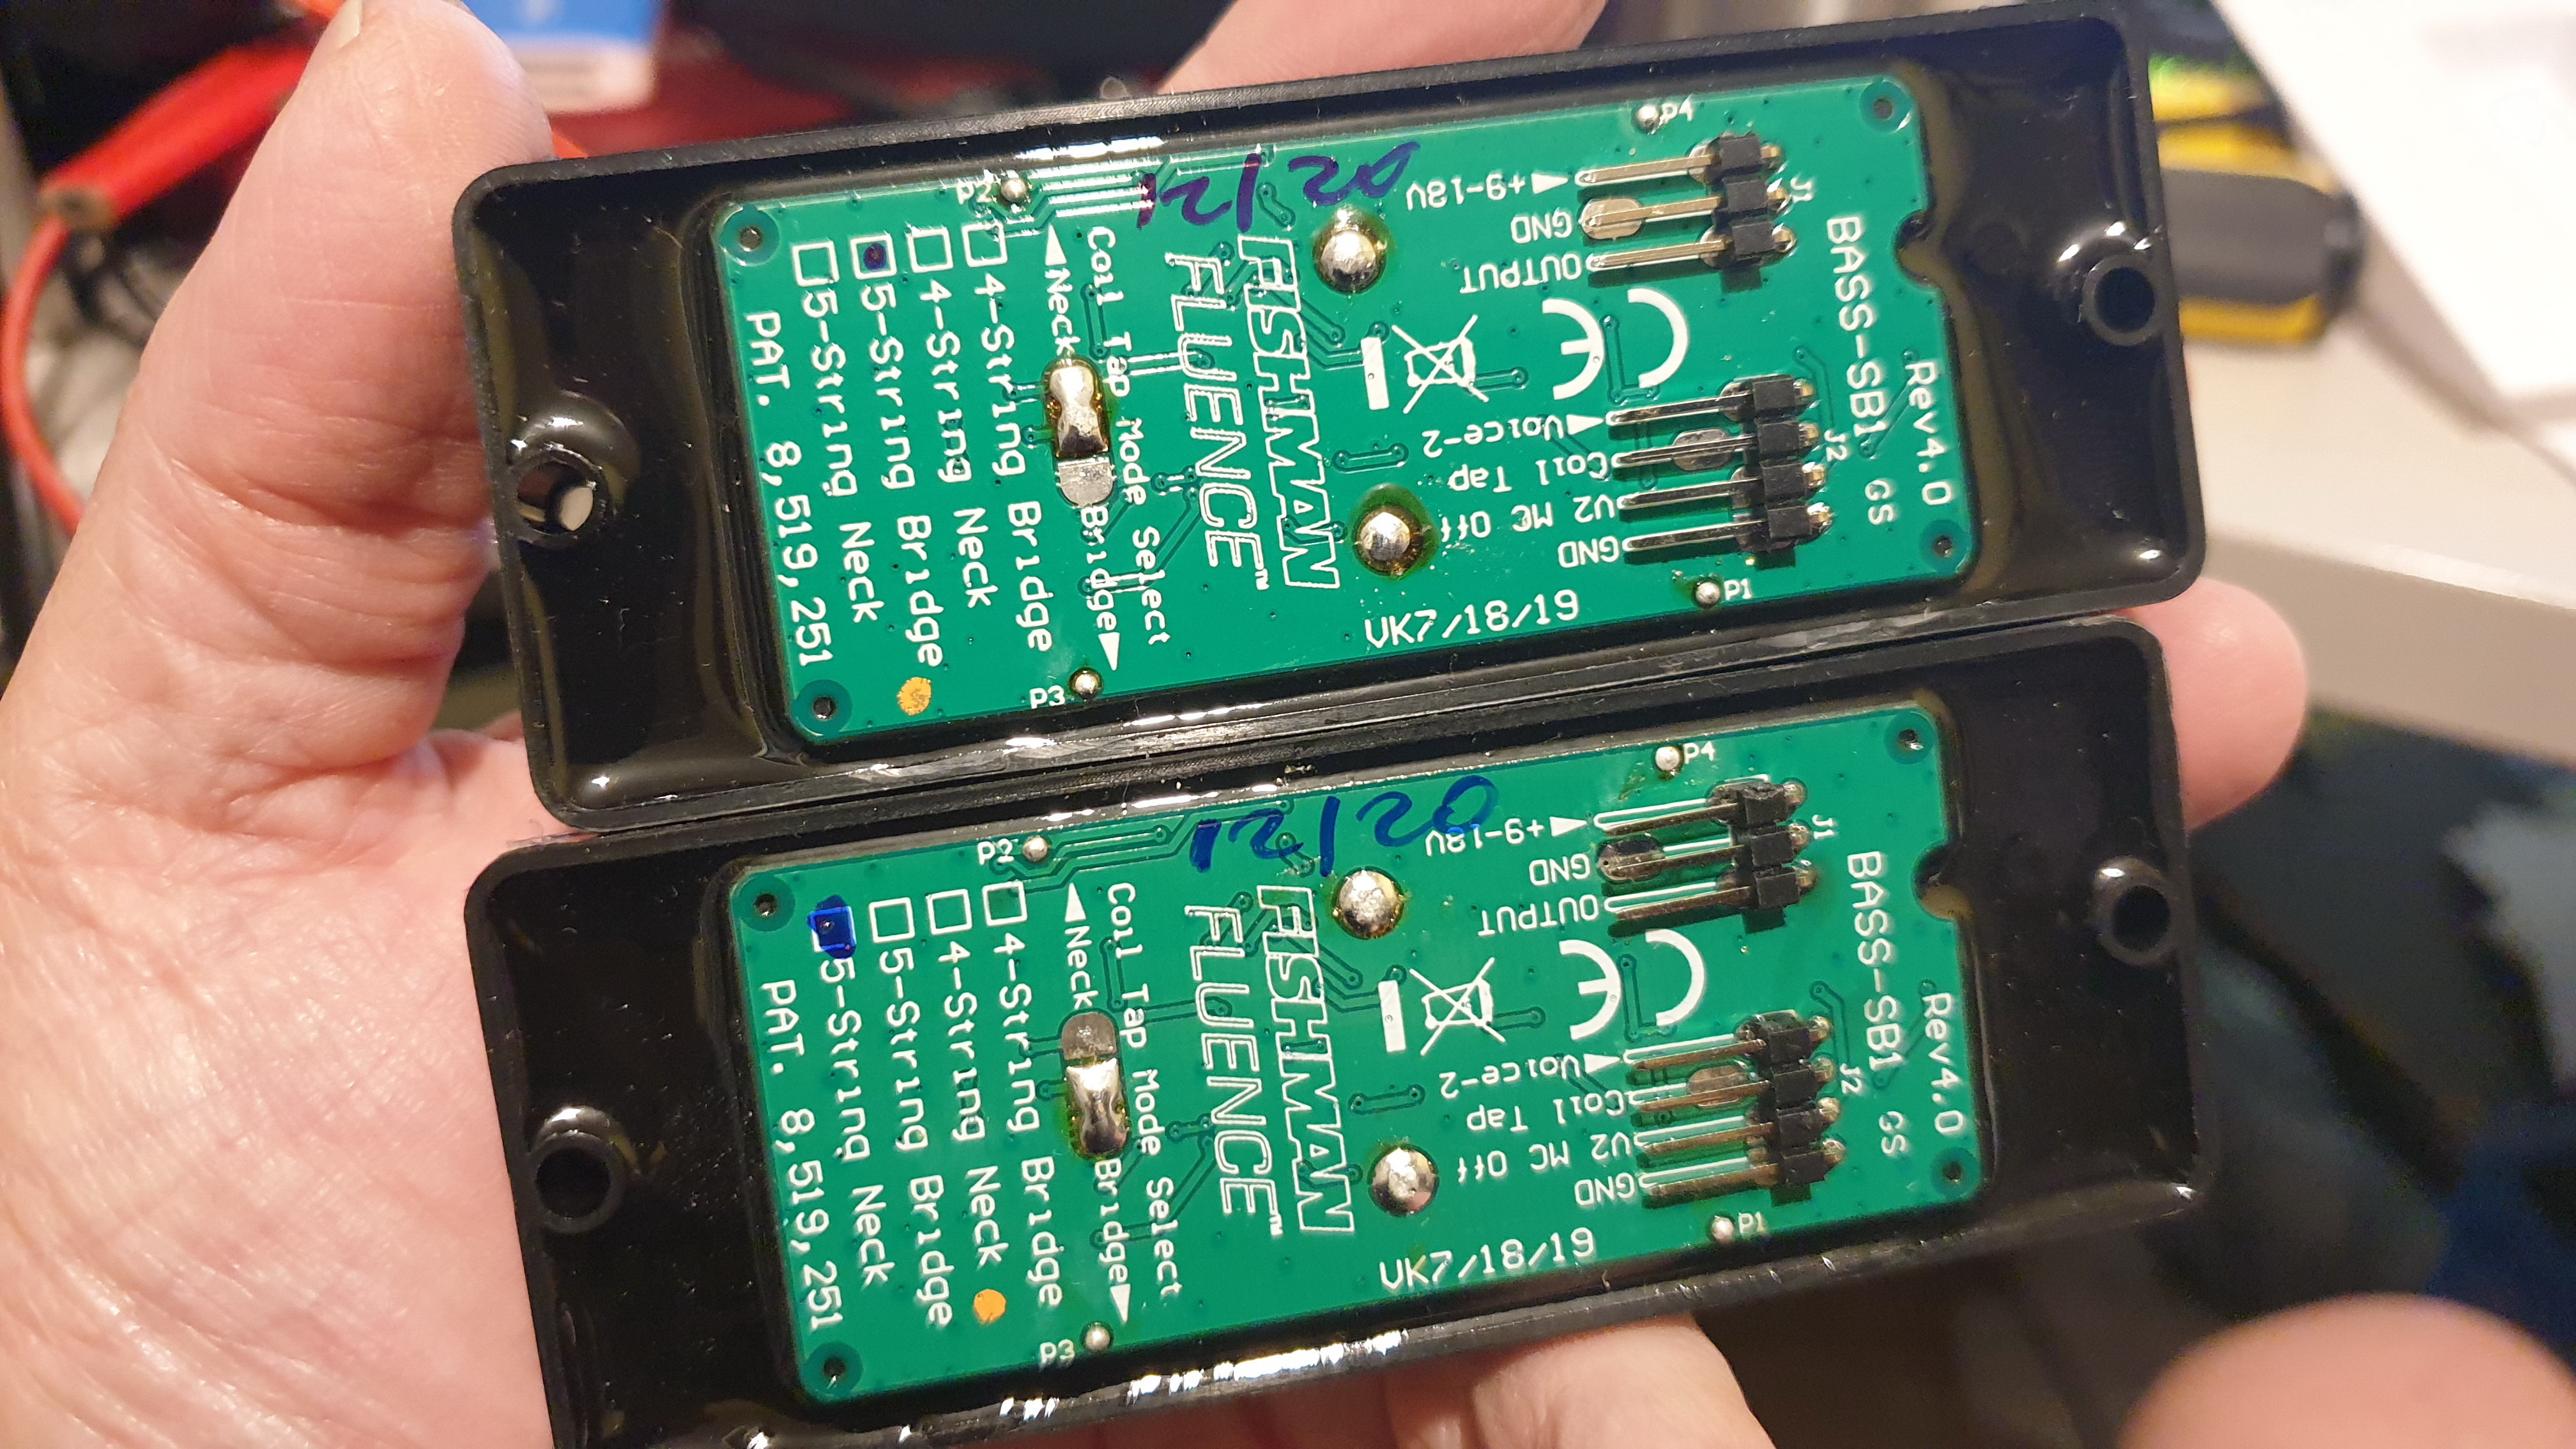
Let’s look closely at them. I notice that they’re not labelled at all.
What the ever lovin’ f…
Oh, hang on. They’re different.

If you haven’t spotted it, prepare your own Australian creative swearwords.

I’ll just check the resistance across them all and then work out which one has more winds and put that one at the bridge. One measures 10.46 KOhms. The other is 10.25 KOhms. I proclaim the first one to be BRIDGE, and write it on the black bottom in black texta.

I also need to ensure I have the right combination to switch into different modes of single, parallel and series.

Okay. That green one has the bare wire, so it must be chassis earth. Therefore, that green lead is also going to be negative .
The red and white wires are tied together in both, so convention says being humbuckers that the black wire must be … positive.
What idiot decided to use that colour as positive?

I desolder the red and white and check which coils they belong to.
The Green Negative tests out to the red wire. Therefore the Red is first coil positive.

This, by a crafty level of elimination means that the only wire left, White, MUST be second coil negative, in the library with the candlestick.

I’ll check it anyway. Bingo. How about that?

I’ll shoot off an email to the vendor to check to see which pickup is which, anyway.

I hear the postie bike turn up and see on the security camera that he appears to be having some fun shoving stuff into the mailbox.
He’s taking a while.
Best I go empty that.
There are a few parcels, including one from Farnell.
I don’t believe this.
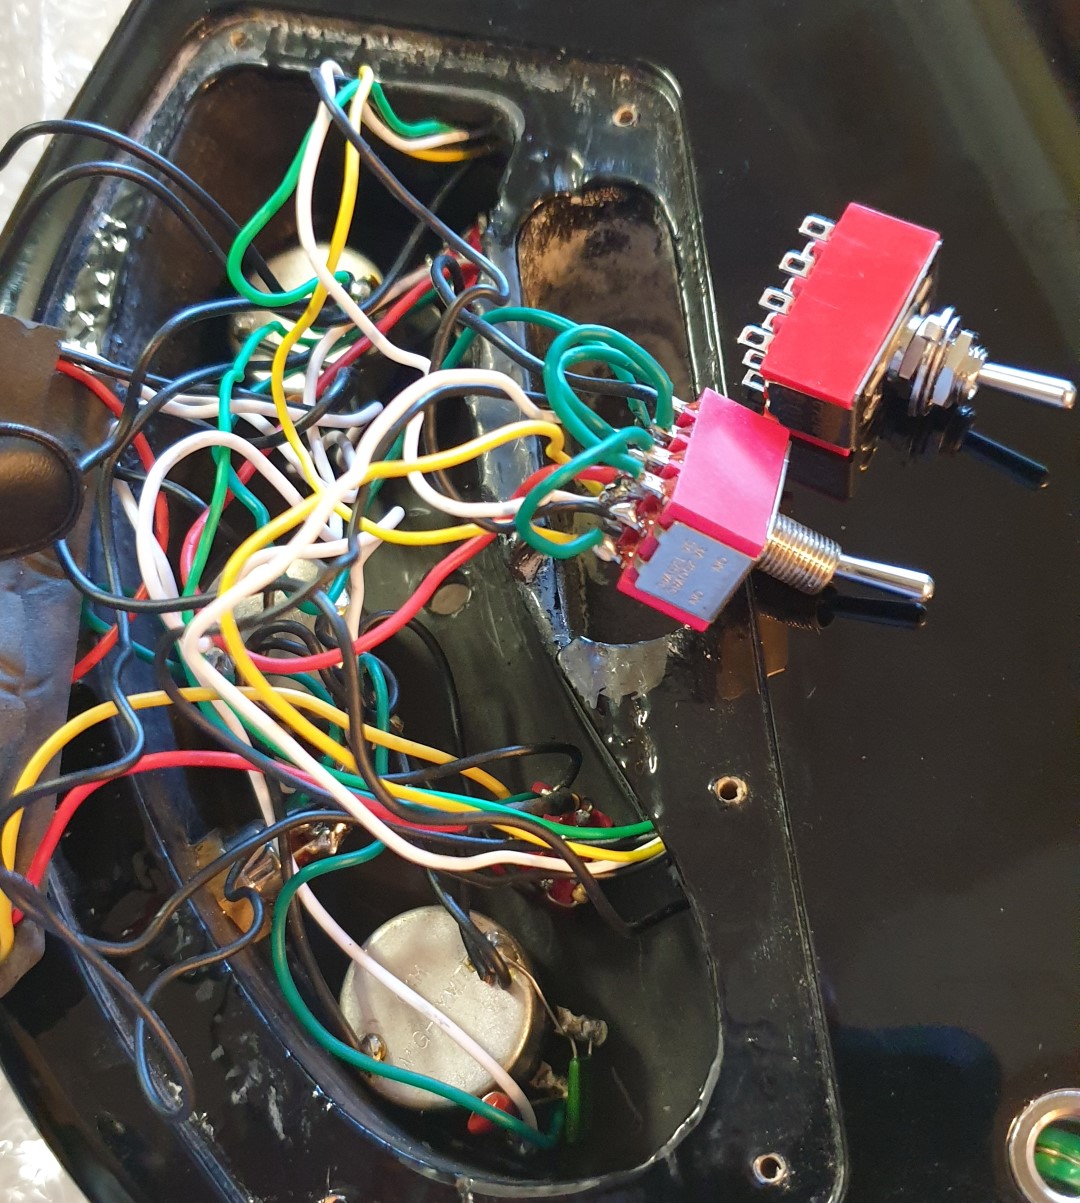
The two three position On-On-On switches have turned up.
I’ve already done the research on how to wire these up.
First up, jumper the ends. Then write N and B in black on black again to follow through with the goth labelling colour scheme.

Then swap out the pickups and do soldering stuff. Carefully mentally pronouncing it with an L while wondering how the hell the Americans managed to get soddering out of the same spelling when the L was CLEARLY there all the time.
Maybe the same original “soddering” sod also decided to say “erb” because he was somehow blind to H’s?
Who’s to know? They’re called Herbs everywhere else.

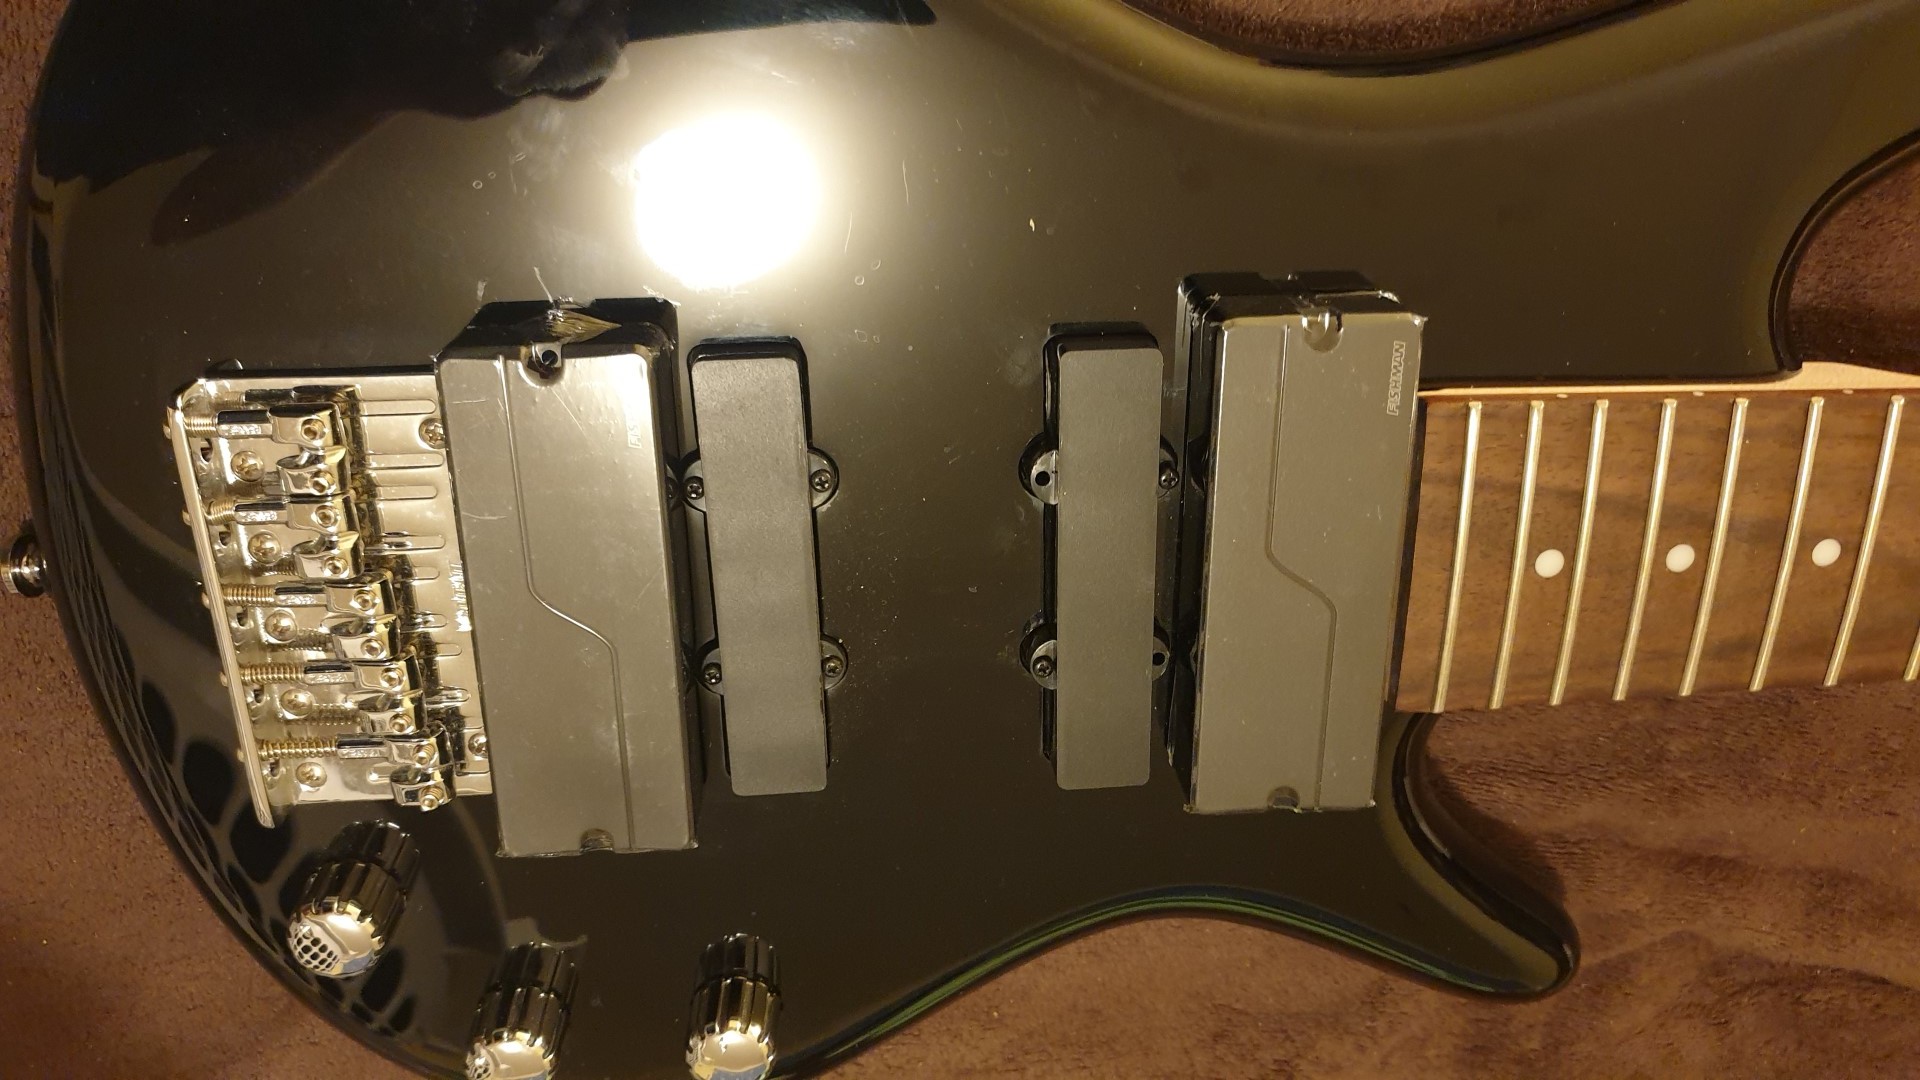
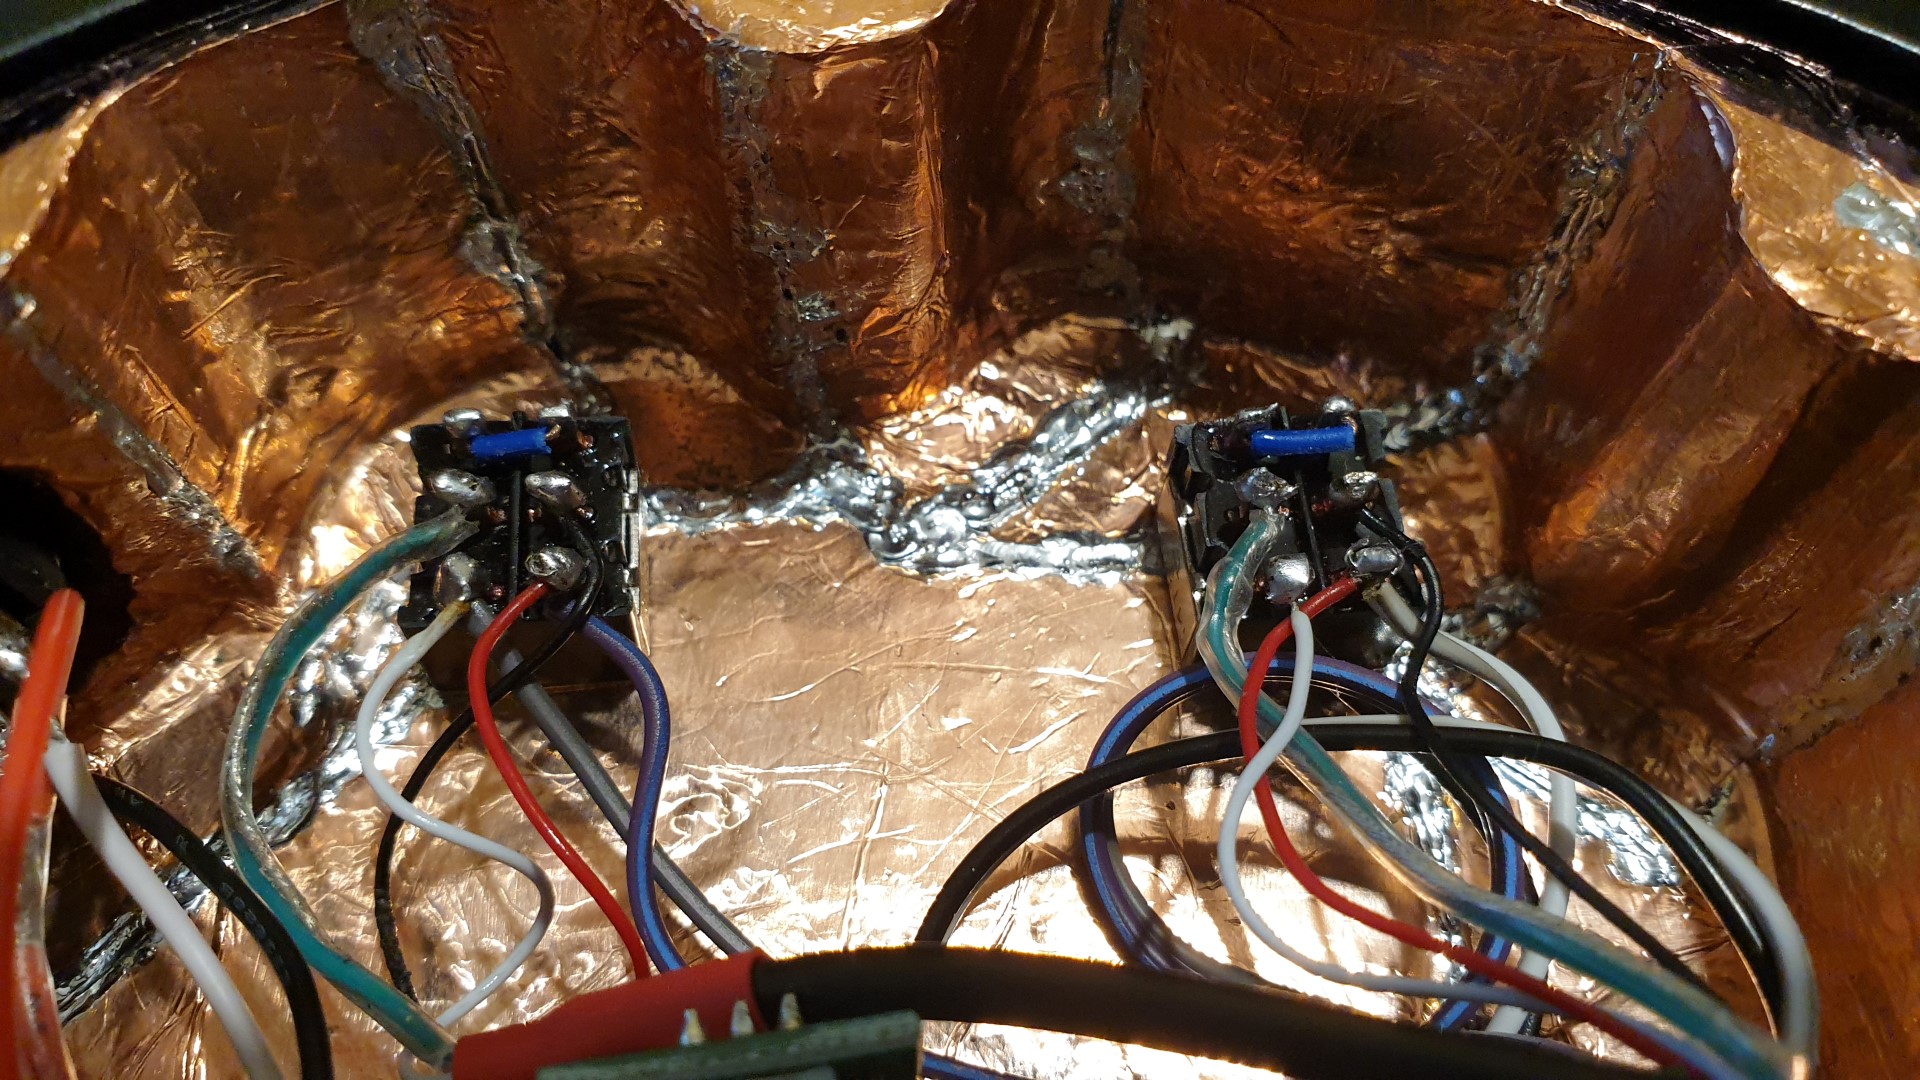
Right. Wire up once, check twice, solder and… that looks okay.

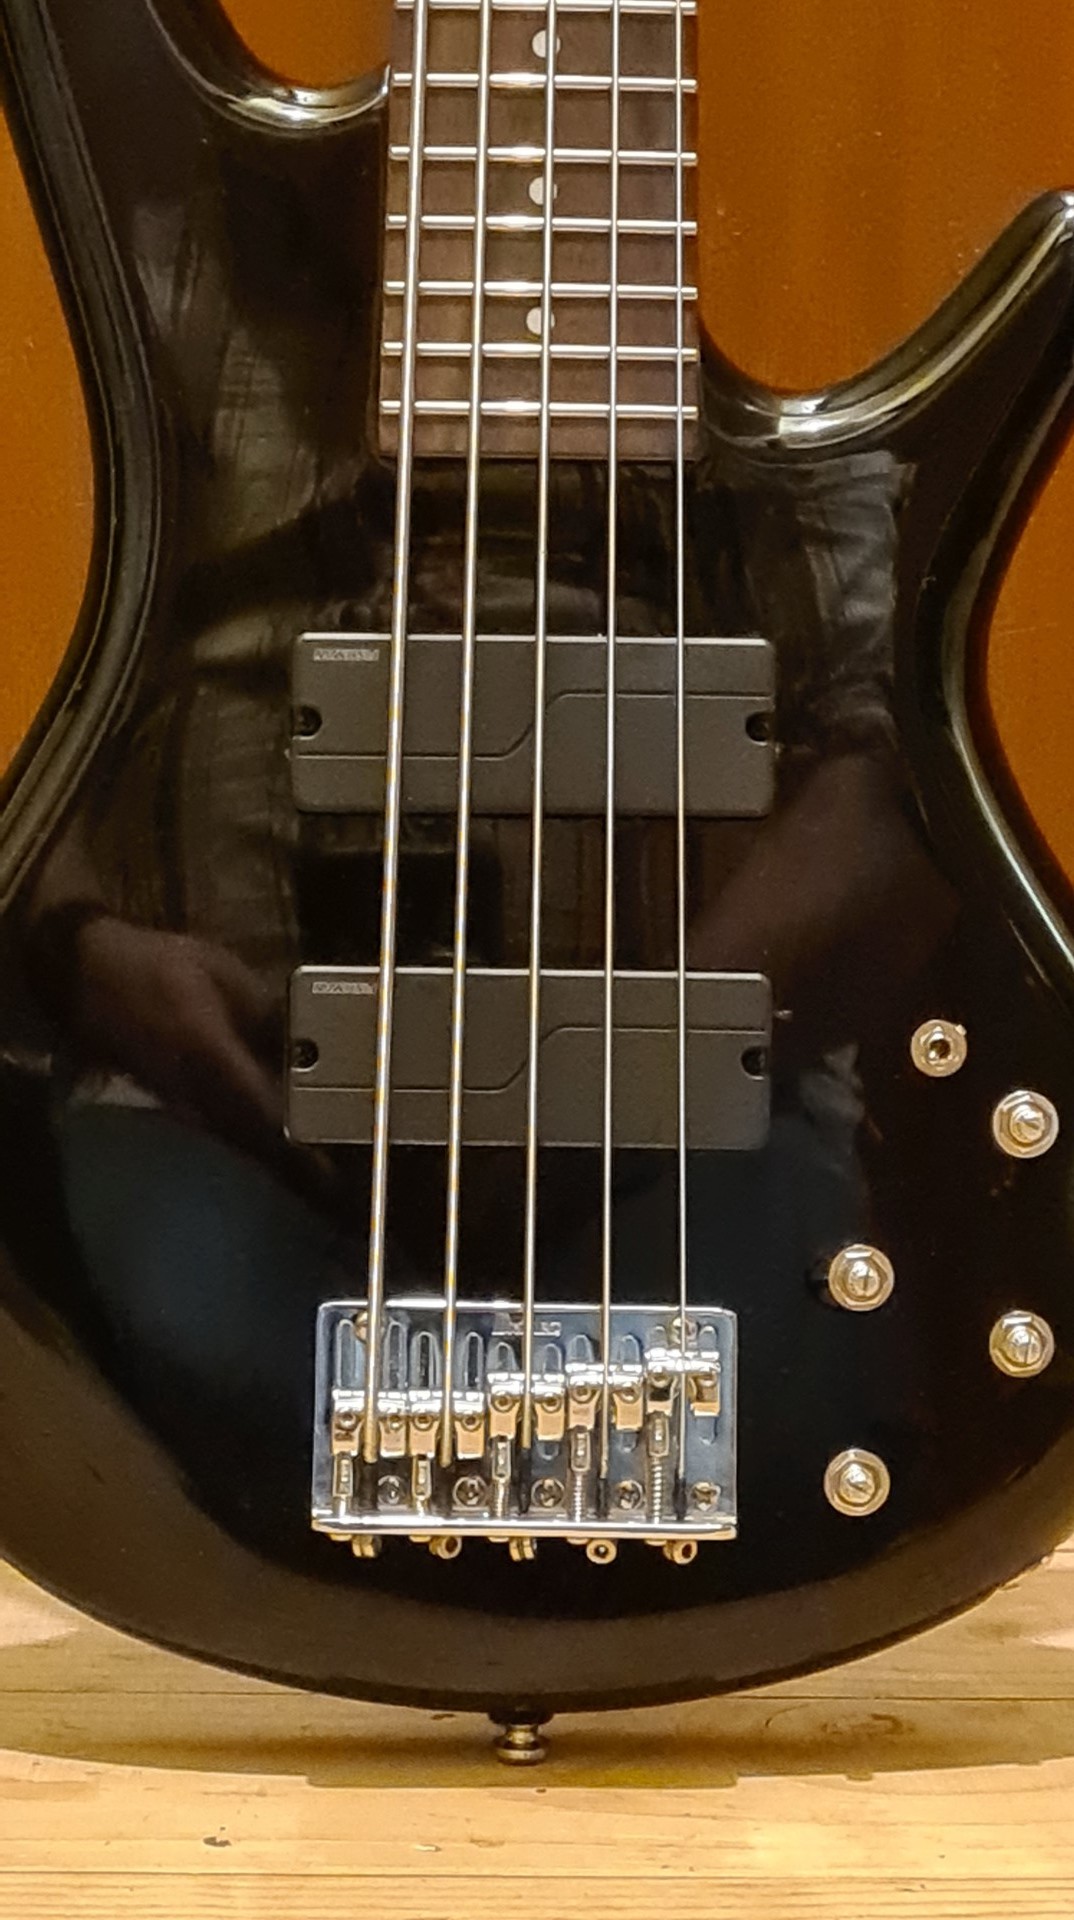
The observant amongst you will note that the green heatshrink pickup is designated the neck and the red heatstrink pickup has been designated the bridge.

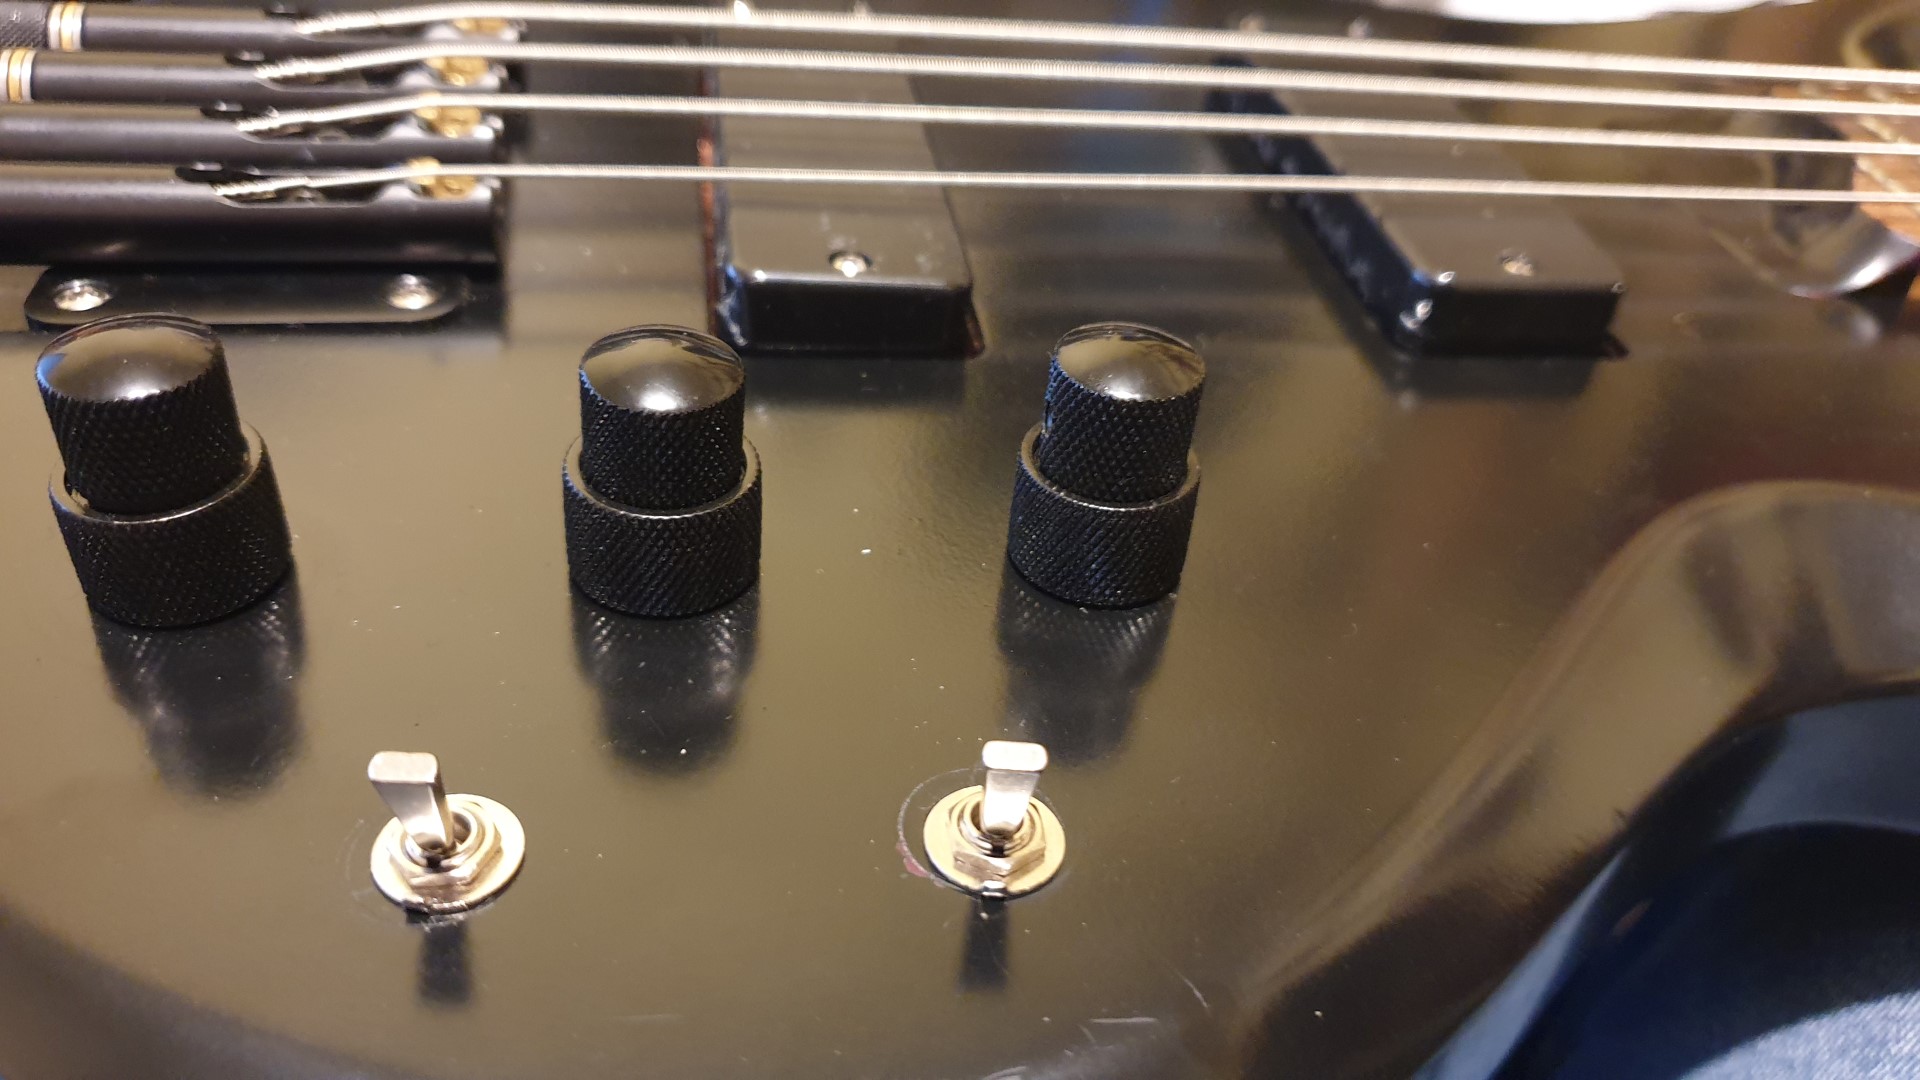
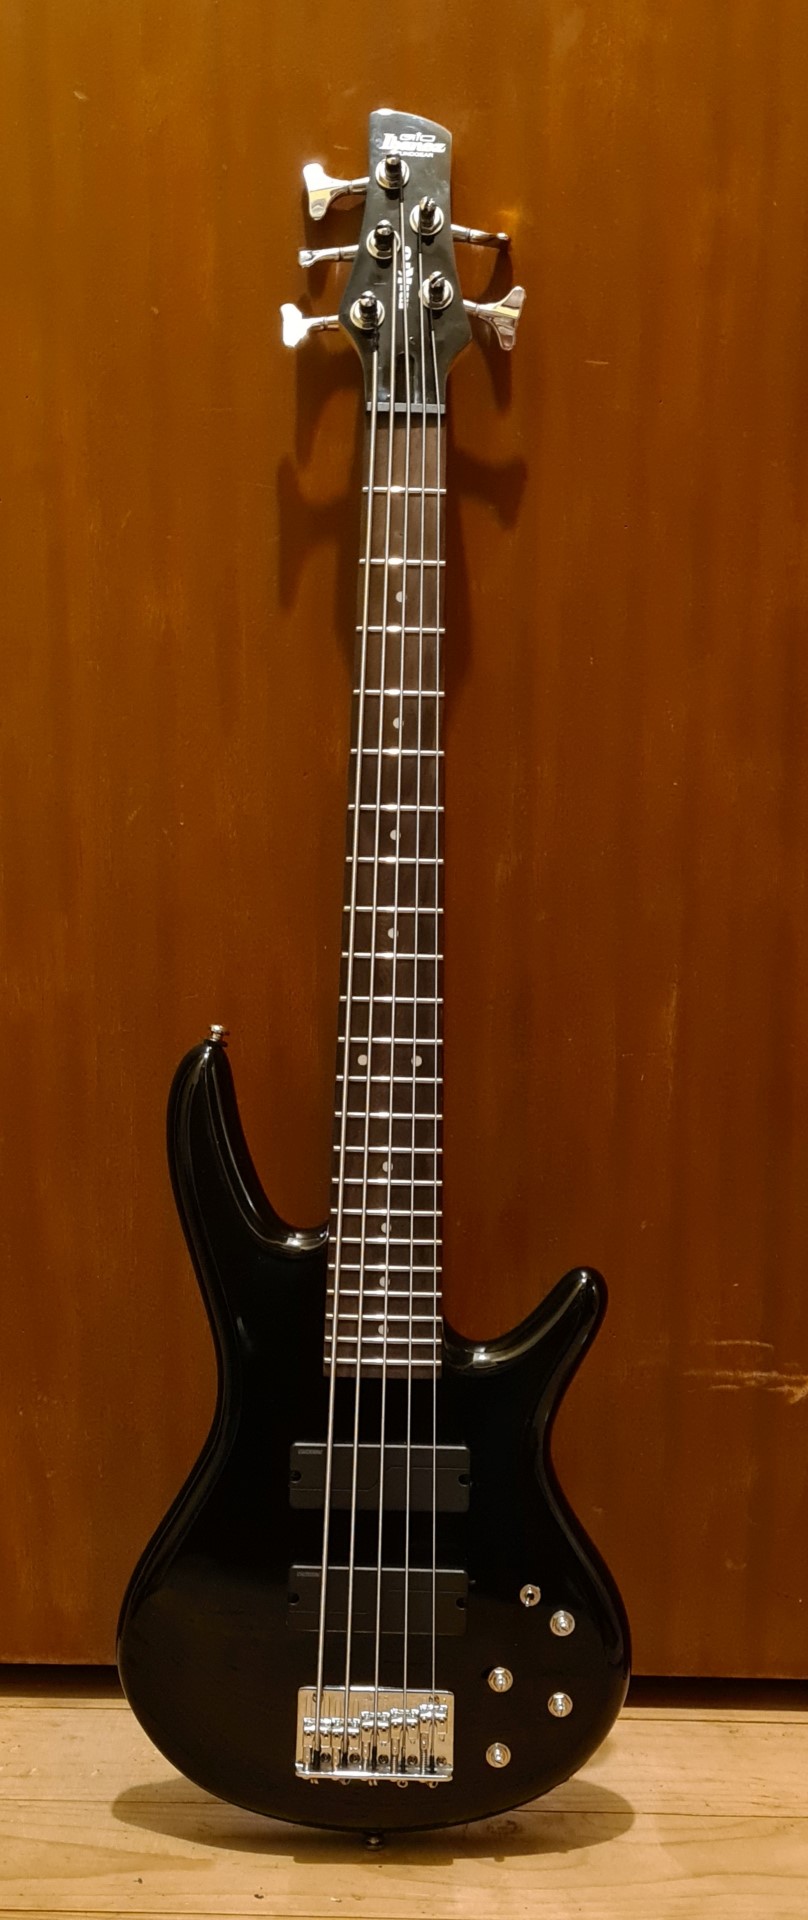
Now the headless is totally pimp with three stacked knobs and two switches.
It’s also going to need repainting… Meh.

I plug it in and …
that’s totally underwhelming. That’s a bit disappointing. There’s hardly any volume at all and, surely I didn’t bridge anything.
Then I notice that you could fly a small plane between the strings and pickups.

A few seconds of screwdrivering sorts that issue. I plug it in again and turn it on.
I’ve got no real idea yet which way the switches orient, but I can work it out.
There’s a HUGE difference in output and I really like it. I don’t think I’ll bother upgrading these test pickups.
Then there is a surprise. Having the choice of where the mid frequency cut or boost is really cool.
I can up or cut the mids, OR I can sweep that down close to the bass end of things and boost the crap out of those lower mids
Oh, lawdy, that is fatter than absolutely ANYTHING else in the house.
The open E string now emits pure shock and awe. I might need a permit for it now.
It’s getting late.
I’ll take this in to the music shop tomorrow and show the bass manager this development.

This morning sees me get another email from Farnell about yet another switch arriving. Apparently this courier will just leave it somewhere safe if I’m not home.
I’ll wait.
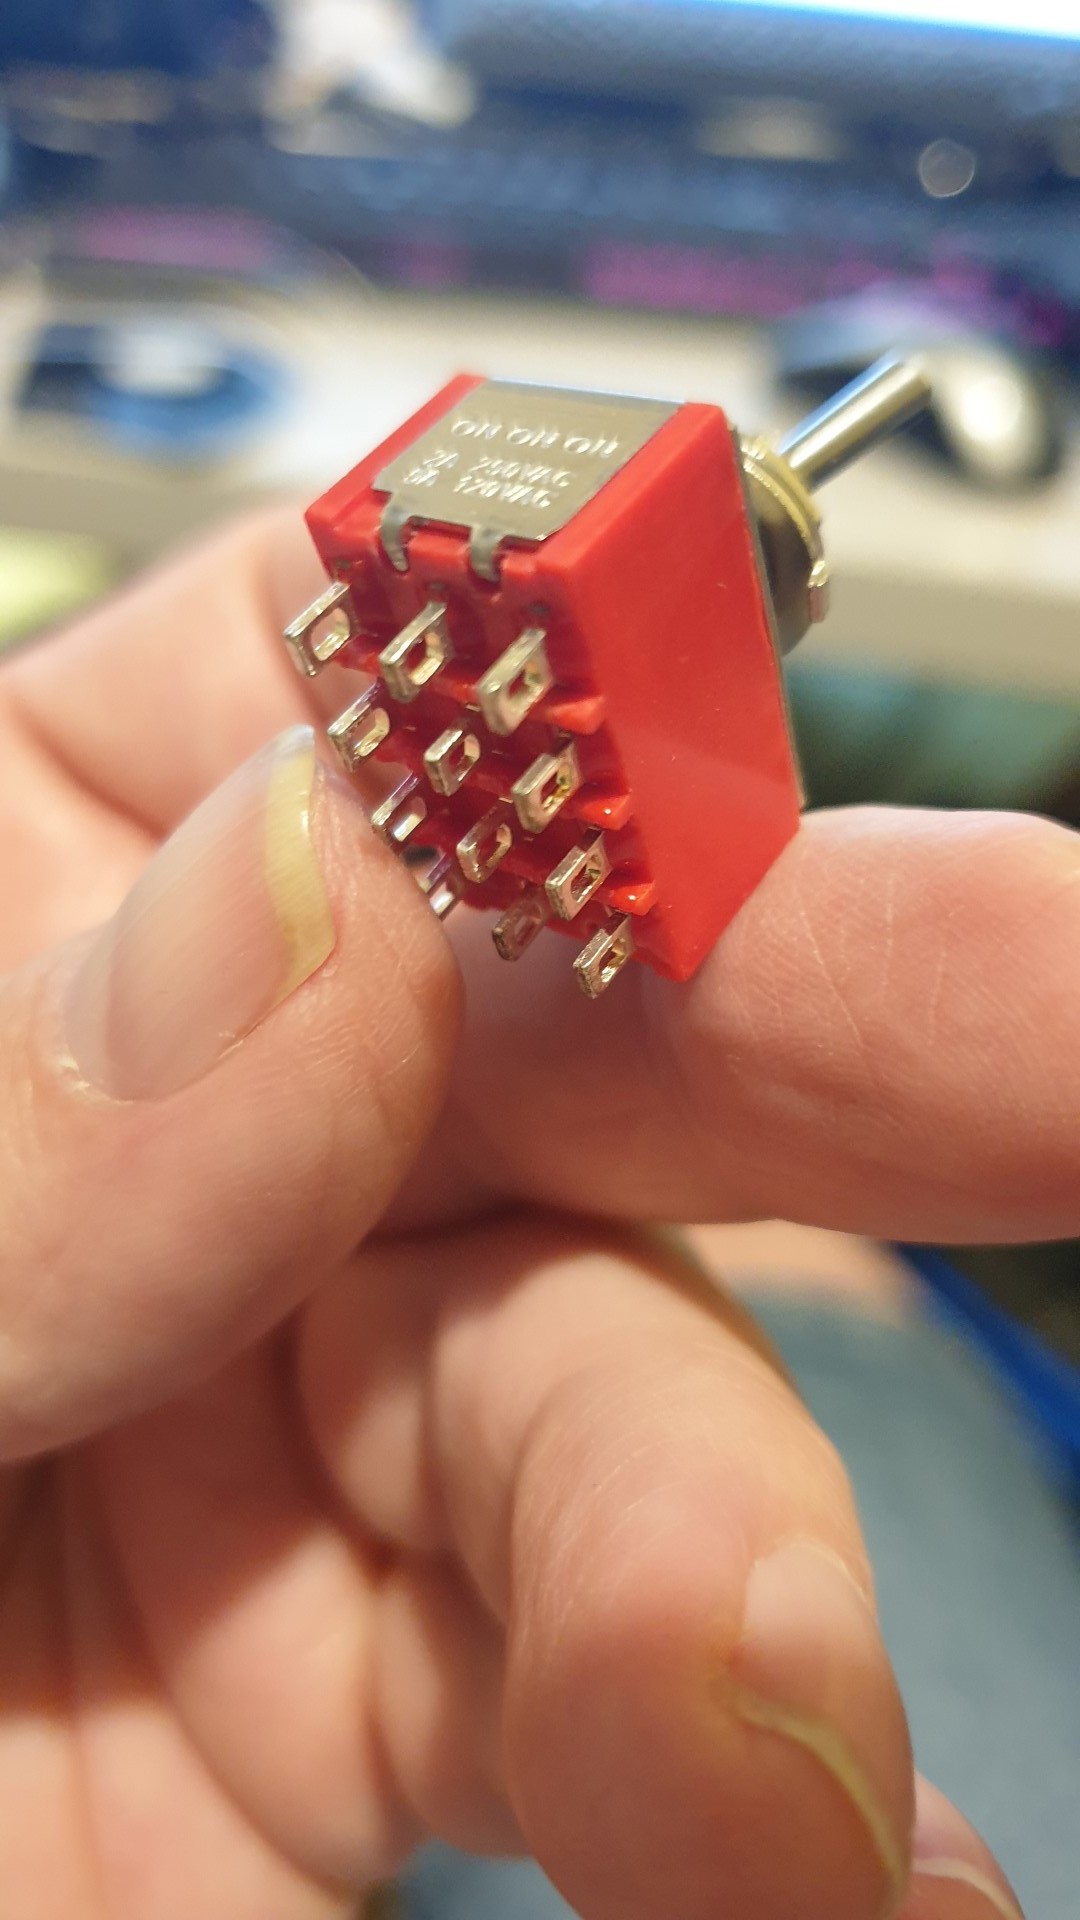
An hour later and I have this very special four pole, three position On-On-On switch.

I may have mentioned that I found a G&L L2500?
They’re really nice. The only problem with them is that you have two humbuckers and you get a three position switch for Neck/Both/Bridge choices and a two position switch for either Series or Parallel.
This is obviously a crime against coil selectivity and luckily, people more geeky than I have got the issue firmly in hand.
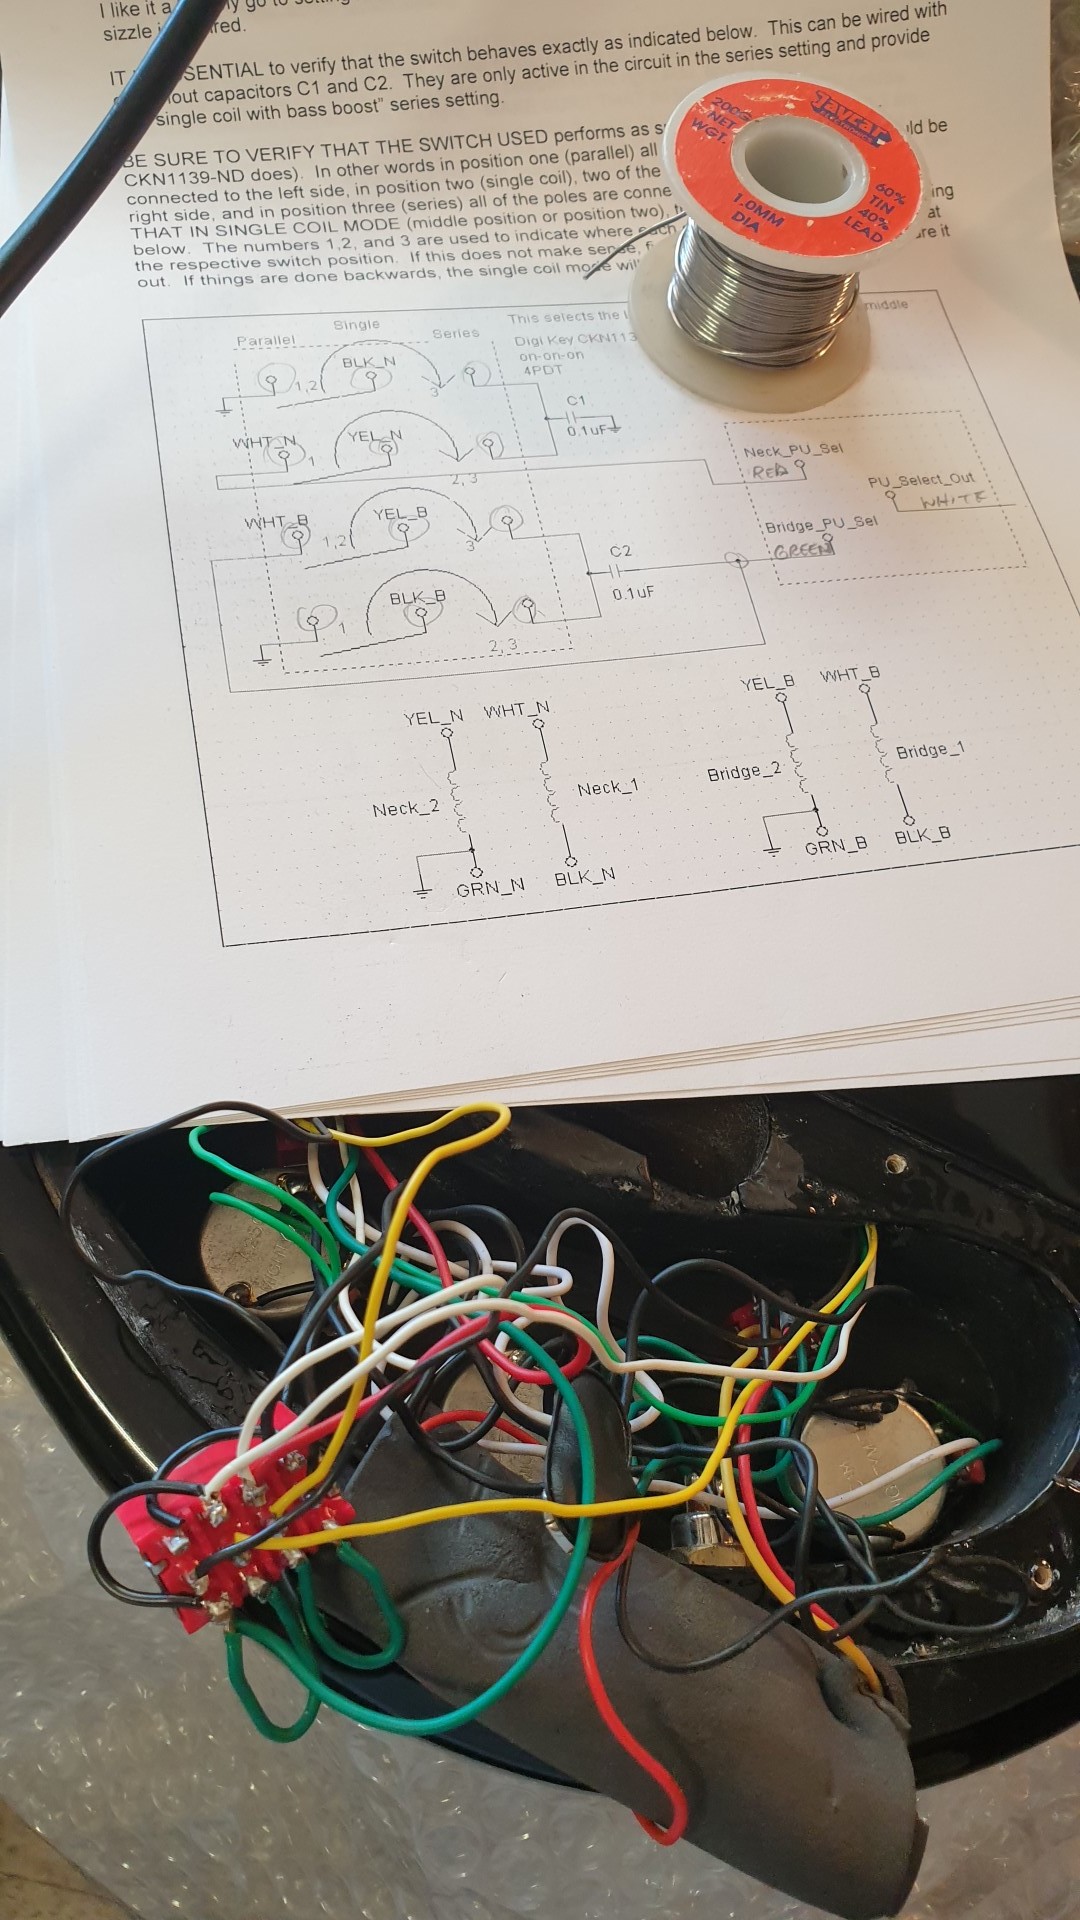
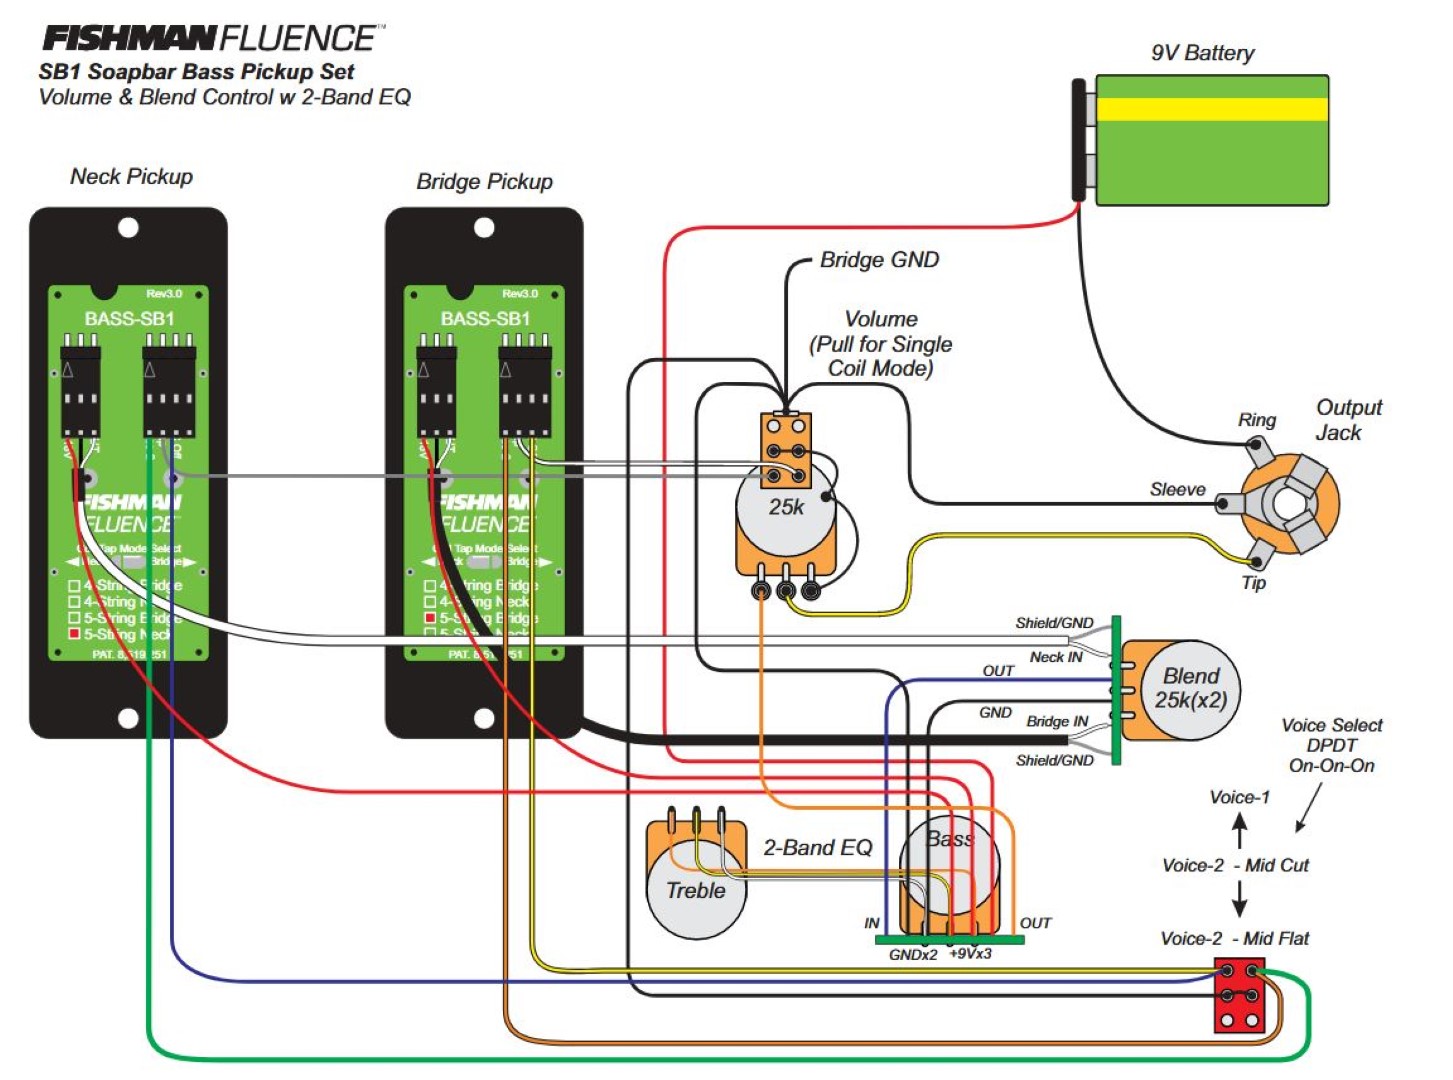
All I need to do is follow this wiring diagram and I’m good to go with Single Coil inners!

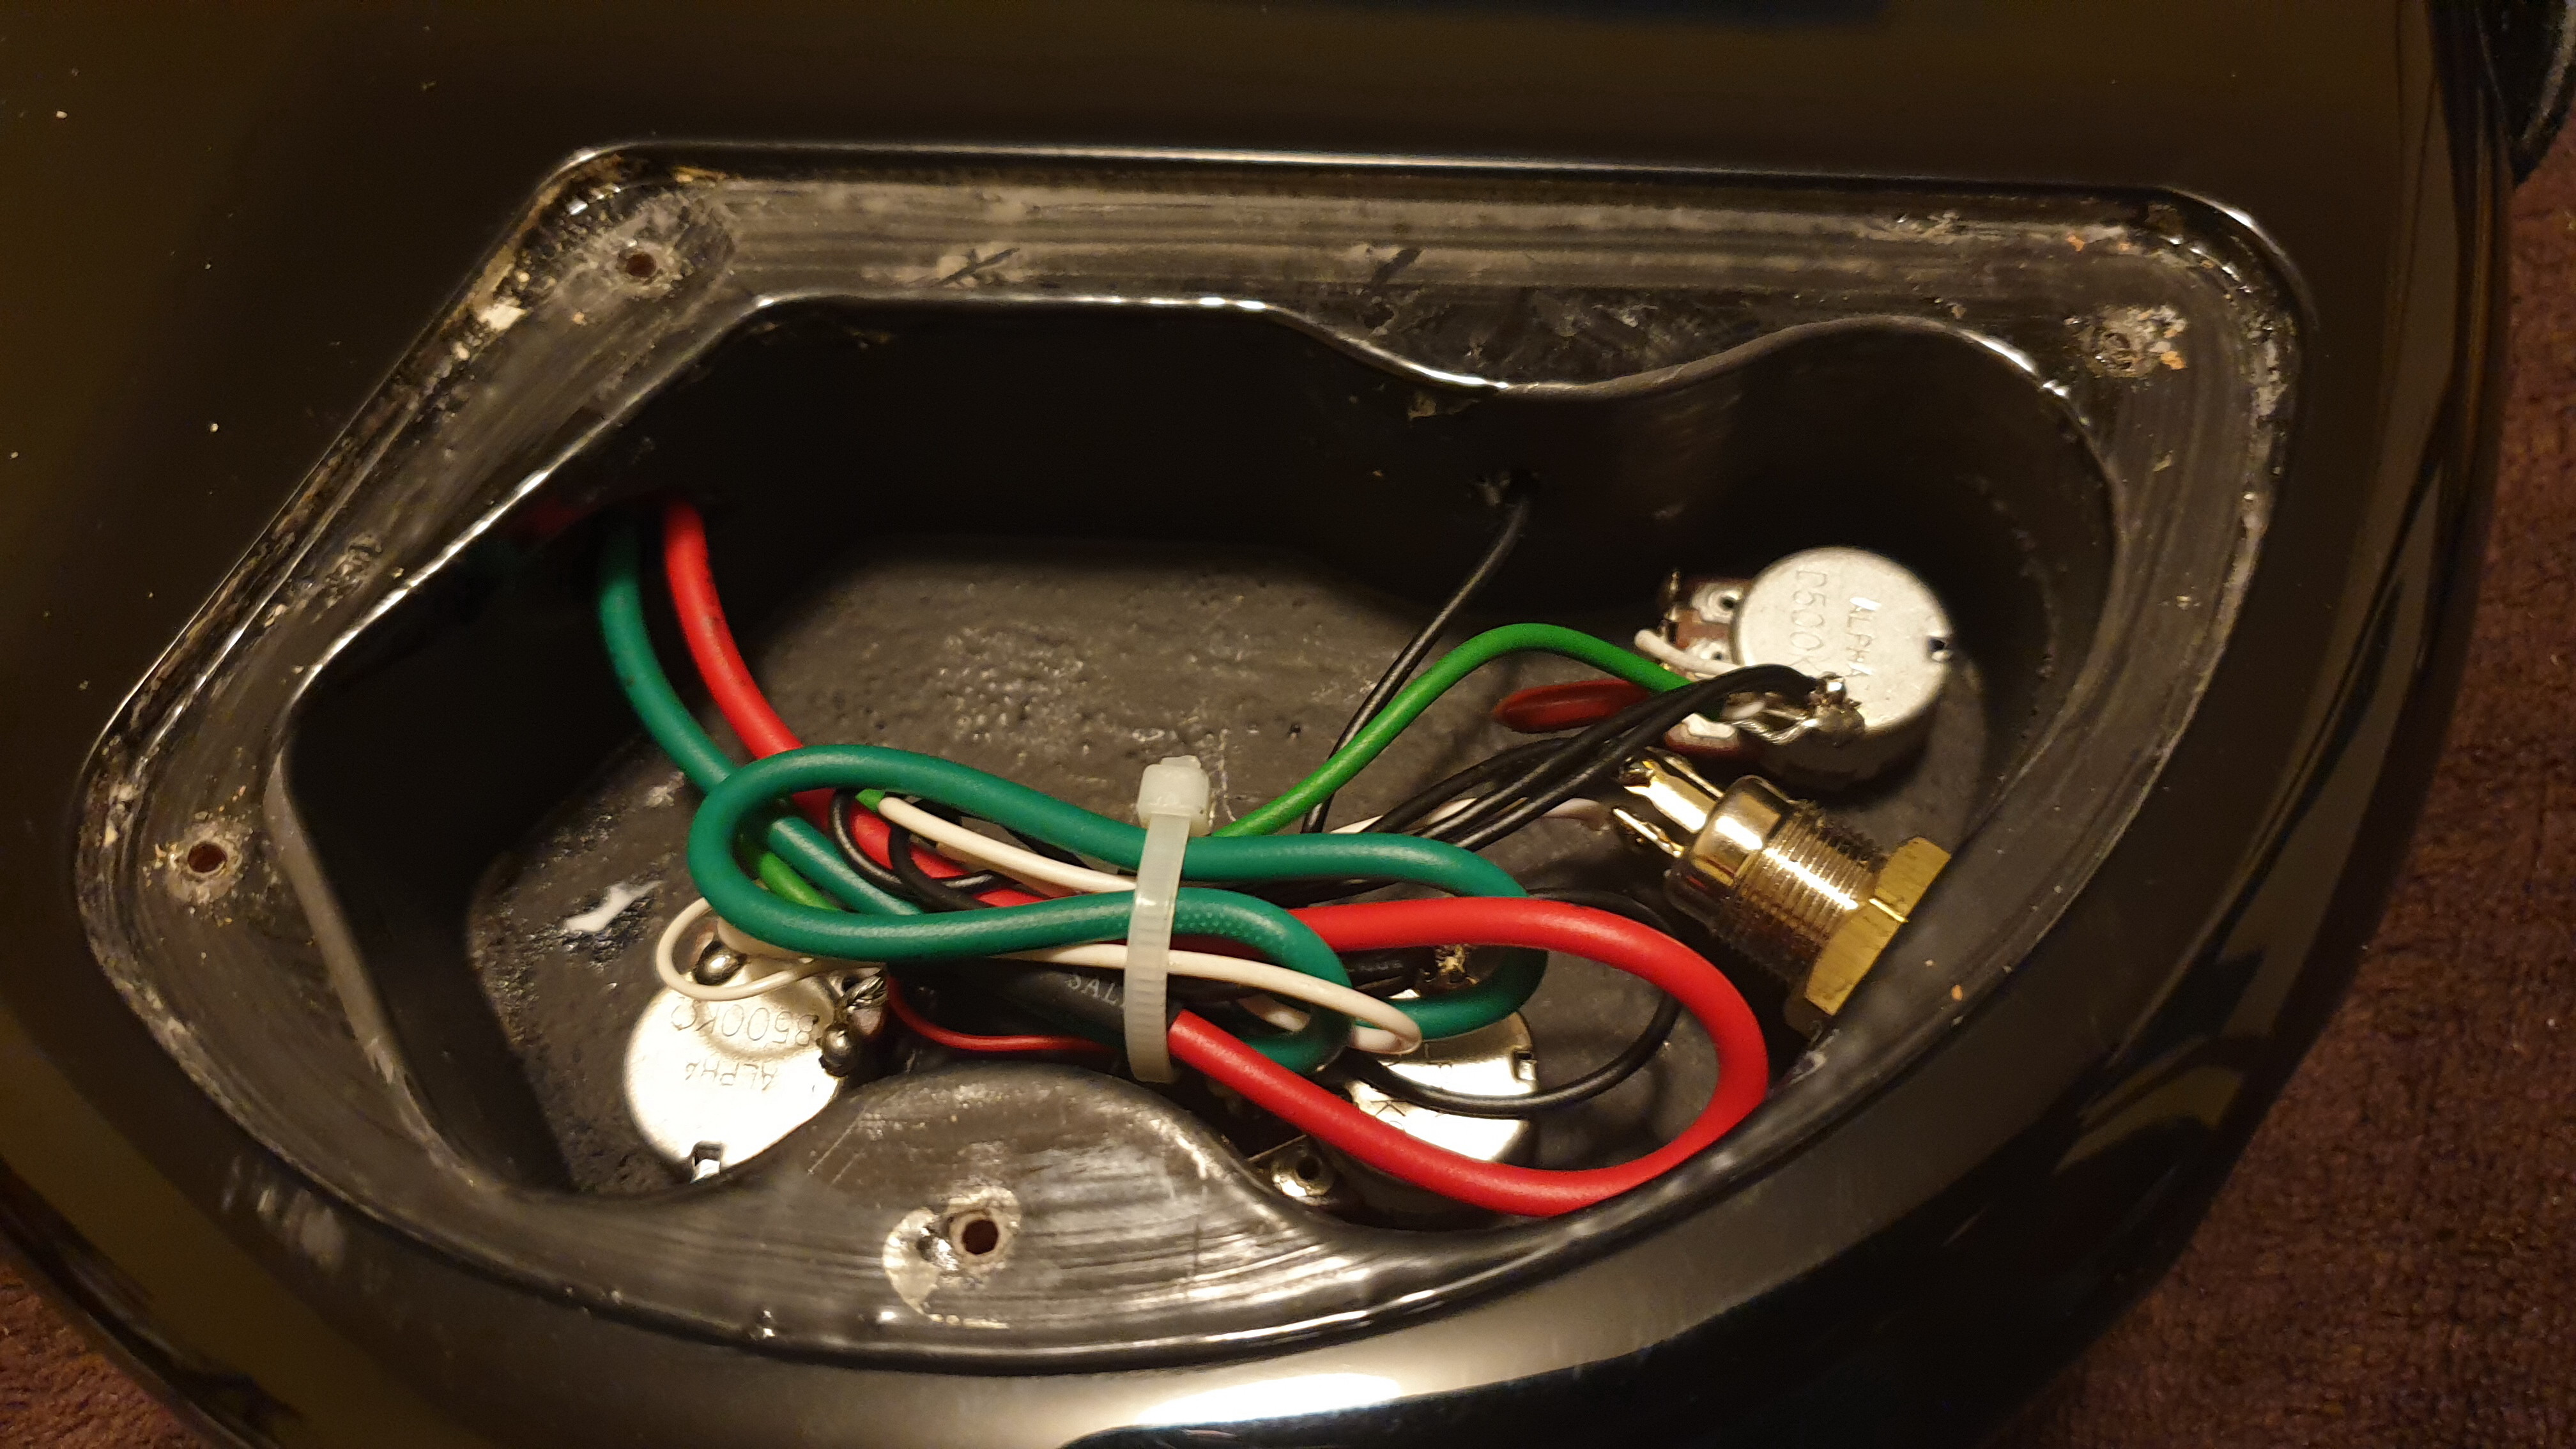
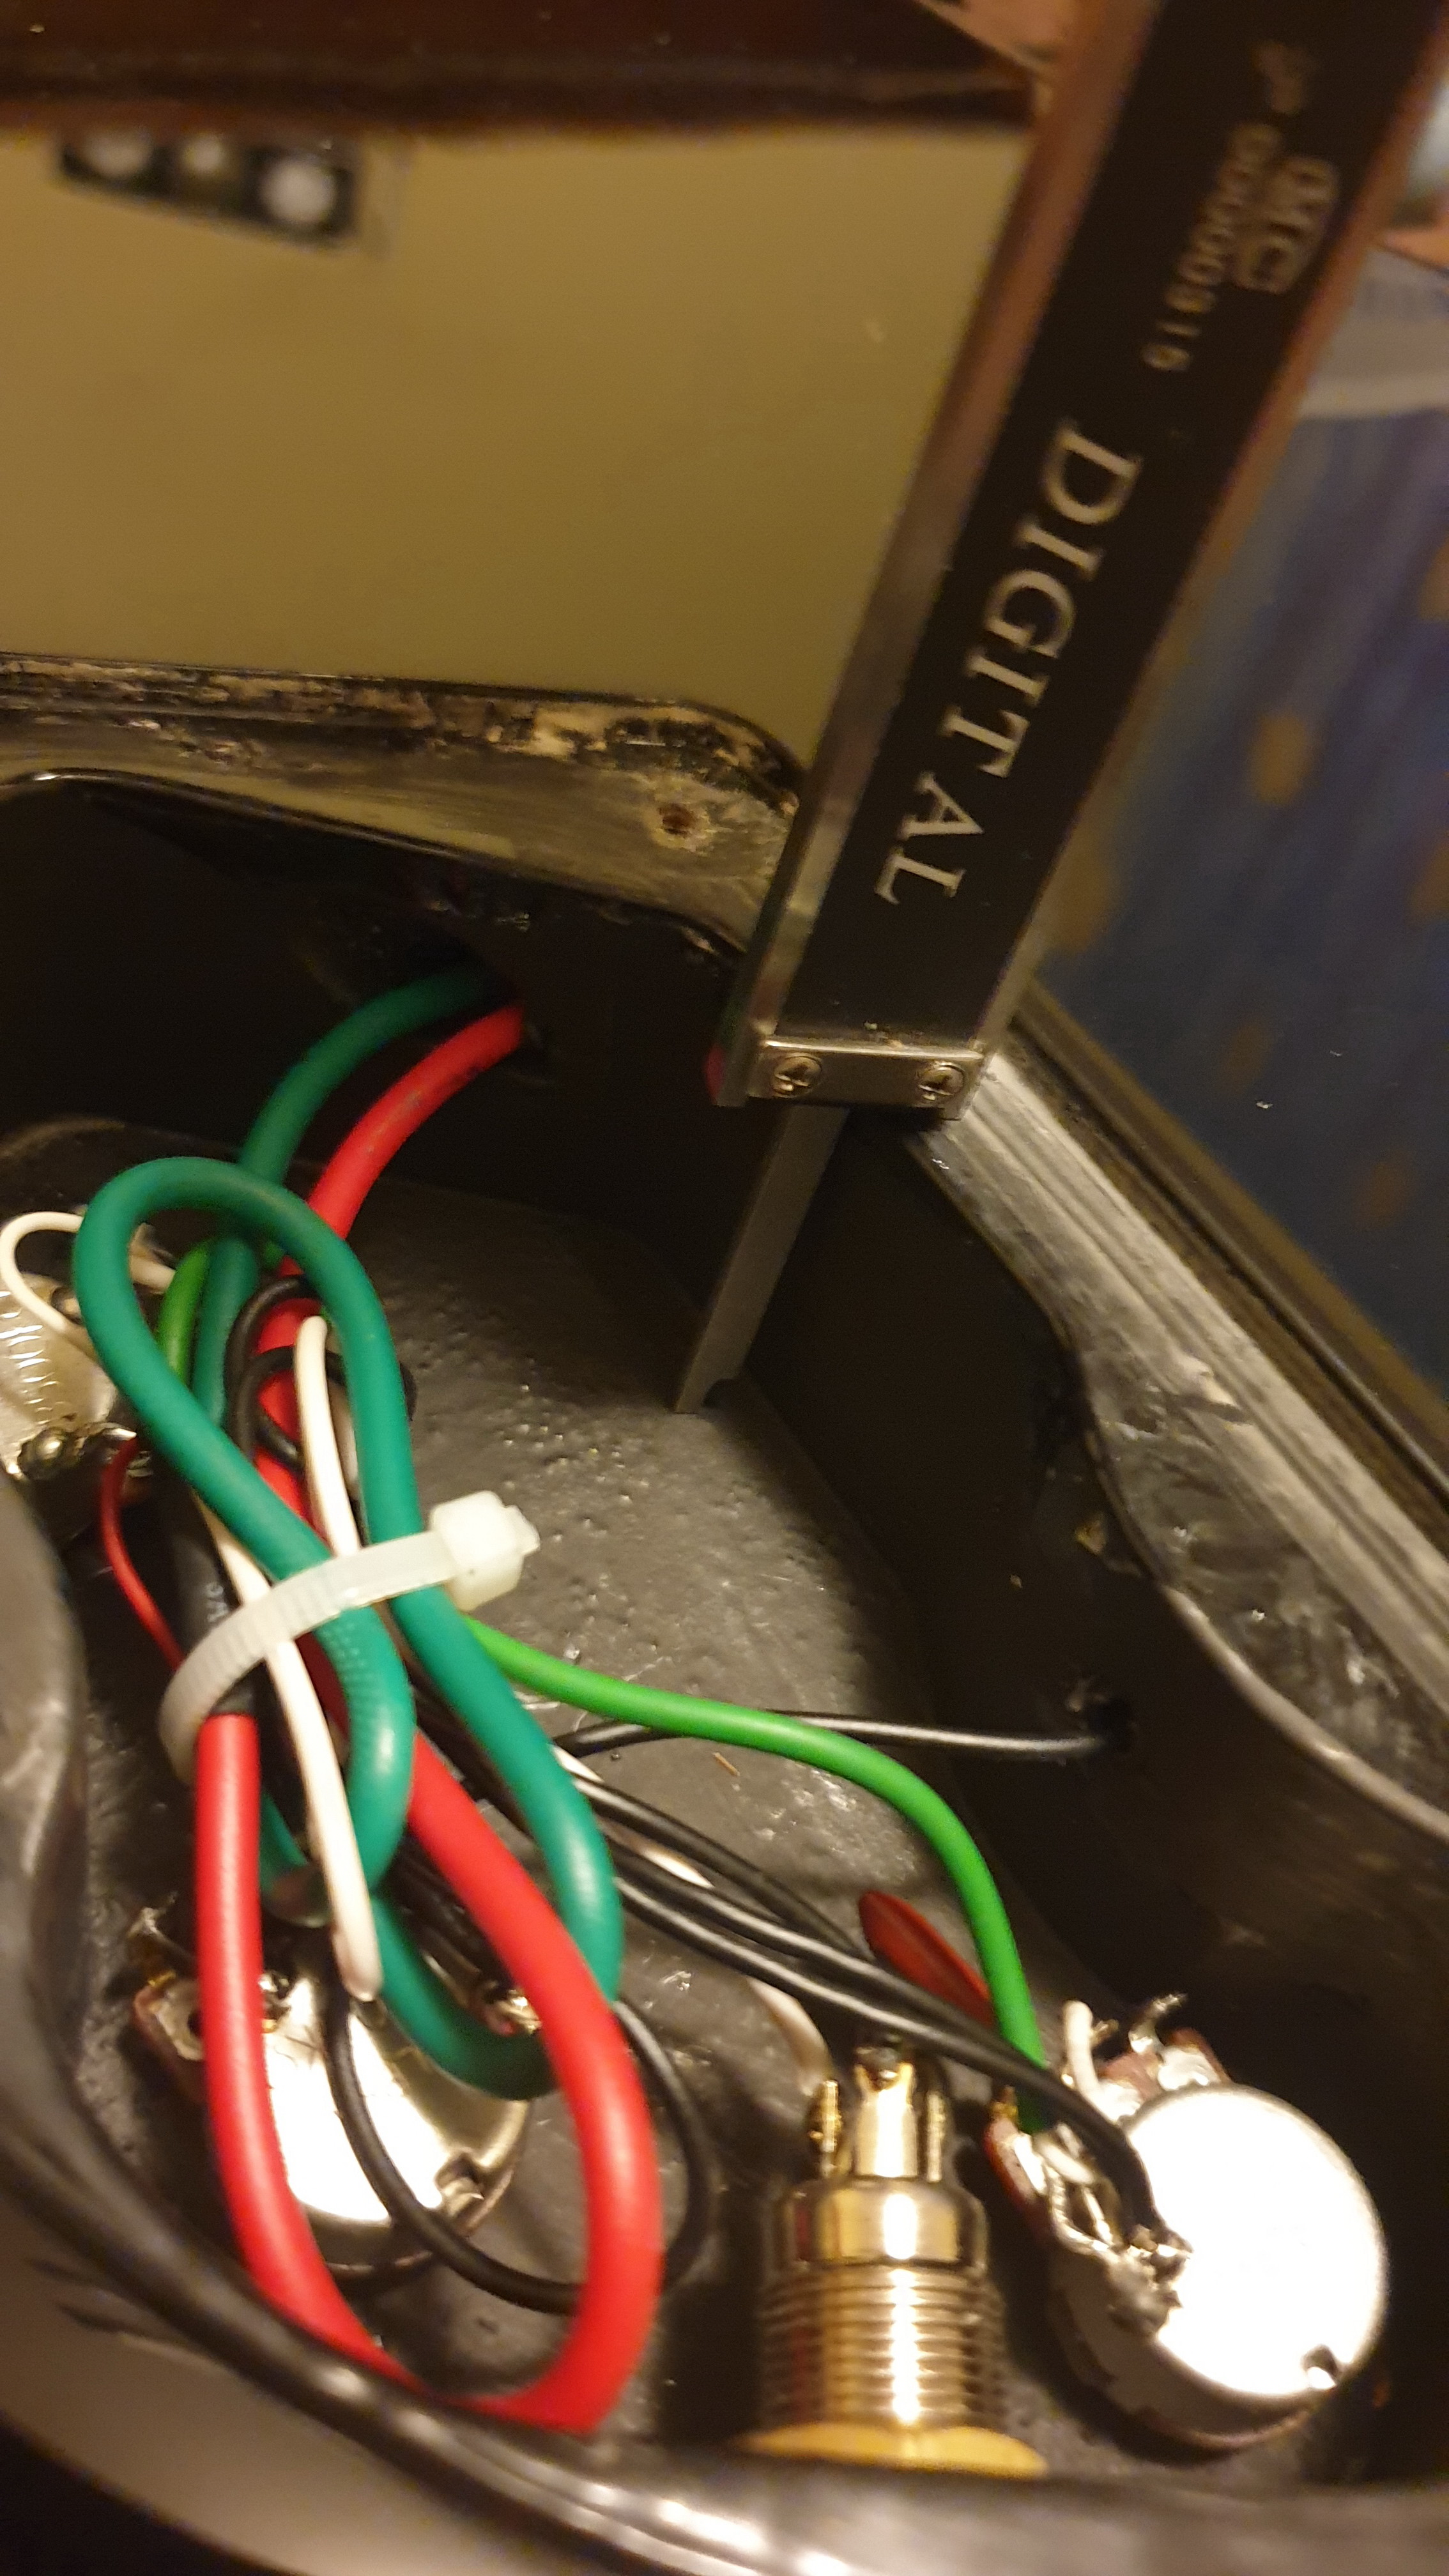
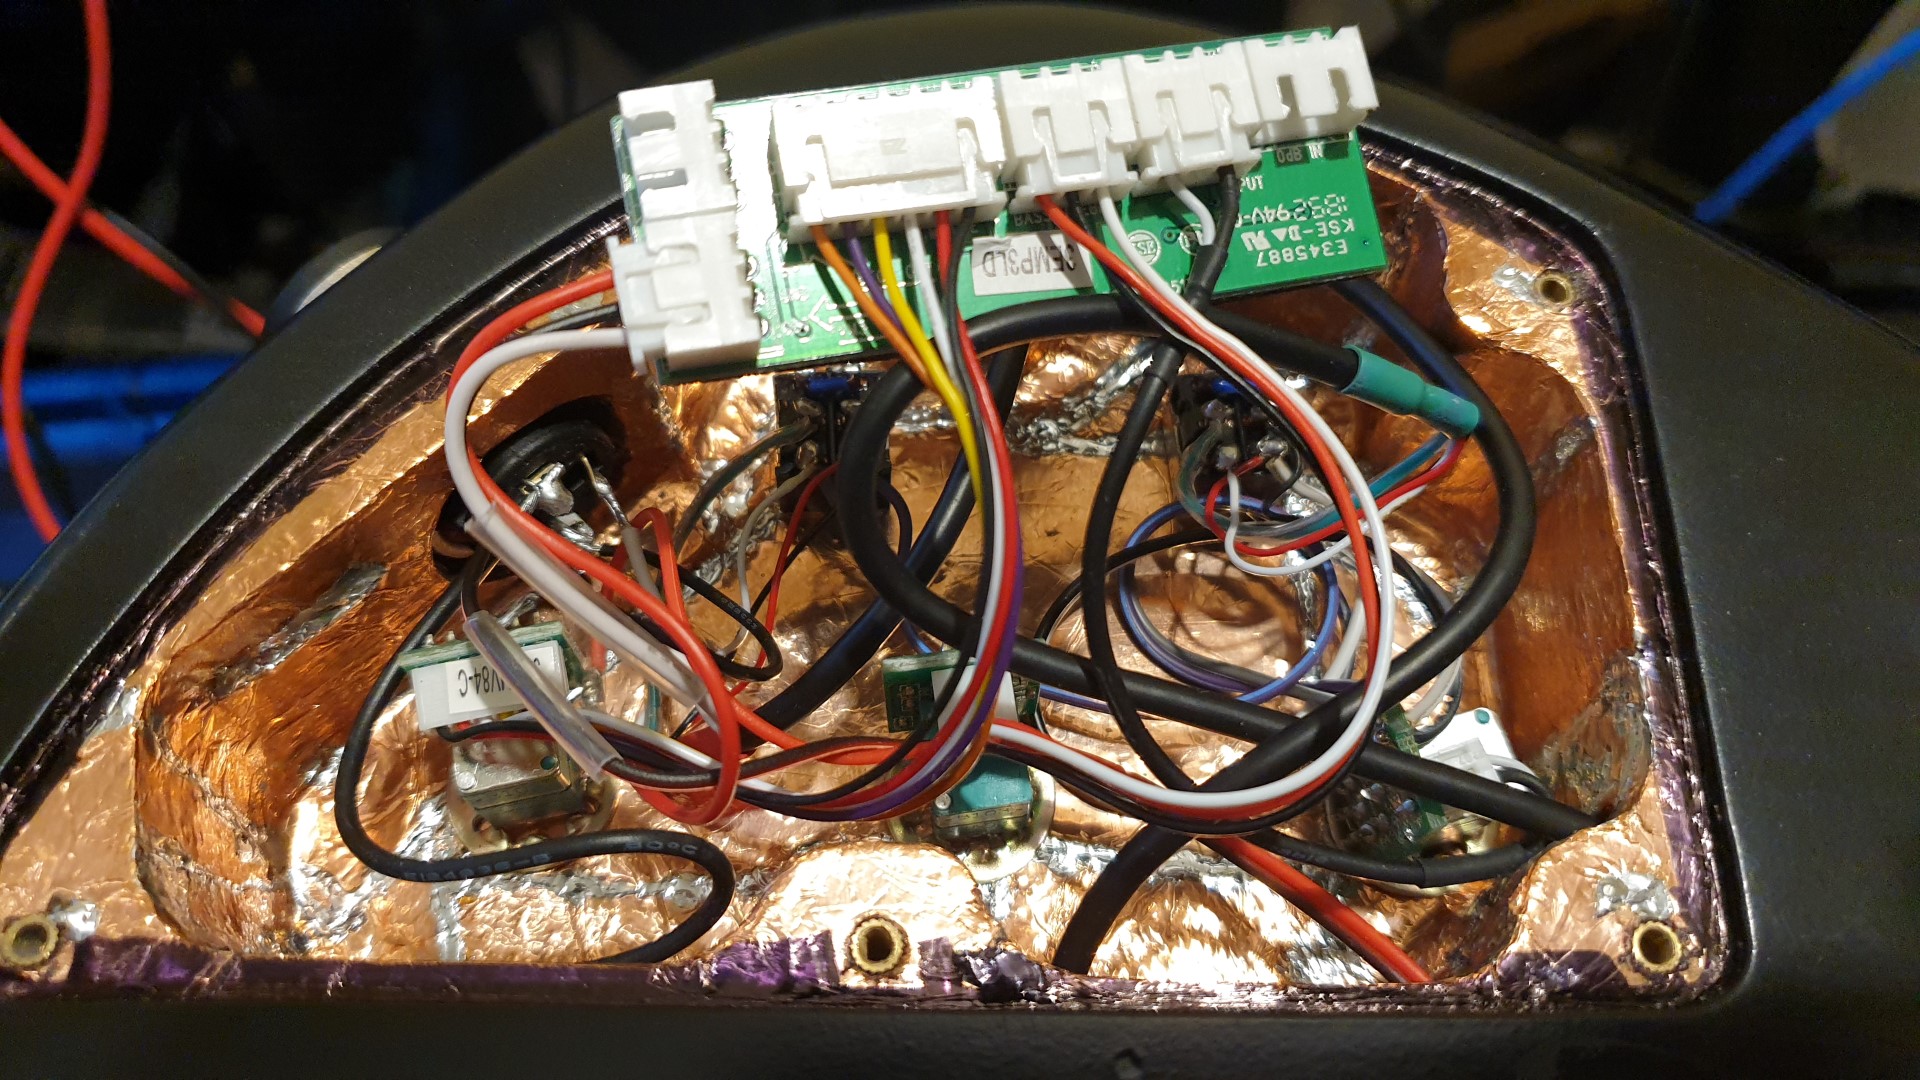
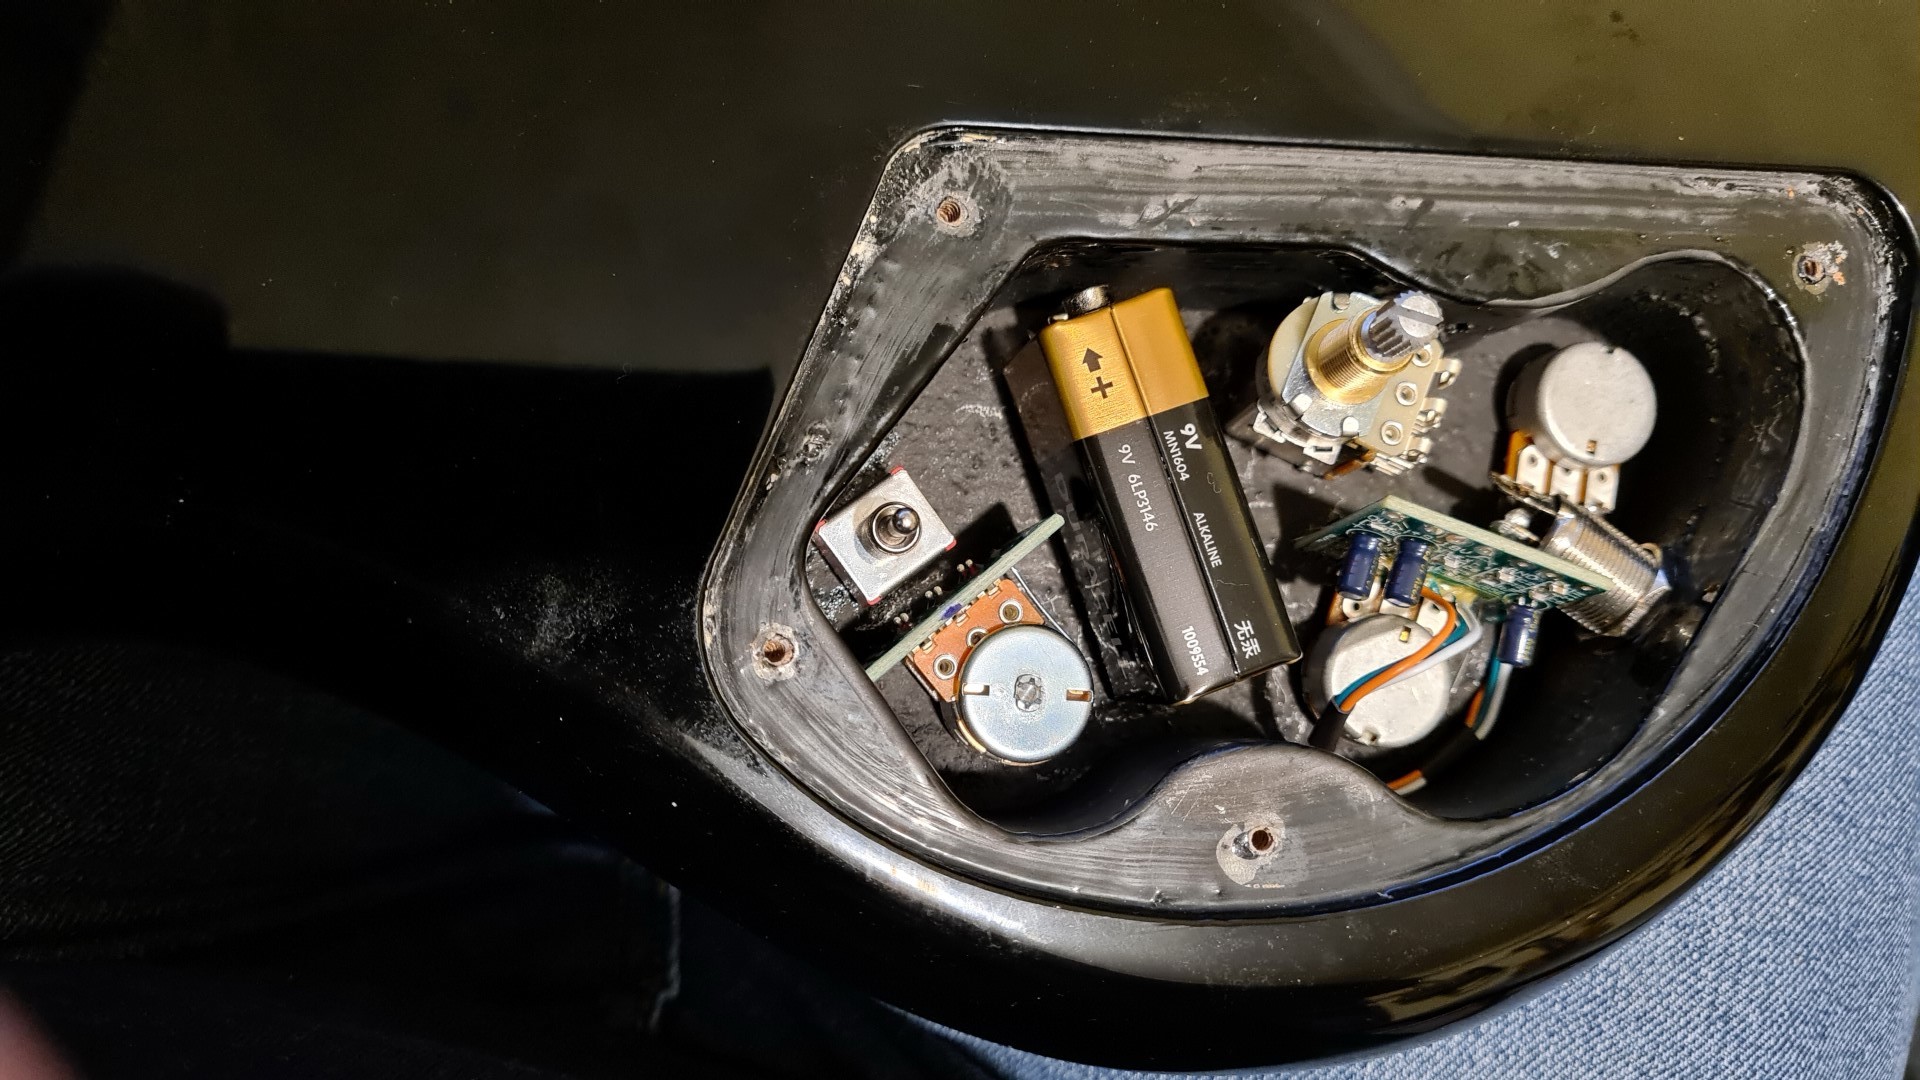
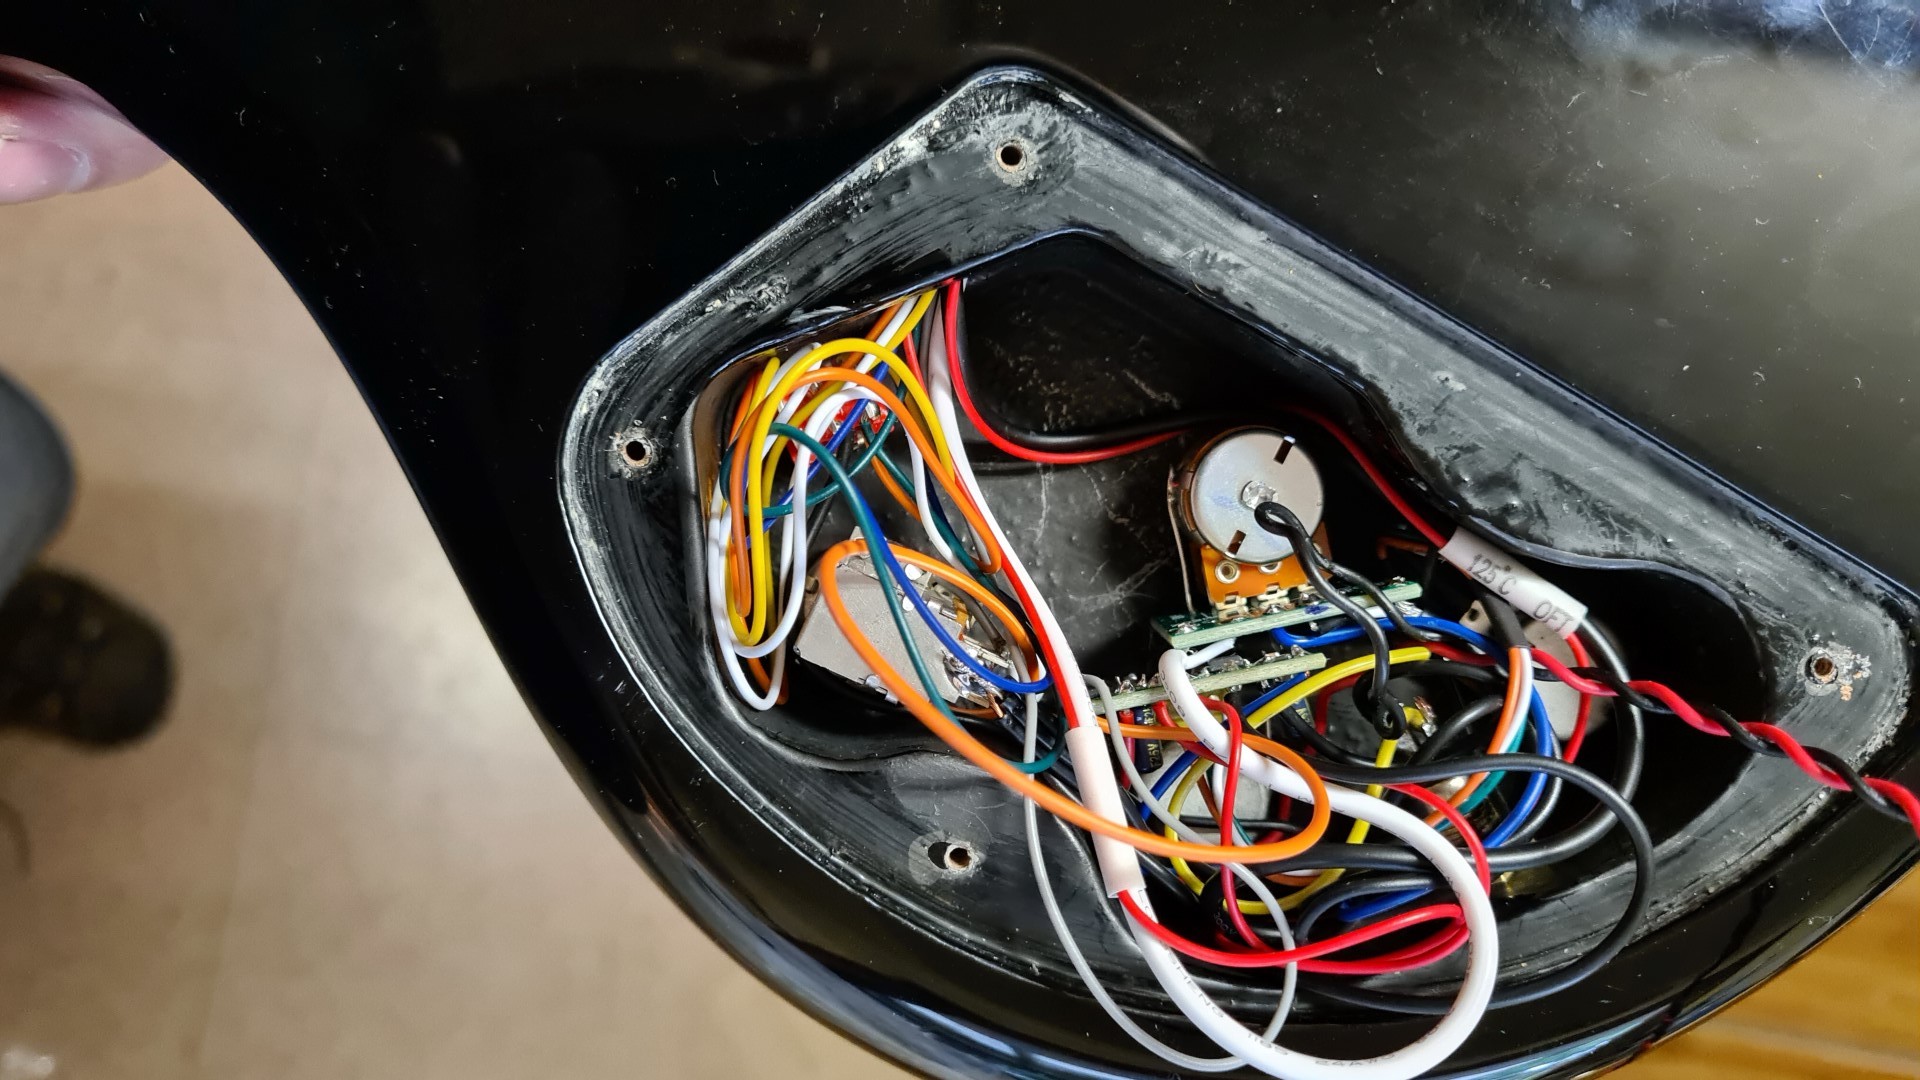
I pop the back off to discover that I have disturbed some small animal making a nest out of the wires.

Maybe they let the work experience kid finish this one off, right before the end of work on a long weekend…

Oh well. Out with the old, then careful attention is devoted to mainly, not burning myself or dropping solder on the finish. Read that word with an L too, dammit.

It looked much harder than it was, but you’ll notice in the photo that every connector is circled and the selector switch has the wire colours written in pencil.

I may also mention that on the back of that sheet is the exact original wiring, carefully detailed.

The laws of the universe demand that I waste time doing that in a sacrifice to a successful job.

If I don’t give myself a back out path, this will ensure that the job is totally hashed.

So two modded basses go into the music shop to be tested by the bass manager.
He’s a recent convert to G&L and proclaims that the single coil switch mod is a GOOD THING.
The Mesa Boogie system at the shop really demonstrates the differences in the coils.

Then we come to the headless. He is impressed with it.
It draws the attention of a few other staff. Headless basses are pretty rare still around here.
To my delight, the staff hand it around like a baton and the last guy finally sweeps the mids down to the bass end of things and gives it the beans.
The guitar guys look over to see what has happened.
The day can’t get much better.

Or so I thought.
With half an hour before closing, I hit the local pawn shop. Zipping around, I spot a Logitech Z5500 surround sound system that has to be priced mistakenly. It should be at least twice that.
I don’t care. I’m having it.
I’m running twin Logitech Z623’s at home, and a Z550 means that I can retire one system.

I have a standing request to acquire another Z623 setup for a friend of mine.
The same friend with the milling machine who I need to help me with the pickup routing…

I get home to find an email from the pickup vendor. Apparently I’ve got the headless pickups in the wrong positions.

I don’t care.

13 Likes

:joy:
Glorious - what a read! I needed that today :grin:

I mean I lost track of how many basses you were modding at seemingly the same time with which switches and PUs, and whether you bought a bass in the middle of it all and whether the Z5500 is a bass I should consider… but the entertainment value did not decrease because of that… no siree Bob! :wink:

6 Likes

Wait, we’re these pickups in the 4 string mikro? Cuz I want to replace mine and I’m going crazy trying to figure out if regular p/j combos would fit.

How many bridge saddles can you count?

1 Like

Hah!

@itsratso - @Korrigan did a similar mod to a 4.

1 Like

Yeah I just glanced through the above.

1 Like

Well, it’s taken another 16 days, but finally I’ve finished Stage One.
Let me tell you, if you are going to have a pickup hole made, routers are cool and all, but… a milling machine is where it’s at.

Look at the finish on the pocket! It’s like they’ve been sanded.

Mind you, this wasn’t an ordinary milling machine. It’s a Deckel.
I expect that an average milling machine will also get through merante of this toughness, but why not take advantage of extra precision?

A quick check to see what the depth is like and we hit problem number one:
How the hell do you get them out?

Let’s go with masking tape…

The only real issue is the tenacity with which the clear coat clings to the black.
It doesn’t real well. You can see how it’s starting to peel at the edges of the cut.
Obviously, you get around this by finishing AFTER routing out the holes in the real world, but us modders just have to deal with it.

I wicked superglue into the edges and it cleaned up most of the problems. This bass will never be perfect without a complete refinish. I thought it might happen.

Anyway, how about putting the pickups in? I guess I should check the length of the screws.
I did this by putting the body on the table and putting the screws upright next to it.
I’m really glad I did this. They are exactly the same size. If I screw down lower than the top surface, I’m going to have holes in the bottom.

So I’ll remove the screws and cut half an inch off them later.

Putting the wires in before connecting them up, I note a potential problem.
The neck pickup doesn’t have it’s own direct tunnel to the control cavity. The factory used the neck routing to drill a hole through the body and connect both pickup channels and both wires go into the control cavity via the bridge pickup tunnel.

Hmm.
Why is this a problem?
In between the foam springs, you can see the original pickup screws. They had four each. The new pickups have only got two screws.
One in the middle at each end.
Have a look where the wires go into the control cavity. :frowning:

I was rather concerned for a bit and was thinking of all the ways I could protect the wire from being screwed into, until I realised that if I utilised the foam springs properly, they’d hold the wires out of the way for me.
Problem solved. The foam comes with double sided tape. It’s not going anywhere.

Maybe I should do some basic checking to see where all the extra stuff is going to go in the control cavity?

Some quick tetris and it looks like it will fit an extra switch, pot and battery in there.

Just.

Oh well.
Let’s put the pickups in. Totally intentionally upside down so that someone will notice it and comment later so that I can lie about it now.

Right.
Now all I have to do is follow this super easy and neat wiring diagram:

Of course, this might be a complete and total disaster. These pickups aren’t cheap, so I may wish to swap them into something else. Best I not trim any wires to save space. The only original bit left is the output jack.

So, we’re left with this, um… somewhat untidy nest.
In order to get the cover on, you put the curvy part of the cover on first and tuck all the wires in on that side, then push down to stop them springing back. Tuck the battery in sideways over the lower pots and it fits better than OJ’s glove.
Four screws manage to hold it shut without any obvious bulging. Truly it’s a job done by a craftsman.

So now I have a US$199 bass with a US$279 pickup set in it.


How does it sound?

Well, I have quite an assortment of basses now.
I thought that the Fbass’s vocal range was good. I’m also pretty impressed with what the $$ Corvette can do.

These pickups absolutely dust them for hum rejection, variability and sensitivity.

They various voices are characterised as:
Voice 1 (Passive): Classic, fat and round
Voice 2 (Active): Full frequency, full dynamics
Voice 2 (Active with mid contour): Funk, Hi-Fi scooped
Single Coil Mode: Same voices as above but with Jazz Bass string window

They’re on the money in terms of comparative characteristics.

The really interesting thing was cranking the treble up flat out and then dialling the bass back.

I can’t see it ever being used for anything I’d play, but wow. It response to the lightest touch. I blew gently on the strings and I could hear them. :smiley:

Have a look at how these pickups go in the Cort Deluxe:

Next, we move to cutting the head off this poor little baby…

13 Likes

Excellent write-up, @admacdo . . . :+1:

Thanks very much for your post . . . :slight_smile:

Cheers
Joe

6 Likes

You mean Deckel like old copy machines, or like DMG / Mori Deckels?
Truth be told, the Dekel from old copy machines is the D in DMG / Mori any way, so yes, technically the same thing, but not technincally the same 1/2 century of equipment.

Gut I am just trying to look in teh reflection and see what you are cutting with, looks like a basic hand crank to NC tape machine NC milling machine.

But not that it matters, what machine you were on, very nice job.

I jast have been on disability since October 10/16/2019, and have not seen a mill in ages.
DMG / Mori was one of our bigger competators.
we out cut them in any way possible, but they had sales of the region locked up for years.

Over the past 10 years, we been taking over shops and many we have been after for years started replacing all their old equipment with our New equipment, and even started buying for new Cells.

Our biggest customer over the last 5 years has been HAAS CNC machines. and they are the number one machine tool builder in the world in terms of machine volume. They have more units on the floor in every just about every country in the world that has cnc machines in shops.

and they make theirs with ours.

We kicked out all the older hitachi seiki, Mori Seiki, HAAS and Okuma cells. you walk the bay in the first building now and it is ALL MAKINO cells.
last I saw, its been over 2 years since I have been to Haas, or JPL NASA, or anywhere really, cuz I have not been working due to ill health.

Sorry, was taking a trip down memory lane.

If you all want to fund me with a machine, and or a proper work station, I can do all custom jobs, and make you any bodies or necks you want cut, just send slabs and profile and contour shapes, prefered in a solid model, .x.t or .Igs

We can make bass buzz Instruments and equipment, Ehhh?

3 Likes