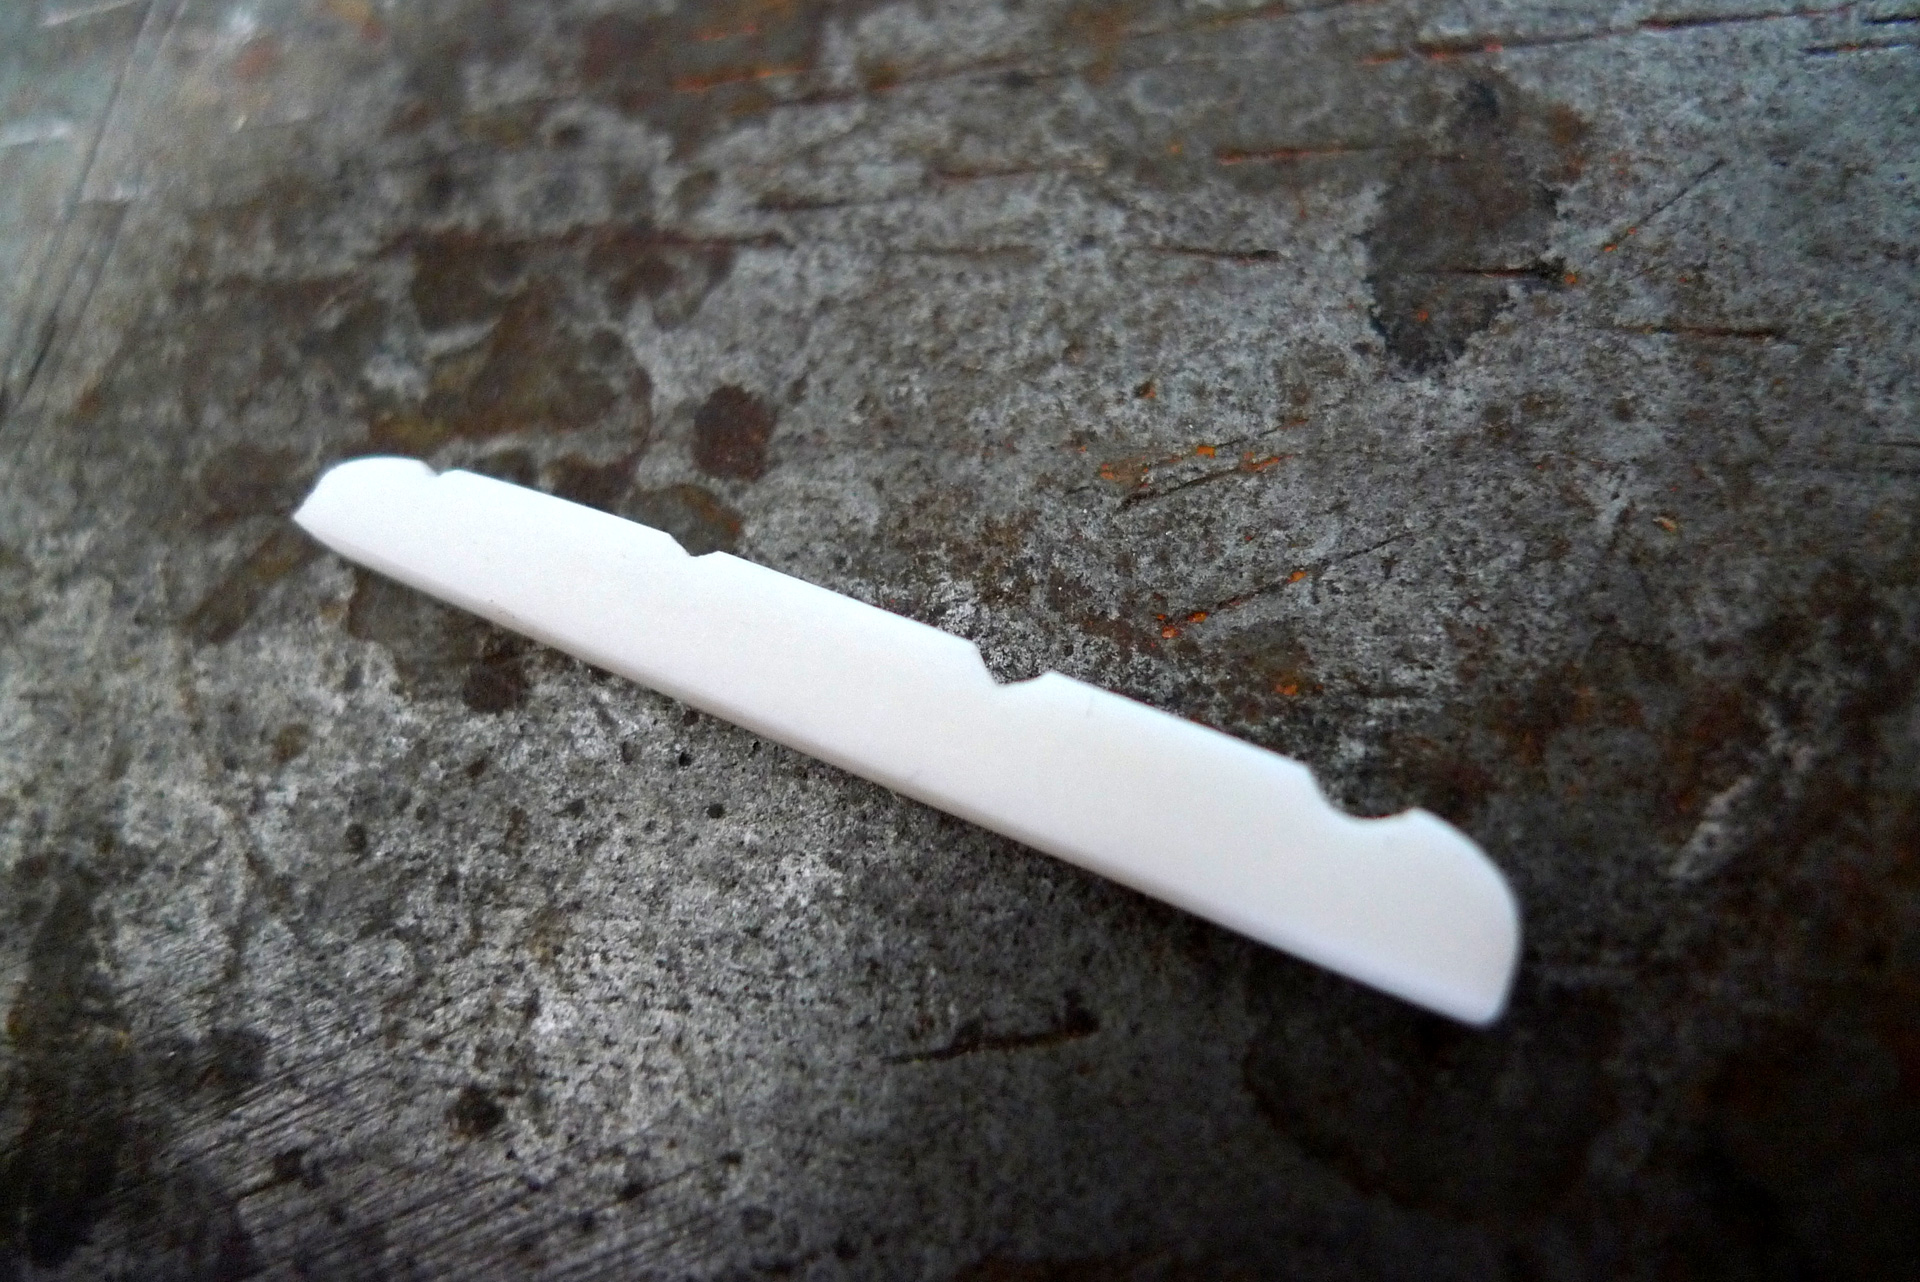
first time I carve a nut from scratch. it takes forever but it’s not difficult (so far).
9 Likes
Cool! Is that bone?
2 Likes
I don’t know exactly, I bought this as a nut blank but I think it’s probably some plastic !
2 Likes
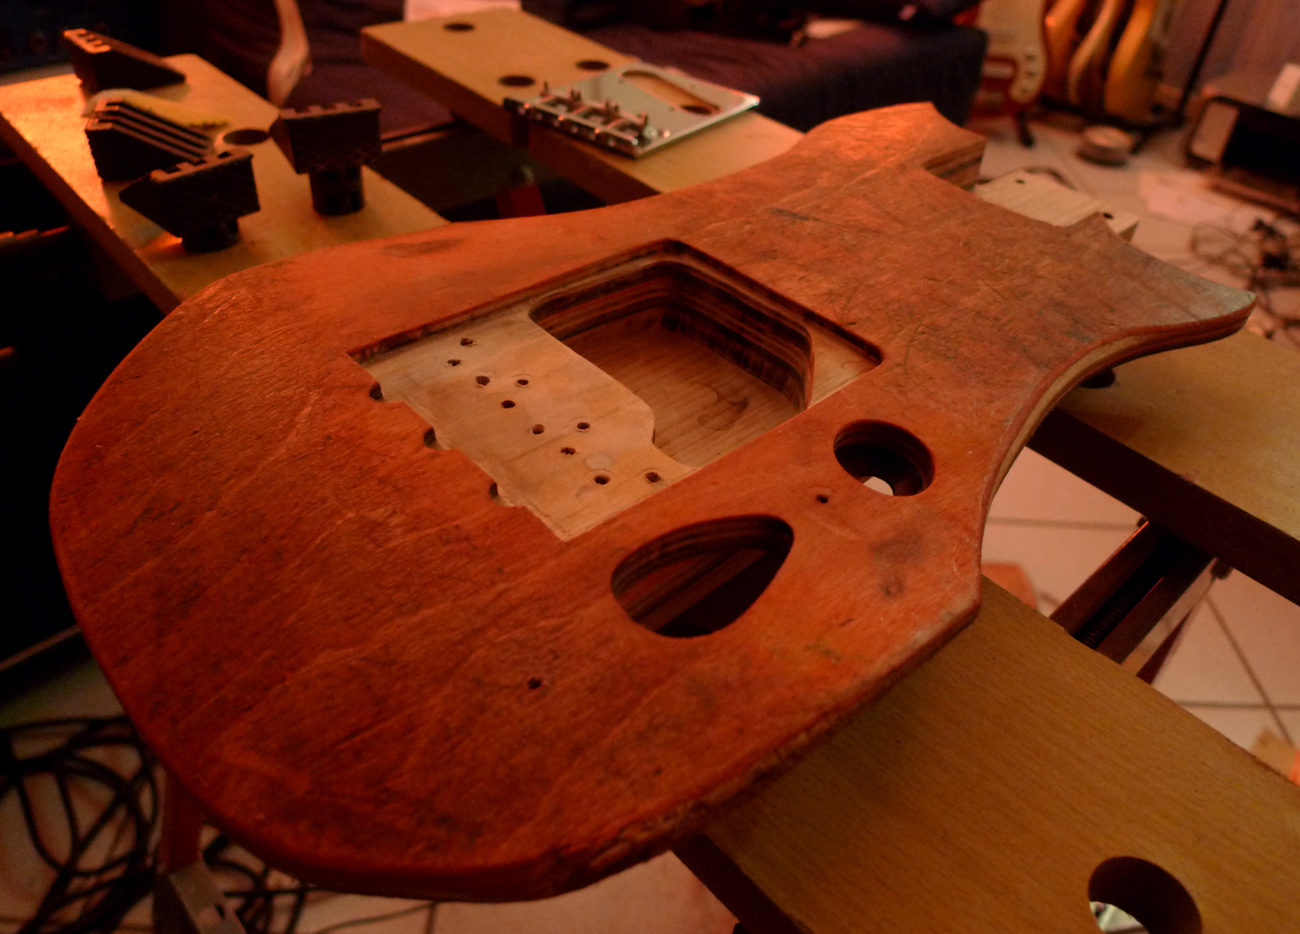
New discovery : even with the saddles height set to the minimum (saddles touching the bridge plate), the saddles are too tall and does not allow to set a proper string height/action. This means that I will have to disassemble the saddles again, and remove several millimeters of metal underneath each saddle.
This bass project is just too much fun, can’t stop laughing right now 
7 Likes
How is that possible? Have you changed to a thinner neck that sits lower in the body? Sorry, I haven’t followed this every step.
4 Likes
no, it’s the stock neck. it’s just that the instrument is a very very poor quality one, barely playable. they probably took the cheapest bridge available, and no matter if it’s compatible or not with the neck.
remember I had to move the bridge because it was not aligned with the neck, and one string was not over the fretboard  incredible but true !
it’s quite challenging to try to make a real playable bass from this piece of crap, but that’s also what’s funny with this project 
6 Likes
It may be challenging, but you are clearly learning a lot and that’s awesome. Just think how good you’ll be after 20 more. 
3 Likes
You should have your own luthier business & repair shop, @terb . . . 
Cheers, Joe 
3 Likes
maybe one day 
3 Likes
Rather than removing metal from the baseplate, wouldn’t it be better to recess the baseplate into the body?
1 Like
No ! I’ve already done that on a guitar one time, it’s way too much work 
I will remove metal from the saddles but not the baseplate itself.
7 Likes
Ah, i see. Yes, that makes much more sense.
3 Likes
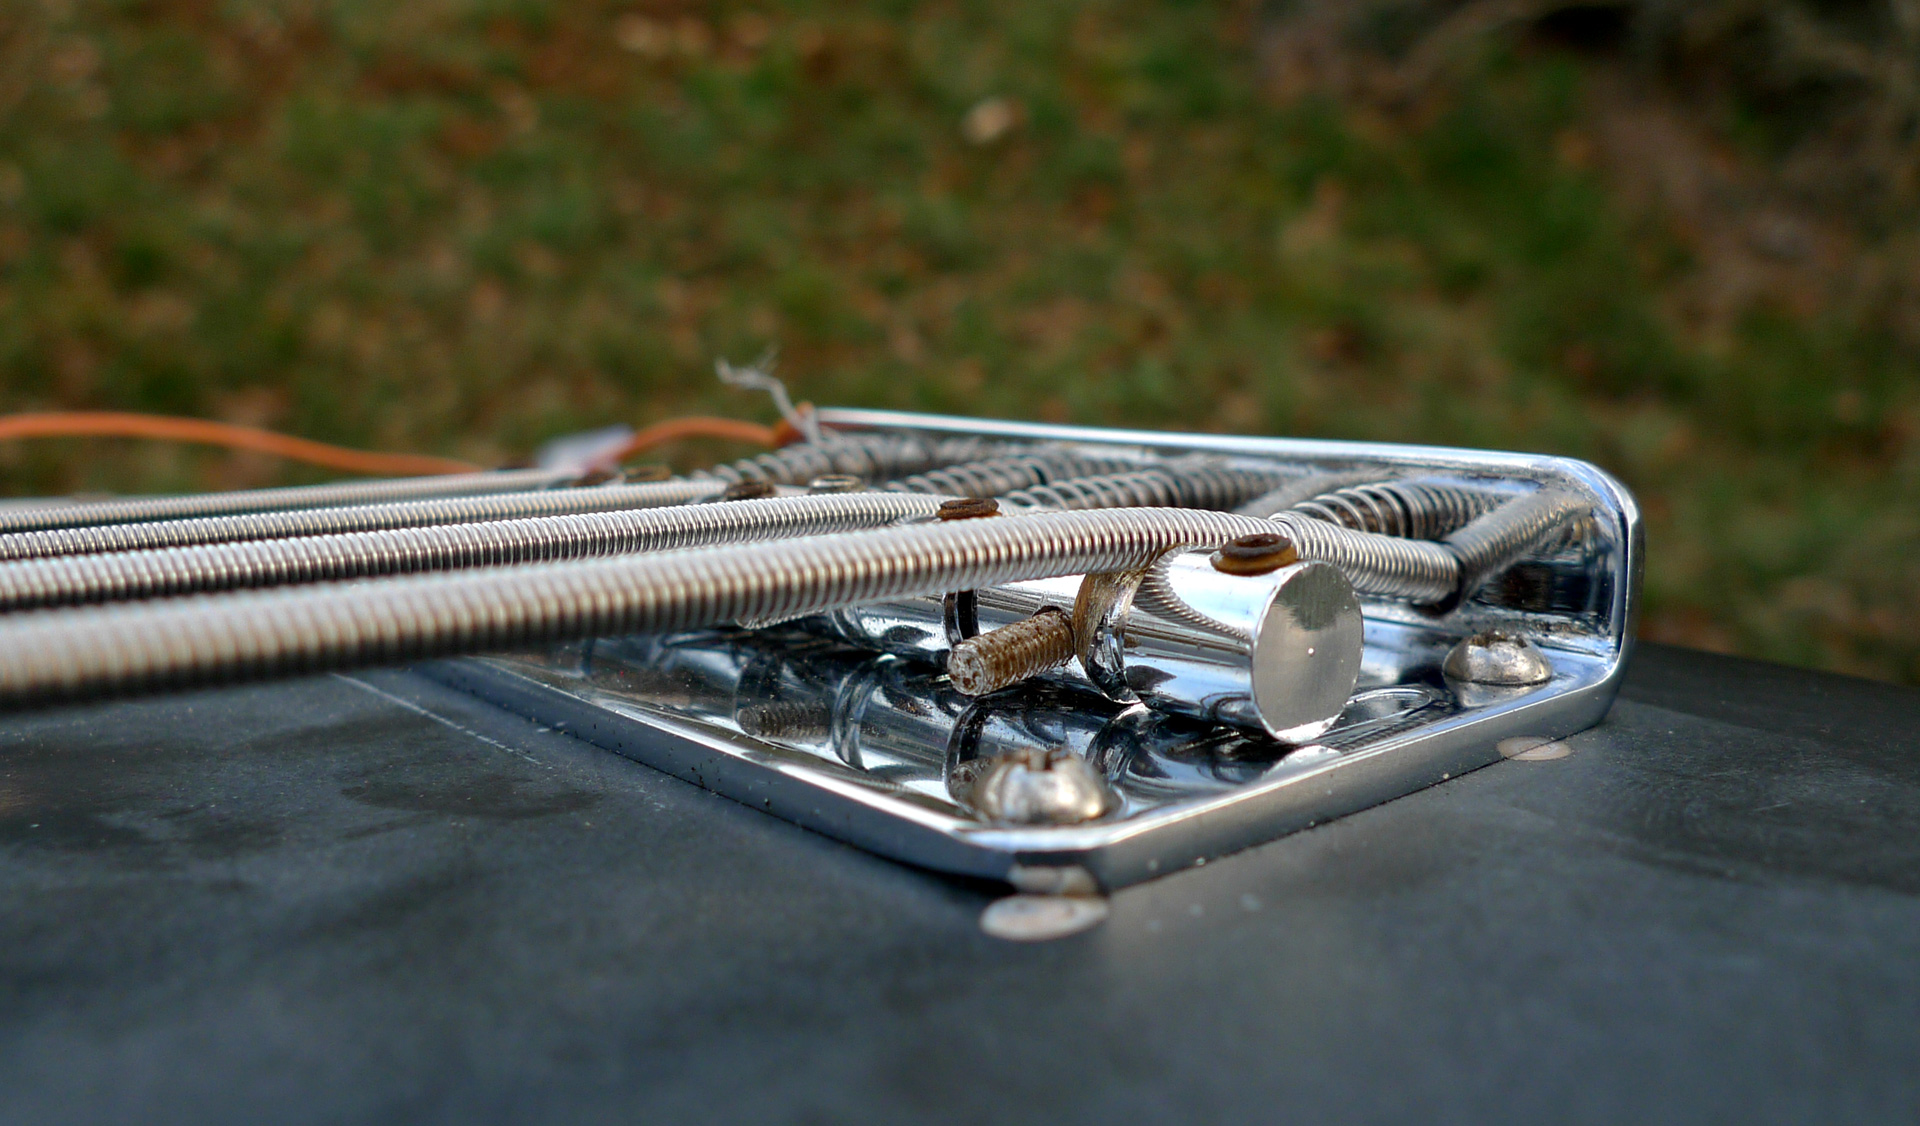
That thick string (and possibly all of them) is/are arcing over the saddle.
You need to press down firmly on it/them, about an inch in front of the bridge, to seat it/them properly so they come off the saddle in a straight line rather than a curve.
You most likely have the same thing going on down at the nut end - but at that end, you need to press down firmly really close to the nut, and also press slightly on the tuner side of the nut, to seat the string(s)…
That will address at least part of your string height/action problem
3 Likes
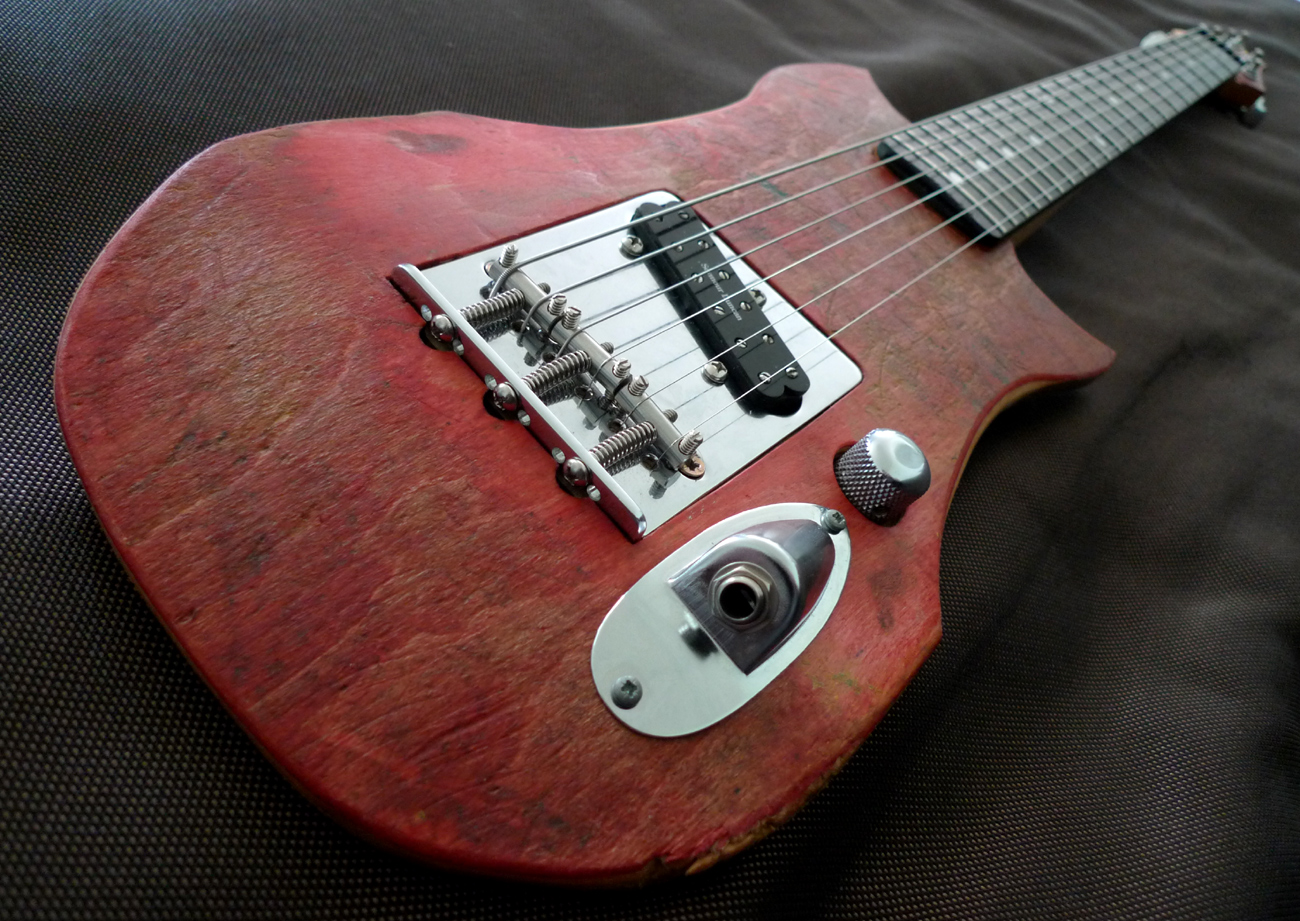
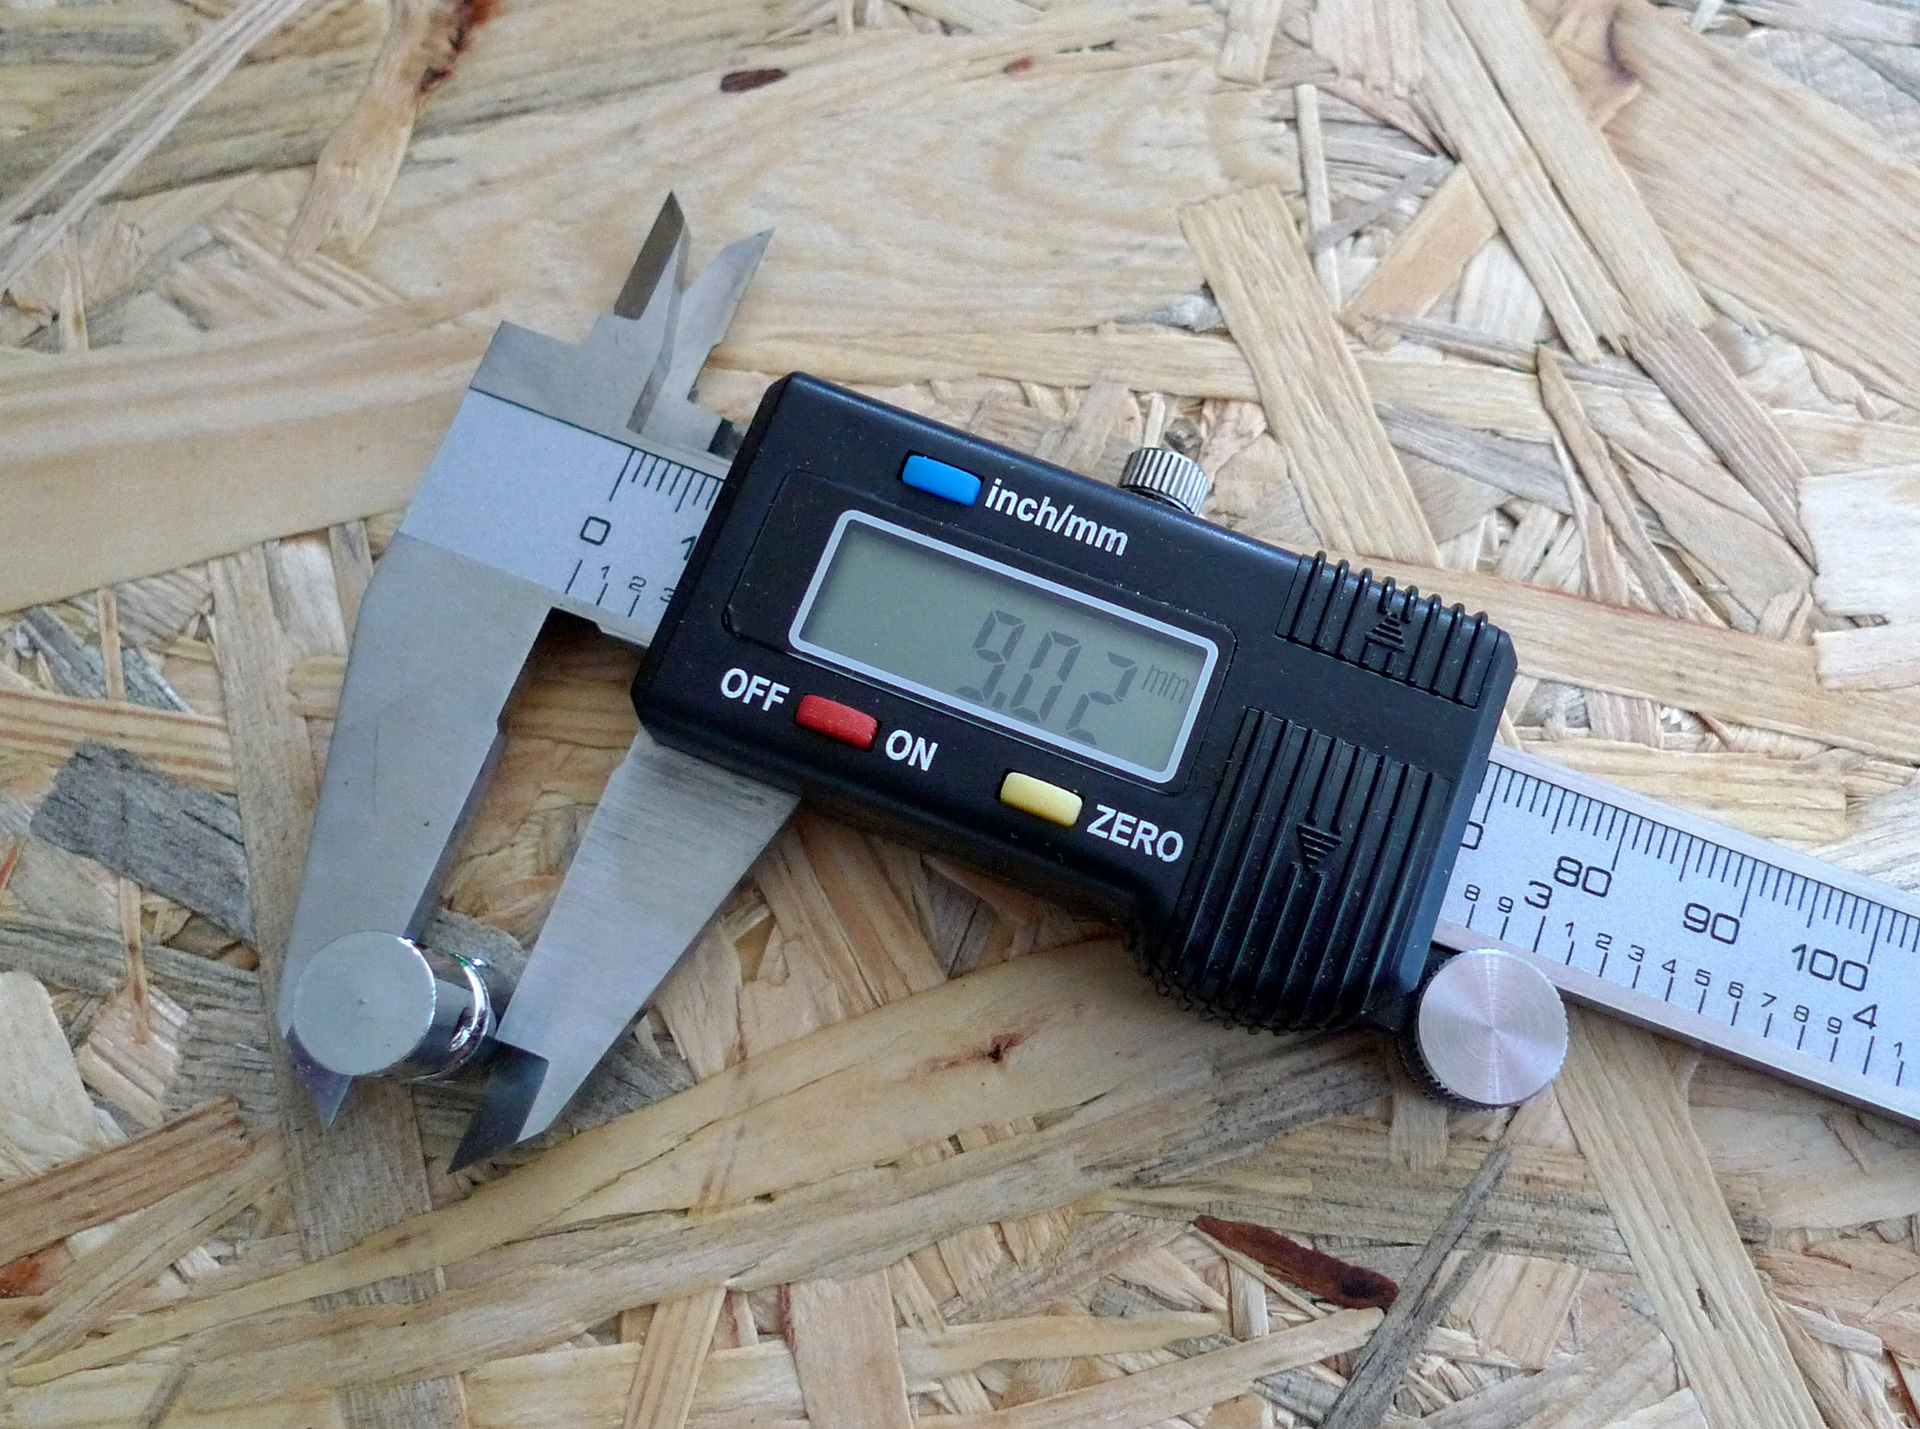
So, after some very complicated calculation (no) I’ve figured out that I can remove about 2 mm underneath each saddle before everything explodes. It’s not much, but should be enough in theory.
Trust me, I’m an engineer ![]()
stock saddle :
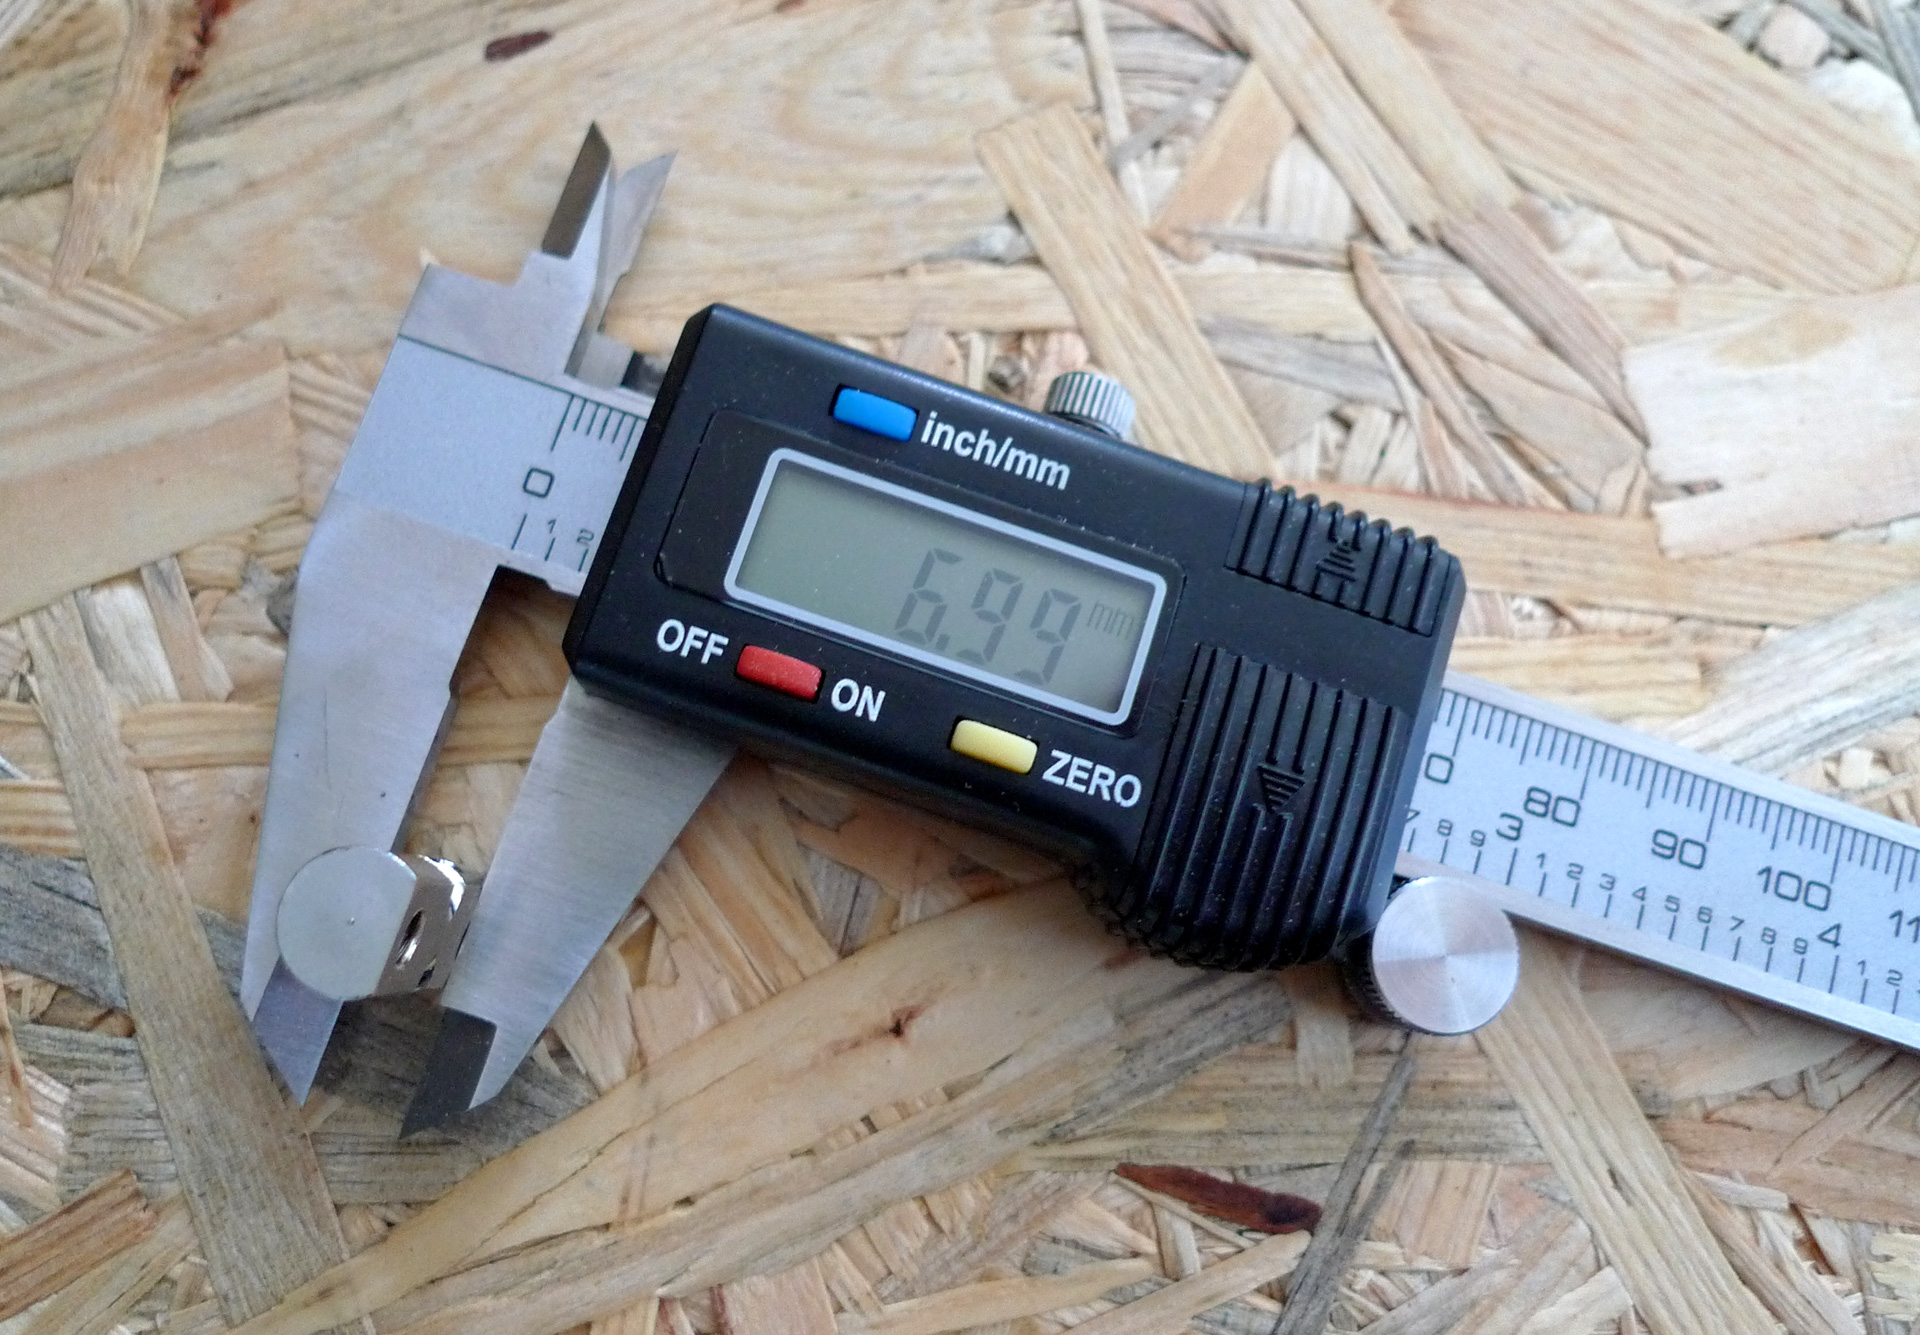
modded saddle :
also as I’m here, I show you the shielded pickguard with copper foil :
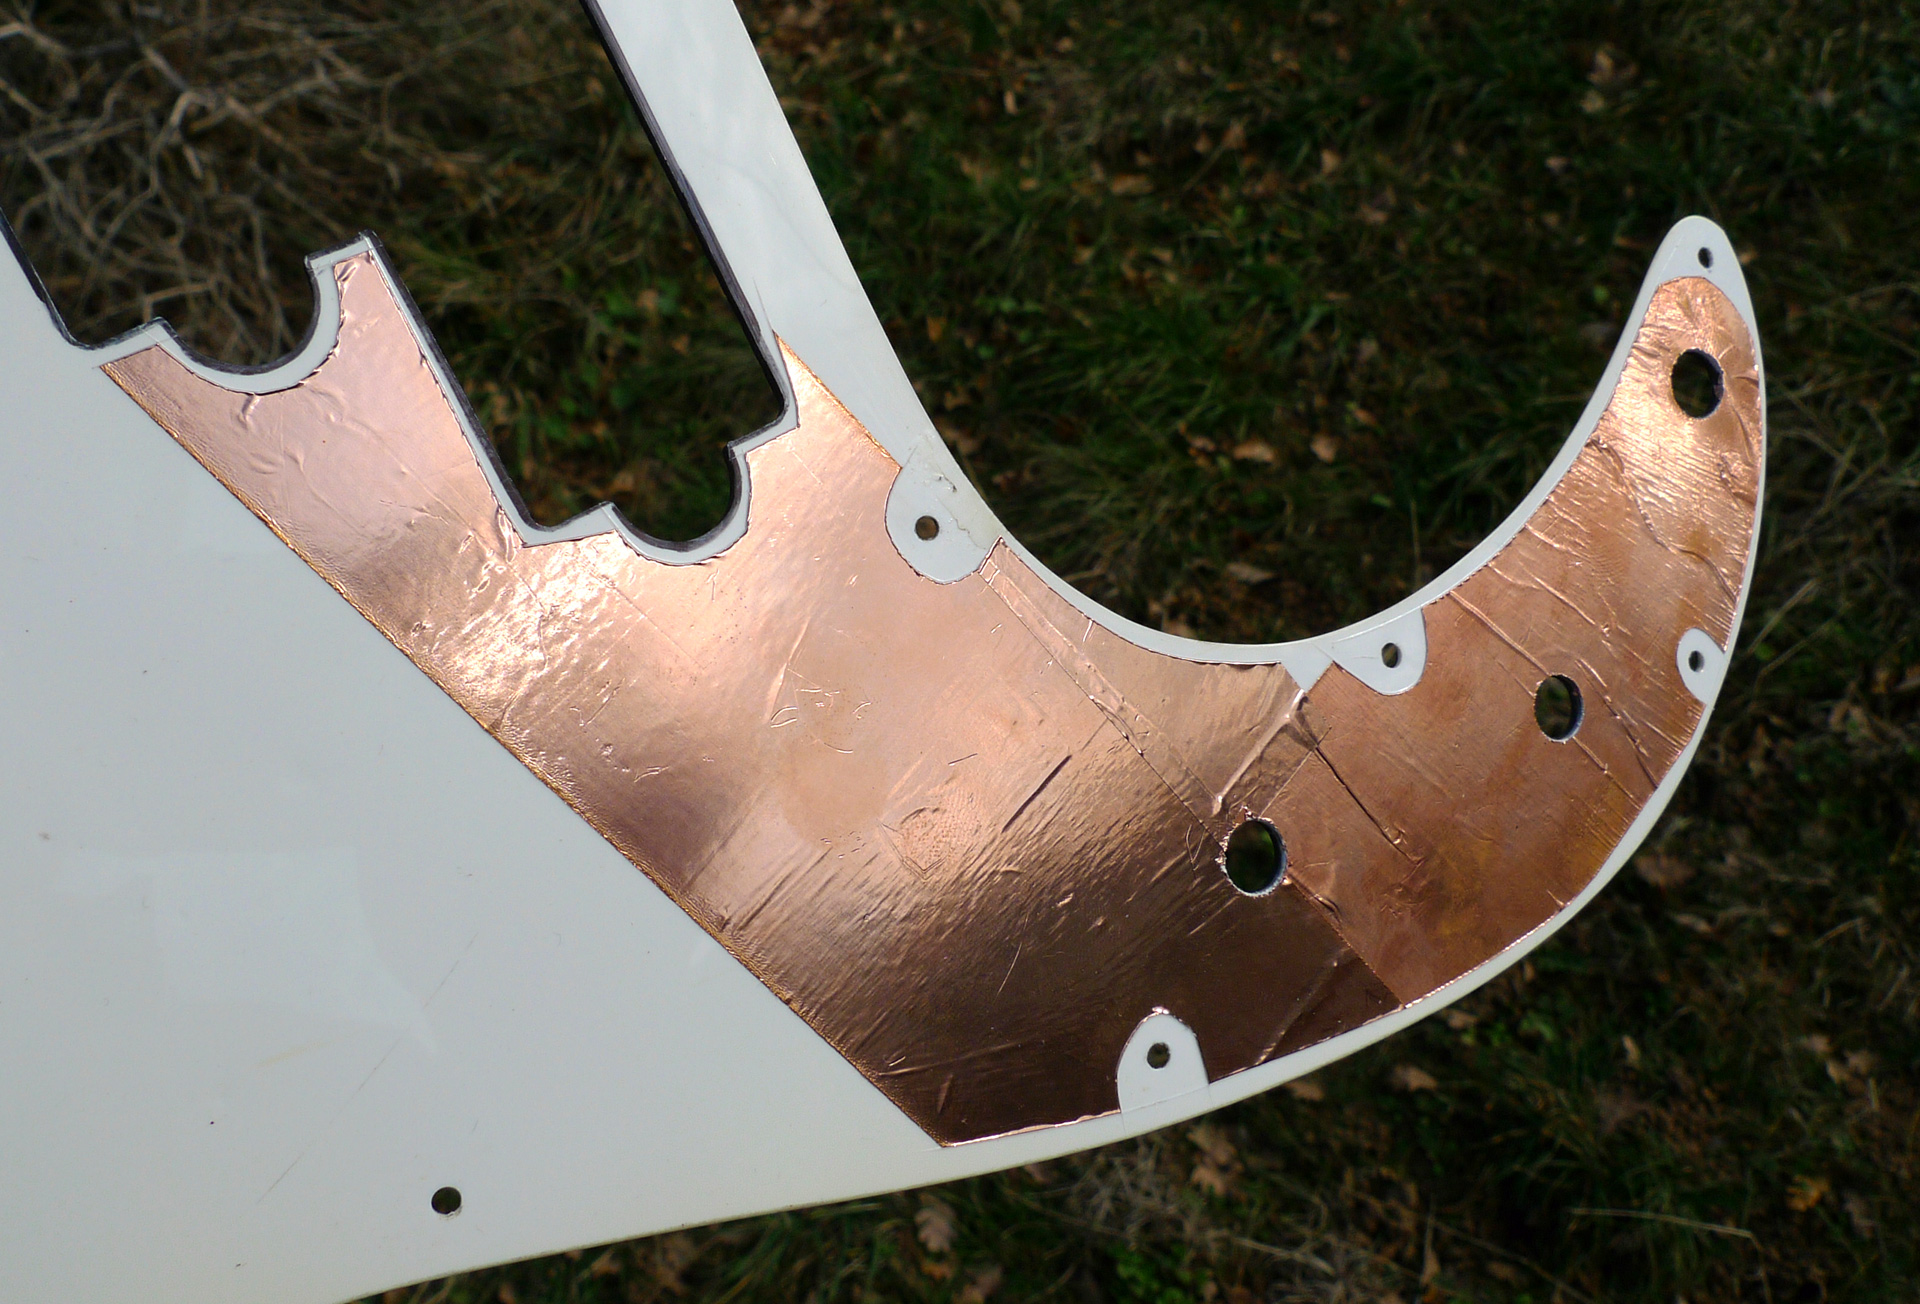
the first run is getting close …
not sure, I’ve never had this problem with my other basses …
8 Likes
It’s standard proceedure in my experience - even with guitar strings.
There’s no way you can’t see the string arcing in your pic - I can see it and I’m half blind.
I’m not a major fan of Scott Devine but I don’t have time to find another vid, so check 10.00 into this vid
 your bass... correctly. Watch this!")
4 Likes
Did you shield the cavity as well terb?
I don’t make a major point about it, but if, say, I put a new pickguard on, or fit new pickups, I will always do it at that point.
no I didn’t shielded the cavity yet, I might do it a bit later !
3 Likes
Have either of you tried the conductive paint for this? If so how well does it do?
1 Like
yeah I’ve done it on several guitars, and Greenie is factory shielded this way. it seems to work.
2 Likes
My Warwick is too, but just the cavity and not the cover. I was thinking of doing the cover and wiring it to the cavity.
2 Likes