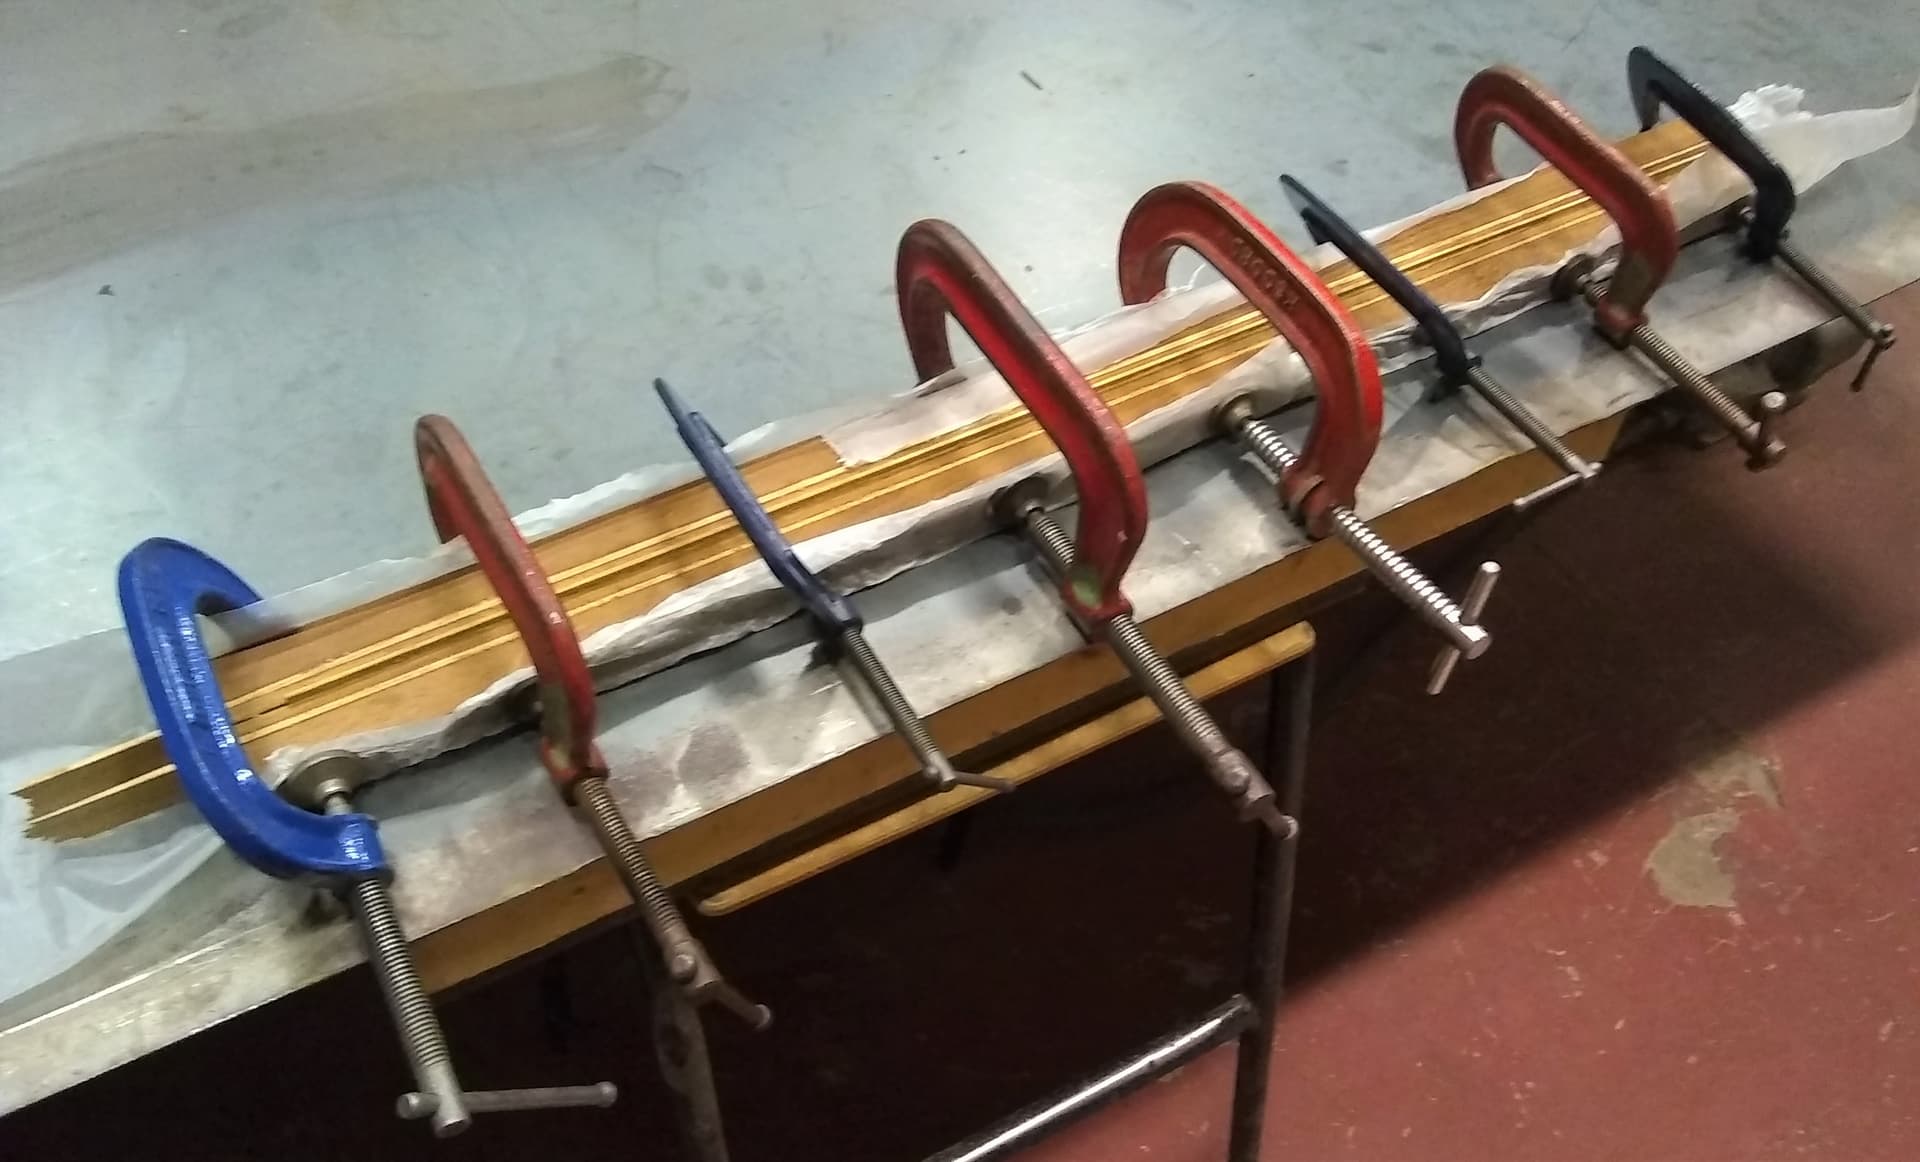
My employer is moving my department to a new building, so there’s a lot of clearing out going on. I was passing a skip and was attracted by a large pile of wood offcuts. The subsequent meeting was so dull I found myself thinking Alembic neck… Alembic neck… Alembic neck… and after some skip surfing, an hour’s planing, and a visit to a friend’s workshop (he has a record breaking collection of sash and G cramps) I had a laminated neck blank (the Beech stripes were sourced from my father’s garage).
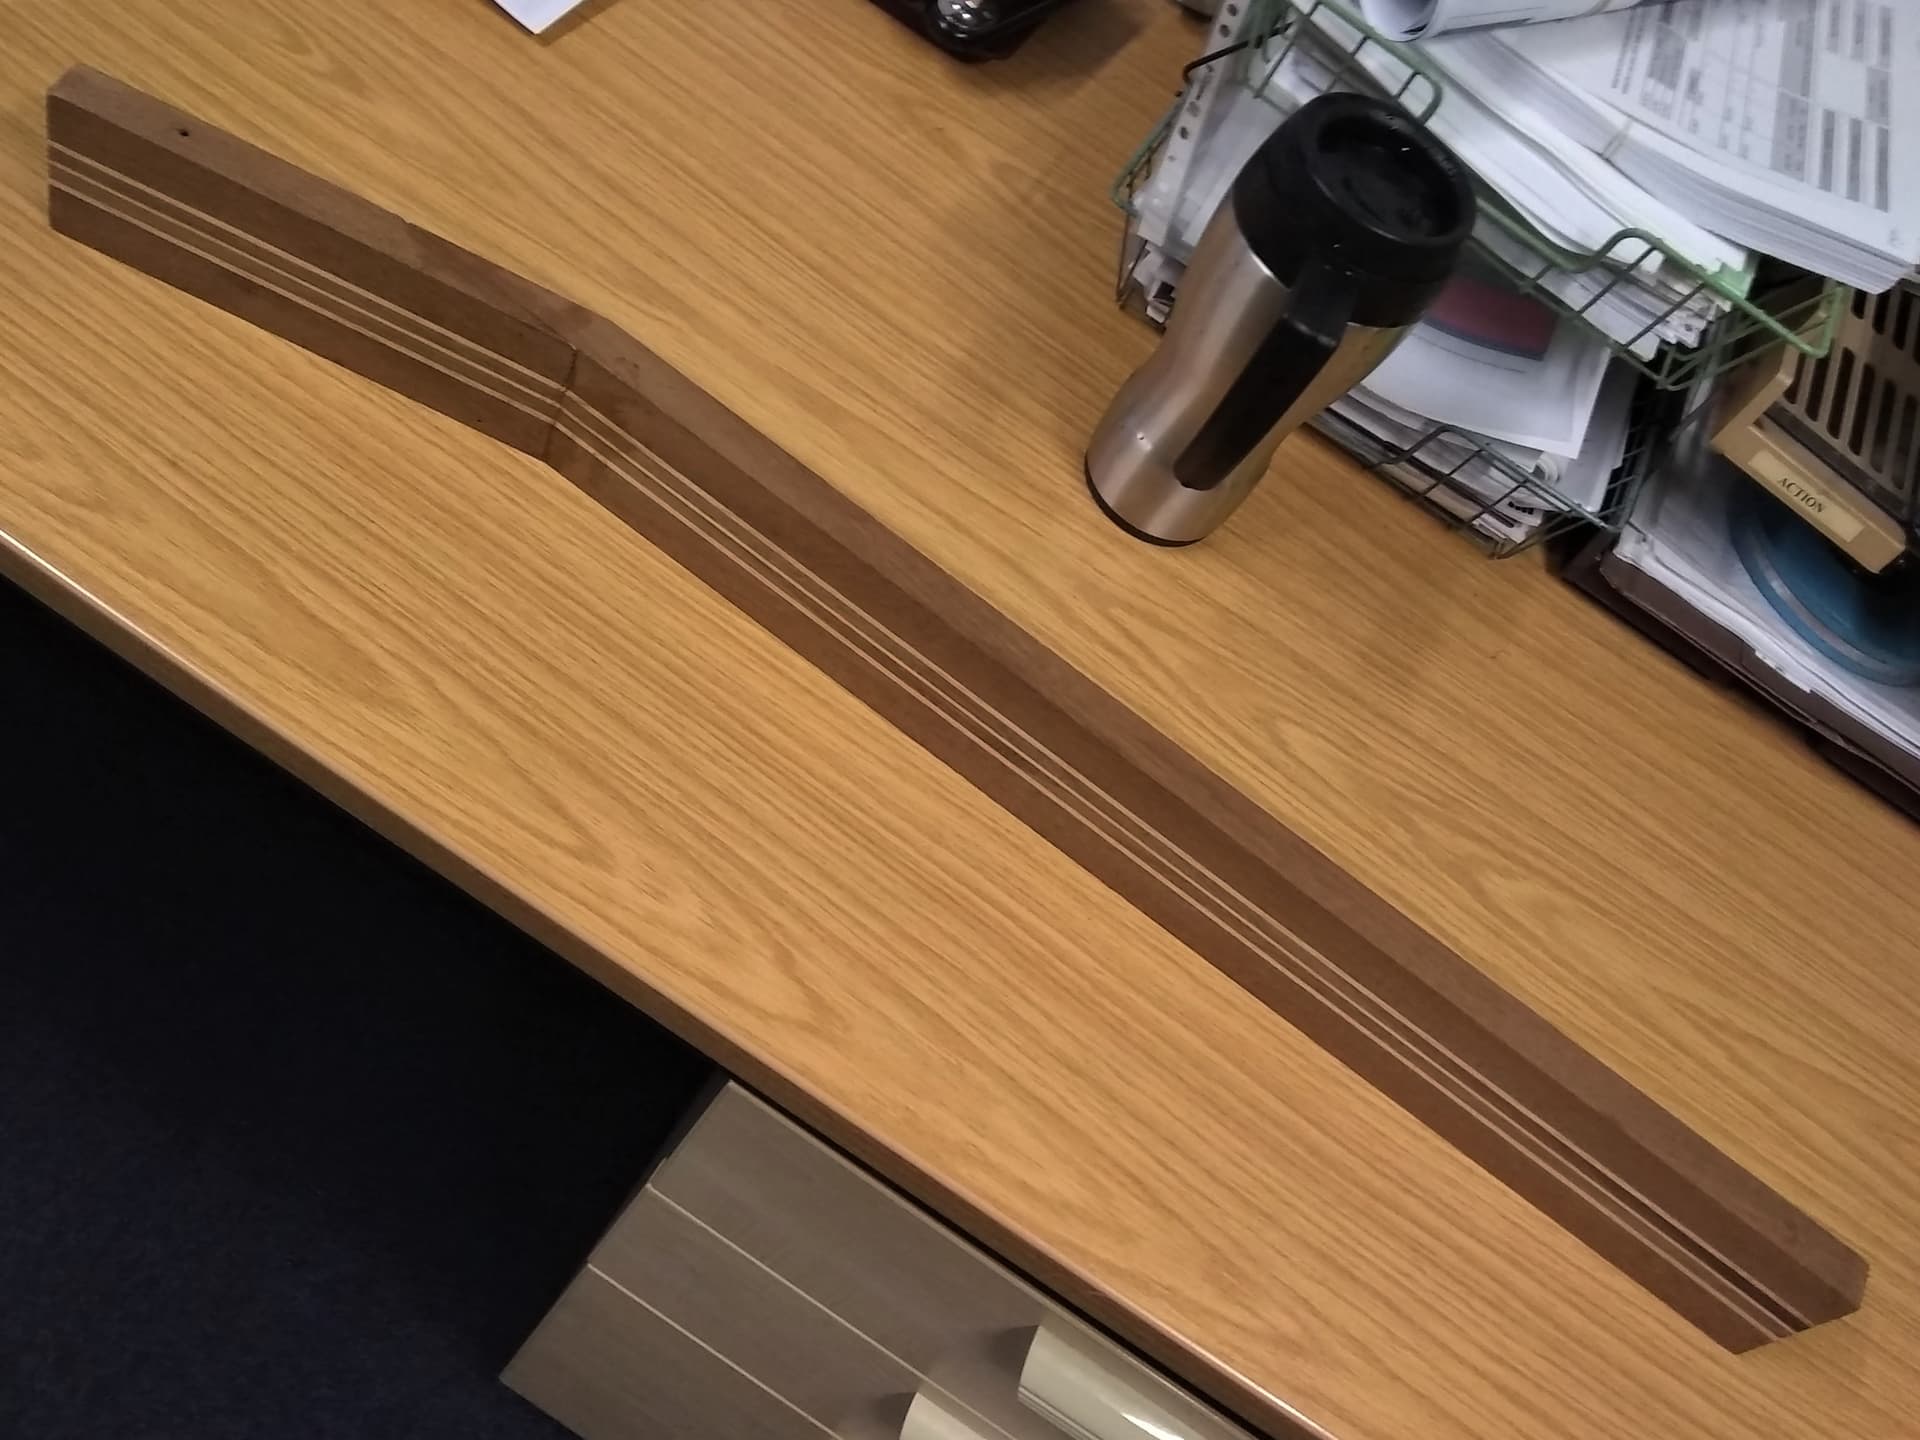
My friend also owns one of those chopsaws with a laser on it, so it would be rude not to make the neck blank into a neck. However, I was in something of a rush and the scarf joint inadvertently ended up in the headstock rather than the neck. The joint in the headstock looked so bad, I decided this was the build when I would learn to veneer a headstock.
At this point I actually sat down and thought about what I was supposed to be doing. So, I looked up the Alembic Persuader, and wondered what it would be like if it had eight strings like a Hagstrom H8. Four bass strings and four guitar strings tuned an octave apart. Everyone needs one of those.
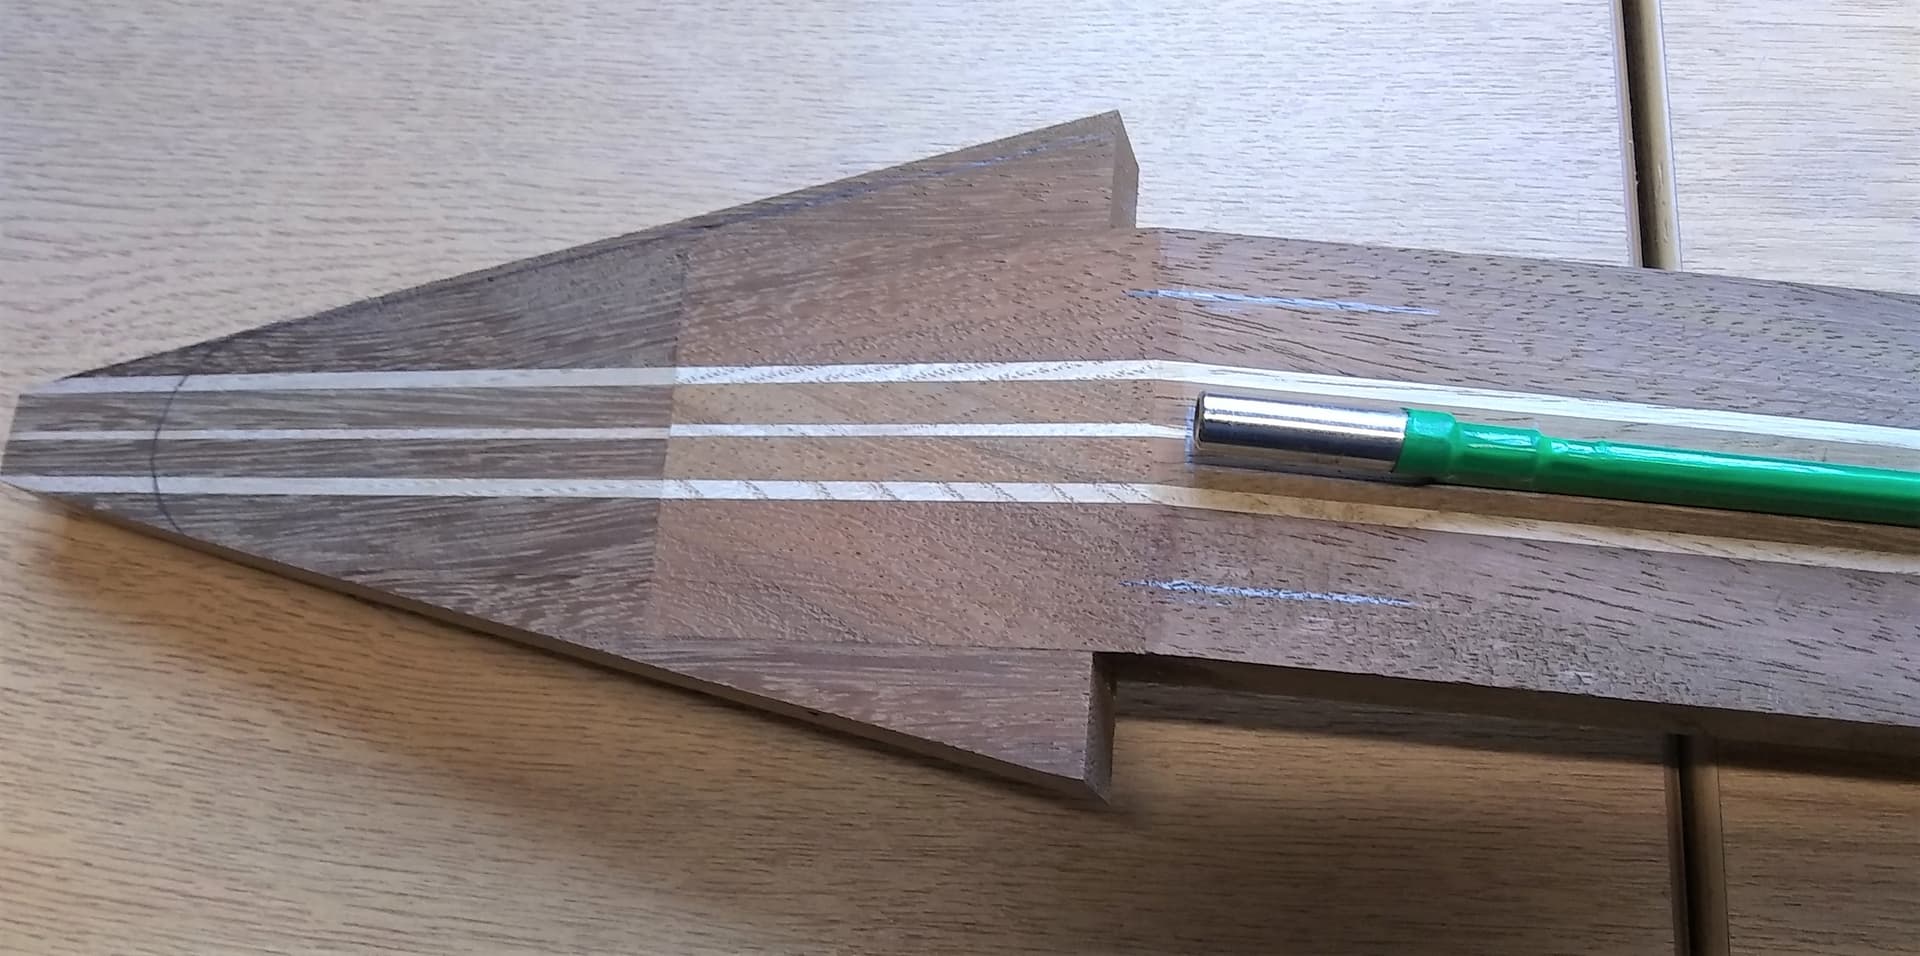
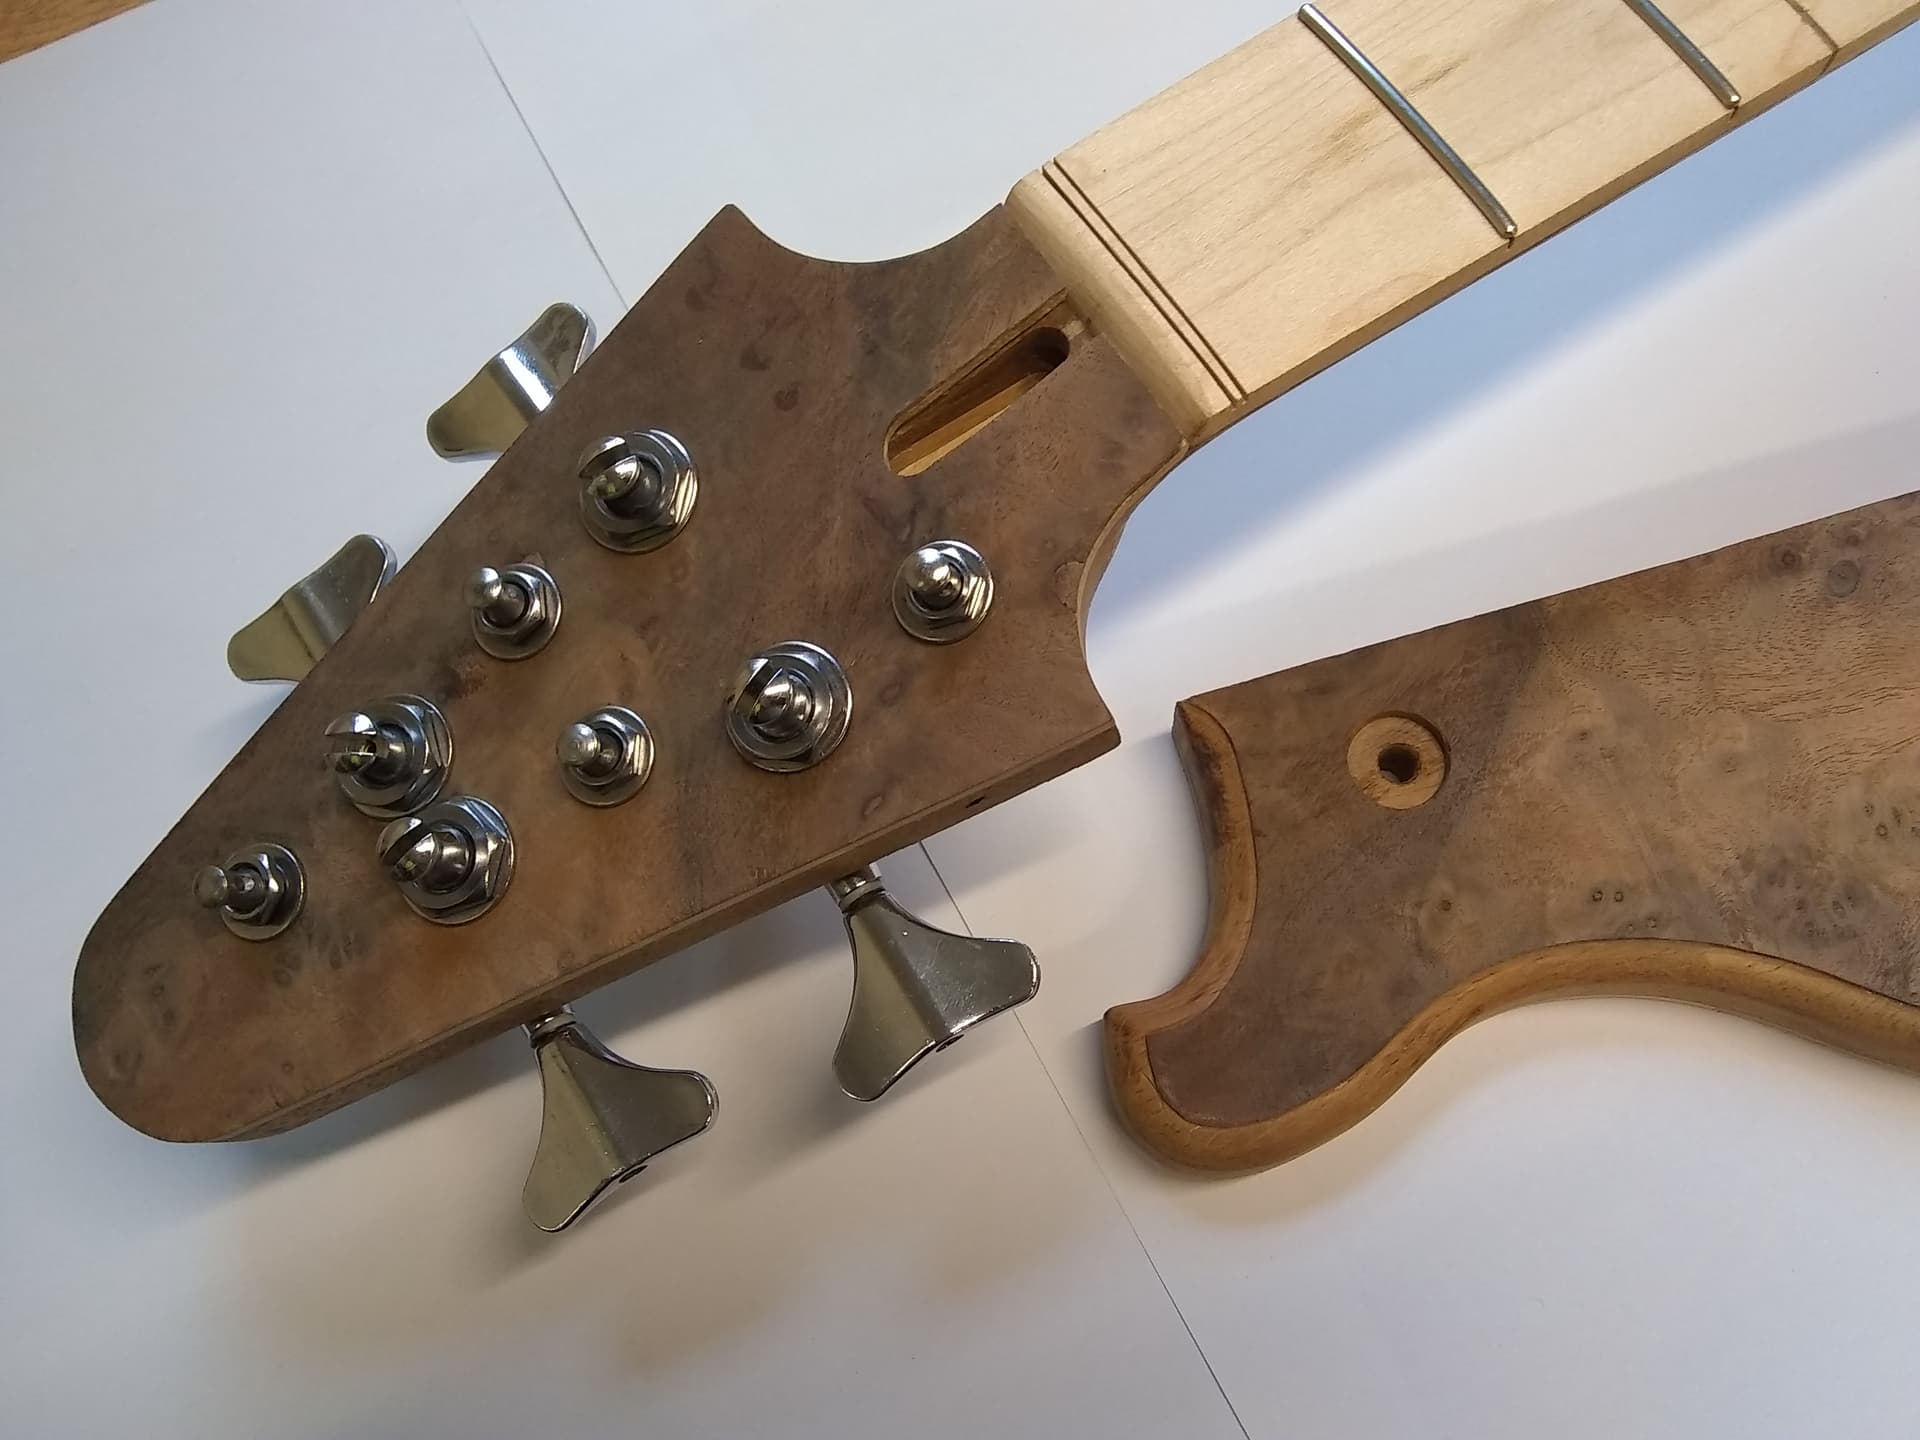
The Alembic has an arrowhead headstock (think Brian May), so I cut the front corners off and stuck them on the back to hide the side joints. Once planed down, the edge joints were indiscernible.
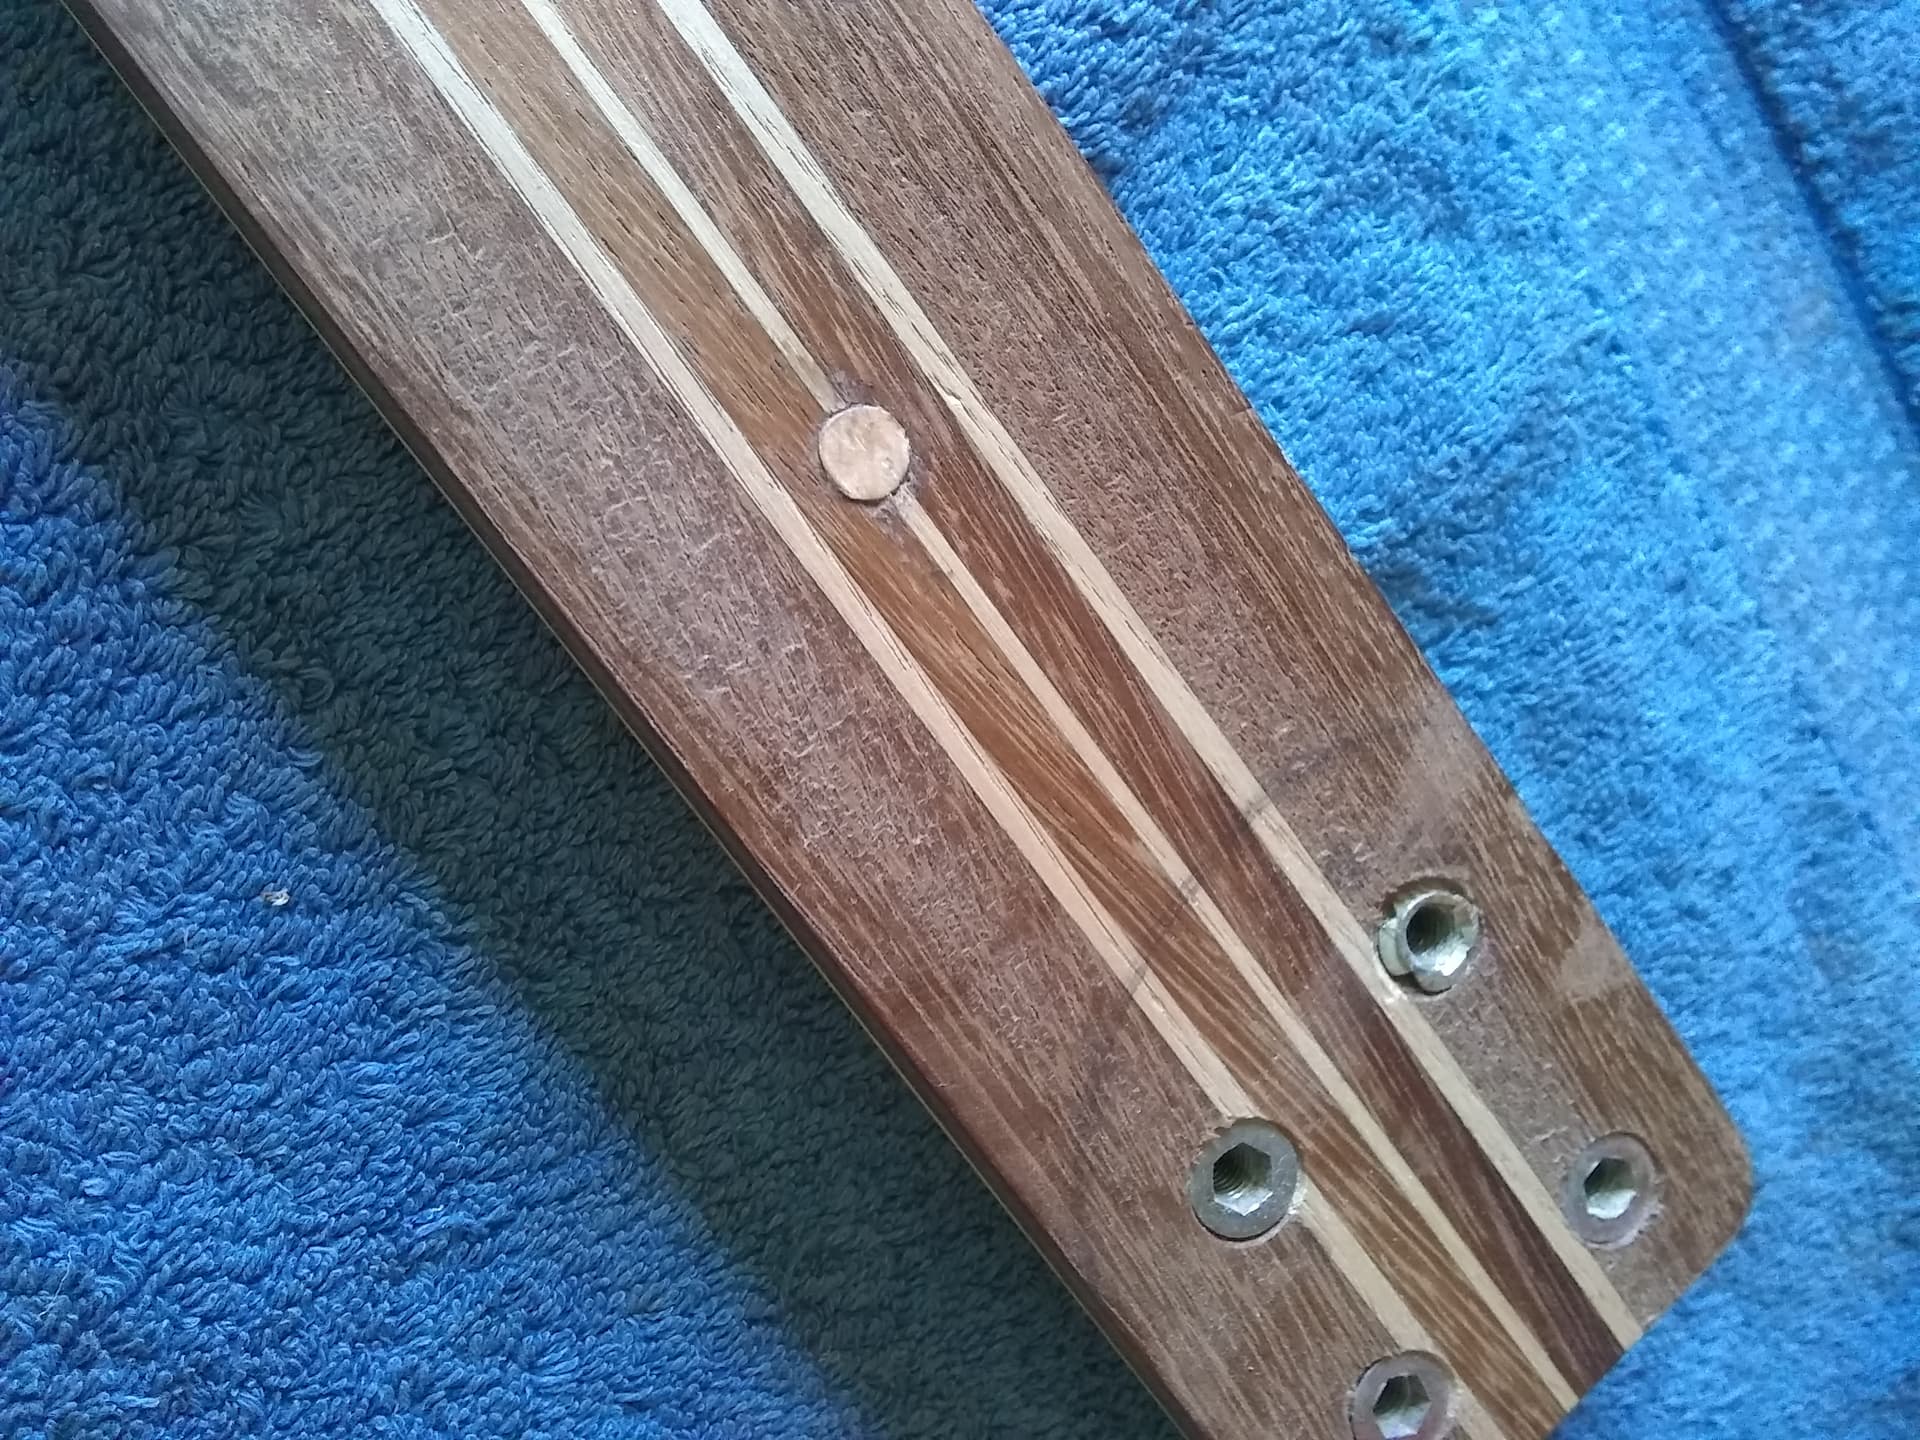
Whilst routing a slot for the truss rod, the router bit came loose in the collet and drilled a hole through the neck. This would later need plugging with a beach dowel to make a special feature, that I definitely intended to be there.
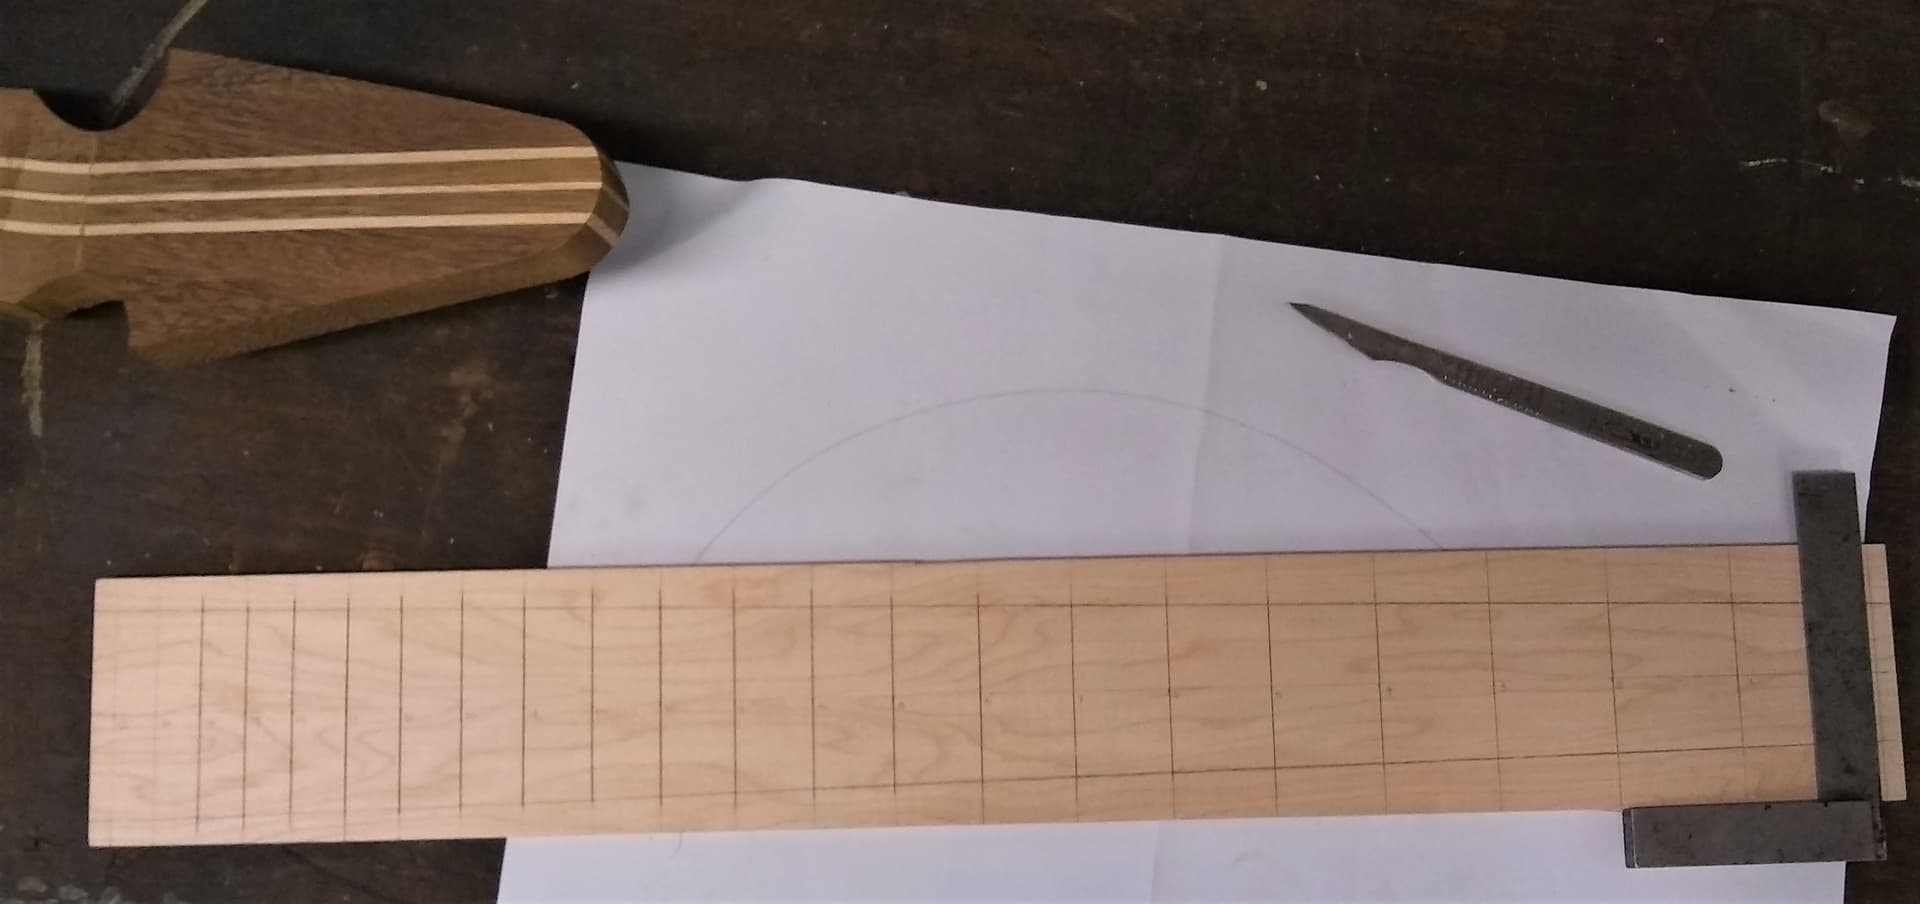
I was given a piece of Maple to use as a fret board, it had a sinusoidal wave at one end, and a warp across the four corners (I did say ‘thank you’ but perhaps not as nicely as I should have). It took two hours to plane a rectangle out of it, but as a consolation it has the prettiest figuring of any fret board I own.
Also out of the skip was a Sycamore panel from a Georgian door (all the others were smashed), this provided backing for veneer. This is base build number 8 and my father has taken an investors interest in my new hobby, possibly because he was a cabinet maker much earlier in his life. He donated 8 consecutive sheets of walnut burl veneer with the cautionary instruction ‘don’t fu** it up, these are older than you’. So, no pressure.
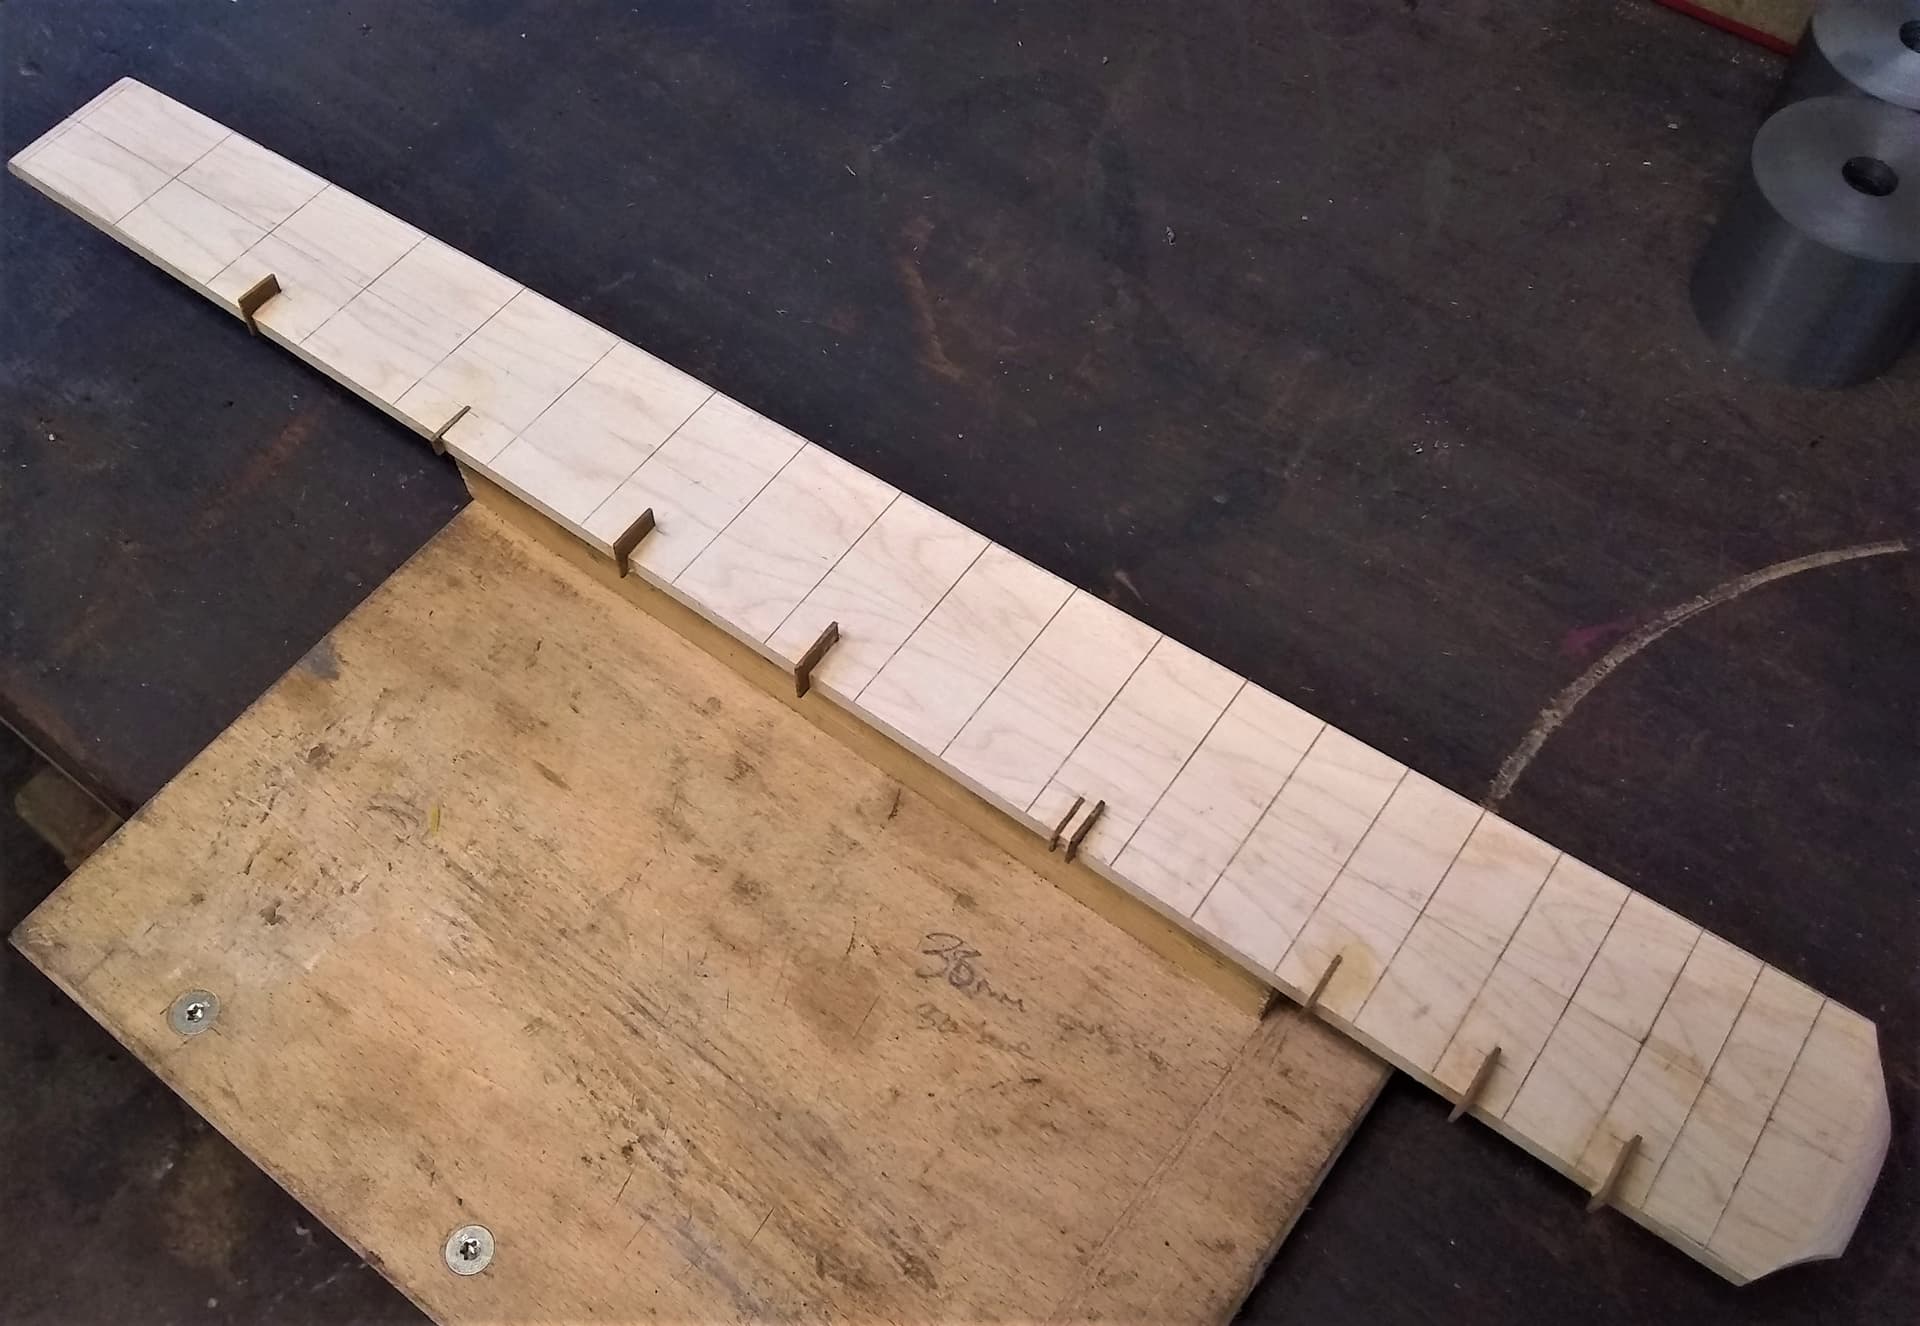
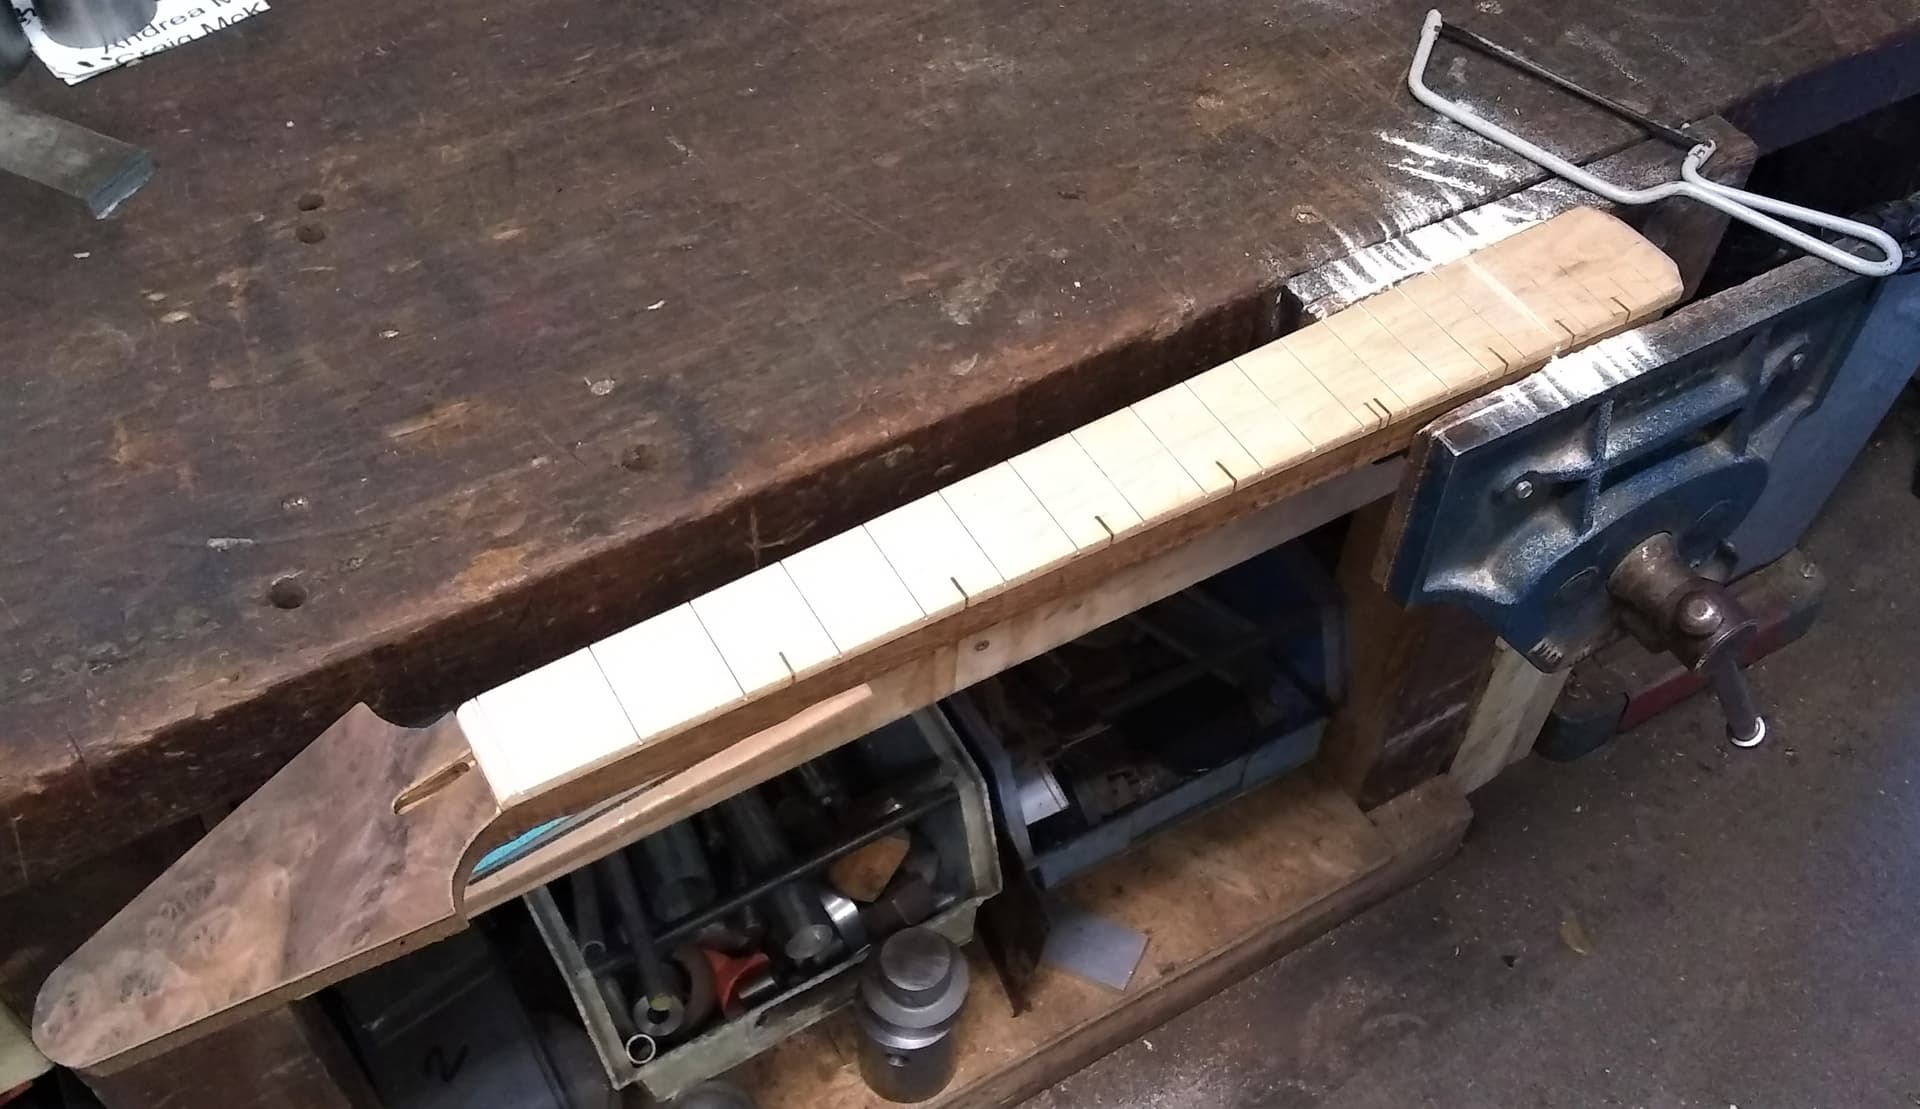
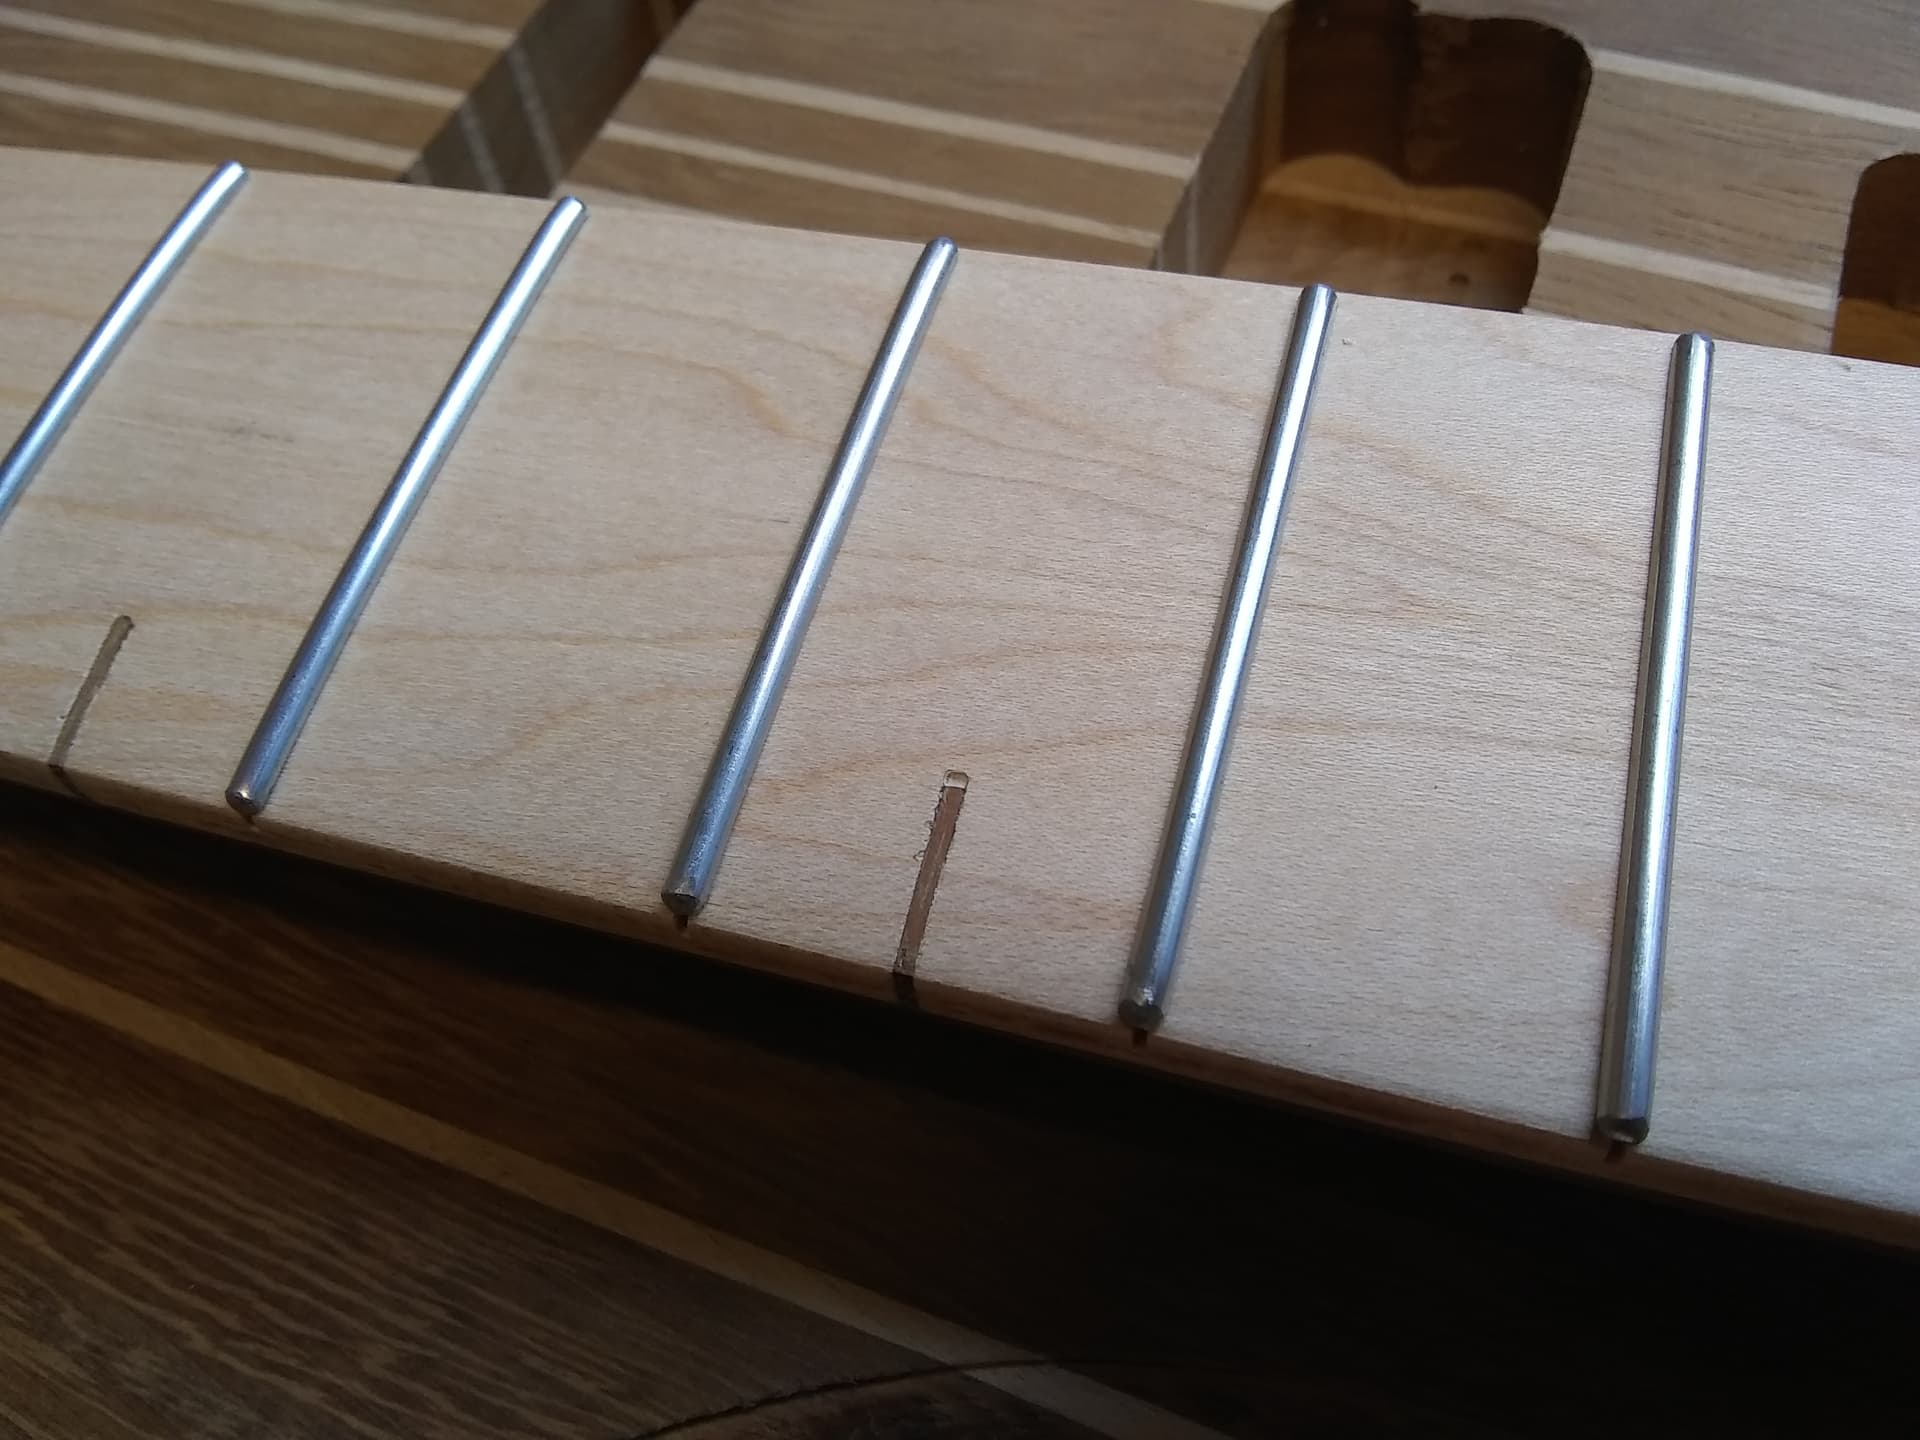
My technique for making fret boards is to plane it absolutely flat and square, mark the fret centres on the centre line and then cut the frets with a scalpel and a tri-square. Then plane the edges down to make it fretboard shaped, fit the fret markers (I went with block inserts this time), glue the fret board to the neck and then over cut the fret slots. Many luthiers use expensive precision equipment to produce fantastic fret boards but I use a junior hacksaw to cut fret slots (new blade every time though). I cut the fret to exactly the right length then ground the ends round using a friends Dremel + tiny grinding wheel. I highly recommend it, more fret length and no nasty sharp edges.
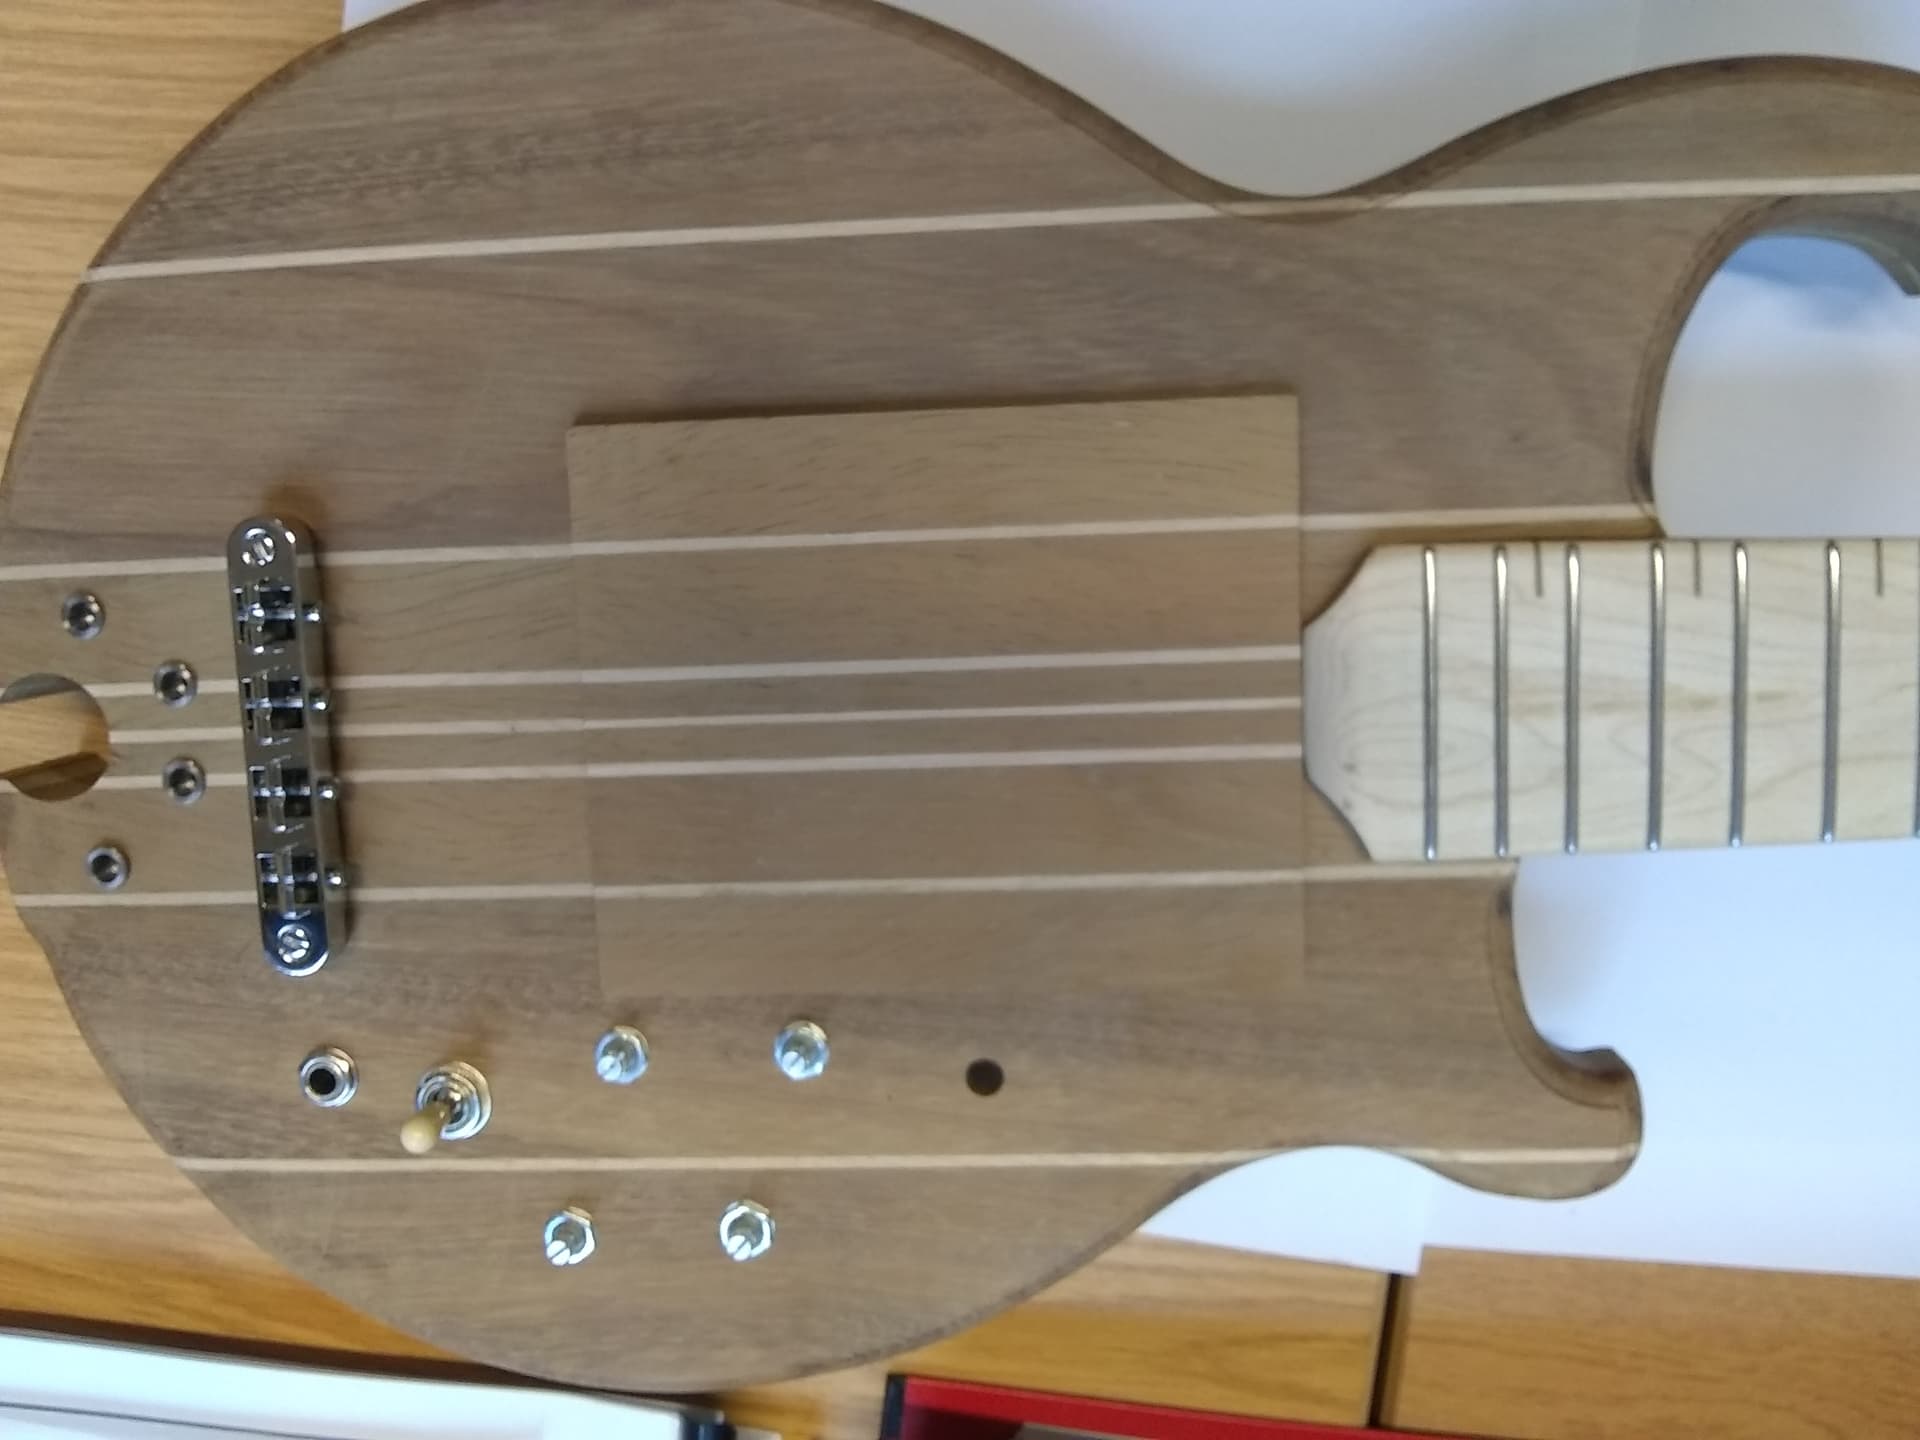
The off cuts from the skip are 28 mm thick, which is too thin for a guitar body because the Jack plug is 32mm long. So, I kept laminating bits of timber until I had enough to make a body and an extra layer of central rib, some of which will end up as a pickup cover (so the body stripes line through).
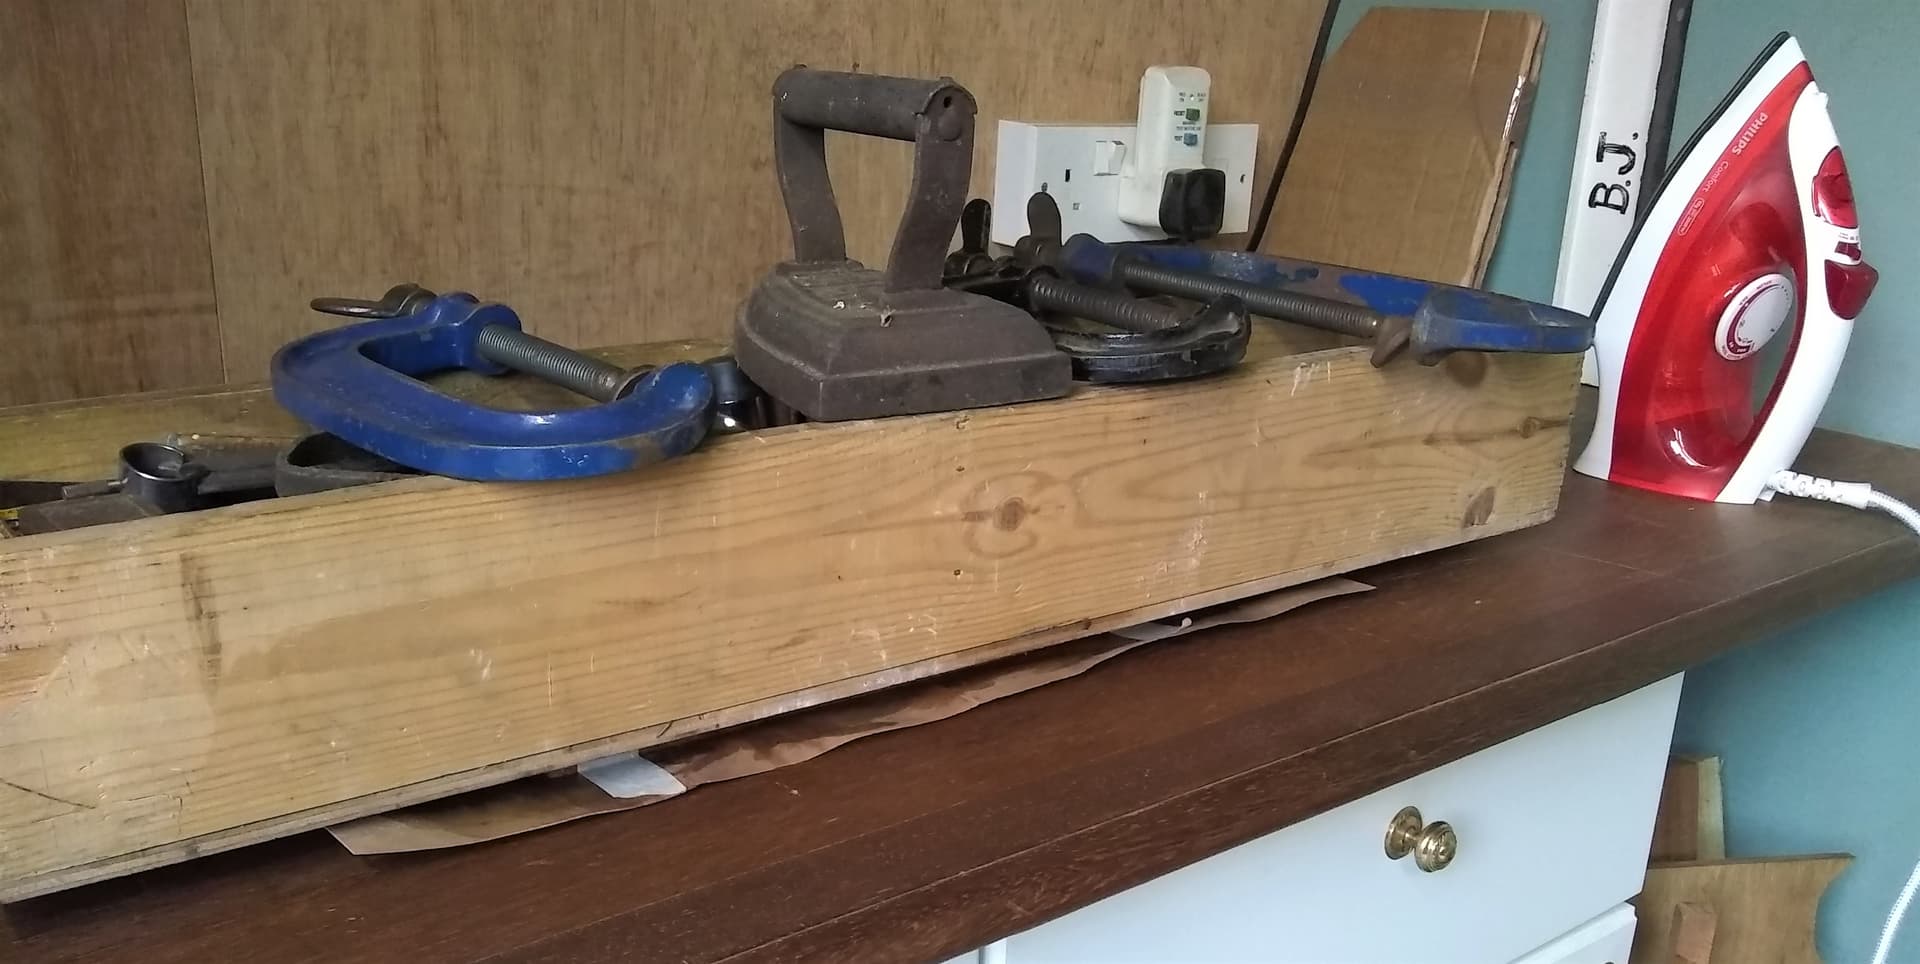
Better luthier’s would veneer the front of a guitar but not me, I veneer the back, which no one can see. I use the glue and iron veneering technique - glue both surface’s, let them dry, position the veneer and iron it (Cotton setting). The glue flash bonds and the job is done. Just make sure the book match joint is taped to stop it slipping.
In my endless pursuit of the needlessly complex bass guitar build, I am going to simultaneously address the need for more body thickness, and an aversion to a heavy bass, by making the upper and lower body hollow… but without inducing neck dive on a bass with eight tuners ?
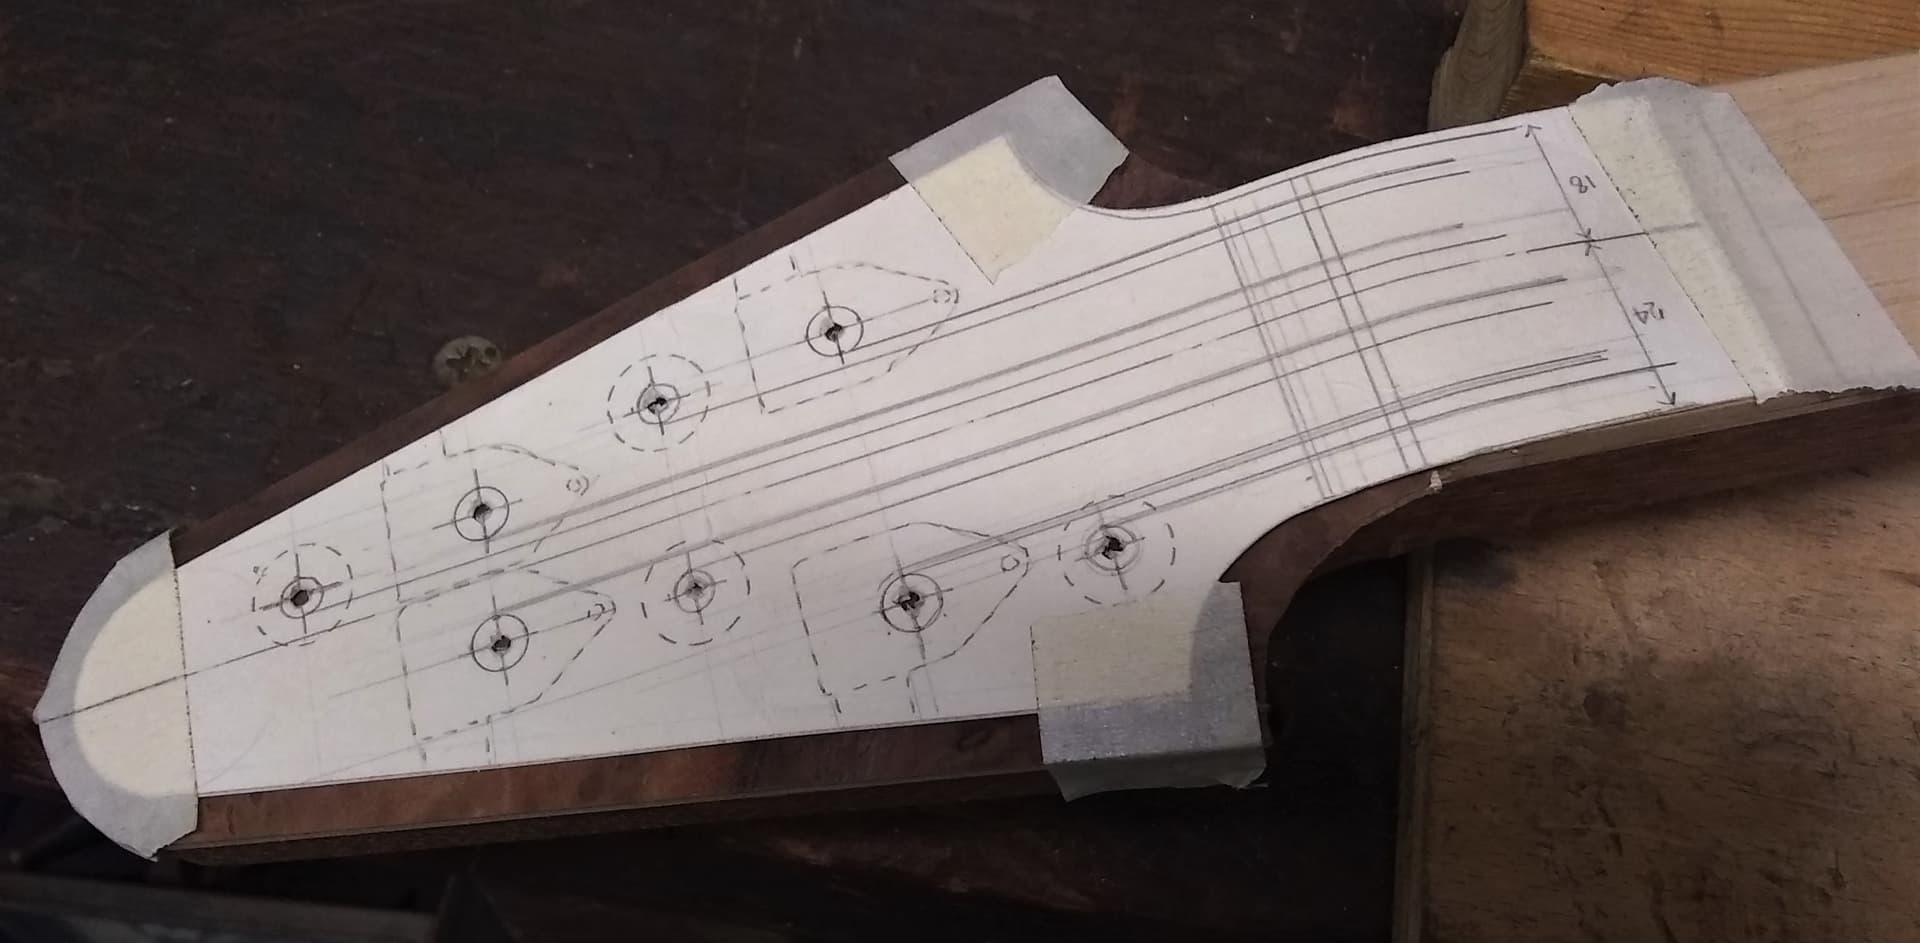
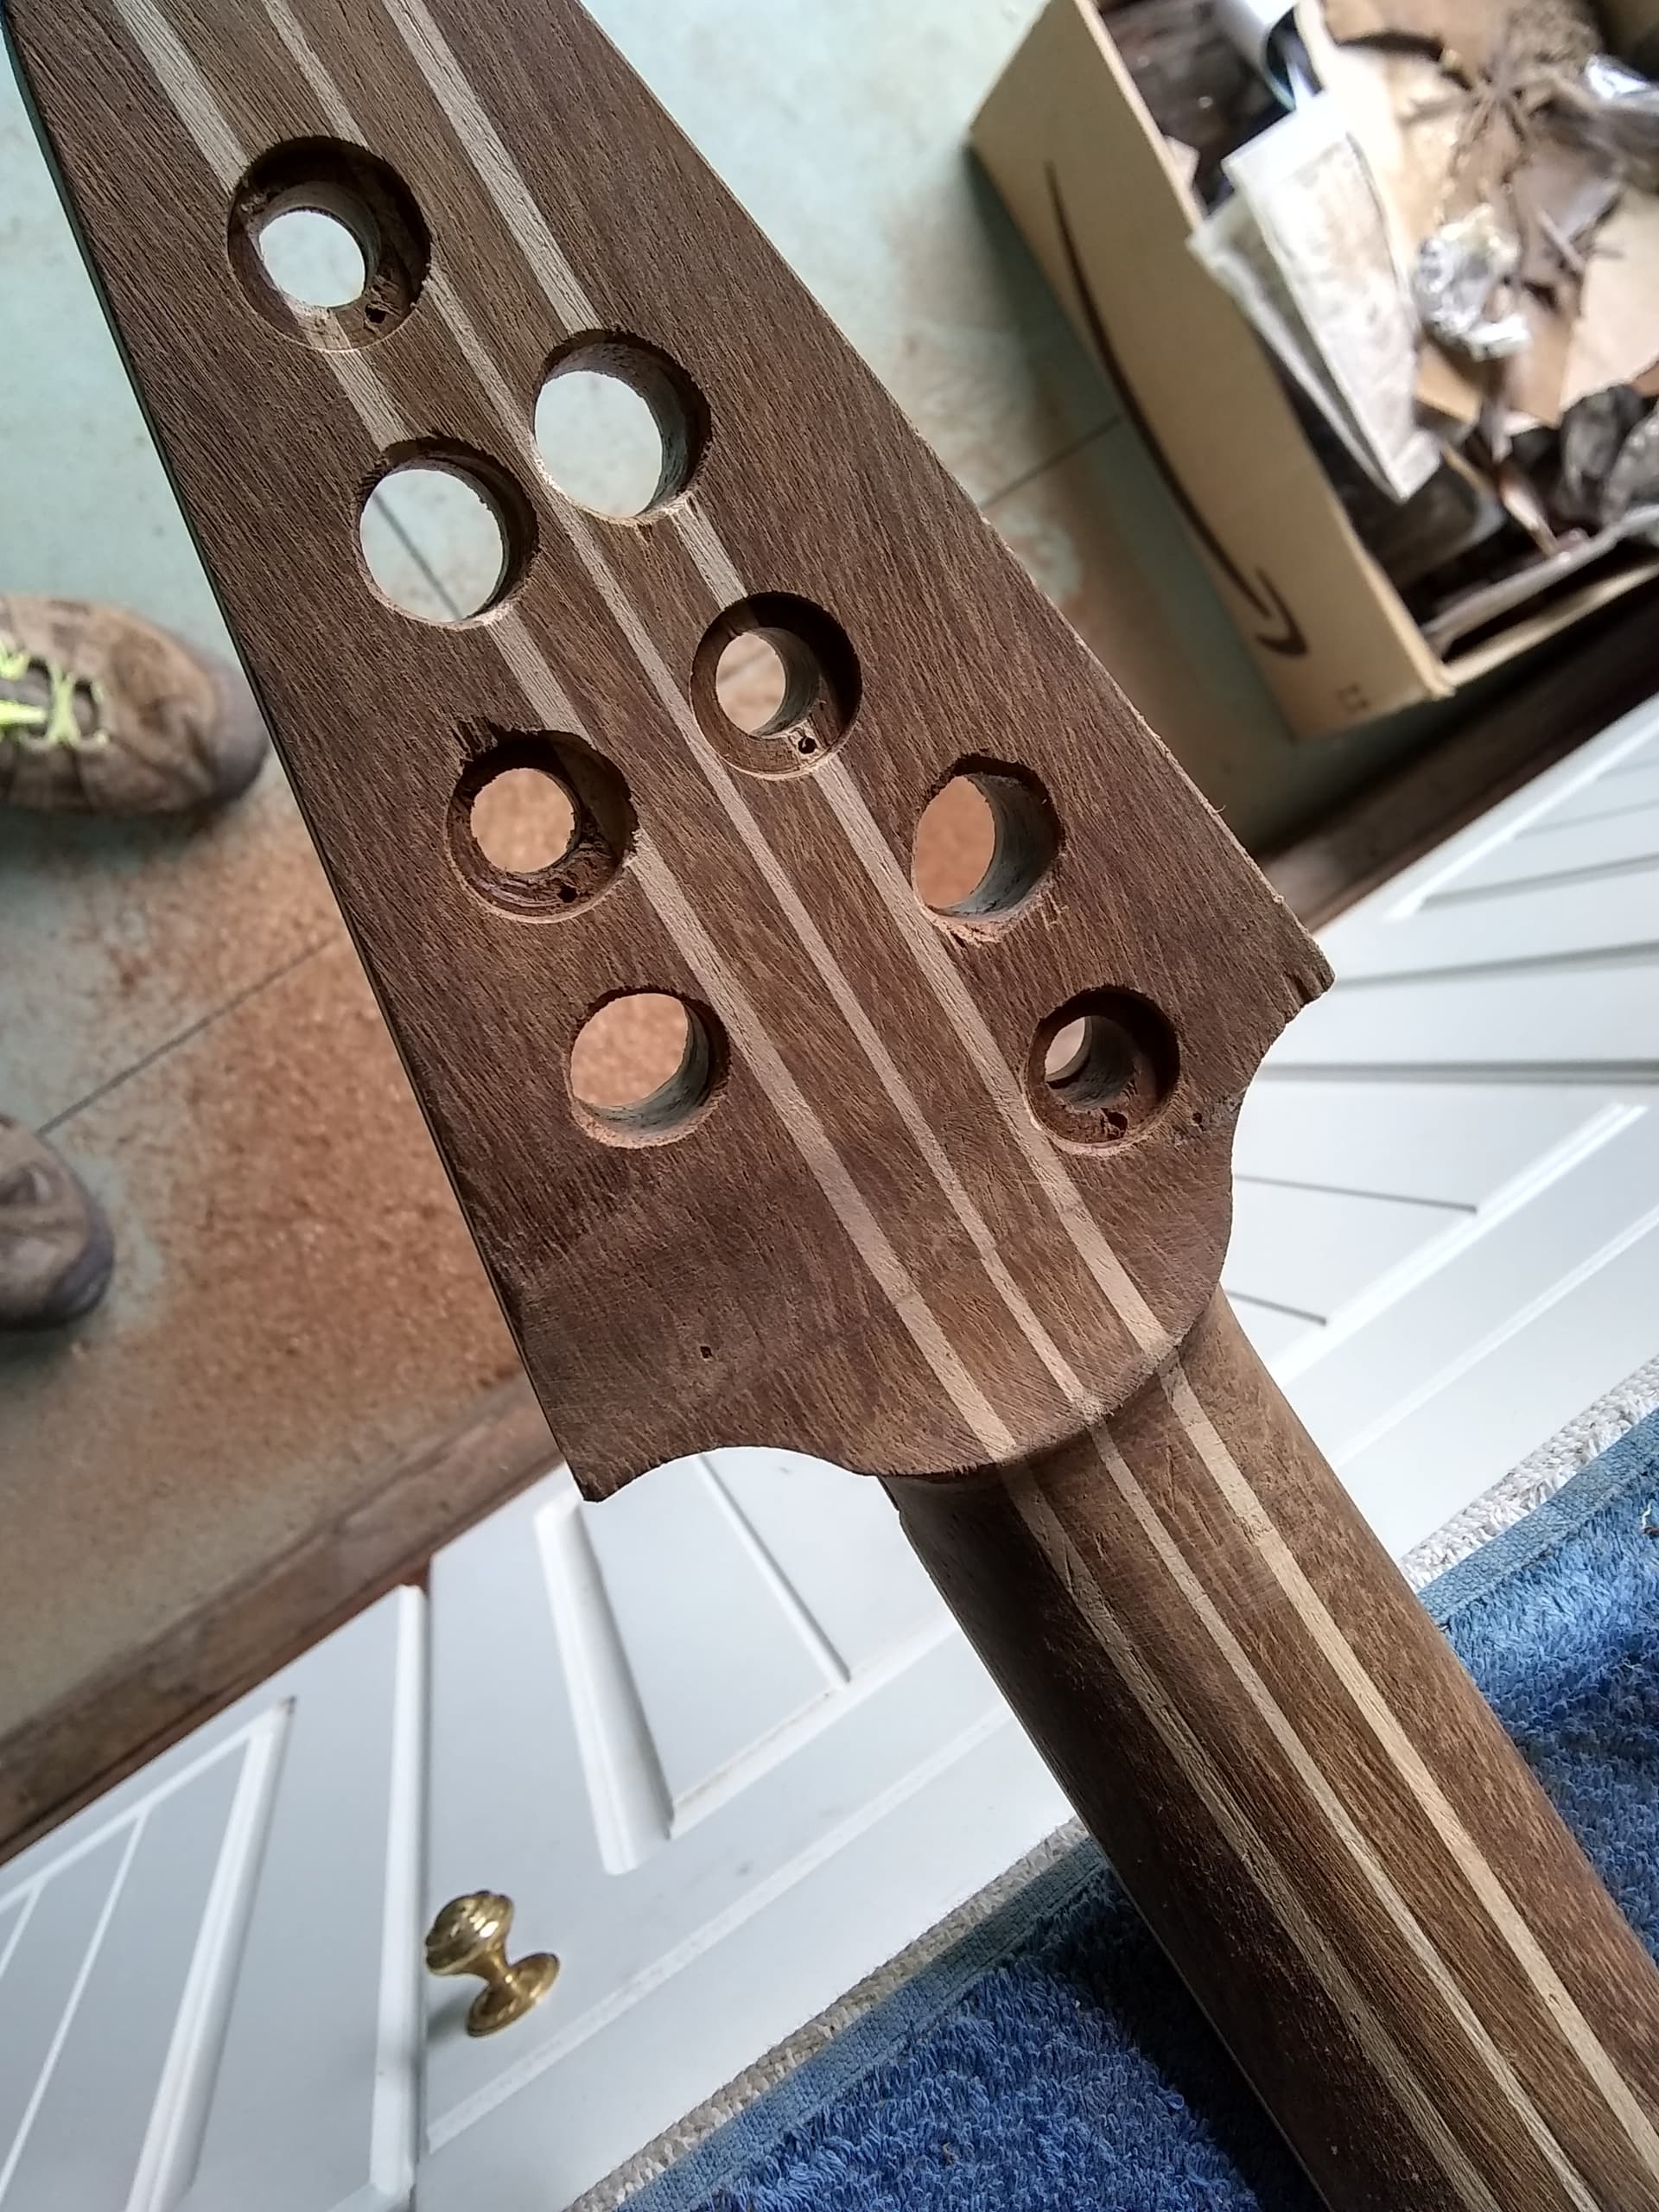
Having veneered the headstock and been warned not to fu** it up, I meticulously templated the tuner layout before drilling any holes. I used banjo tuners for the guitar strings, the back of the headstock looks busy but the front looks completely normal. I did actually fu** up - two tiny lumps chipped off and I spent a good hour with a scalpel and some veneer off-cuts repairing them.
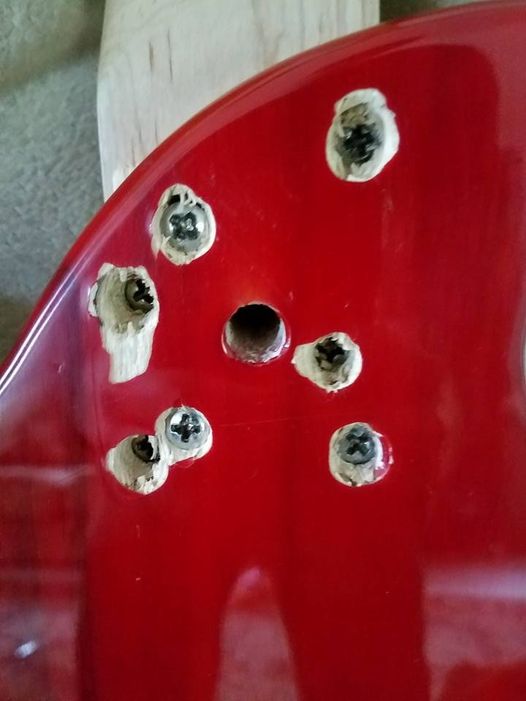
It’s a bolt on neck but with real bolts and worm thread inserts. The inserts work really well but you need to get the hole size right or the first one (of four) gets stuck in the hole partway down and then you have to file it off, catch your thumb nail and end up dancing round the shed swearing like a trooper.
Carving the back of the neck is always fun, I just use a coarse rasp and some eyed-in pencil lines - keep dividing distances in half and filing off the corners until you get a Fender Precision neck. The magic part is when the volute pops out between the headstock and neck, every one is different !
A friendly acoustician showed me a humbucker switch that does series/parallel/single coil (think siren luring ships onto the rocks), so now I have to find a 6-pin, DPtT on-on-on switch to make my dreams come true.
Audience participation time:
I routed the edges of the body, including the veneered back panels. Should I also round-over the edges of the headstock veneer ?
I cut a 4mm strip off the back of the body to use as a pick up cover/scratch plate, with matching stripes. What shape should it be? All I can come up with is a slightly curvaceous rectangle. It will have chromed lipstick tube pickups sticking through it.


 And a set of sanding drums.
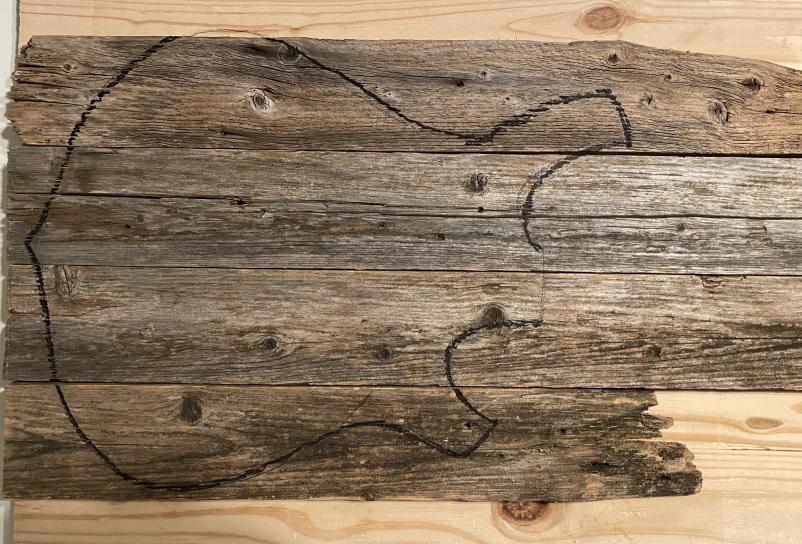
 And I want to practice fret work, and the frets on that neck are great.