Project Basses

The original headless bass mod has been stalled for a while. It’s never had proper pickups put in it.
Cheap-ass Ebay specials from China proved the concept was workable, but didn’t fit the routed out holes in the body particularly well, and wasn’t a specific enough sound.
So what’s next?
I need to find exactly the right size pickups, that make a sound that I like, and will work with the electronics that I already have.
And not cost a bajillion dollars. I’ll never get the money back on this bass.

What are the chances of that?
They’re not good.
Verging on incredibly remote.

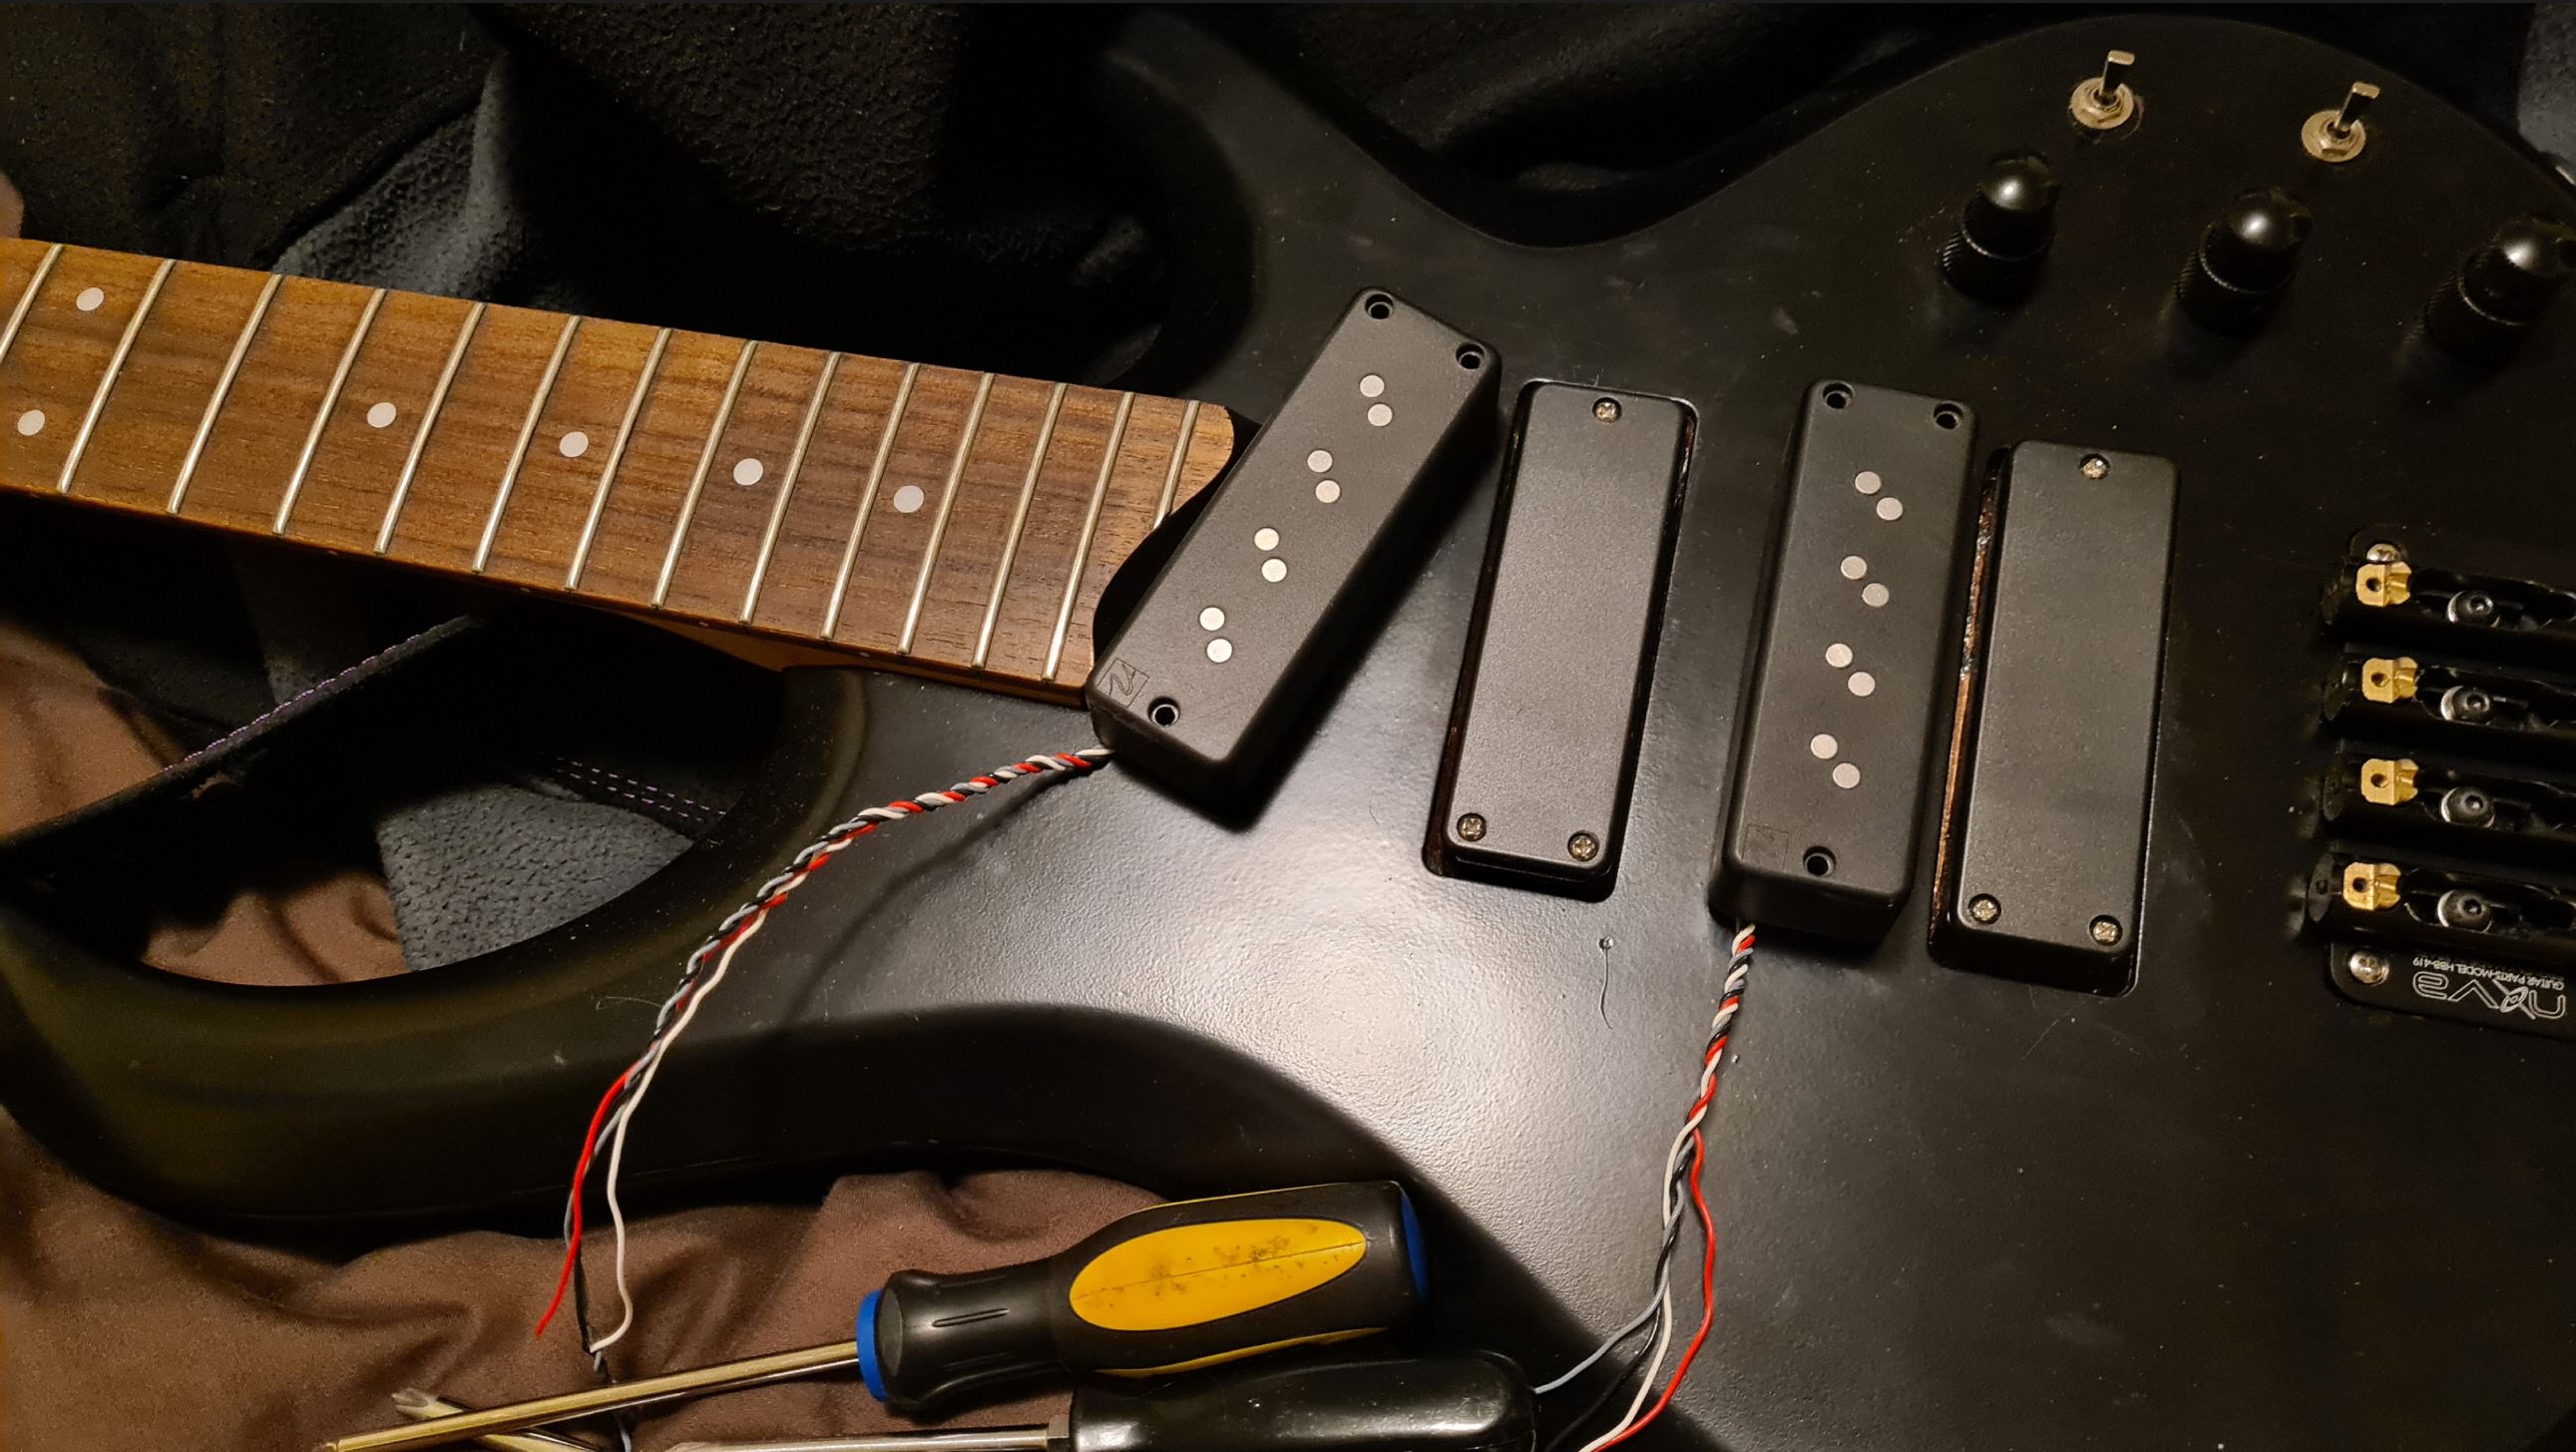
The only things I’ve ever liked are the Nordstrand pickups on the 2021 Ibanez SR600.
At least that has the same electronics as the headless.
They sounded pretty damn good.
I’ve never checked the Nordstrand size though, because there’s no point.
They’re quite expensive and they’re not going to turn up second hand.

Until they turned up second hand on facebook marketplace on the 14th of July.
WTF?
Well, they won’t fit anyway.
That kind of coincidence never happens.

Except the Nordstrand website says that they are exactly the right size….
And the seller just cut the price down from extremely reasonable to very cheap, and threw in a Nordstrand 3b EQ and the entire wiring hardness, with an extra push/pull pot
And he’s posting it for free.
So I bought them.

Throwing them in was a matter of a few minutes… which is good because this project has been going for hmm… 2 years, 5 months and 29 days to get to this point.
We shouldn’t rush these things

The bad news: The three position switches which let me switch coil windings from series, single and parallel on the Cheap Chinesium Pickups of Doom, now only do single and parallel on the Nordy’s.
The last switch position, like Radioactive Man’s goggles, do nothing.

The good news: This thing is now VERY versatile.

Our local bass god gives it a quick test thrash in the video below.

Total mods include:
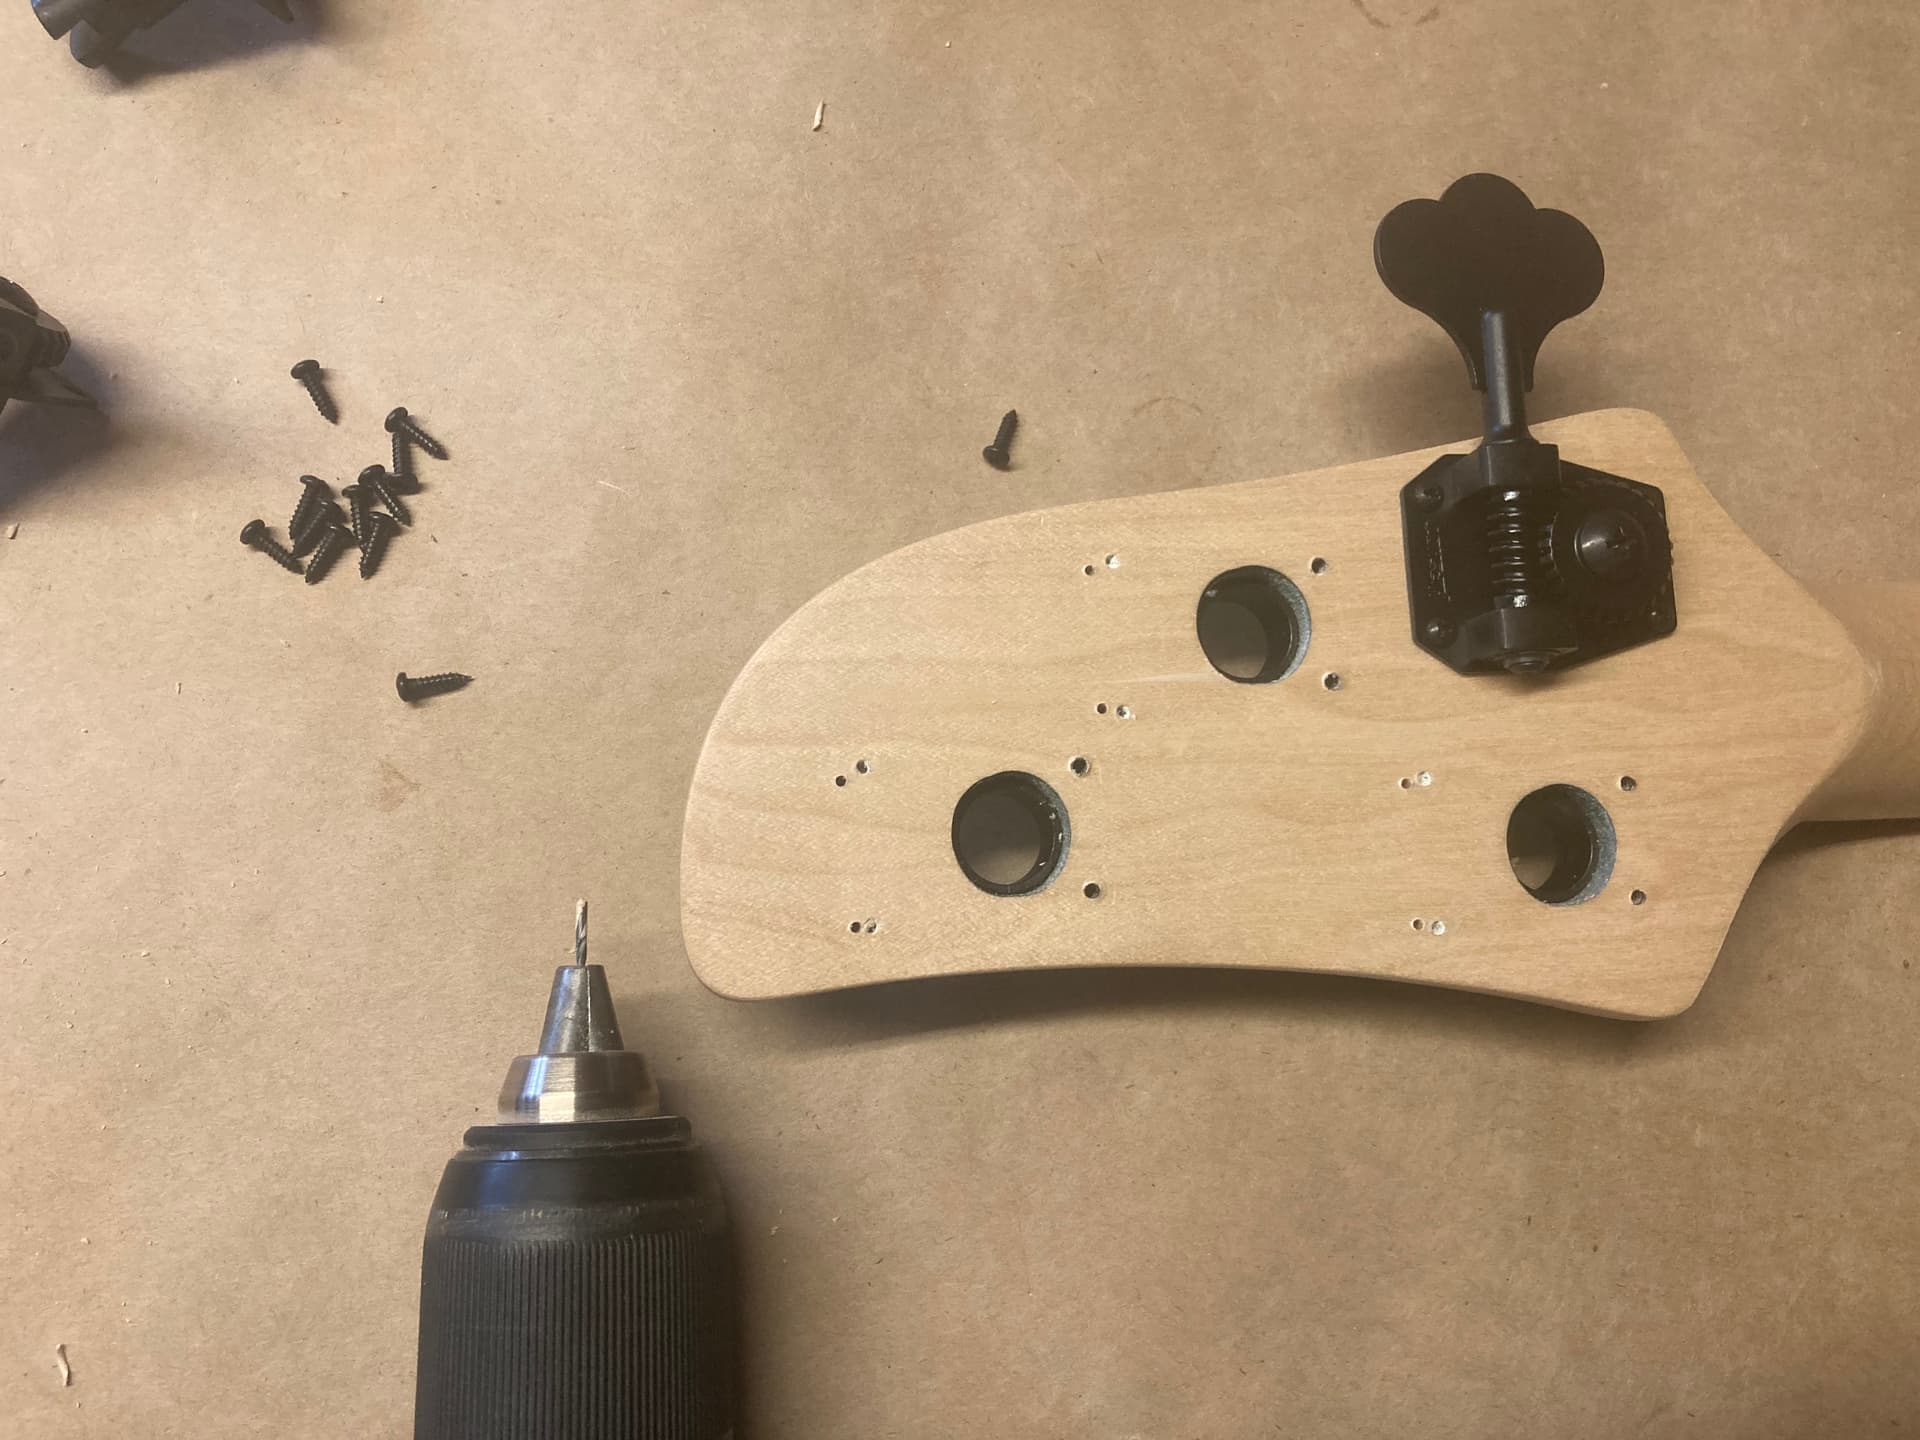
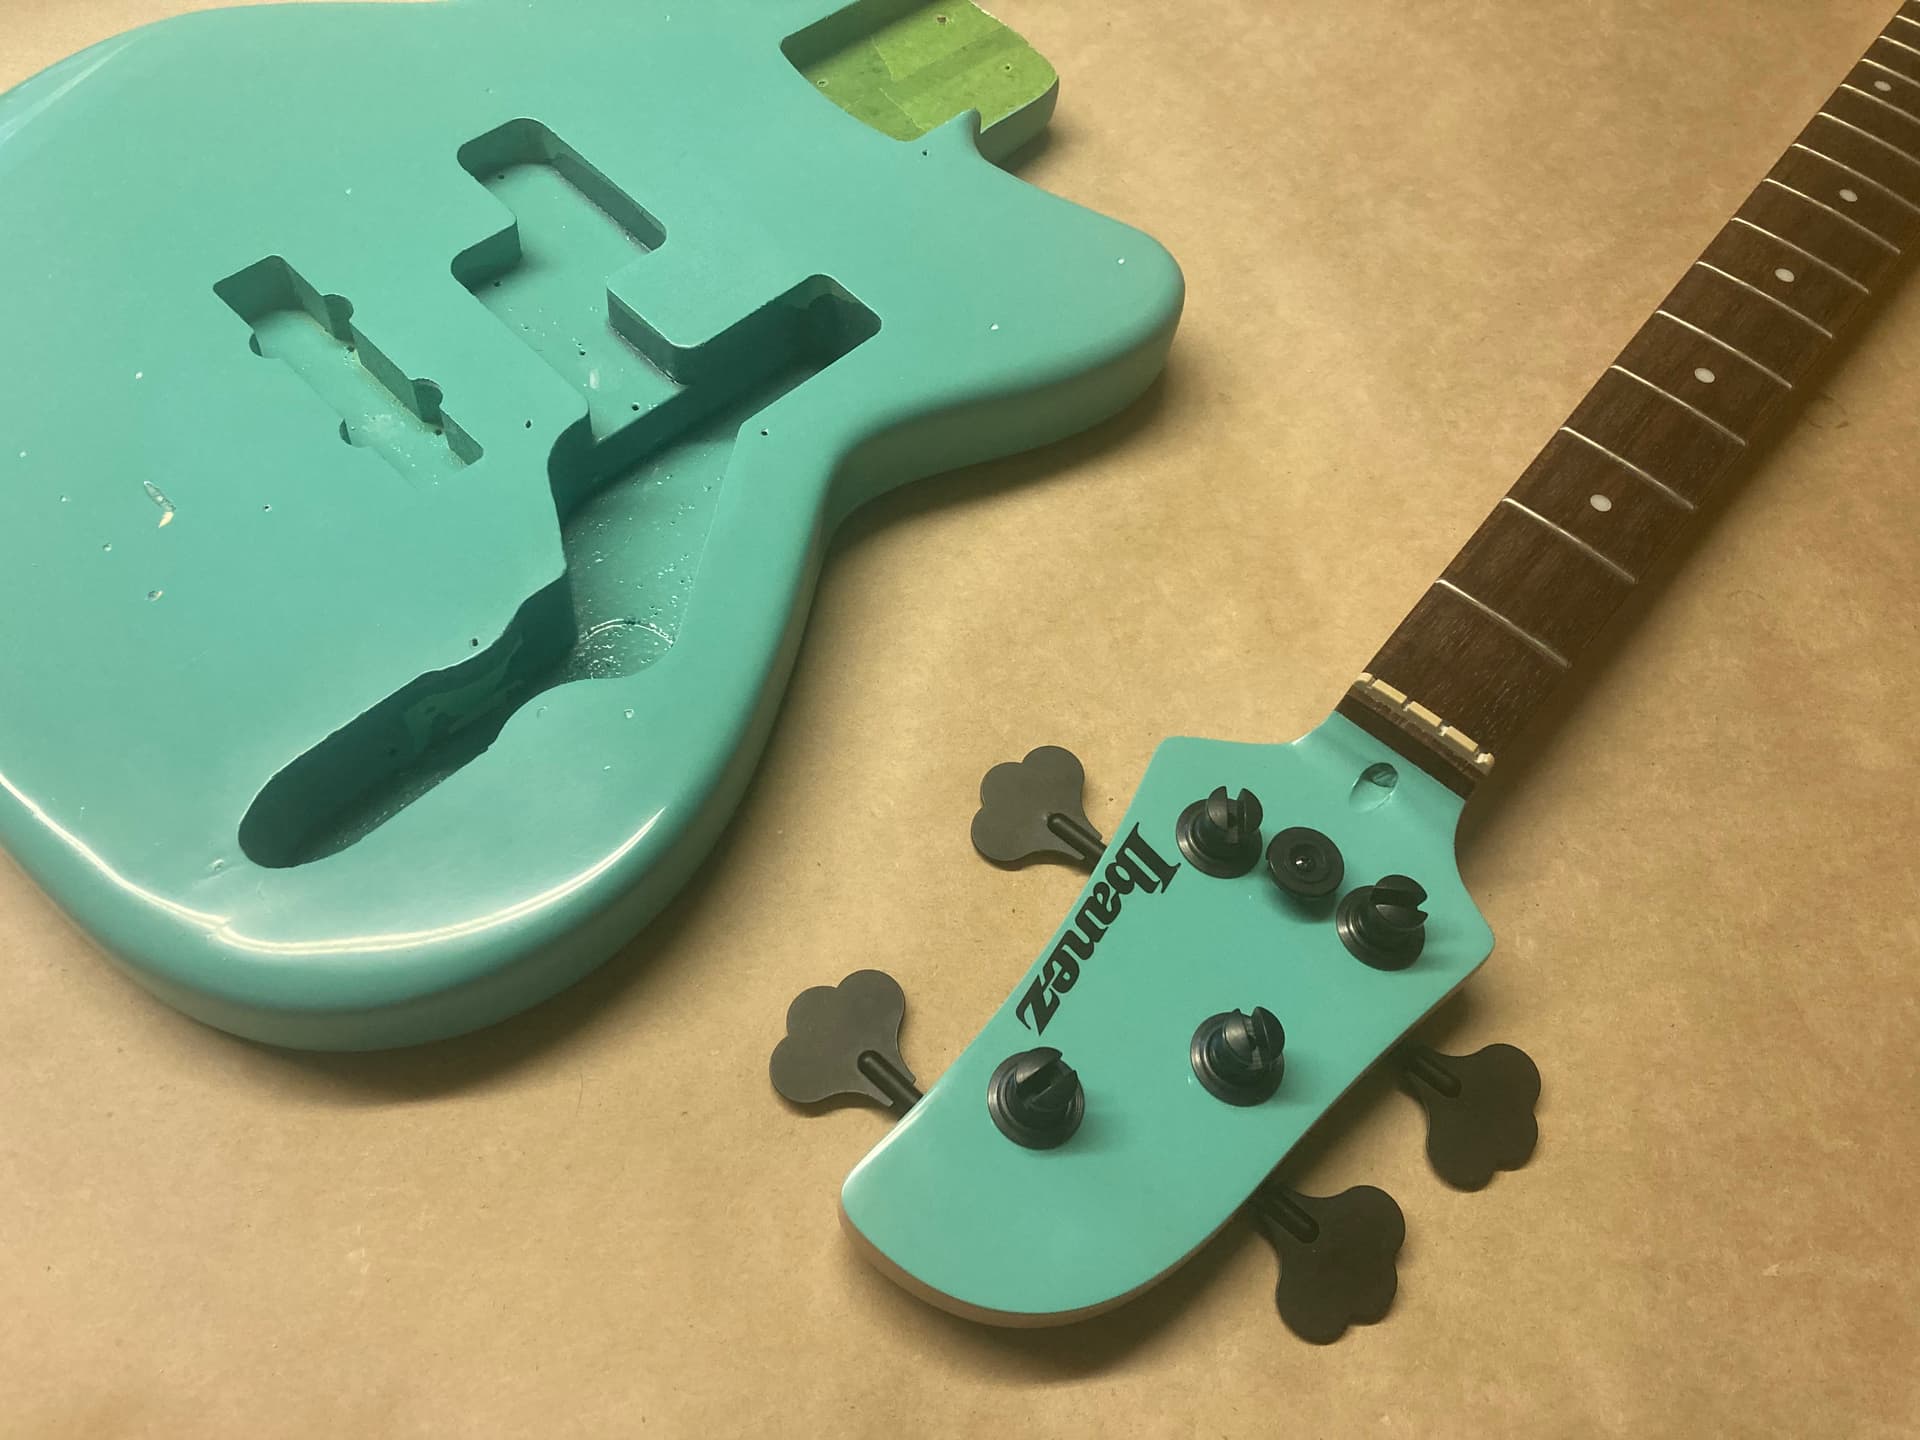
2004 Ibanez BTB400SQM
Converted to headless.
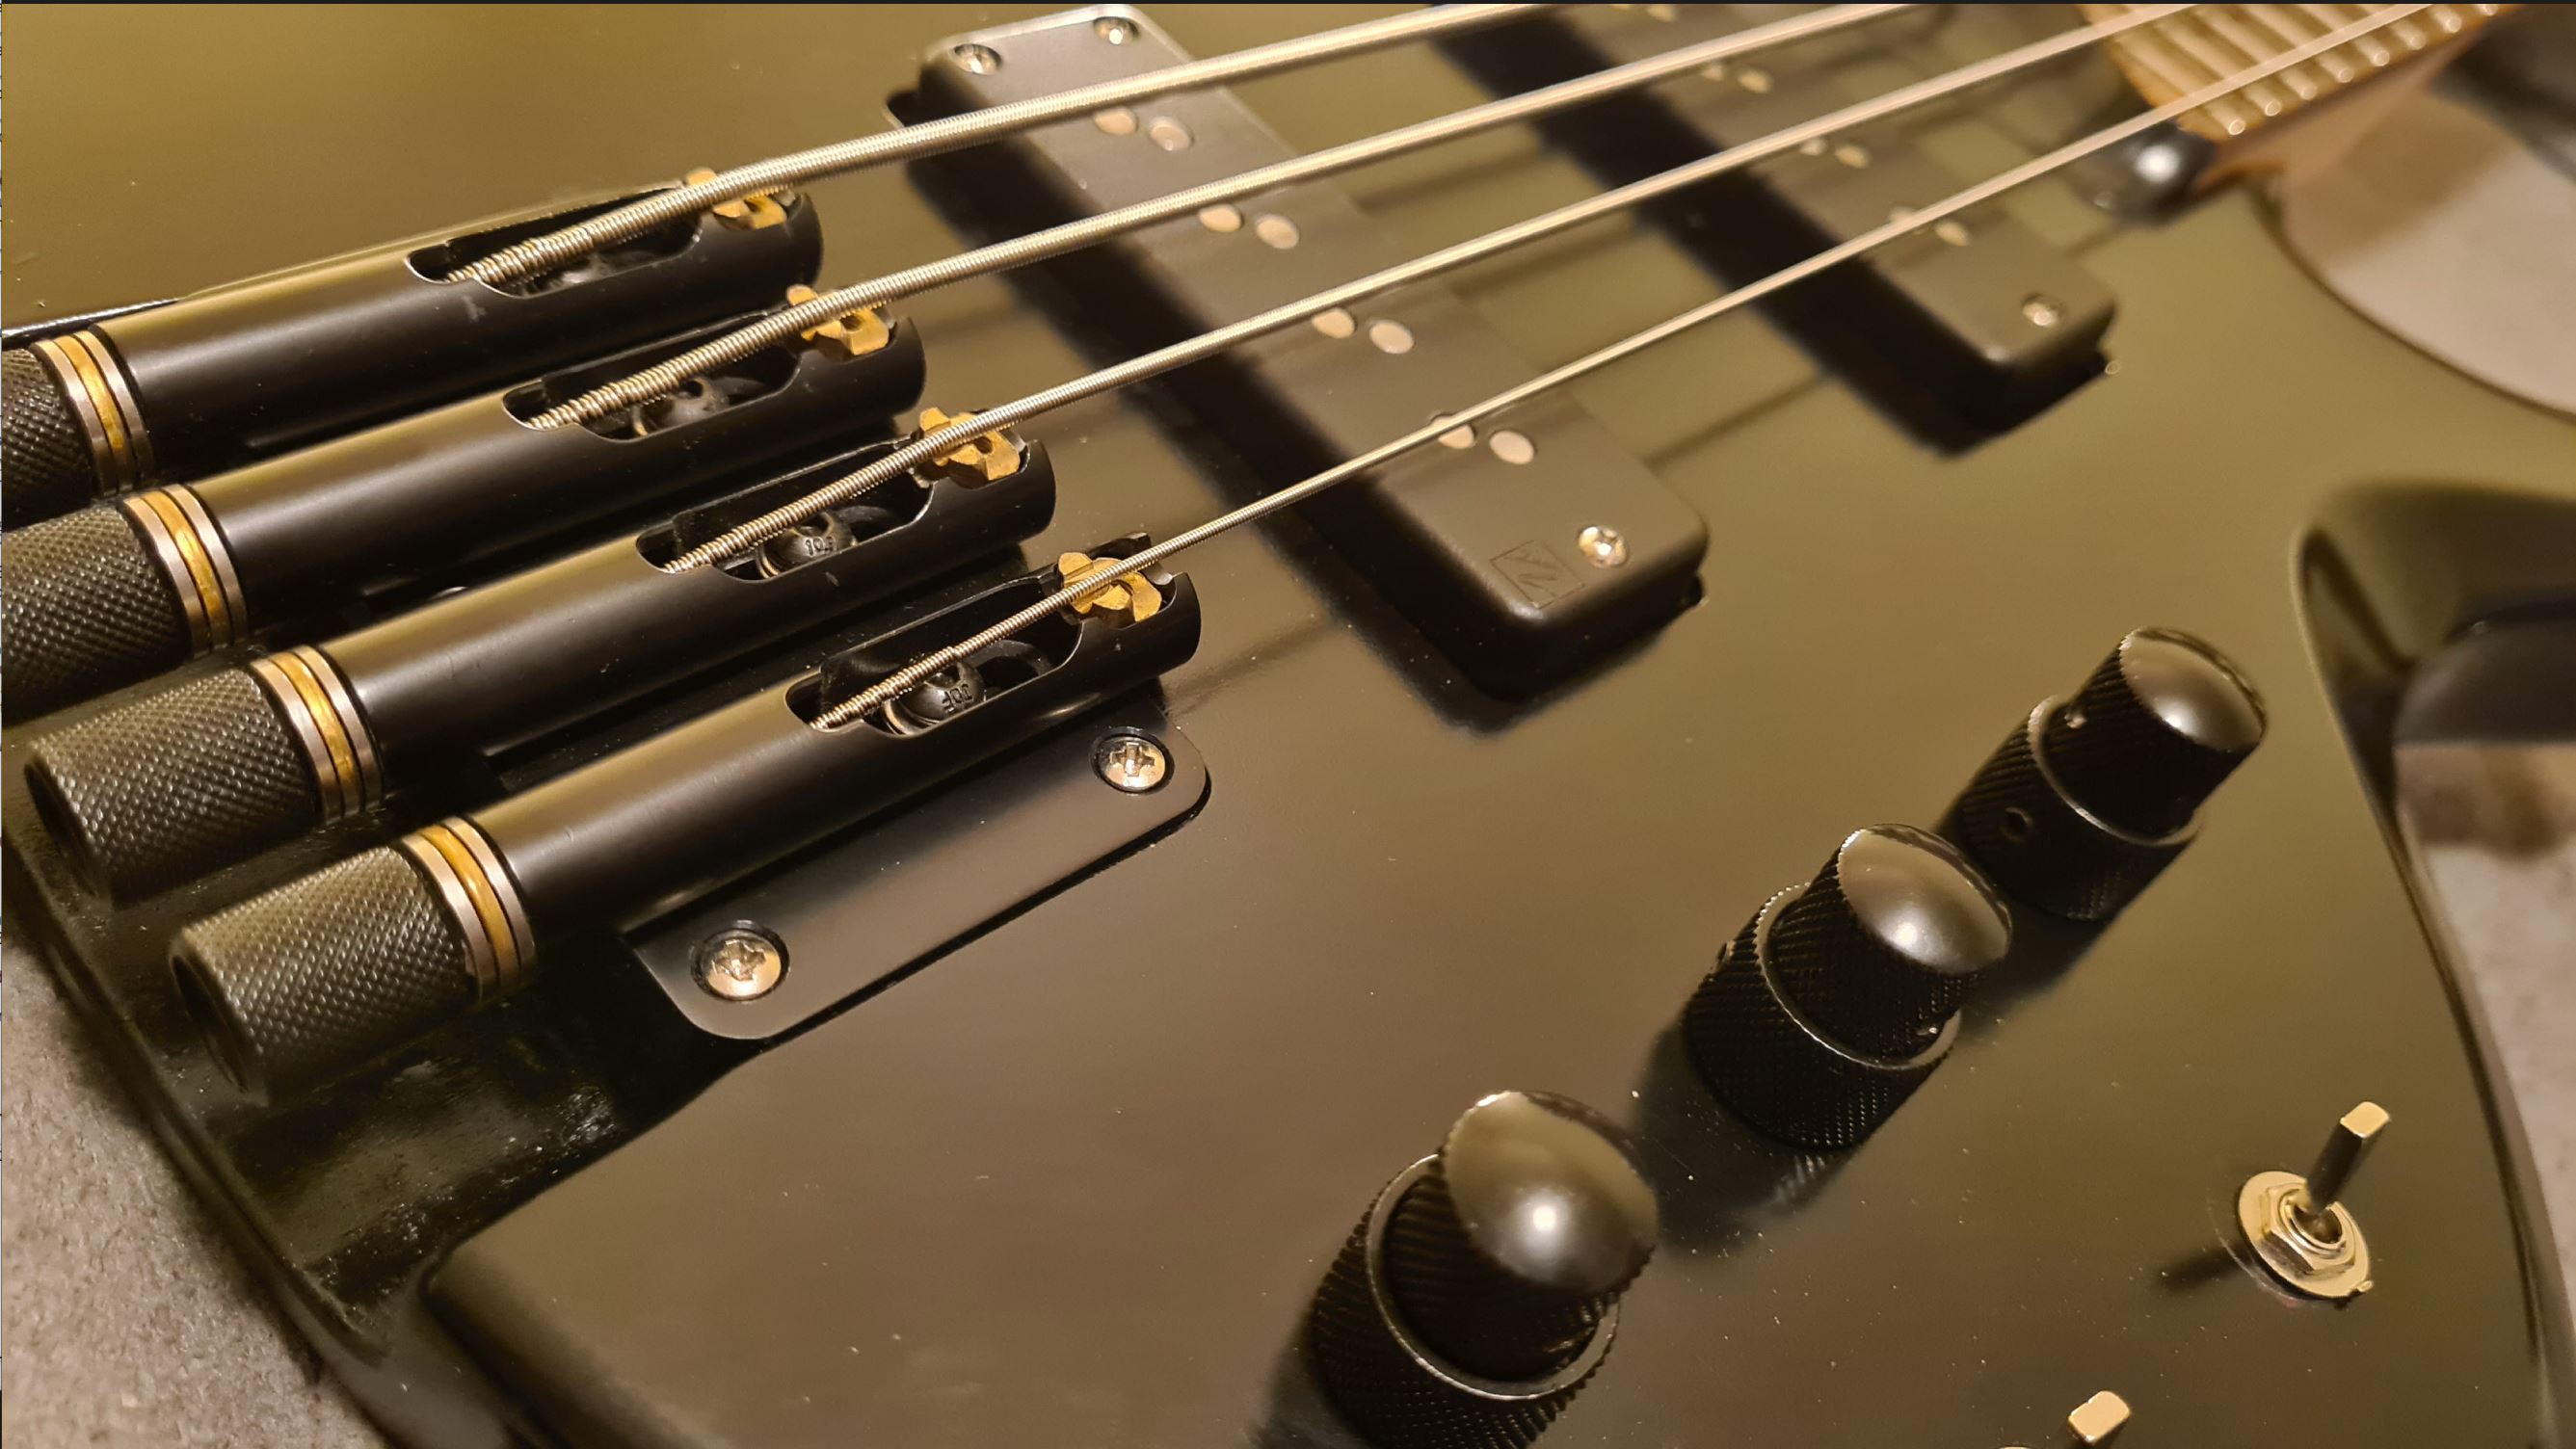
Painted black.
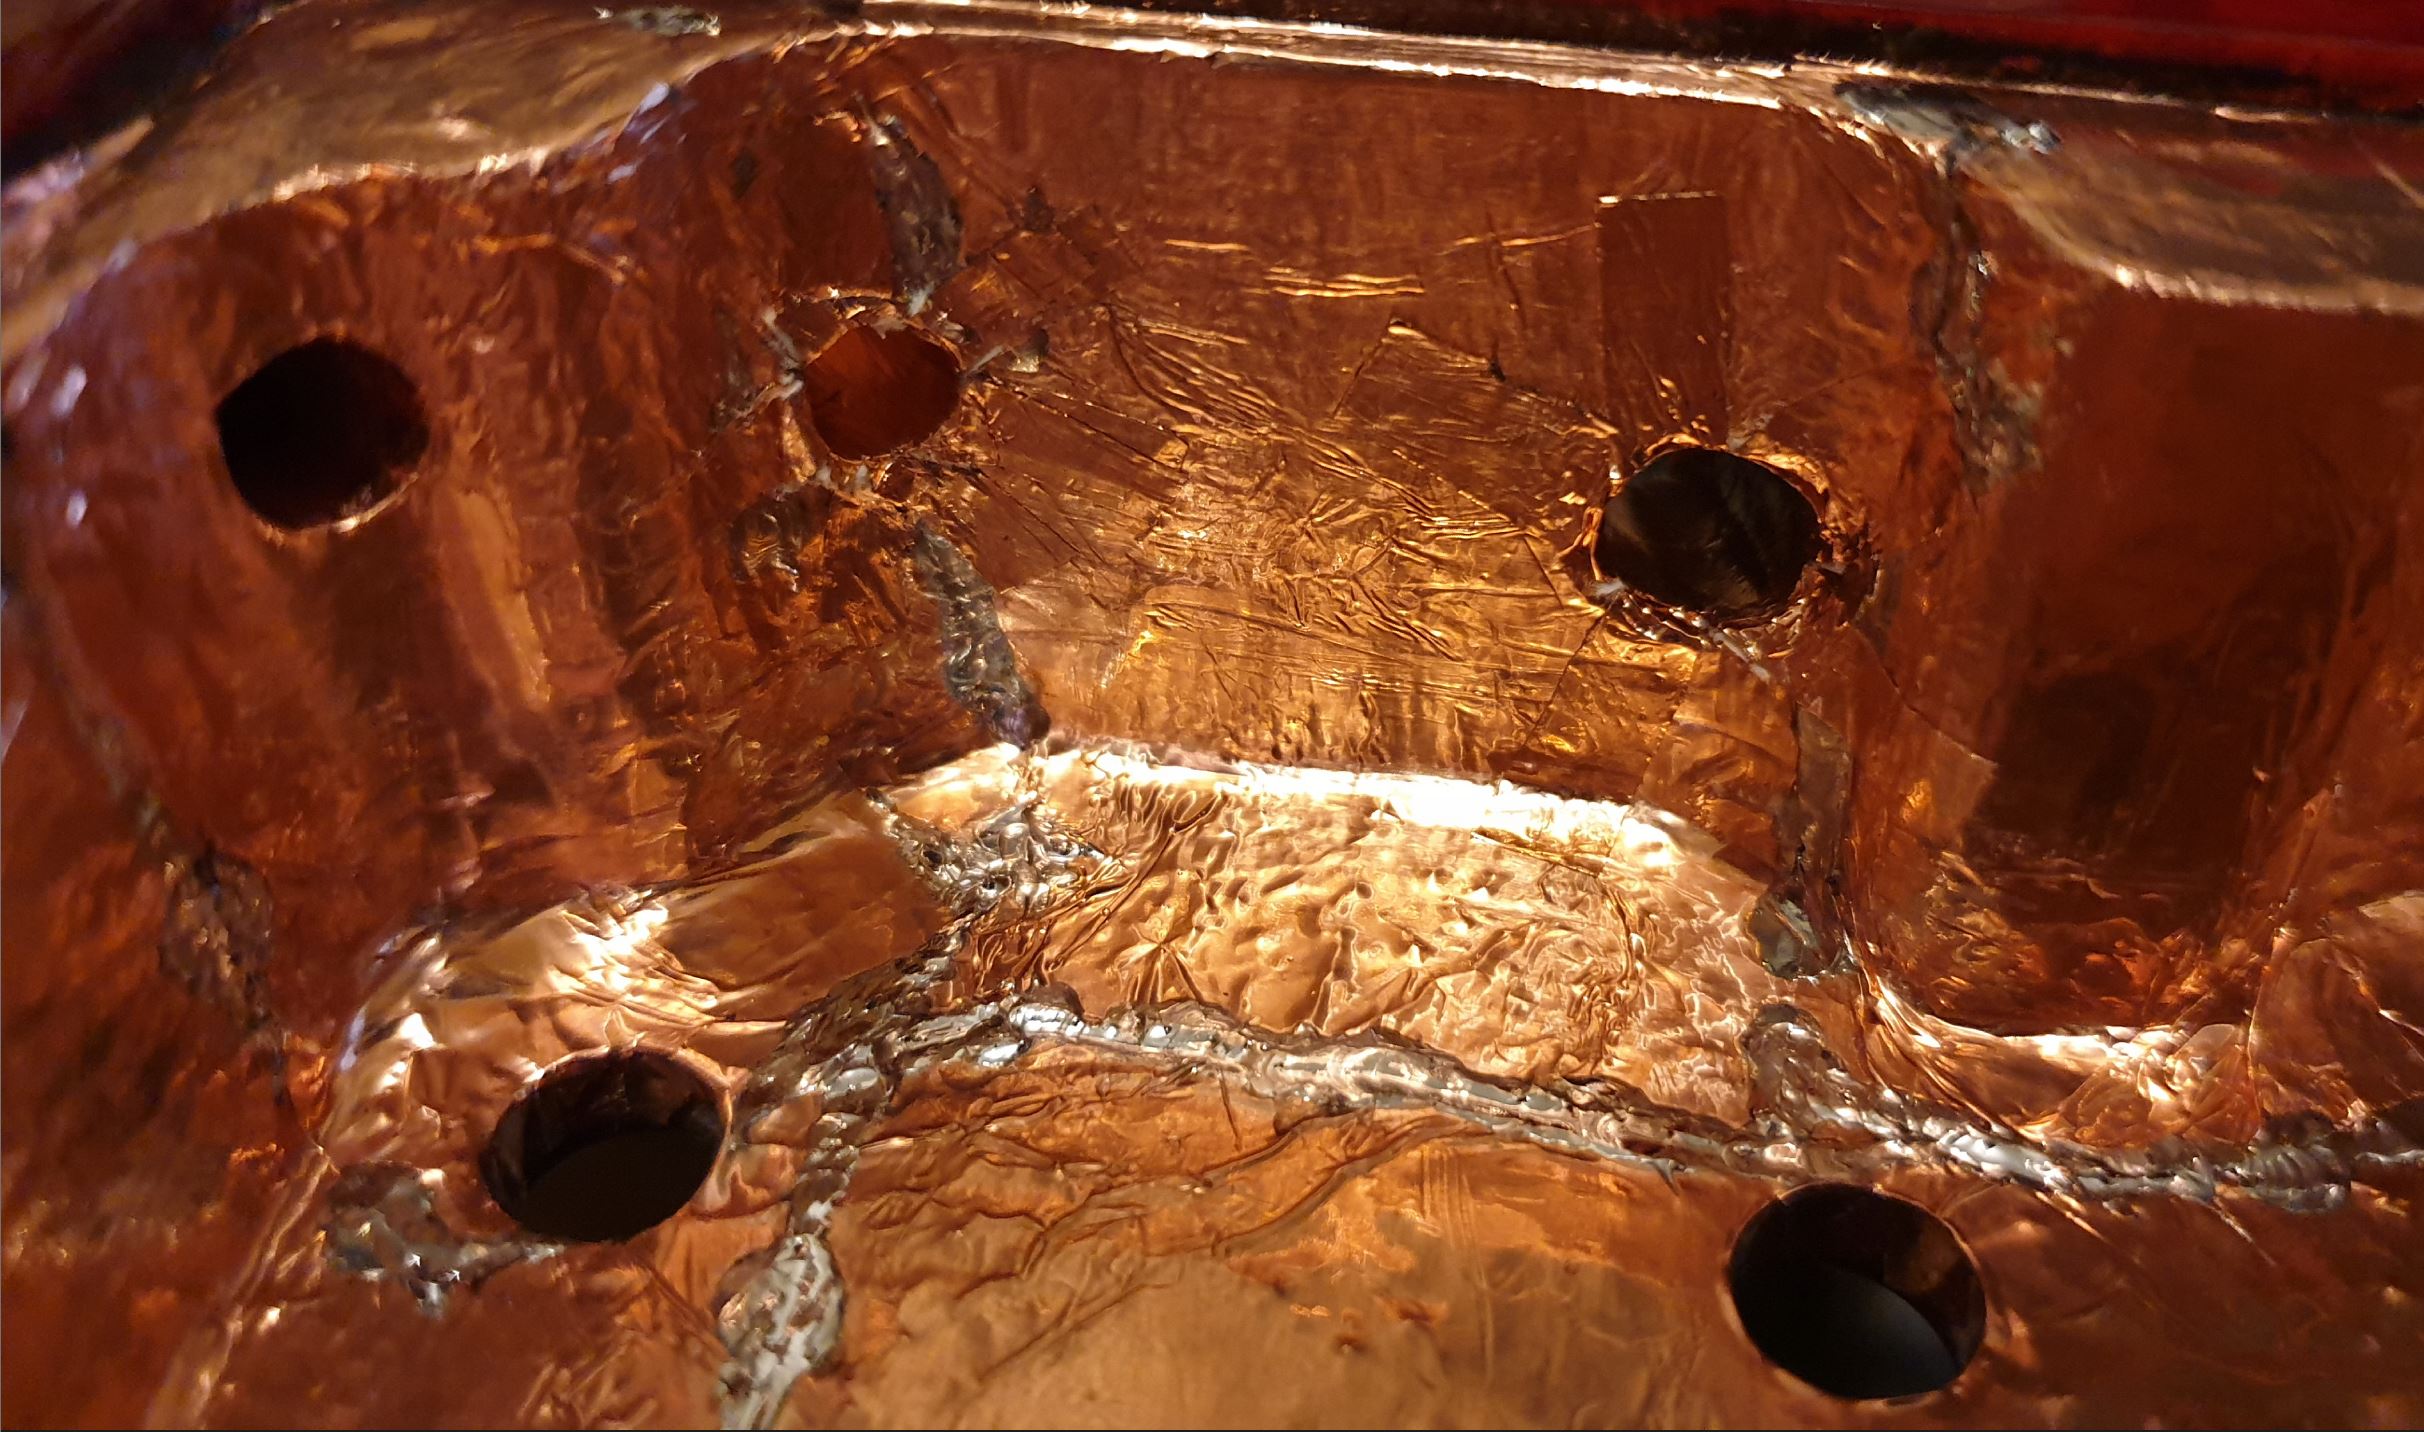
Completely shielded in solder joined copper tape - even the tunnels to the pickups. (because I was bored and it was fun to do:

Hatch cover screws are now machine screws into threaded brass inserts.
Converted to current Ibanez EQ.
Stacked knobs for Volume/Mix, Bass/Treble, Mids/Sweep. (All standard Ibanez parts)
Nordstrand Fat Stacks pickup switchable between Humbucker/Single
Locking jack de-locked.
Twin strap studs on the bottom (or it leans to one side…)

The only thing left to do is level and crown the frets and maybe go to the newest method of adjusting strings on the Novus bridge… which will just require some more money…

9 Likes

Sounds great!
You are making me want Nordstrands in something now!

2 Likes

Into the home stretch. After a 2 week wait for the nitro to cure. Then 1000, 1500 and 2000 grit to finish.
Patience and some good tunes appears to be key for this phase.

15 Likes

Color is….

image

Did the texture of the finish come out to your liking?

7 Likes

The color really is amazing.

5 Likes

Beautiful color. How is the texture after the highest grit?

I also note the versatility of tuck tape. That stuff is a major PITA with all the toppings to remove!

4 Likes

I went up to 2000 but still wasn’t happy.
So I used the buffing cream included in the kit.
Pretty good. Not perfect but the reflection in the headstock is from the lights above. Pretty happy for my first attempt at nitro.

11 Likes

Nice. Never buffed out clearcoat like that but for metal, to get a nice clear mirror finish you need to go way higher than 2000 grit; more like 6000-8000. Polishing compound will do that for you. Headstock ended up nice.

5 Likes

Looks really good @Barney
Dumb question, but when you’re buffing the finish with the 2000 + grit paper do you polish in small circles or back and forth?
I’m asking for a friend who f*cked up the finish on his Harley fender :flushed:

4 Likes

No stupid questions here @Mac. If you’re sanding raw wood the perceived wisdom is sand in the direction of the grain. You can use orbital sanders (and I often do) but that will always leave small swirl marks.

However as you’re sanding a finish be it colour coat or top clear coat, there is no grain; so small circles is what you want to go for.

If you’re sanding use a sandpaper that’s designed to be used wet (It’ll normally say on the paper), soak it in a bowl of water and importantly add a few drops a dish soap to the water. This acts as a safe lubricant to help the sandpaper move smoothly over the body.

Rather than start with 2000 grit your friend might want to start with a finishing compound. They normally go medium, fine and swirl remover in terms of aggressiveness.

They have the consistency of a cream but with very fine abrasive particles suspended in it.

If he starts with the swirl remover and works backwards he wont make it worse. If he starts at 2000 grit then even that might be too aggressive.

Better to test with a fine compound and work back if he’s not sure.

Here’s an example of what I mean for polishing compounds to buy.

Dan’s the guy to watch re fixing guitar finish.

7 Likes

Awesome. Thank you @Barney

2 Likes

Hipshot HB1 tuners.

10 Likes

For those who don’t know, Hipshot tuners are reversible. Remove the main cog first (Phillips screw). Then remove the small screw on the opposite end of the tuner (1.5mm Allen key). Pull out the tuner and flip it. Done.

6 Likes

7 Likes

Today’s free pro tip. Mark the place you want to drill. Drop the drill bit down into the drill so that only the length of the screw is showing. Then carefully drill. That way if you slip it’s practically impossible to drill through the headstock and out the other side :cowboy_hat_face:

8 Likes

Newer ones are, older ones aren’t, a friend told me, (he also told me they made good by it though as the old stock was being advertised by sellers as the same new SKU numbers cause Hipshot didn’t bother to change SKUs).

5 Likes

I also have a friend that knows about this error.

5 Likes

Vintage Forge string tree. That’s a wrap for tonight.

12 Likes

One thing I have wondered is where the bridge ground gets routed through, and how you would drill that :slight_smile:

All I could come up with was to drill through from behind it and then dowel the hole in the body.

4 Likes

Wouldn’t you normally take a long, thin drill bit, say 3/16" by 8" and drill at an angle from the bridge ground to the electronics cavity or to the bridge pickup cavity? You can also use a piece of brass or lumininmumum tube to protect the finish from the bit.

7 Likes