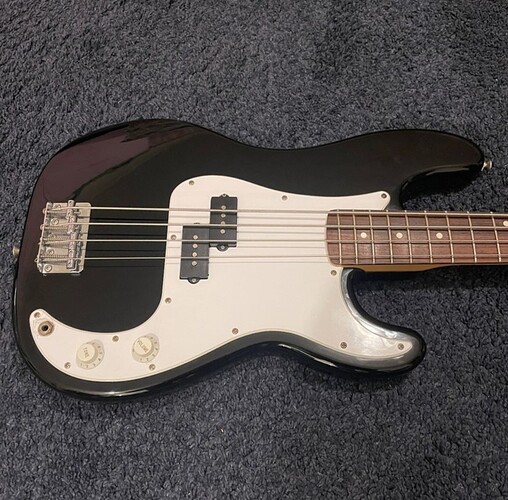
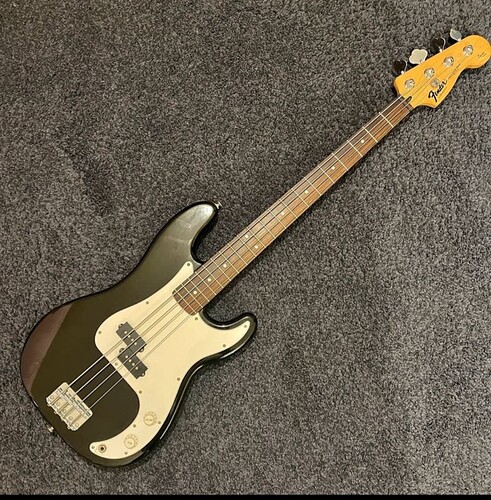
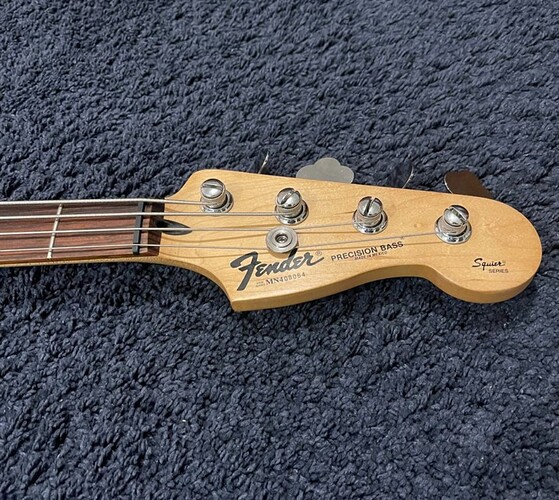
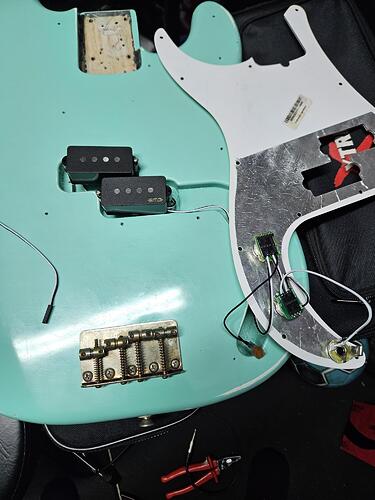
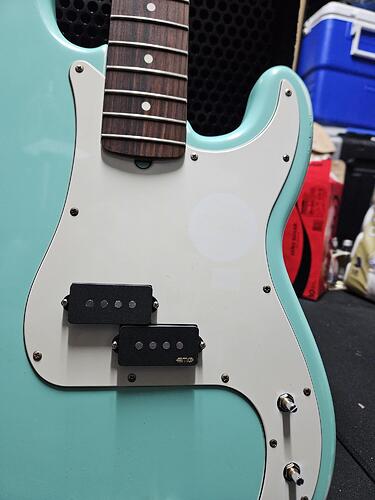
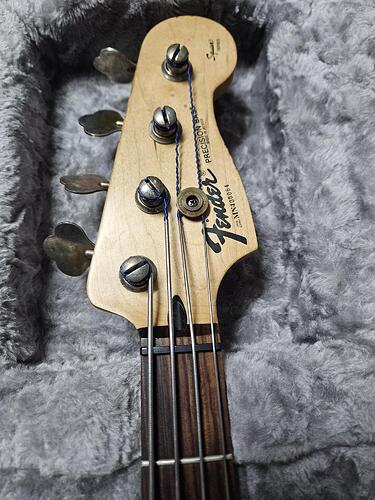
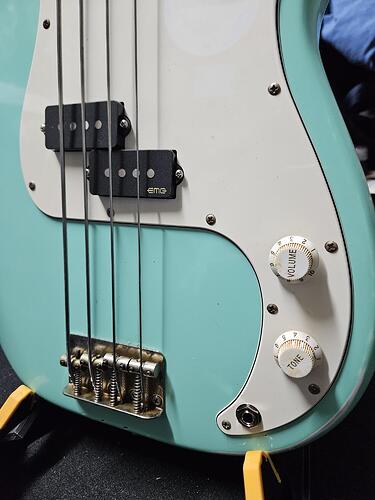
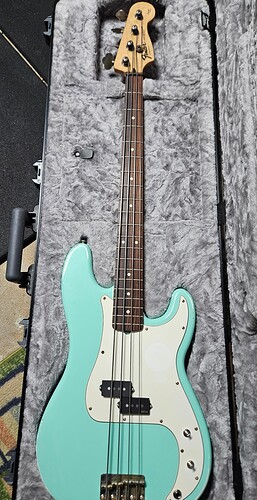
For quite some time now I’ve toyed with the idea of purchasing a half decent yet cheapish bass I could strip, repaint and age/relic slightly - it’s a look which I really like! So a couple of months ago when a 1994 Fender ‘Squier Series’ P Bass came along at at excellent, affordable price it was pretty much a no brainer. I did a bit of research and some conflicting info came up about these basses. They were not a Squier and they were not made in Indonesia, these were actually built in the Mexican factory and the series of bass was called the ‘Squier Series’ as shown on the headstock. Any way, for a bass almost 30 years old this thing was in excellent condition which made me question what I was about to do. Eventually I pushed out any doubt and remembered why I bought this bass in the first place.
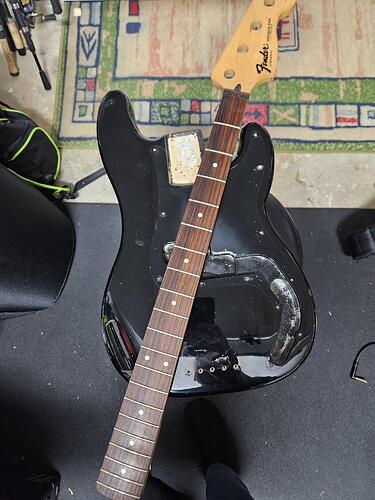
Off I went. I’ll accompany each set of pics with a slight blurb but happy to answer questions in detail.
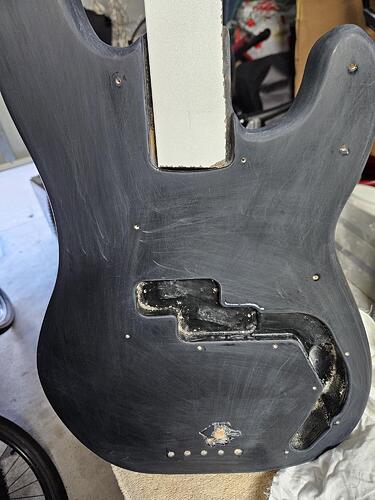
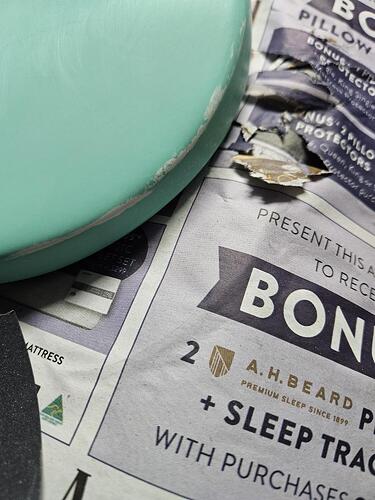
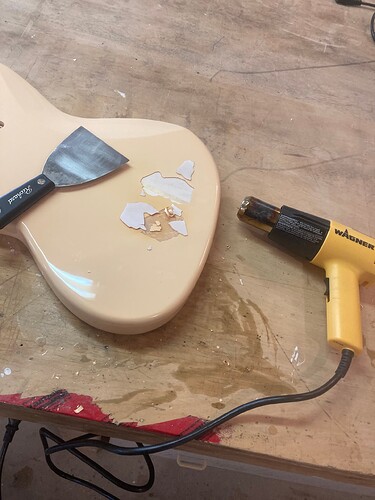
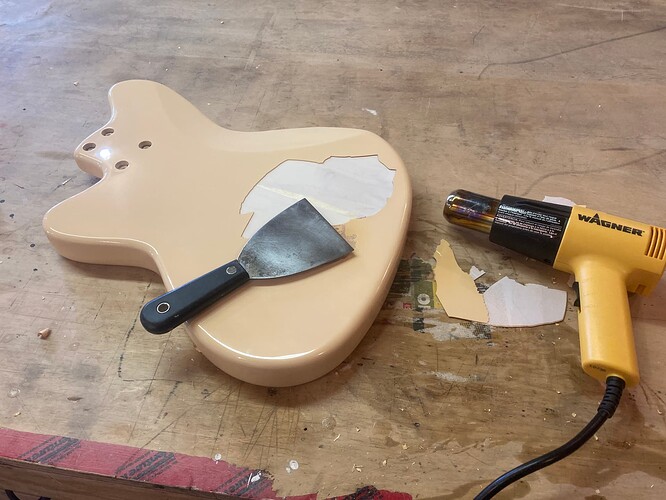
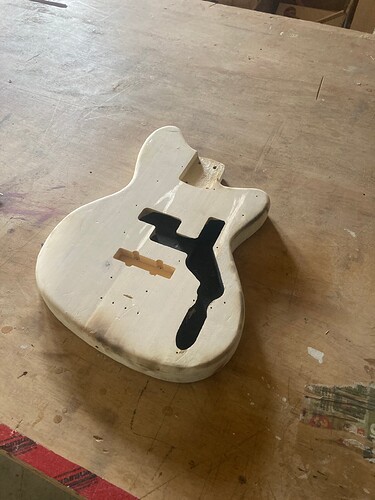
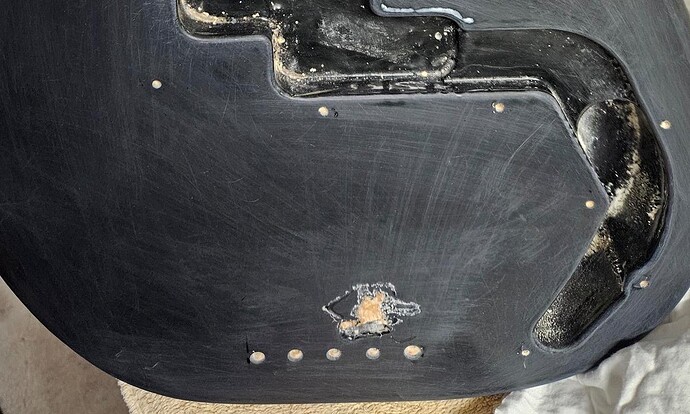
I started by disassembling and scratching up the existing Poly with some 400 grit sandpaper. Removing the existing black Poly would have been a massive task. I did try a few things to get it off but it wasn’t going anywhere, so I decided to leave it. Fender actually did this themselves with guitars who’s colour fell out of fashion and the cheapest way around this for them was to paint over an existing finish! You can see the test area under the bridge where I tried to remove the existing Poly finish.
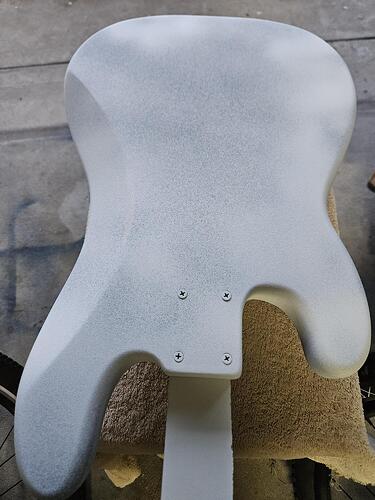
Again, lots of conflicting info on the net regarding painting over Poly with Nitro. Some said it sticks no problems, others said it doesn’t take long for it to start peeling. So in the end I went with using some white Shellac which will pretty much bond to anything and will allow anything to bond to it.
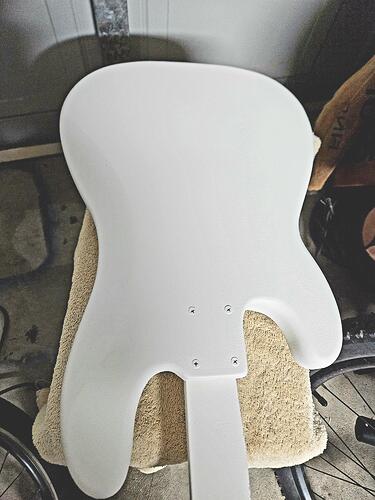
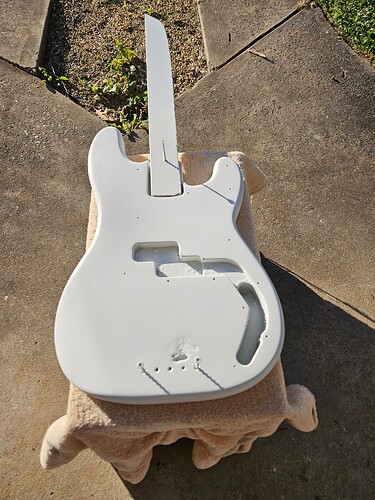
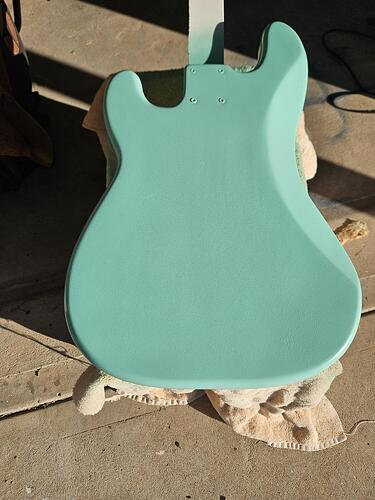
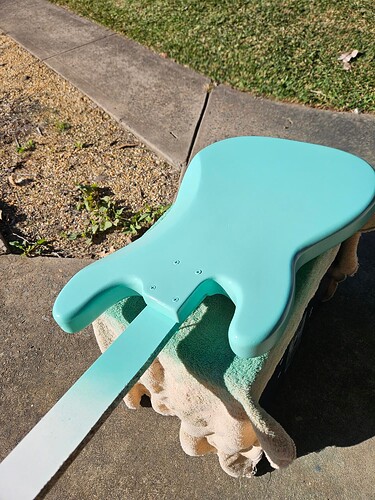
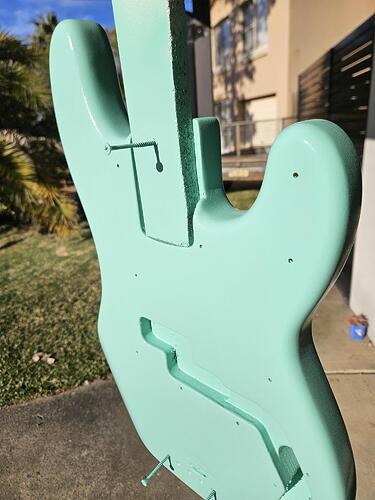
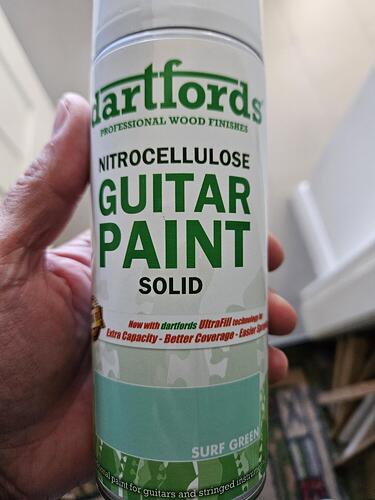
A used an entire can which was roughly 6 light coats. I gave it about 5 days to dry enough then hit it with some 800 grit to remove runs and other blemishes. Next up, it was time to start spraying with Nitro. Again, only one can was required and all up over the next week or so I gave it a coat per day over 6 days.
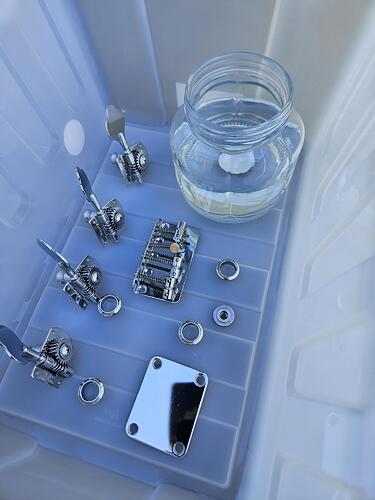
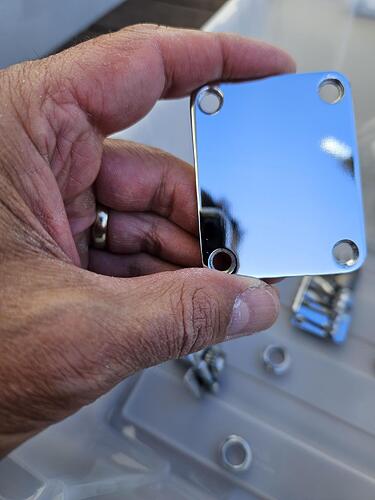
So while I waited a good week for the Nitro to dry, I got to work aging the hardware. This was a matter of placing all metal parts (except the screws which I tarnished using Scotchbrite) in a tub, then placing an open jar half filled with hydrochloric acid in the corner. The tub was then sealed and left in a well ventilated area.
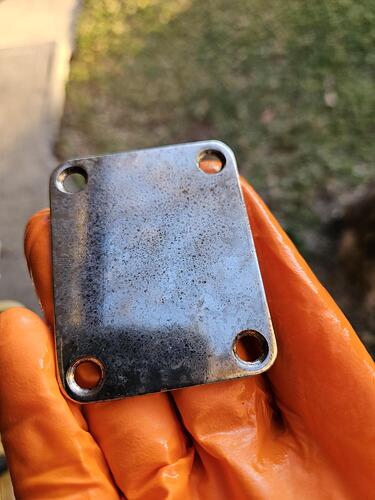
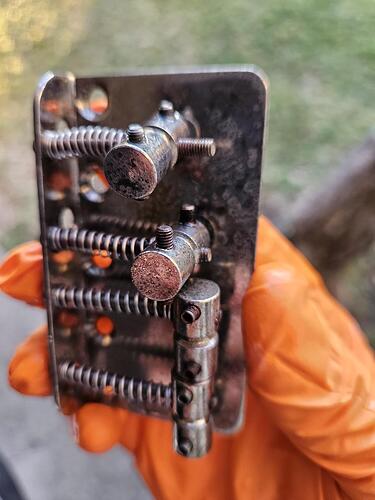
After 4 hours i took all parts out, washed them off, inspected and put back in the tub for close to another 8 hours. After removing and thoroughly washing with water this was the result …
Also during the drying time I found a second hand 3 ply white pick guard online (the bass came with a single ply all white guard which can be seen in the original photos, but I wanted the 3 ply only for the fact that it had some black running through it) and aged that by rubbing in some dark wood stain with a rag. It had a sticker on it so I left that on so that it would add more of a story to the pick guard when peeled off. At the same time I also rubbed stain into the volume and tone knobs. I forgot to take before pics but here it is up against the body. The tinting came out only slight but just enough to see the contrast between where the sticker was and the rest of the guard.
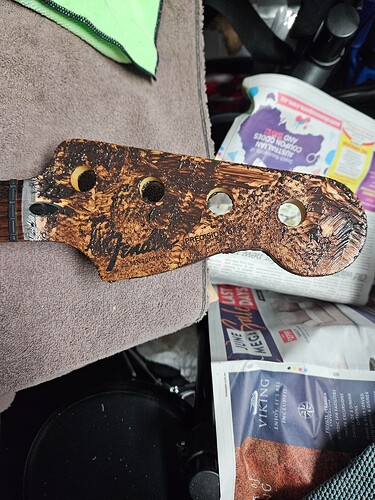
I did try to darken the headstock by sanding it back slightly and rubbing in brown shoe polish as this is a technique that I’ve read about in guitar forums, but it only made a very, very slight difference. The headstock remains a work in progress while I research the best way to go about aging it and making the headstock darker. Possibly a tinted nitro??
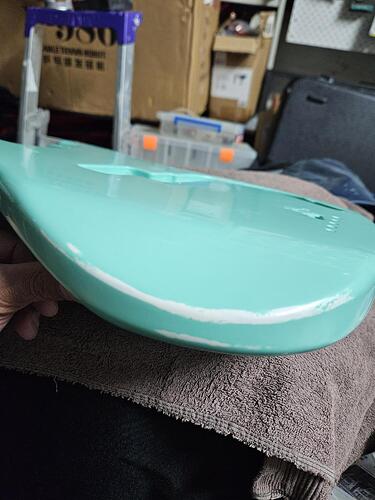
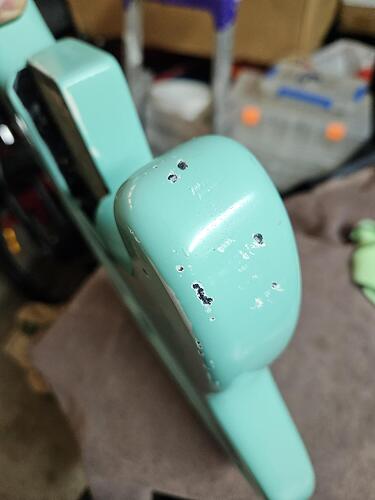
Sanding the body then began and it went like this. Wet and Dry (always used wet) 400, 800, 1000, 1200, 1500, 2000 and finally 2500 grit. I estimated close to 7 hours of hand sanding all up. Relicing was introduced from when I started with the 800 grit and progressively increased as I went up through the grades of sandpaper. A few deeper gouges were added with the edge of a putty knife.
Finished off with some car polish to add some slight gloss to the body. I purchased a set of EMG Geezer Butler pickups and some La Bella flats and when they arrived it was time to reassemble.
I finished putting this together last night. It currently plays like crap ![]() so will do a set up on it this afternoon when I get home from work.
so will do a set up on it this afternoon when I get home from work.
Things I’d do different next time:-
- Buy 2 cans of nitro spray. I was hoping to crack the finish but I believe that I didnt apply enough nitro. This would also leave enough to possibly match the headstock (another look I like)
I’m so glad I went through and did what I did to this bass now. I absolutely love the look of it. Once it’s playing well then I can see this will be hard to put down. I did play it quickly last night through headphones and it sounded great. I cant wait to run it through my 800w amp next week in the studio.
