Barney
July 28, 2023, 2:22am
4
Fun project, it turned out great.
FYI the easiest way to strip poly is with a decent heat gun (not a hairdryer). Hot enough that it’ll blister your skin. Then use a putty knife. Simples.
There’s also an existing huge thread on project basses that people have made. Lot’s of good info in there.
Starting a new thread here for anyone that wants to post their bass construction projects - new builds, mods, whatever you’re tinkering with. There are some true badasses in these threads with this stuff - very inspiring - so much so, that I’ve taken on a beginner project myself:
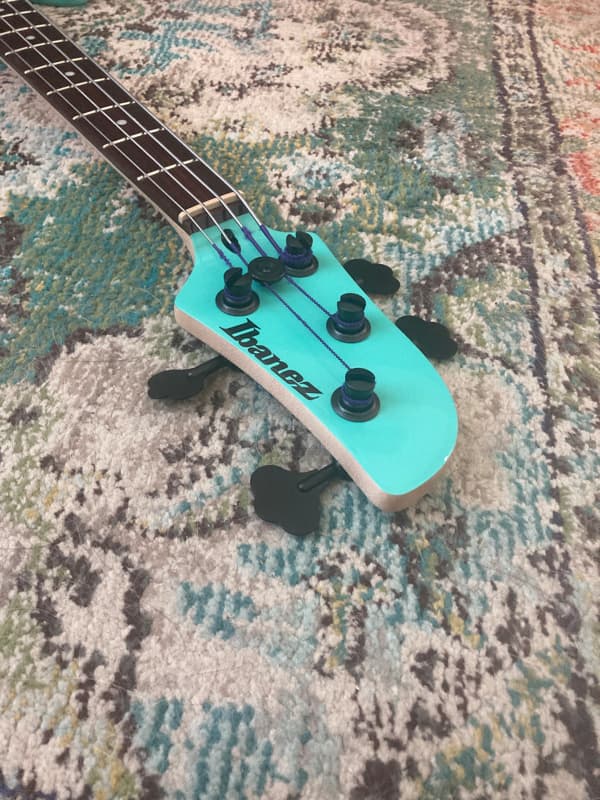
So I saw this used Ibanez on Craigslist for $50, when I got there, this poor bass looked like it was way past it’s heyday, maybe had a beer or two spilled on it and not wiped up right away, then probably sat in a base…
4 Likes