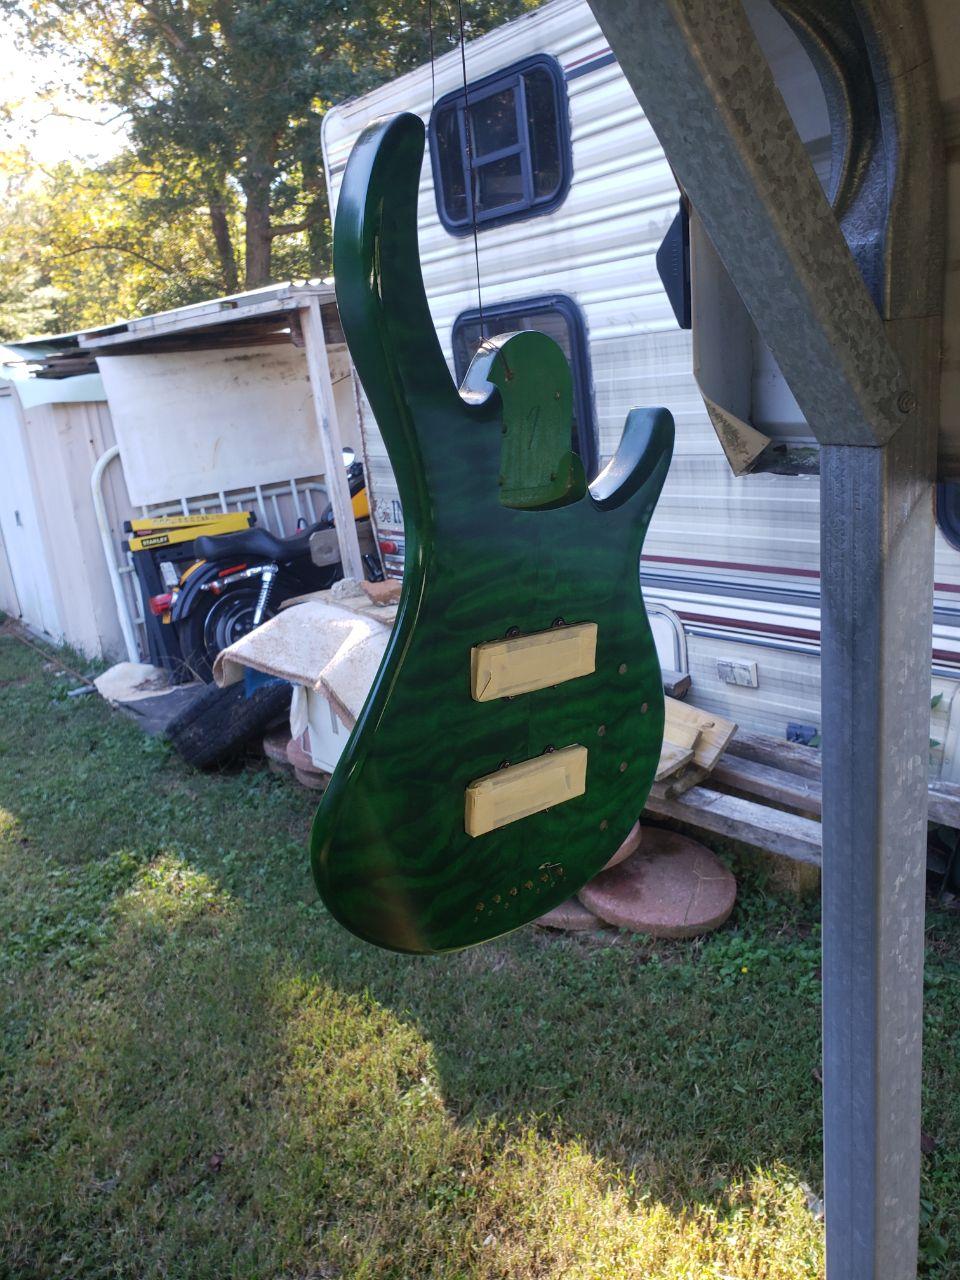
Clear coats going well so far. But before it goes back together going to put an emg 3 band EQS system in as my new preamp
11 Likes
Haha, wouldn’t be able to do that right now… too much stuff coming down out of the birch trees here - it’d look like to donut with sprinkles 
4 Likes
She is very pretty.
4 Likes
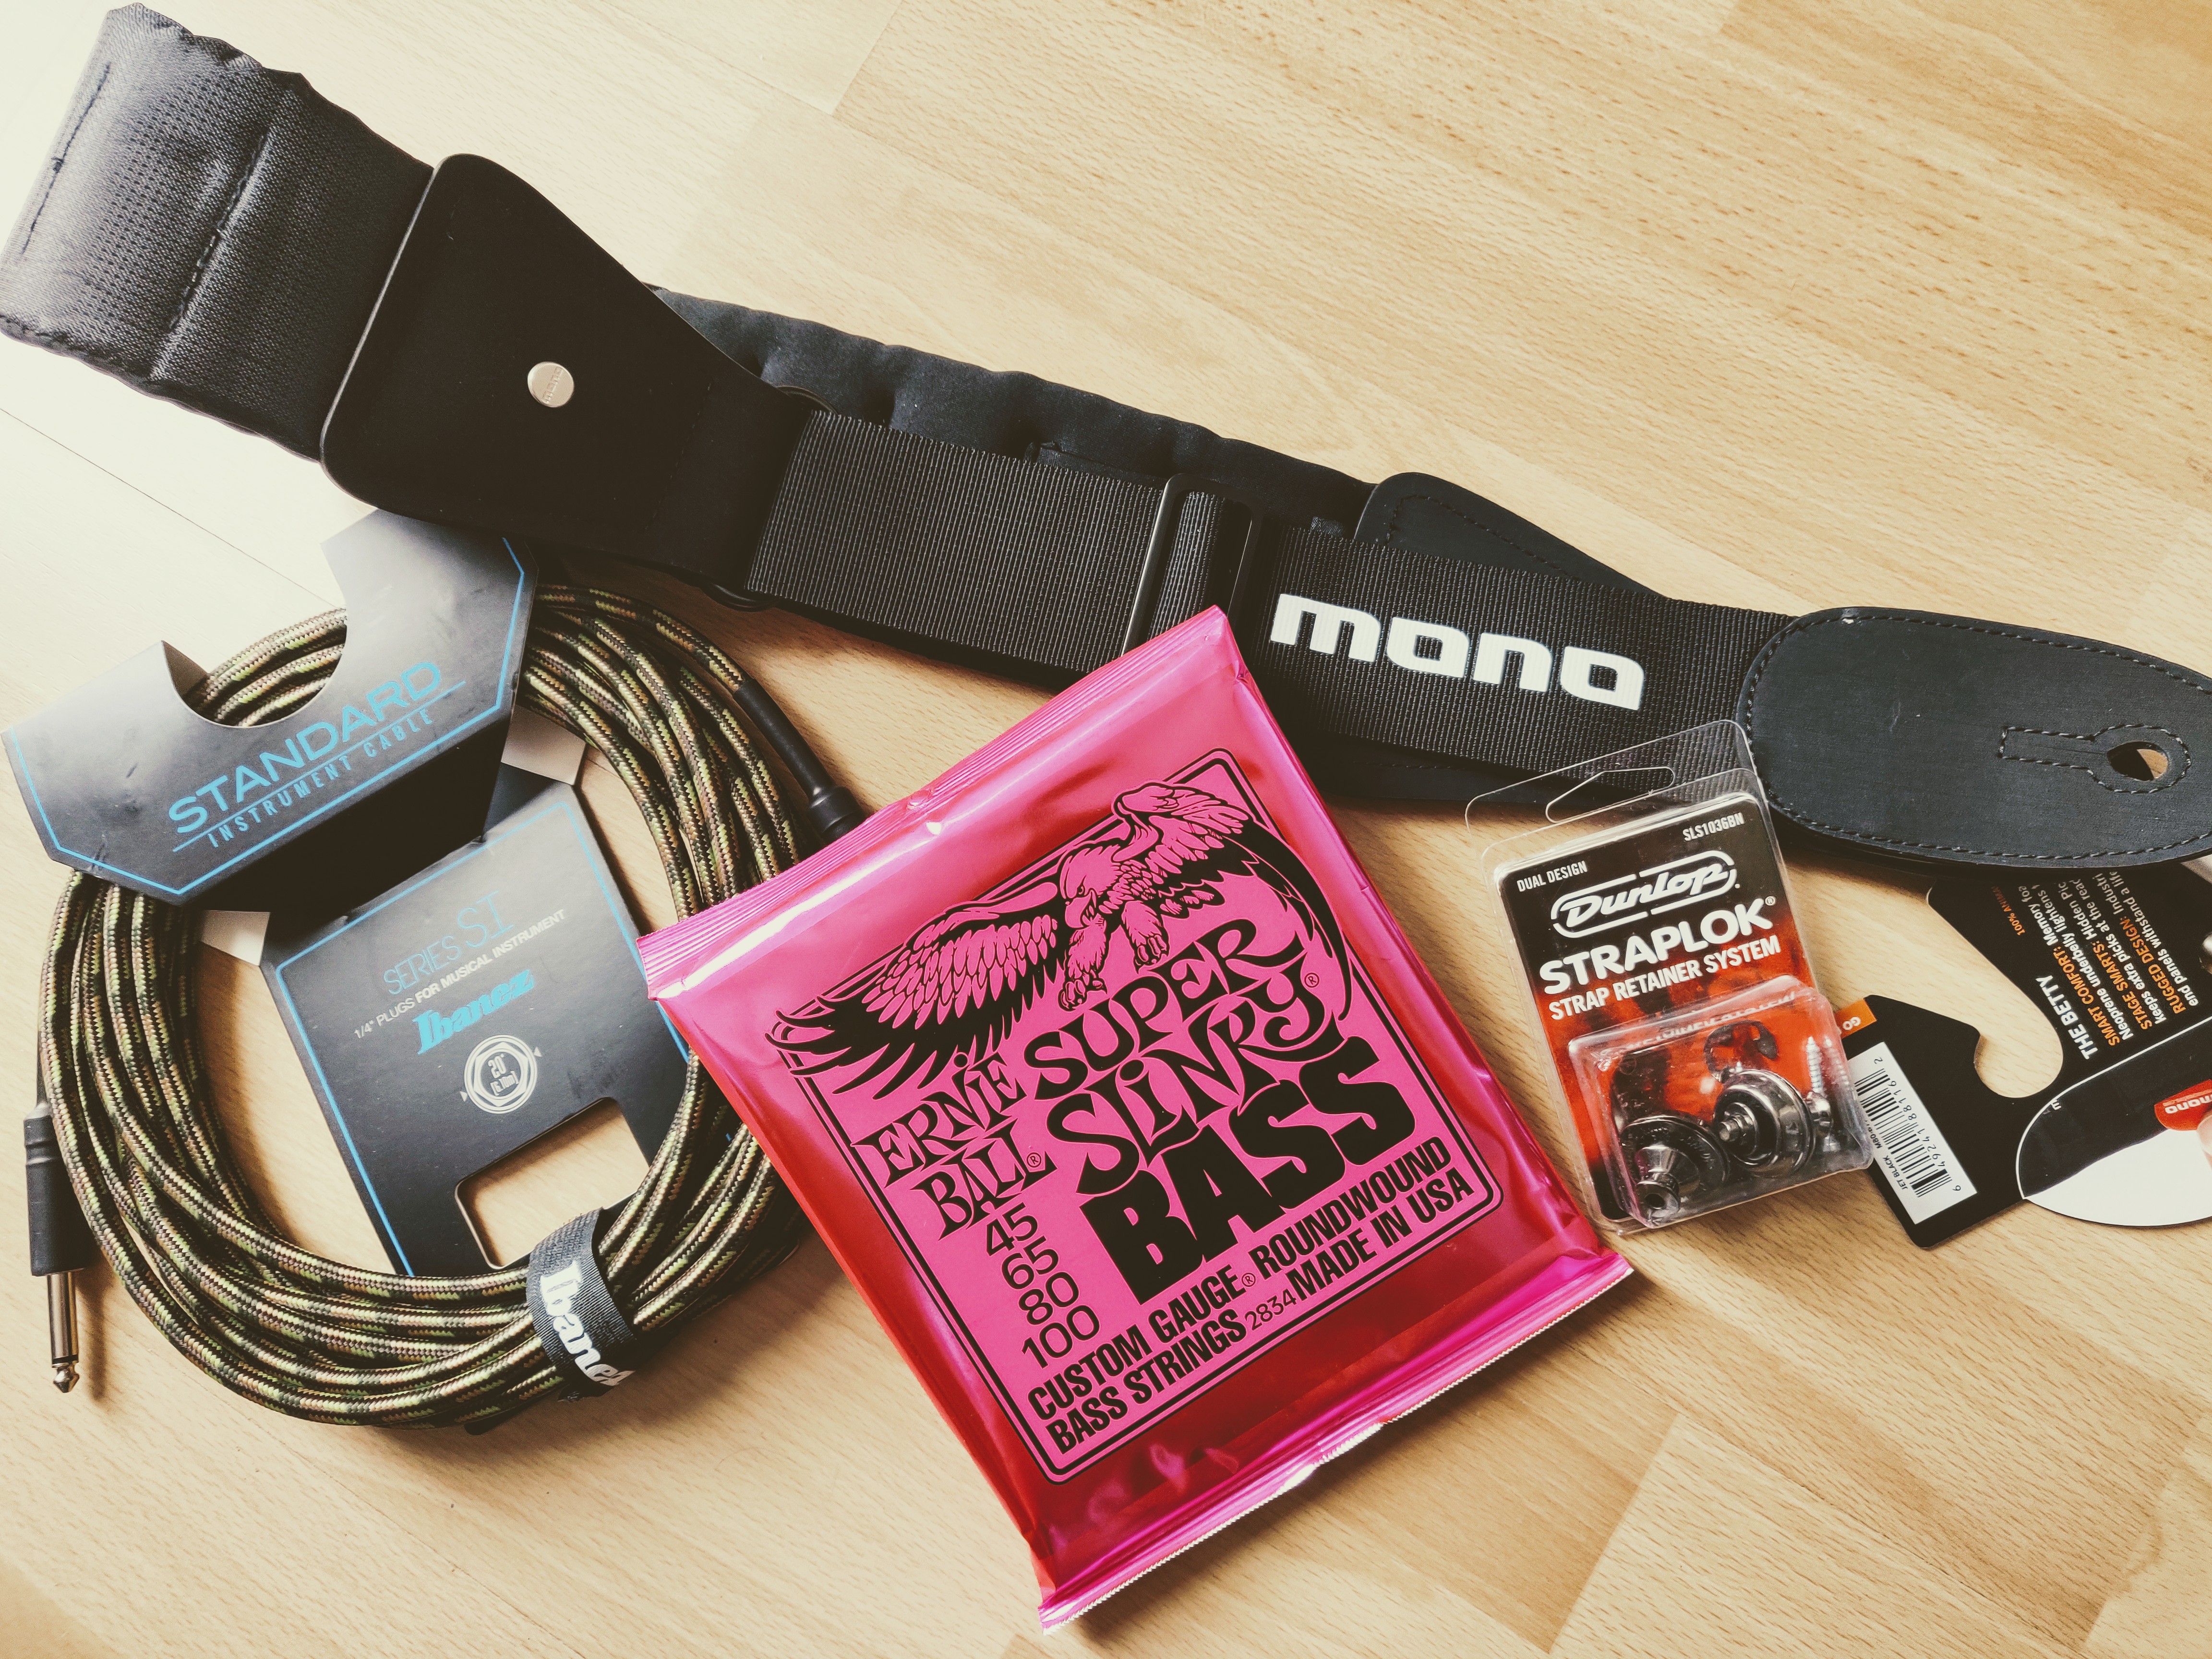
Nice strings. I prefer the Regular ones that are 50-70-85-105, but its just a tiny difference, .005 x 4 to be exact 
and i would use these as my next choice.
3 Likes
I liked the tone of them in some videos 
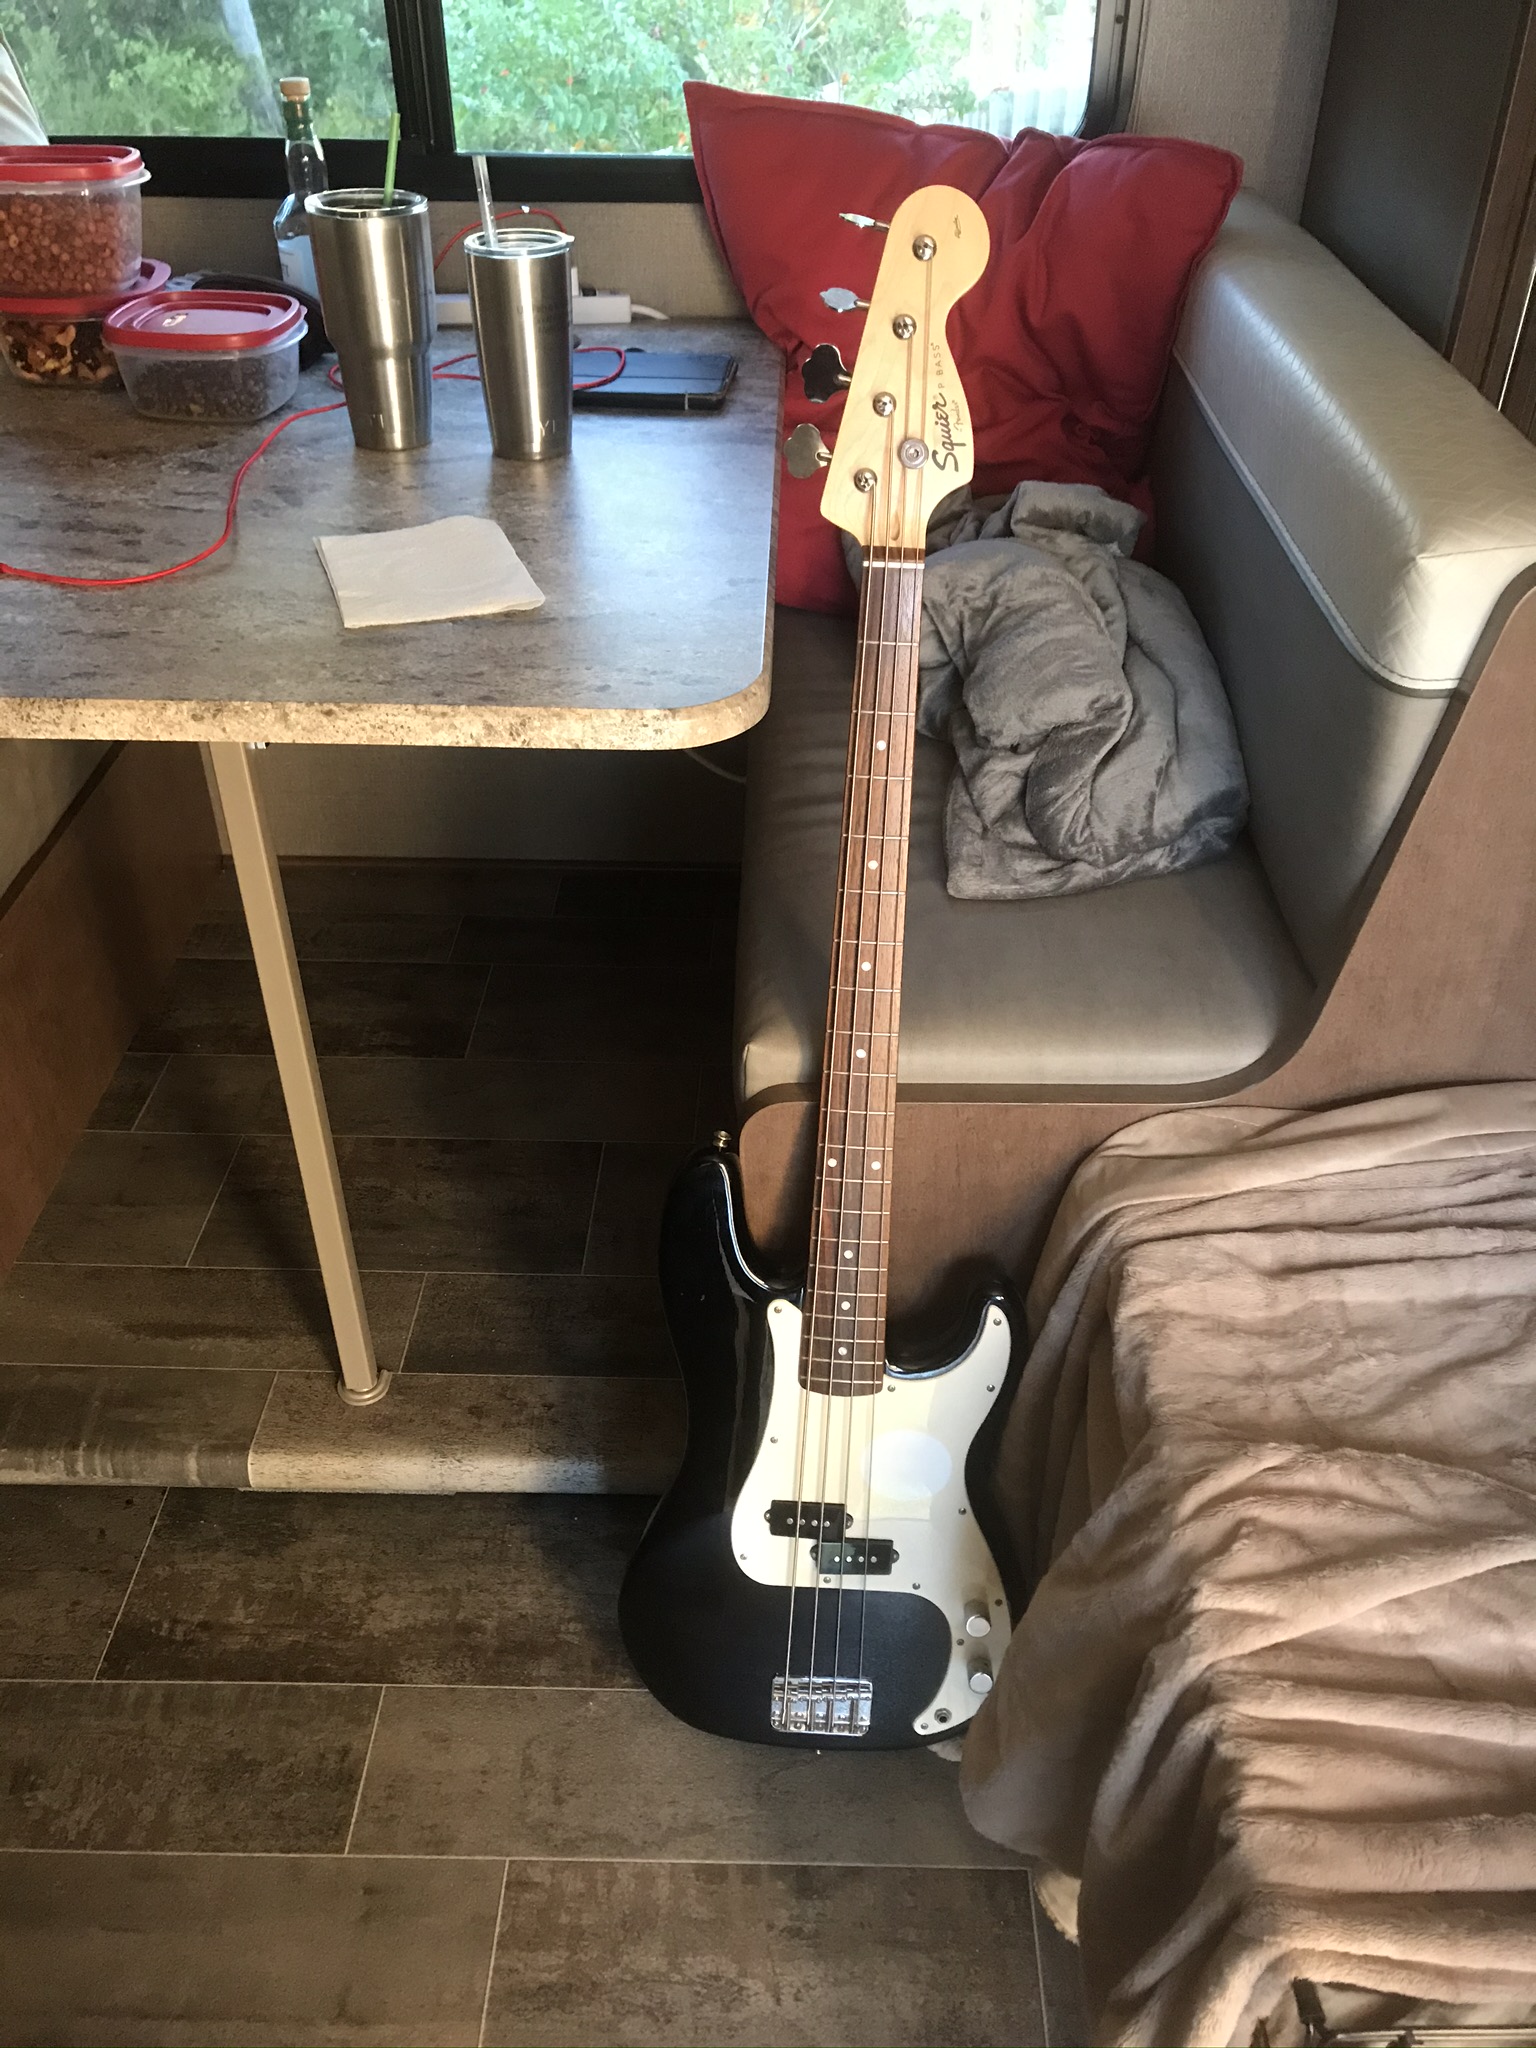
I would not change them but to my (untrained) ear two of the strings sound kinda dead. I bought the bass “semi-used” so I guess it would make sense. Anxious about the process but I did change guitar strings once so hopefully its not any more complicated (already watched some videos).
Excited for the straplocks, I think the nickel color will look great on the black bass, will update when finished installing all of this
4 Likes
yeah, you should be fine with the strings, but don’t string them like guitar strings. You said you watched videos, so you probably already know this, but in case you don’t.
Be sure to cut the strings and put them thru the center of the tuning peg, and bend the string thru the slot, and wrap it bottom up, so you wind the string over and up from the beginning.
If you string it like a guitar and just lay the string down thru the slot, and wind, the strings will slip and won’t hold tune well.
If that doesn’t make sense, let me know and I will try to explain it better, or find a video that I know explains it right.
5 Likes
I finally got my Epiphone EB-0 back from the shop! He replace the neck pickup with a Dimarzio Model One and added a Dimarzio Model J bridge pickup. He also replaced the bridge with a Babicz. Before and after photos below.
10 Likes
Dang. That looks awesome.
3 Likes
Thanks! He did a great job! It was definitely worth the wait.
3 Likes
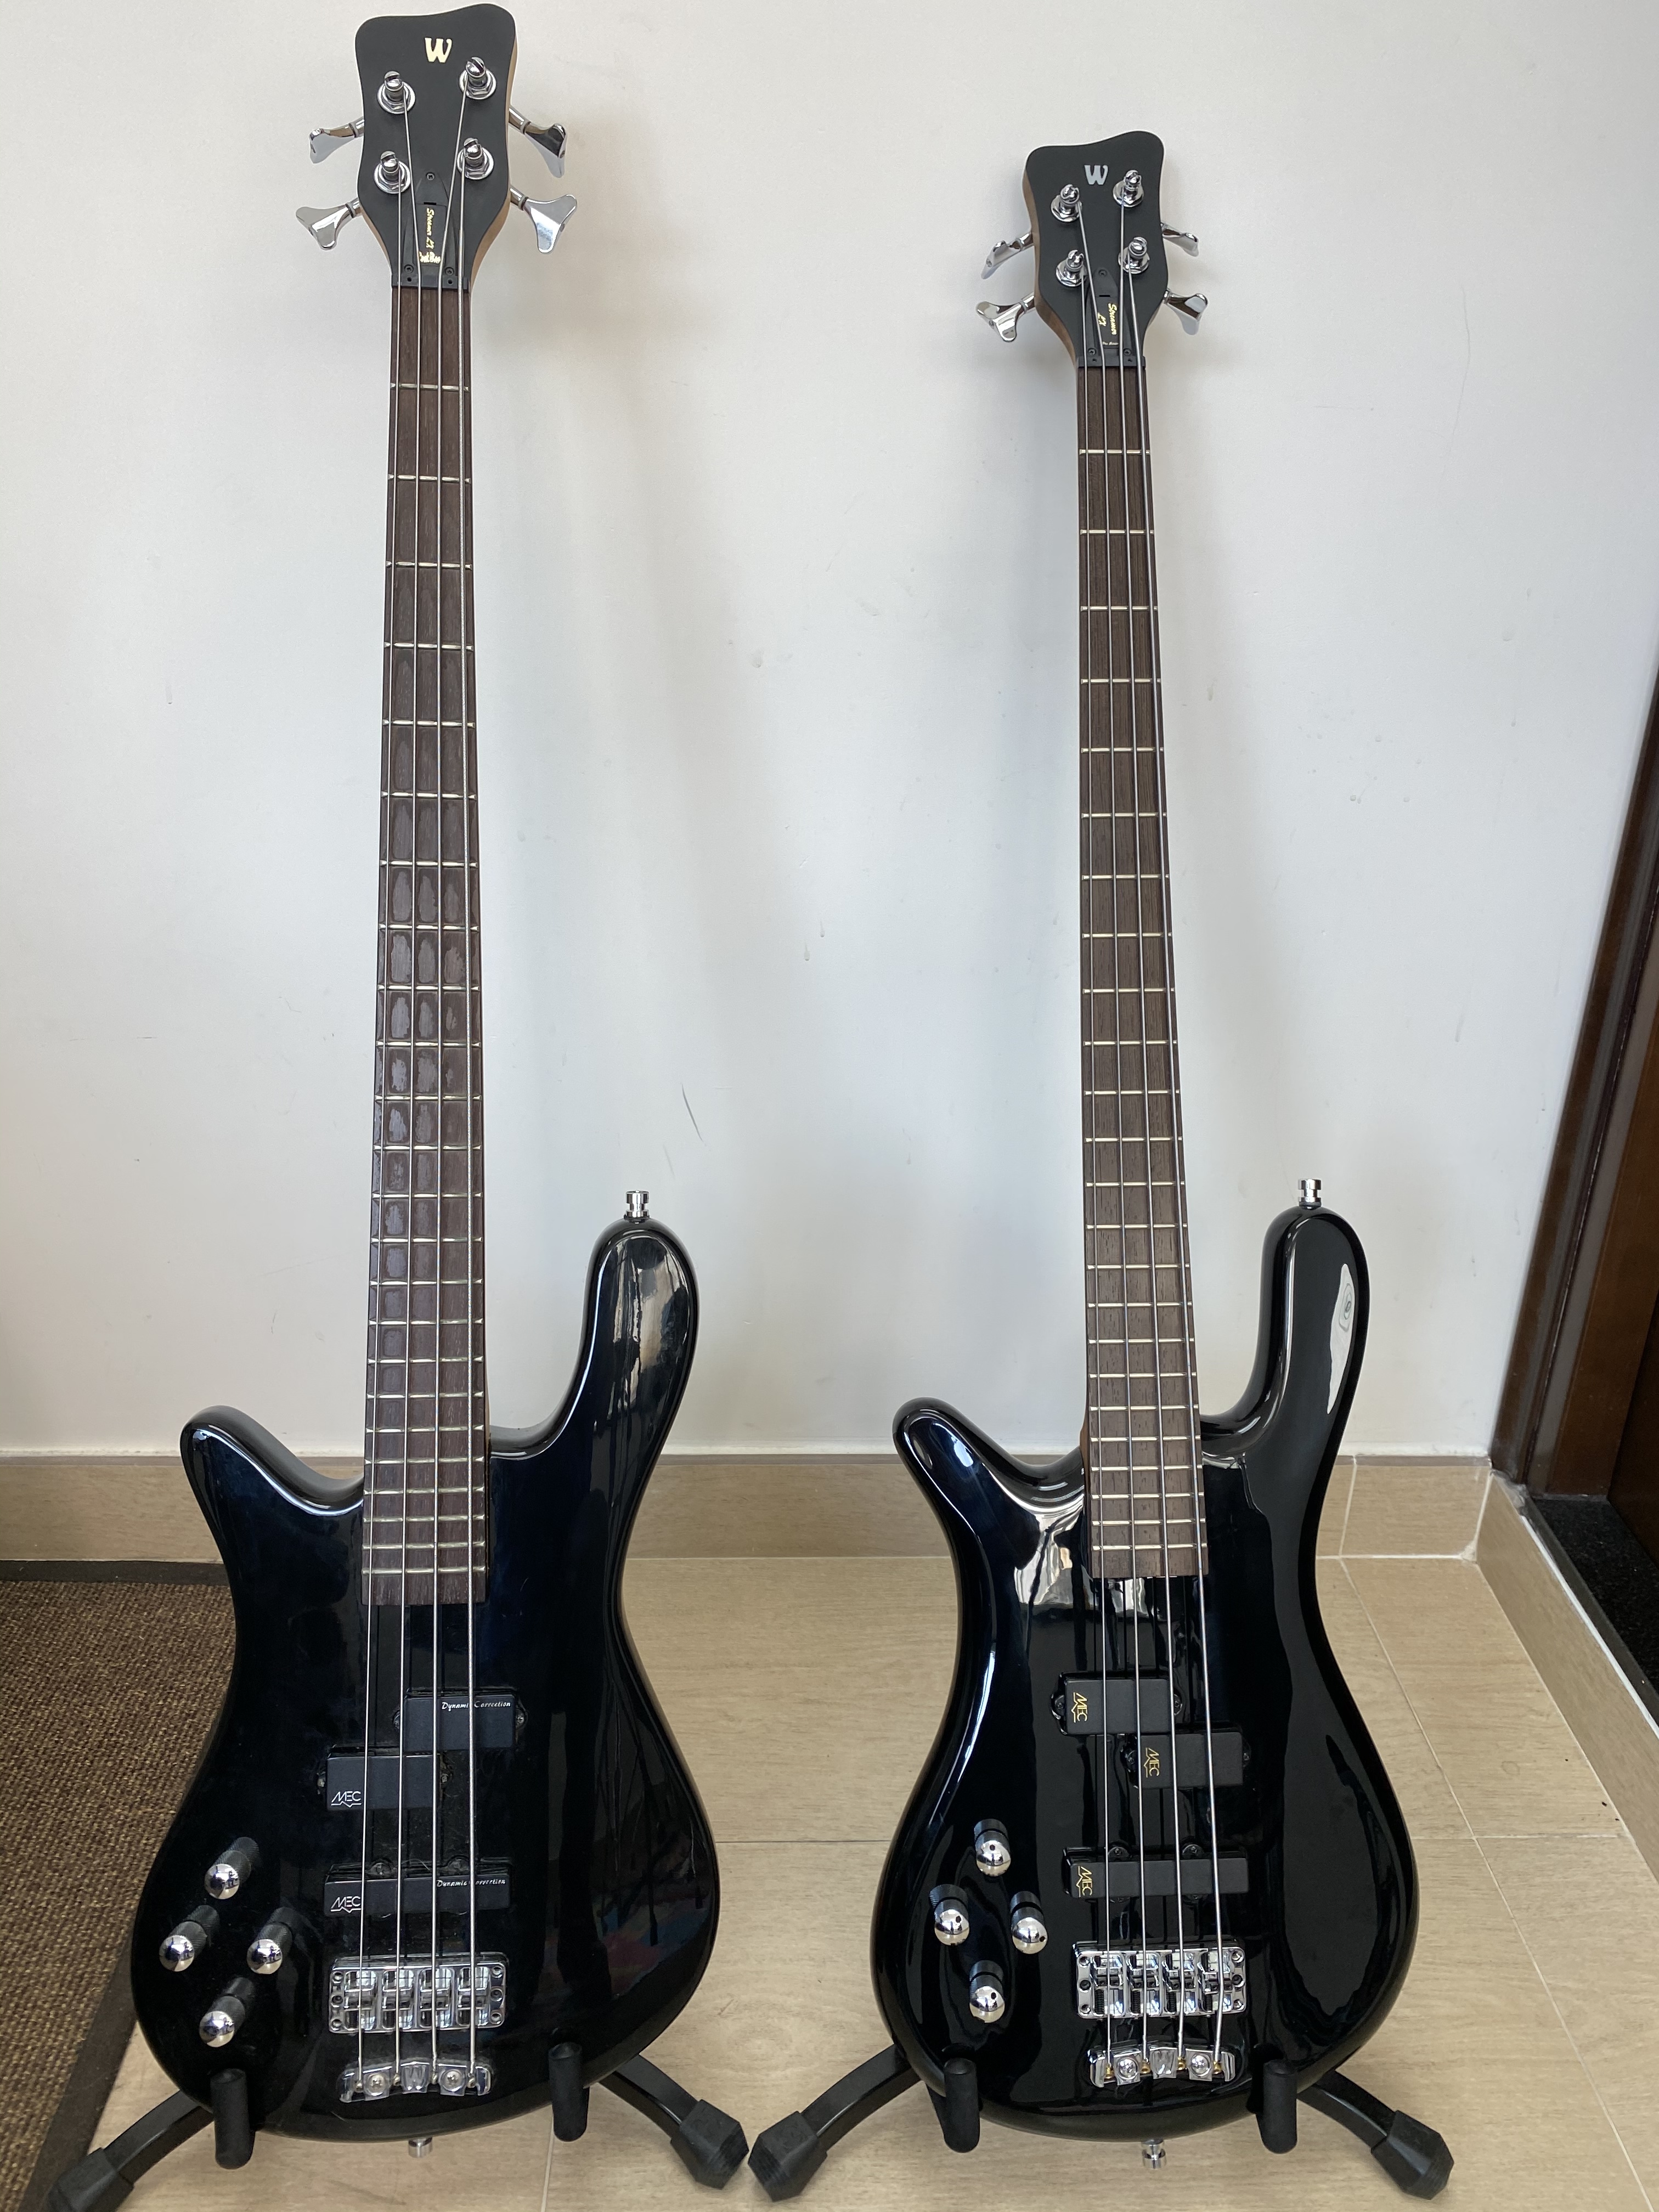
OOH MIG Streamer LX, nice! Love the reversed P. Looking forward to your impression of the differences, I have a Rockbass LX4 too. Man the Teambuilts look nice.
4 Likes
Thanks! Main differences so far:
- Weight: MIG is about 2lbs heavier than the RockBass (the cherry vs. carolena body, I suppose is the main difference);
- Action: MIG is lower and feels much nicer to play (couldn’t get much adjustment on the RockBass even though they share the same 3D bridge design);
- Comfort: Curved body shape of MIG is really nice, more than makes up for the additional weight;
- Electronics: Active/Passive switch on MIG is cool, and it generally sounds a lot louder and growl-ier than the RockBass. Not recorded with the MIG yet, but hope to do a cover with it soon (the RockBass was no slouch in terms of tone, so I am not sure what I will gain there, to be honest)…
5 Likes
Did you try cranking the entire bridge down? Mine came with the bridge at max height. Cranking the whole bridge down (the allen nuts at the four corners of the bridge, after releasing the two locknuts) fixed everything.
I love Warwick bridges.
Those are the two things I really want.
Listening to the sound differences myself in stores, the MIGs sound deeper and growlier while the RBs are brighter and punchy. And yet both manage to still sound like Warwicks. Curious if that’s how your impressions turn out too ![]()
5 Likes
I couldn’t ever get any of the allen nuts to budge on my RB (long-stocked lefty grabbed from a HK music store; I suspect I may not have even been the first owner …). The MIG bridge is beautiful and moves well in all directions, though.
I’m on the case. More on this later … ![]()
5 Likes
weird! One thing I have noticed is that you have to be really careful with the locknuts before adjusting the other bolts. Just like with the saddles, but not as annoyingly easy to strip as the saddle locknuts.
5 Likes
I always save the parts that I remove from my instruments when I perform any upgrades - sometimes those parts and pieces come in handy…
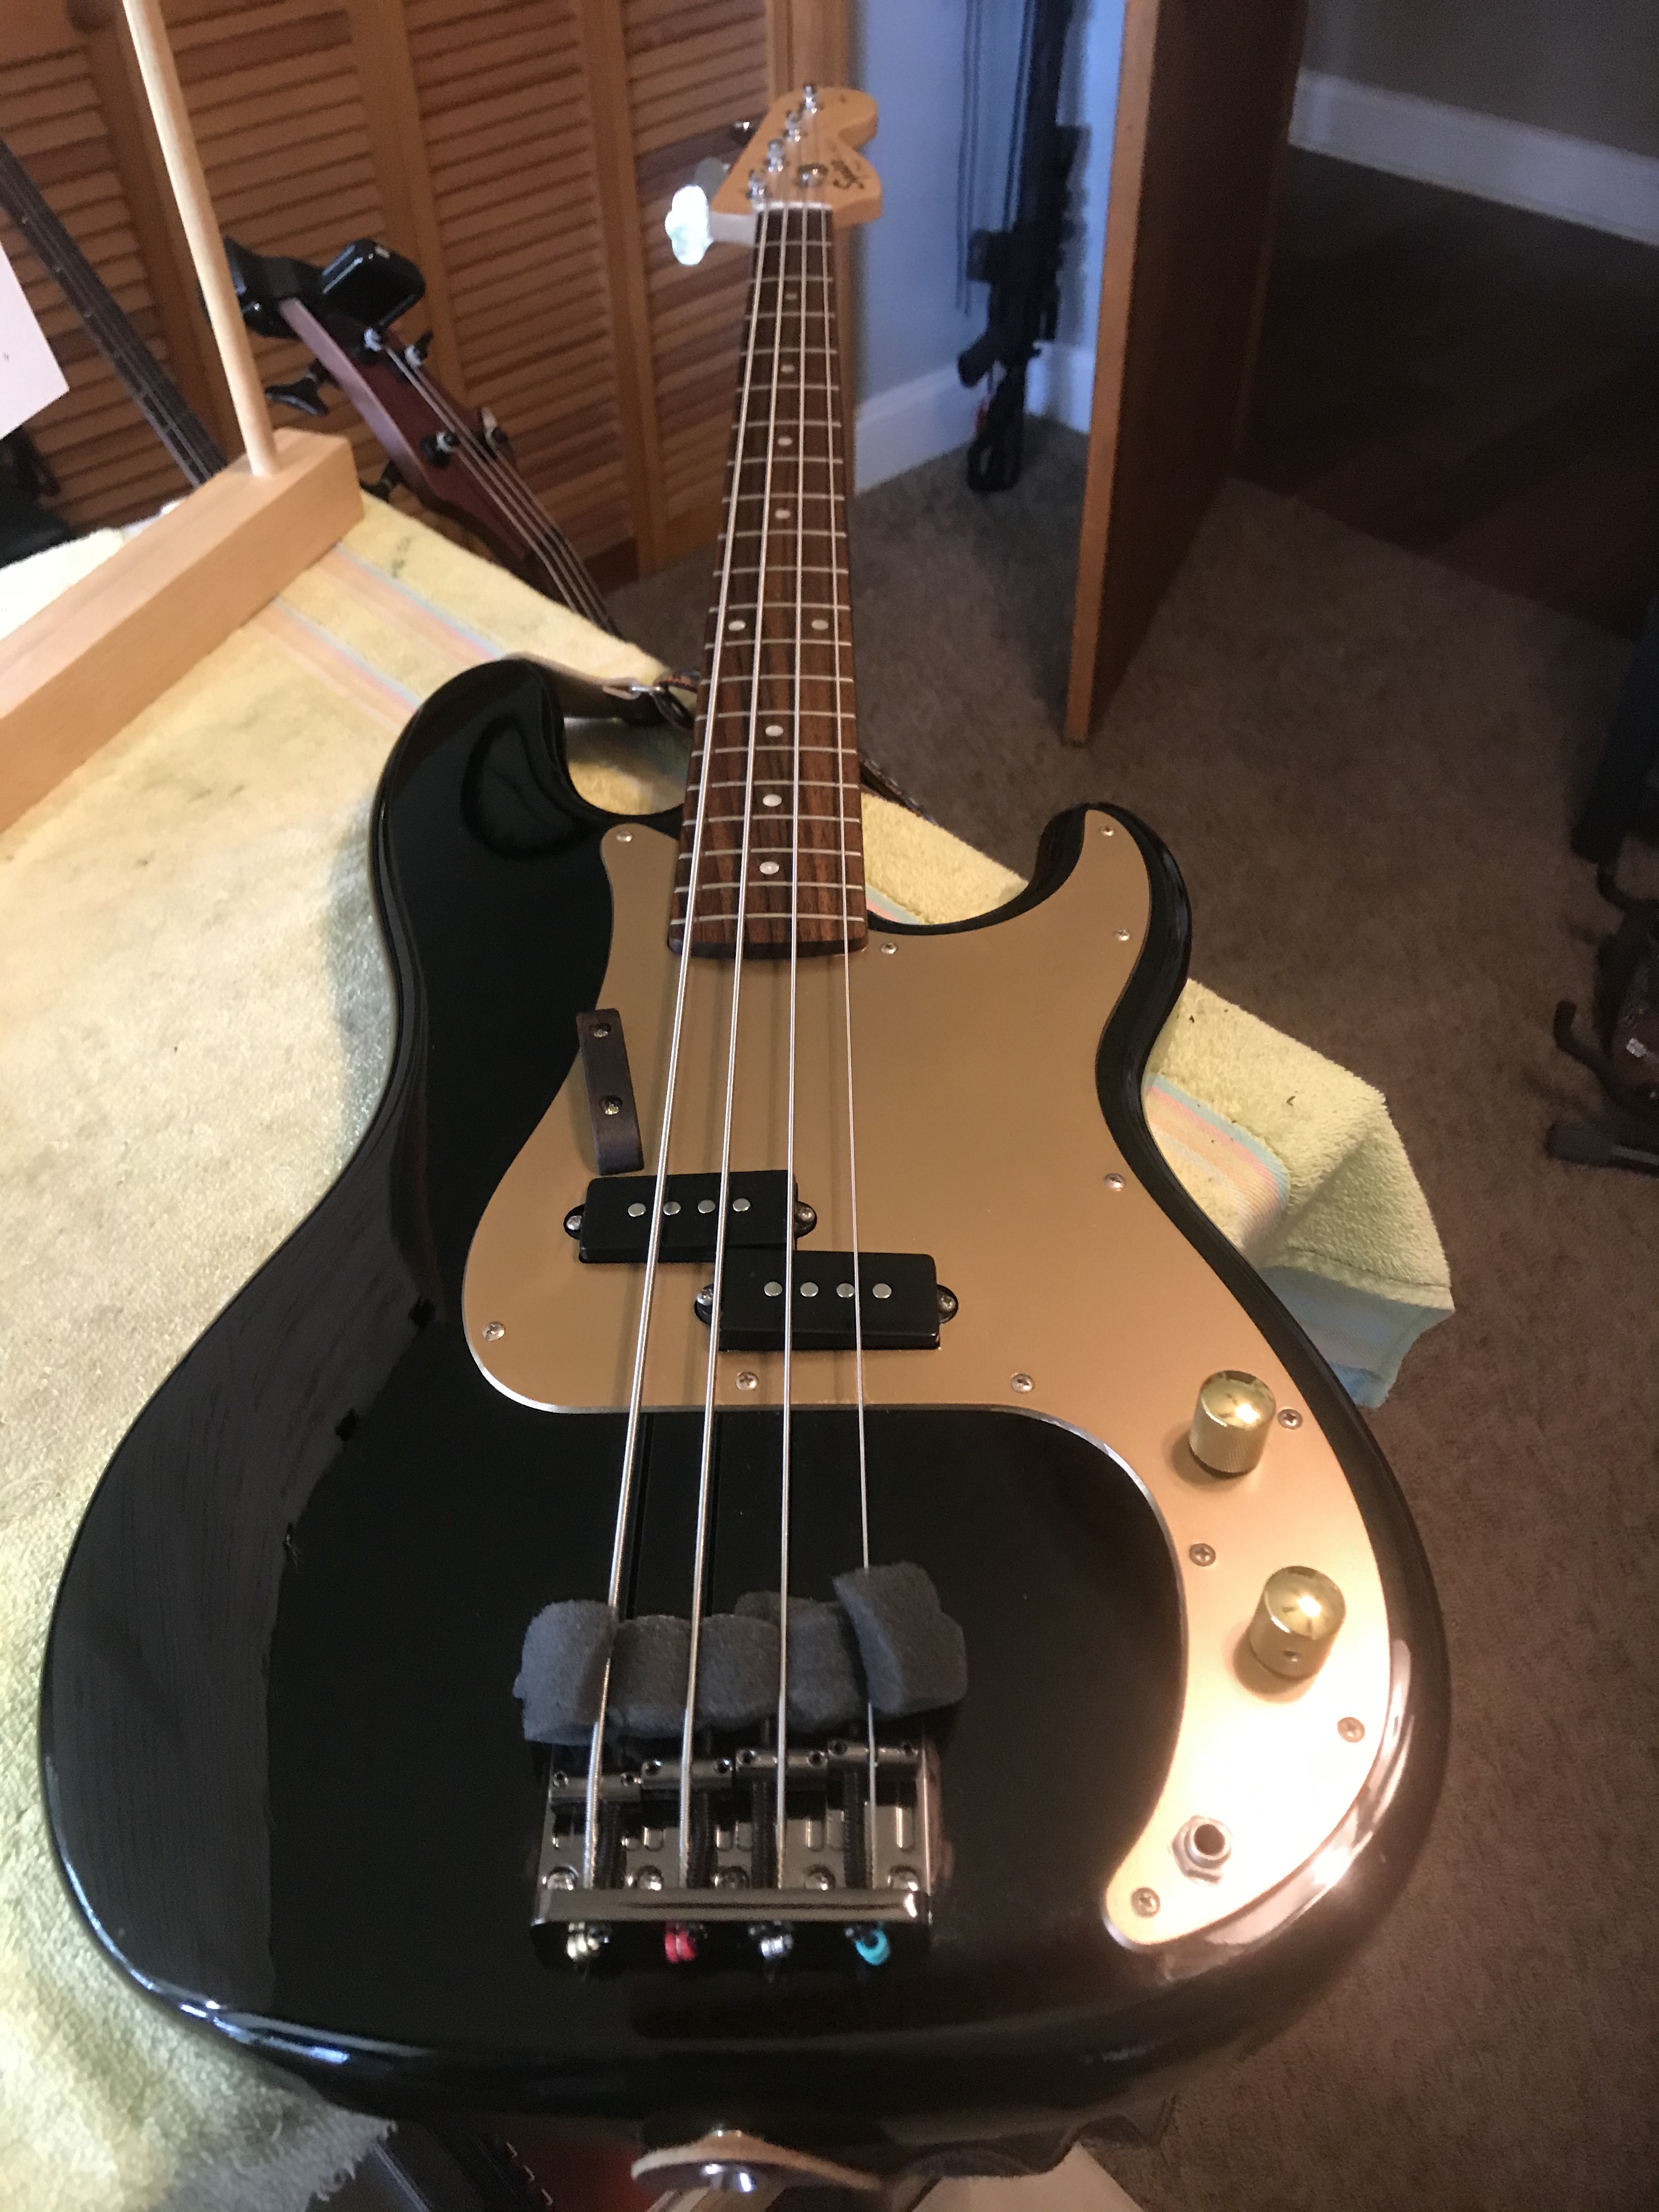
When I returned home this past week from seeing my grandson off to the Army, I took his 2000 Squire P Bass home with me to do a little work on for him. Here’s a before and after photo showing what I’ve done to it thus far…
-
Removed the stock bridge and replaced it with the bridge that use to be on my Yamaha TRBX304 (Big Red)… (I put a Hipshot Kickass on Big Red) last year)
-
Gave the pick guard a metallic gold paint job in order for the black bass to have the same colors as the Army “Black Knight” Logo (Black and Gold).
-
Replaced the chrome knobs with gold ones that I had taken off an old telecaster that I sold several years ago…
-
Installed a thumb anchor that I had left over from an upgrade I did to my BEAD base last year.
-
Restrung and rechecked the truss and adjusted the new bridge for intonation and string height (action).
-
Readjusted the pickups for tone and volume…
So far this particular black P bass has been owned by two of my grandsons over the last 10 years since I bought it for the first one. It’s interesting that both who owned and played it decided to join the Army… As such - and now that it has proper Army colors - I think I’ll call it the “Black Knight”.
12 Likes
would be cool to show this P on a cover before you give it back to your grandson !
5 Likes
I probably will @terb since I’ll probably have it around for at least a few years during the time he’s on active duty… Just taking me a bit of time to get use to the shape/size of the neck and the shape/size of the body since it only has 20 frets yet is still full size 34”. I’m a bit use to playing with 24 frets and a much thinner/faster neck…
5 Likes
yeah, a P is a bit rustic, I can tell
5 Likes