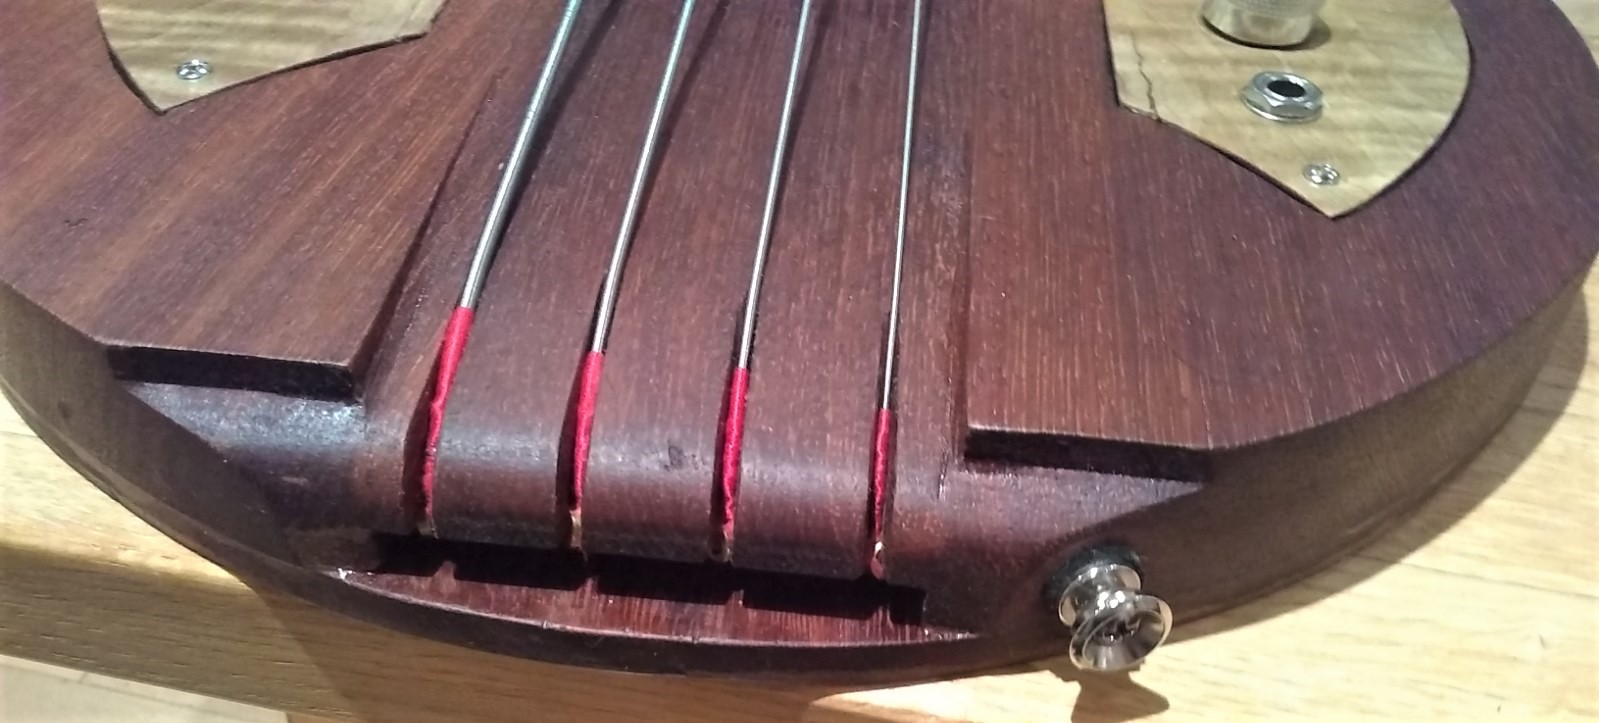
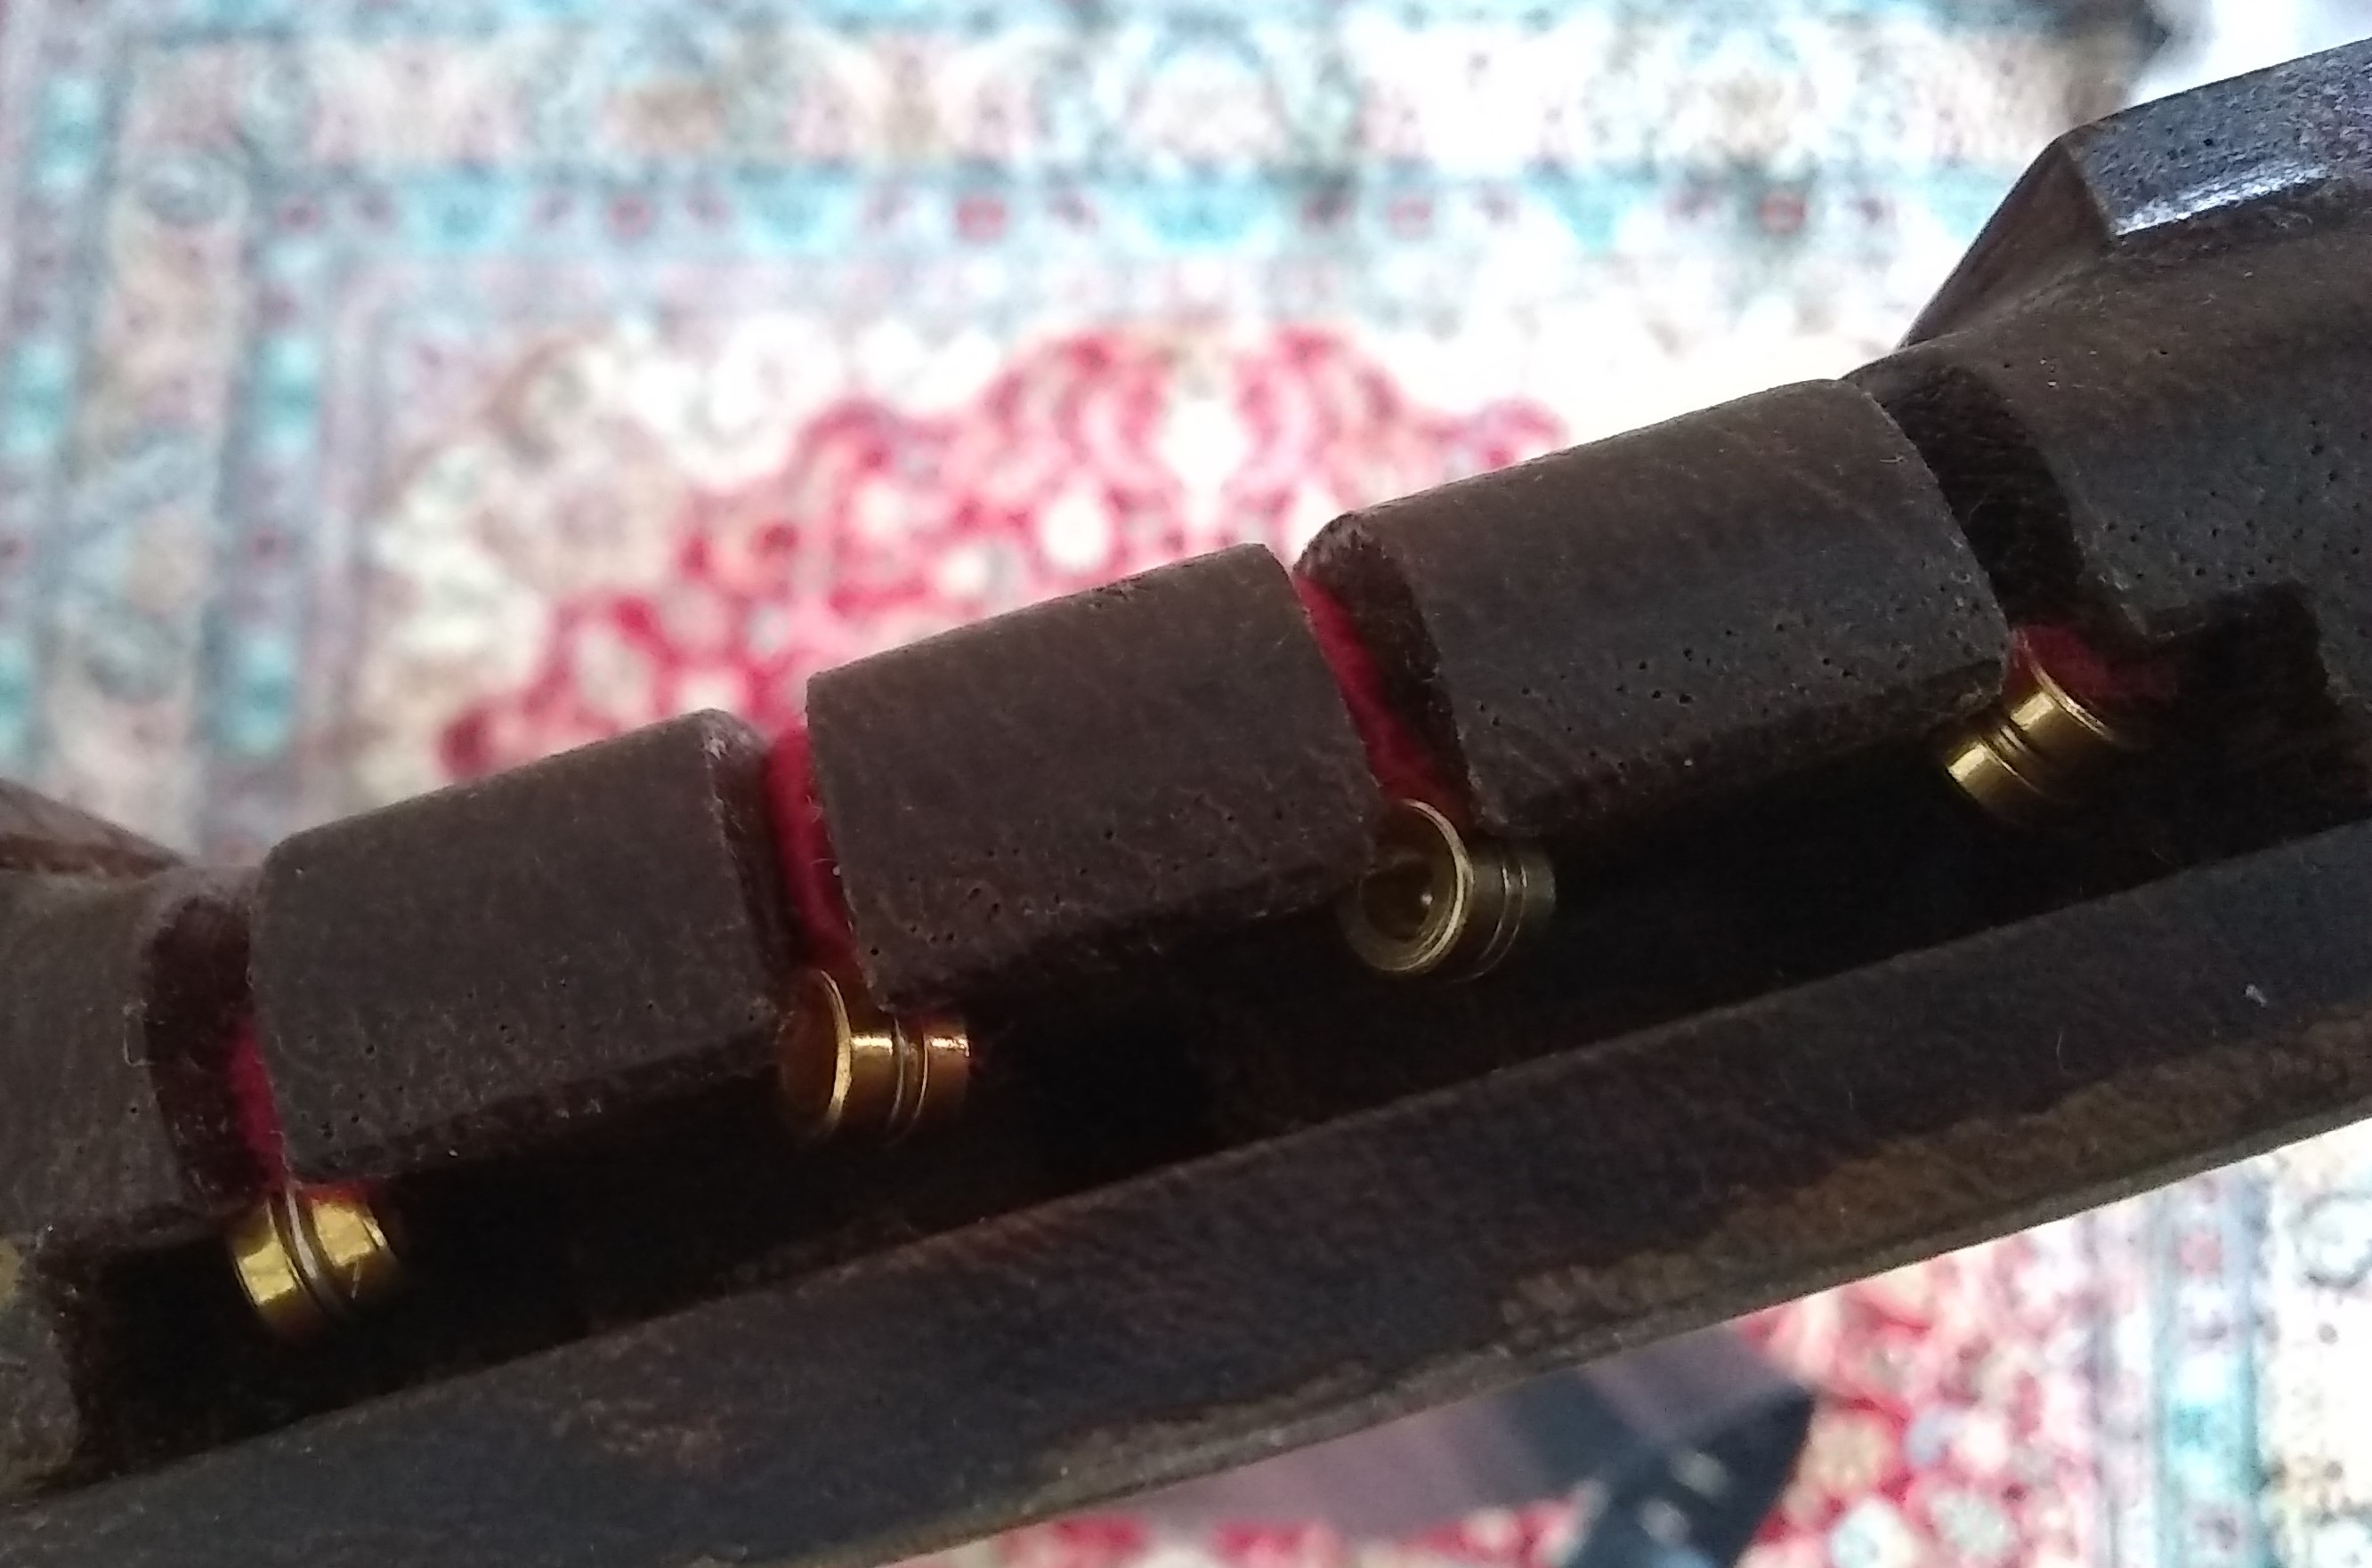
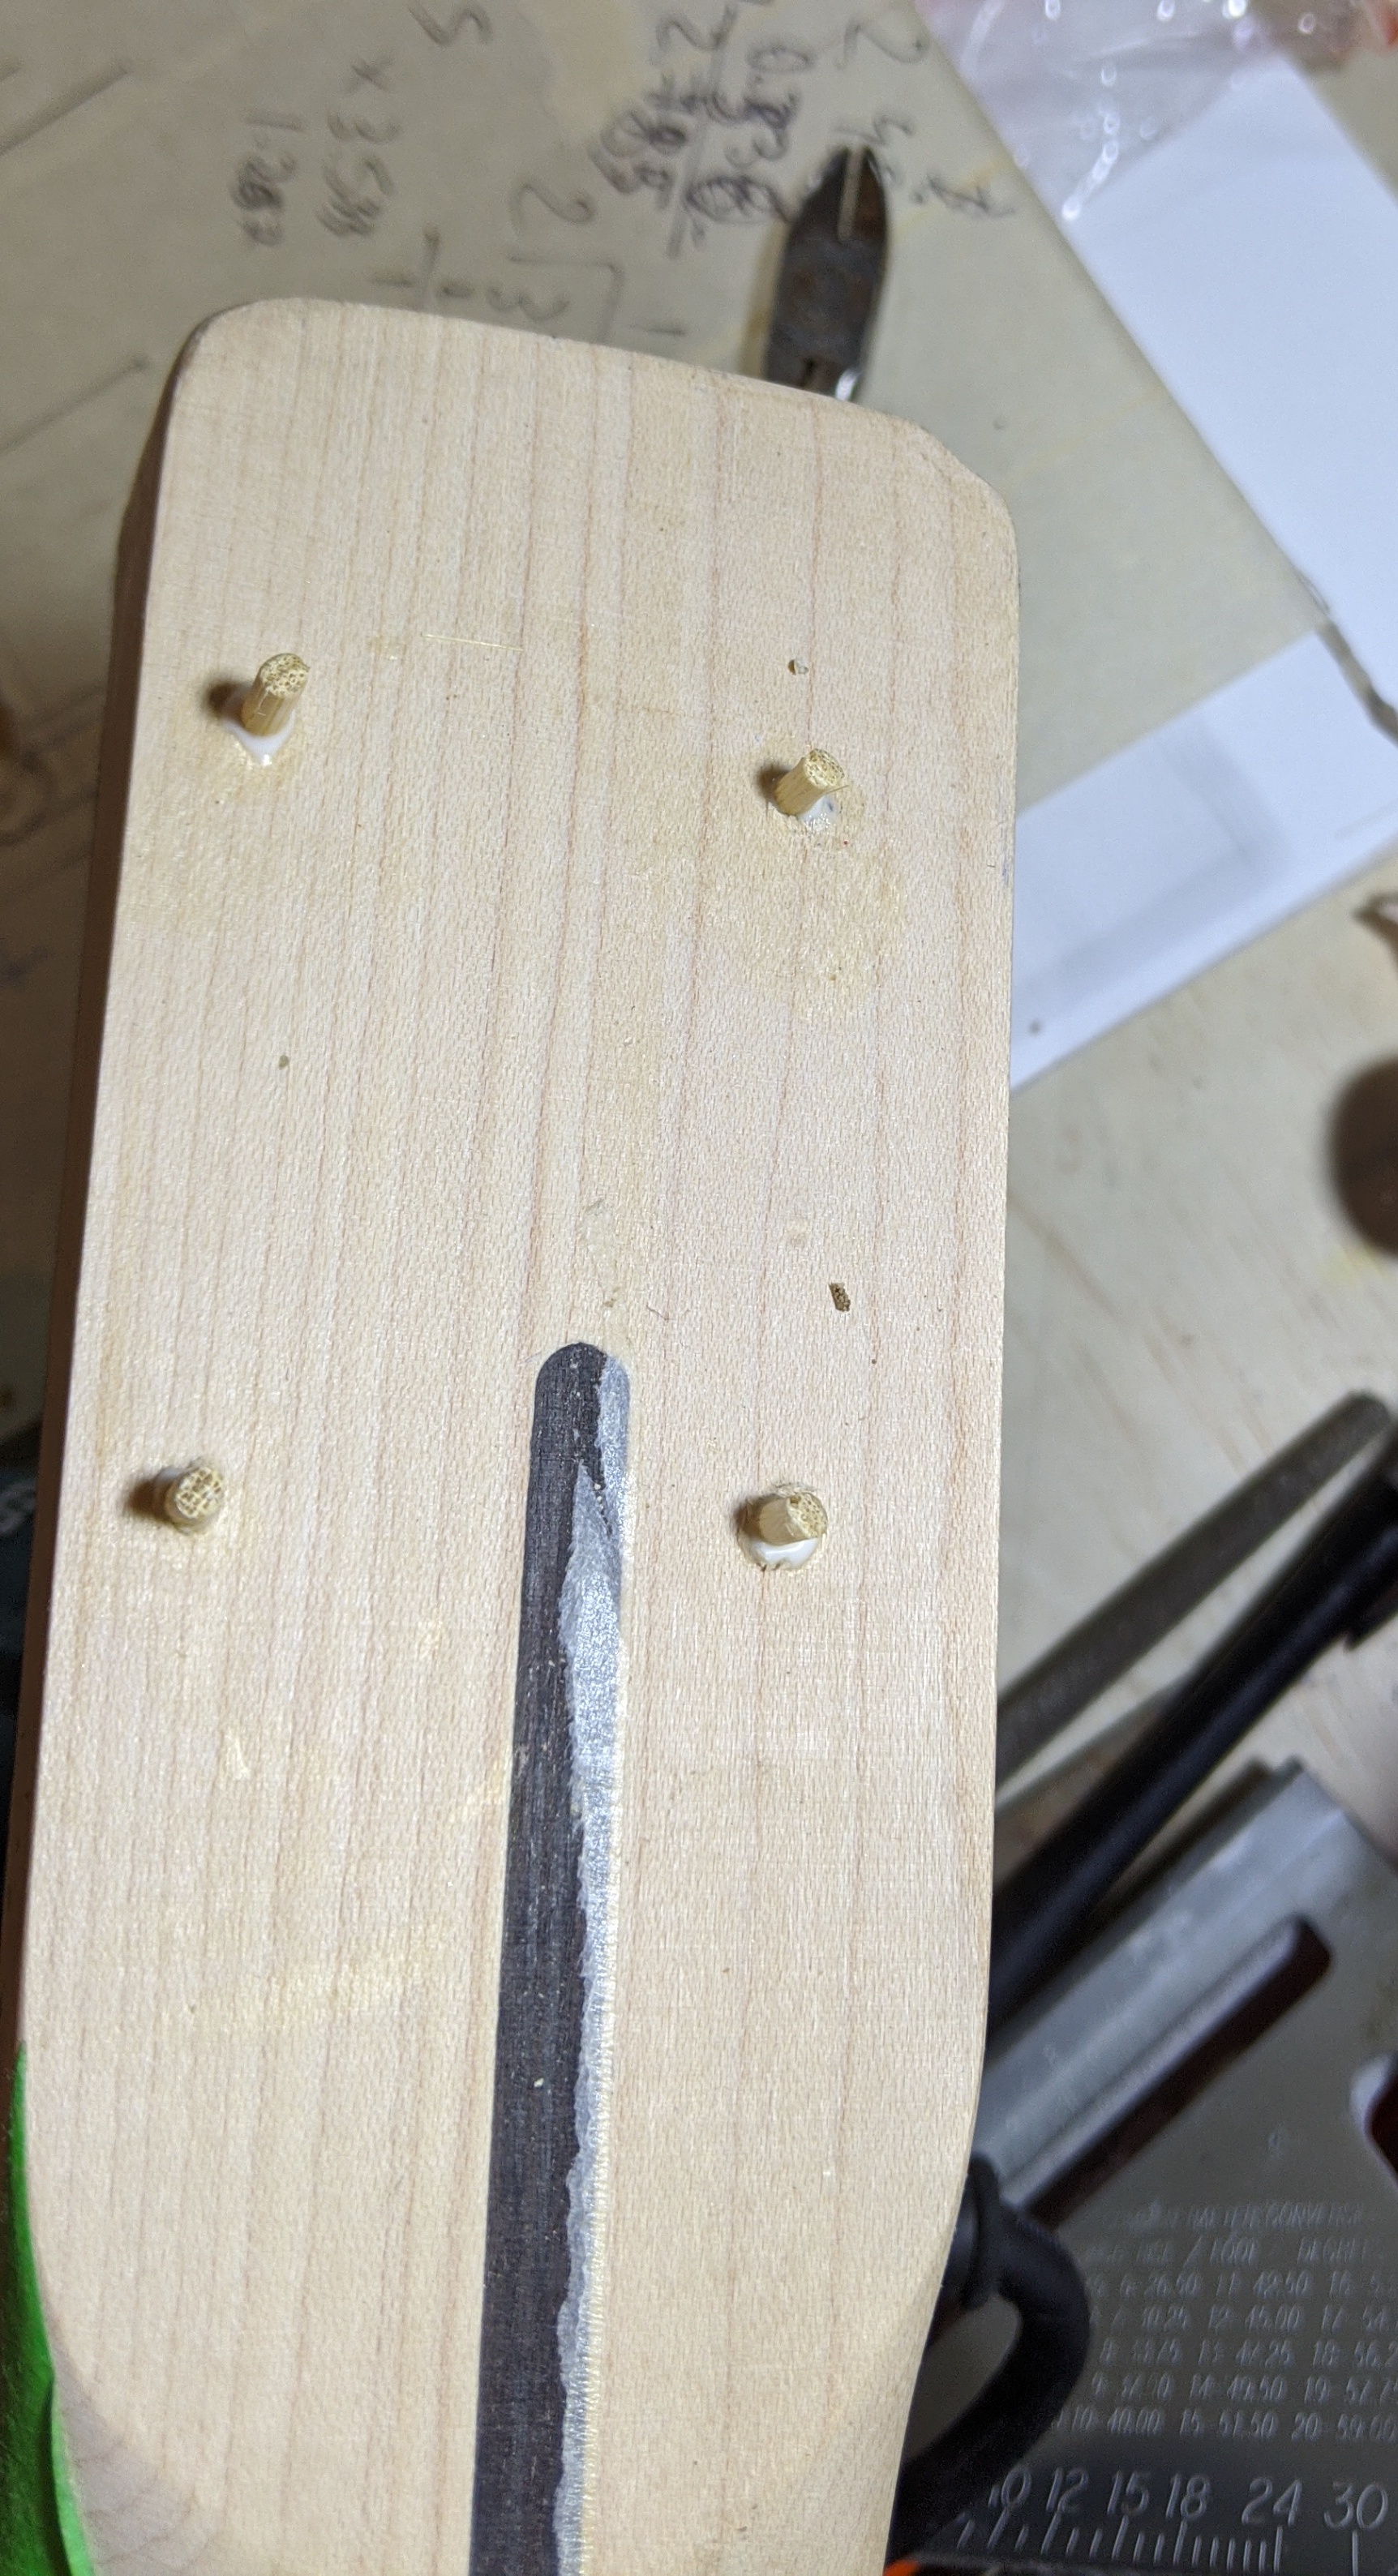
@eric.kiser The bottom 7mm of the body was a separate piece of wood, so I slotted the upper piece of wood and countersunk a groove for each string eye to sit in.
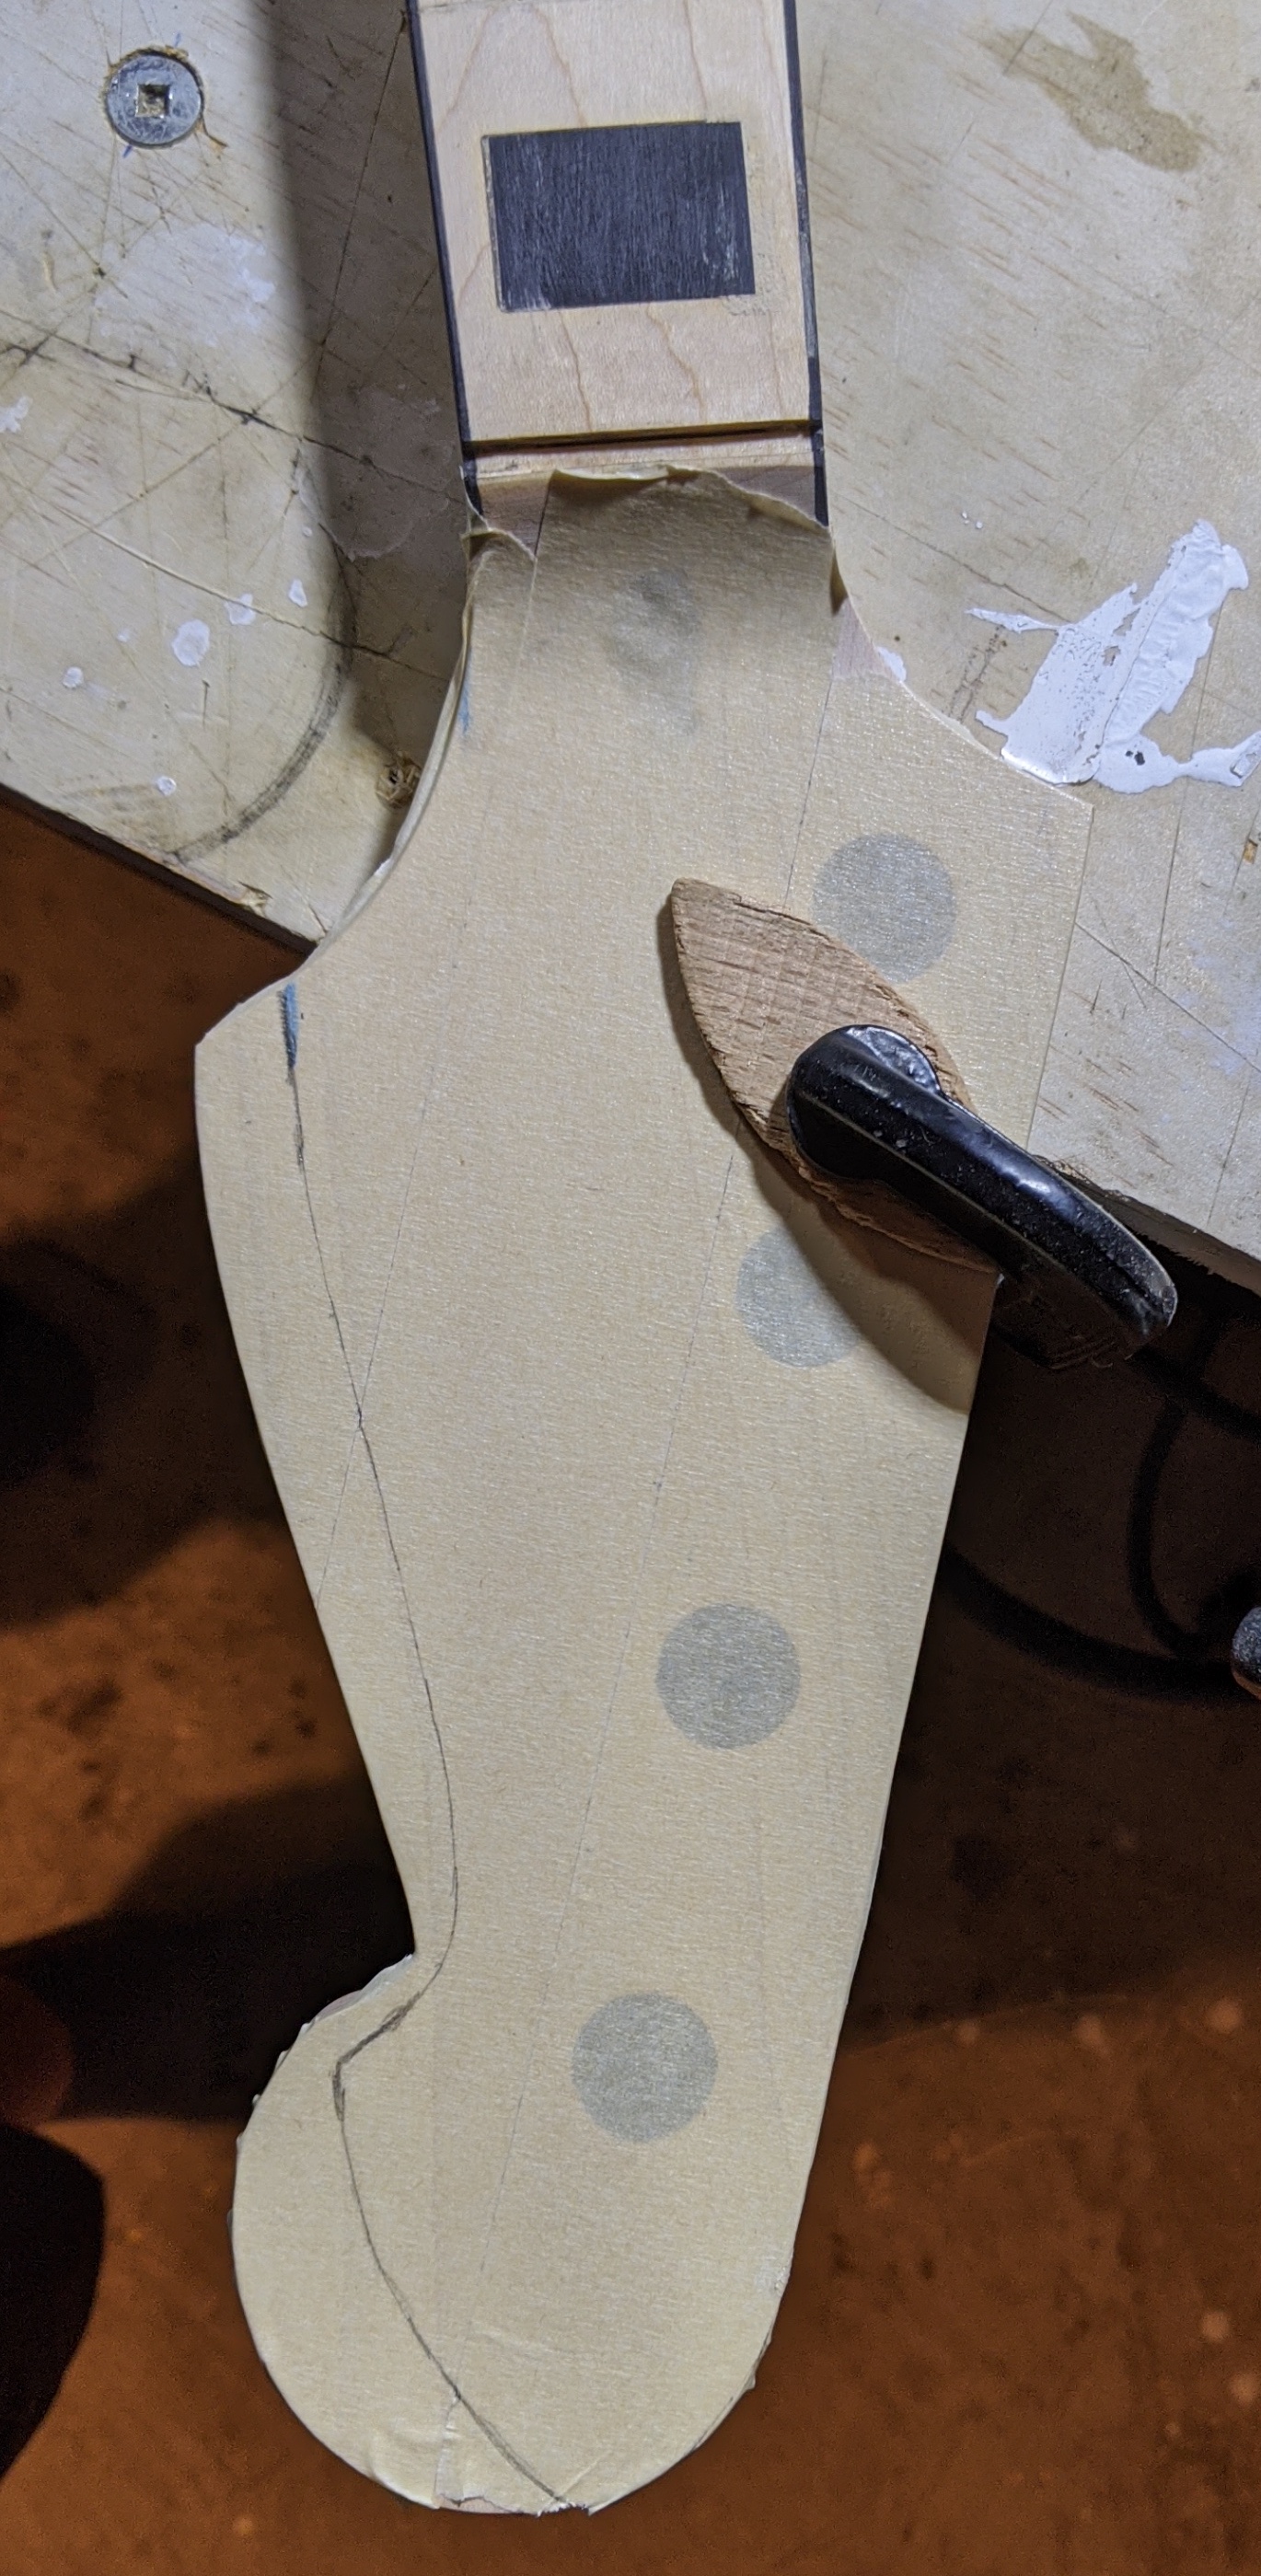
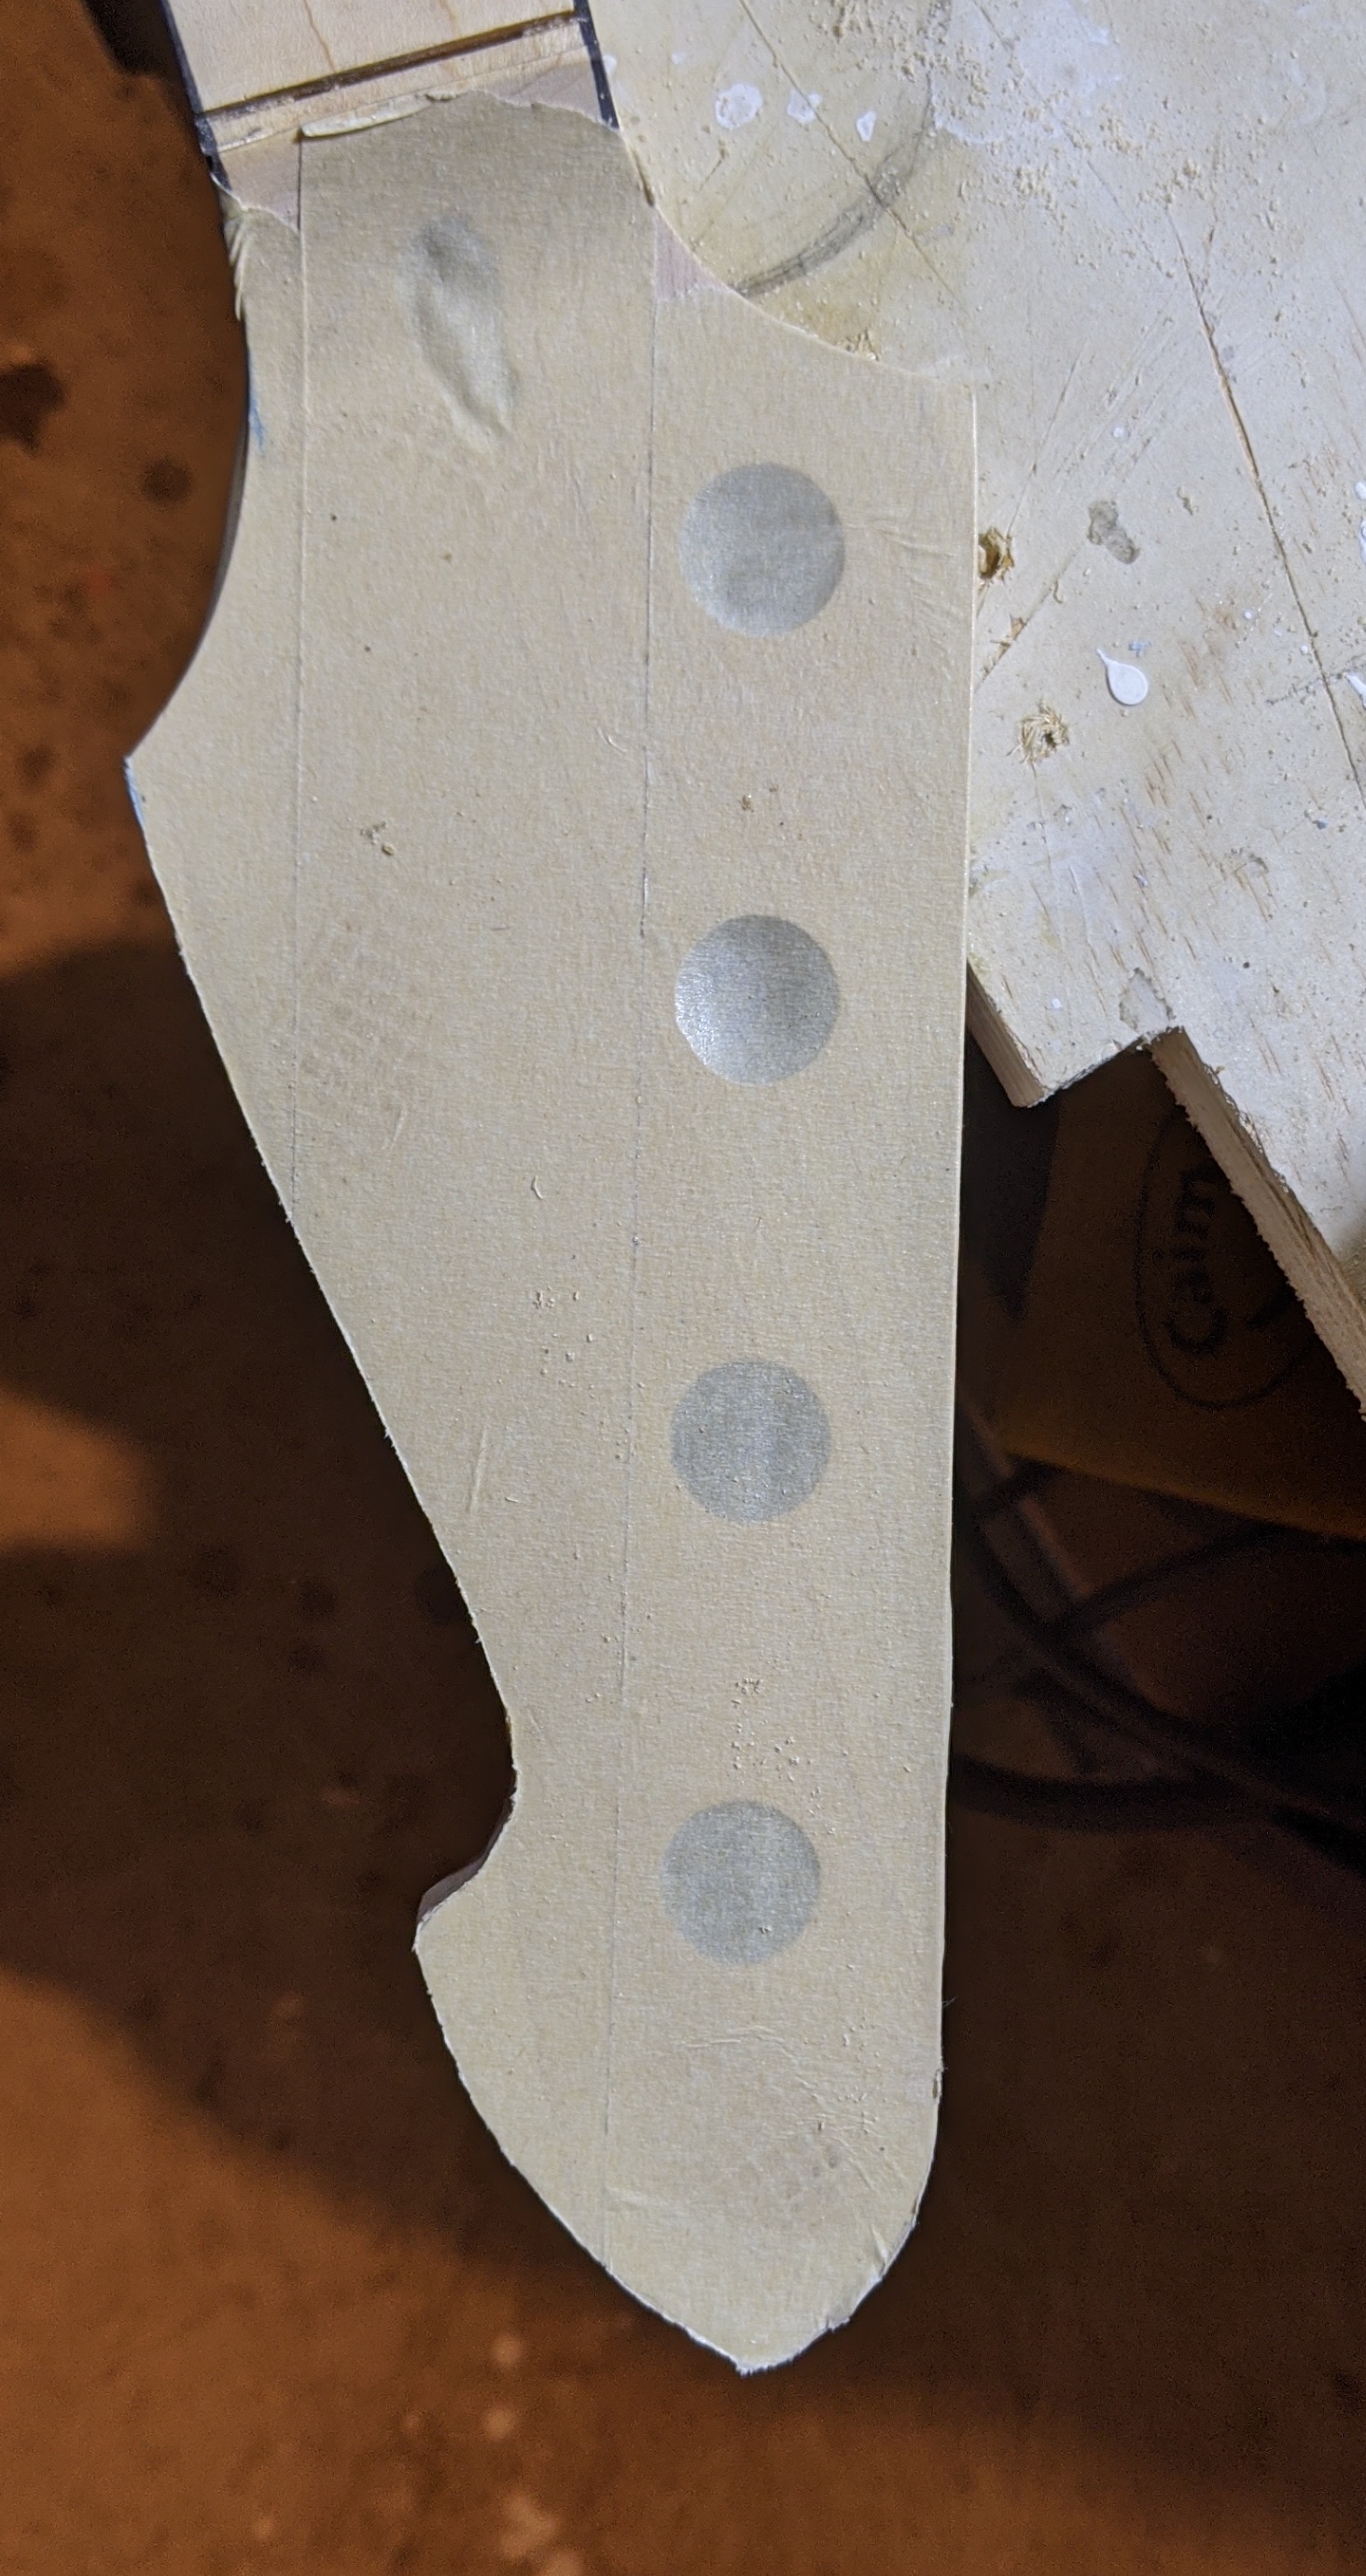
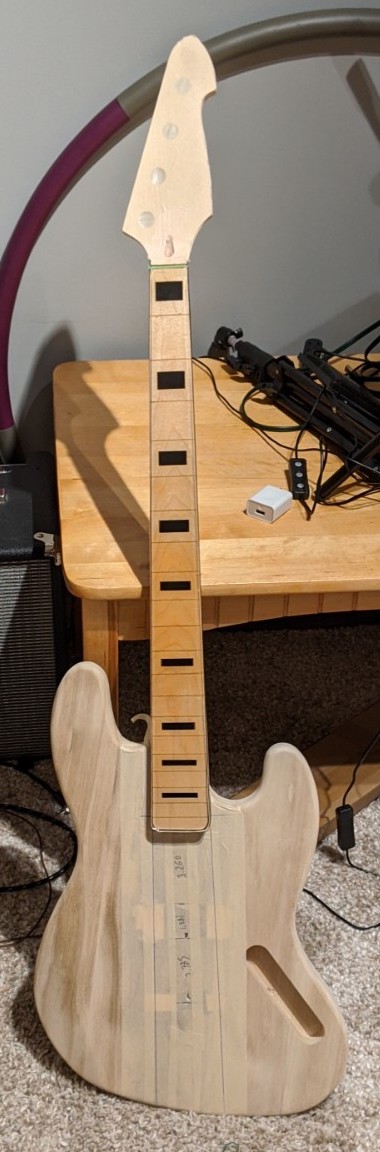
Next step is to freehand rout the cut edges to vertical. However, it’s 1:40 in the morning, and some might object. I really love the shape of the Peavey Milestone headstocks, so that was my inspiration.
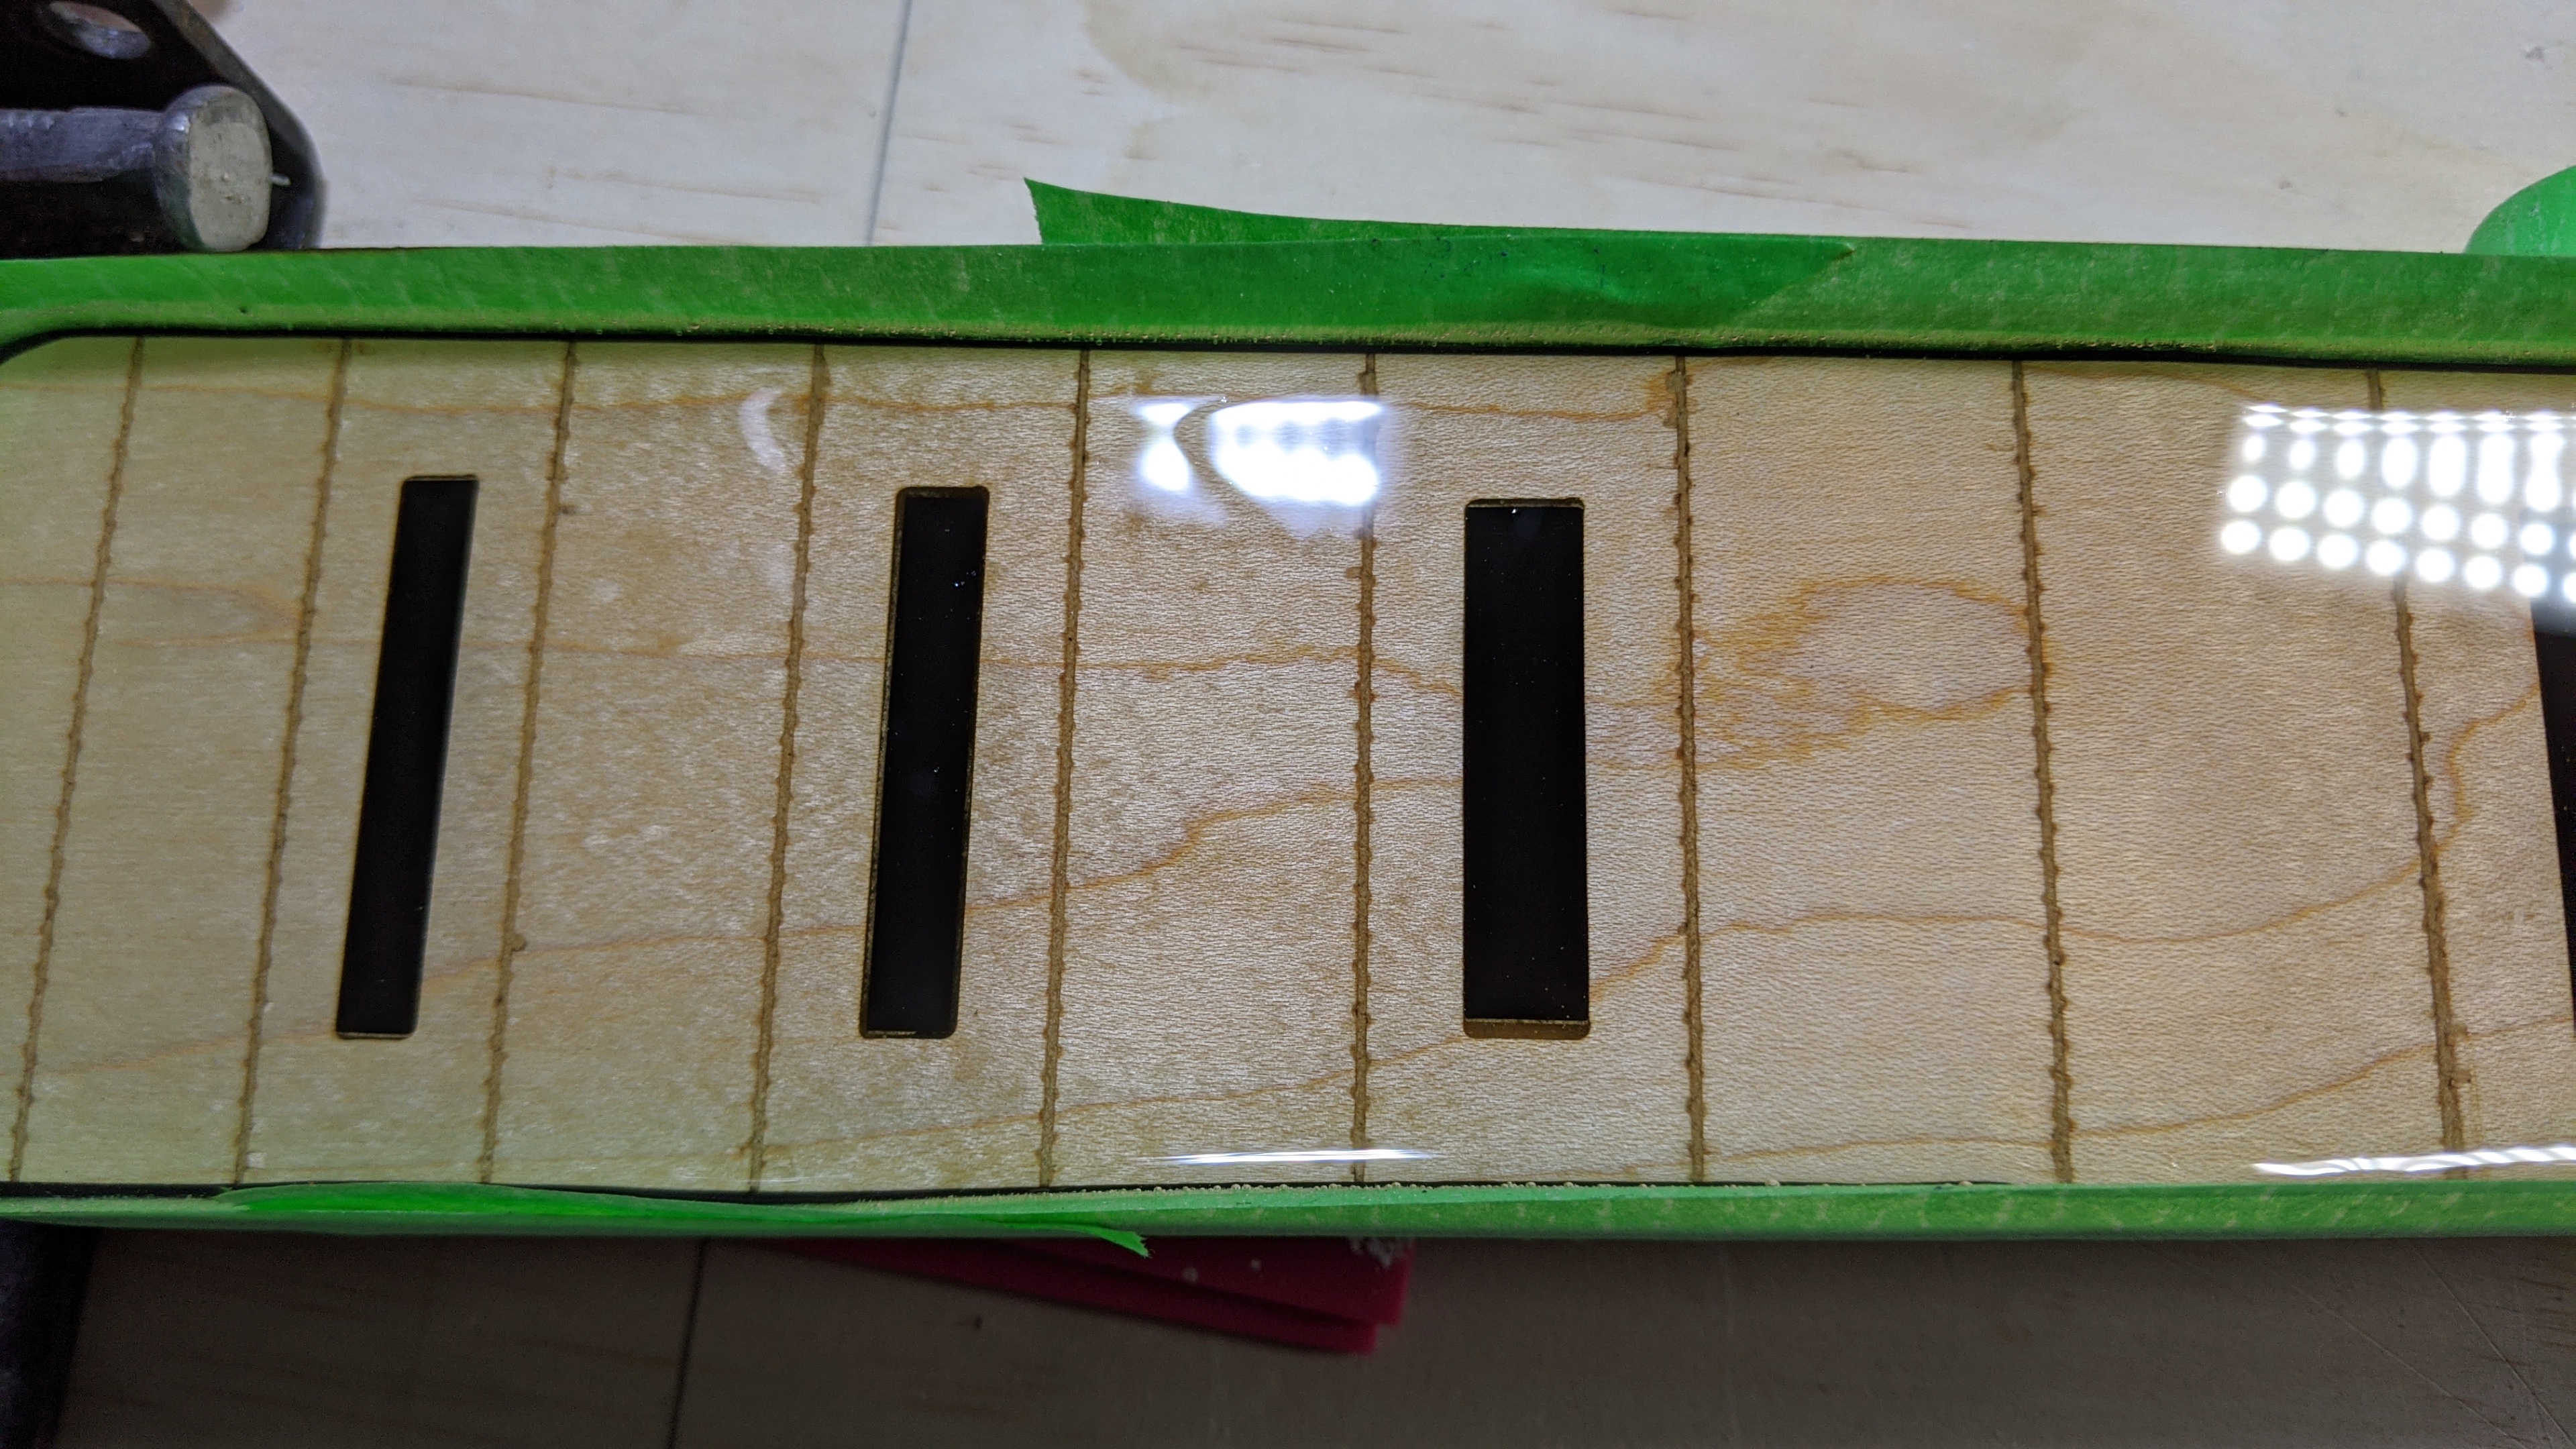
The fret slots are a little rough-edged, but in all honestly, I want to play this bass ASAP, so I considered but ultimately rejected putting purfling in them and evening out the edges. The fret wire had these really huge barbs in it. The epoxy cast really well, and once I have radiused it and then taken it down to its final finish it should be just dandy. I’m actually very pleased with how the epoxy cast, and so long as it doesn’t leak around the tape dams, it should be good.
Yep. I was going to go wild with making it look good, but a $68 neck from the usual scumbags just isn’t worth my time. If the bass turns out otherwise good, I’ll replace this with a good neck.
Thank you. I used slow curing 'poxy and my garage/workshop was at about 60 degrees F, so I had a very long working time. In fact, 12h later it’s still gummy, so I brought it inside to cure the rest of the way. I don’t have a vacuum chamber to degas the resin (should have built one, I guess), so I needed it to stay liquid for as long as possible. I spread it around over the fingerboard with a heat gun and then gently went over the surface with a blow torch to pop the bubbles. In fact you can see one spot, where the masking tape caught fire
I poured it pretty thick (about double of what’s needed), because there were uneven spots in the fingerboard. I’ll have a nice straight one, but the price will be a shit ton of shaping. Oh well.
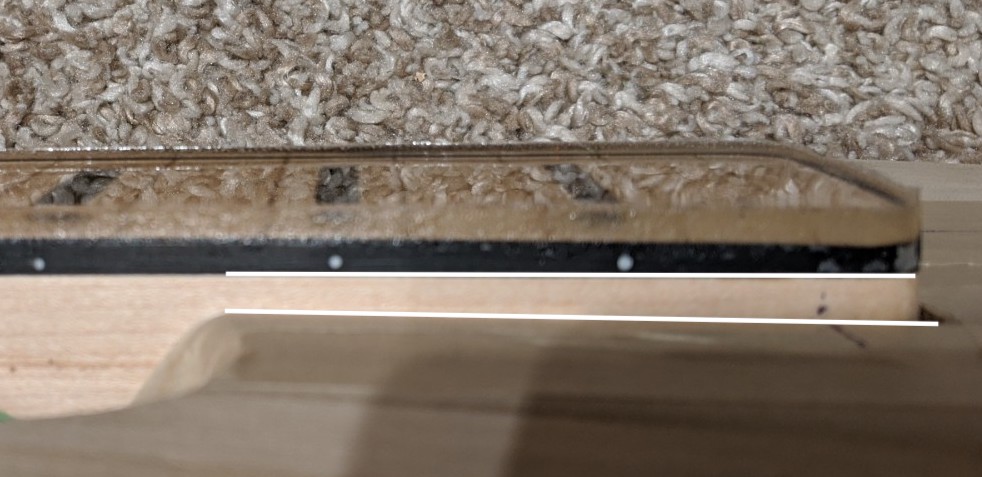
Yeah, I’ll leave the neck in the same spot side to side. I was thinking of routing down the bottom of the pocket by 1/16" so the neck settles straight (in the headstock to bridge direction) and a bit deeper, so that the fingerboard is a bit lower.
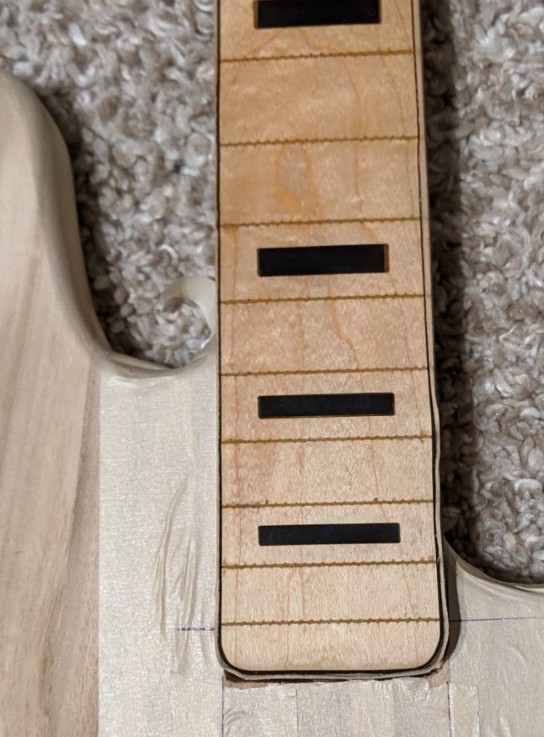
The neck is actually fine. That’s a bit of epoxy overflow that’s going to get milled down. Because it’s curved, it’s distorting the binding below it like a lens. However, thank you for the film. Very informative.
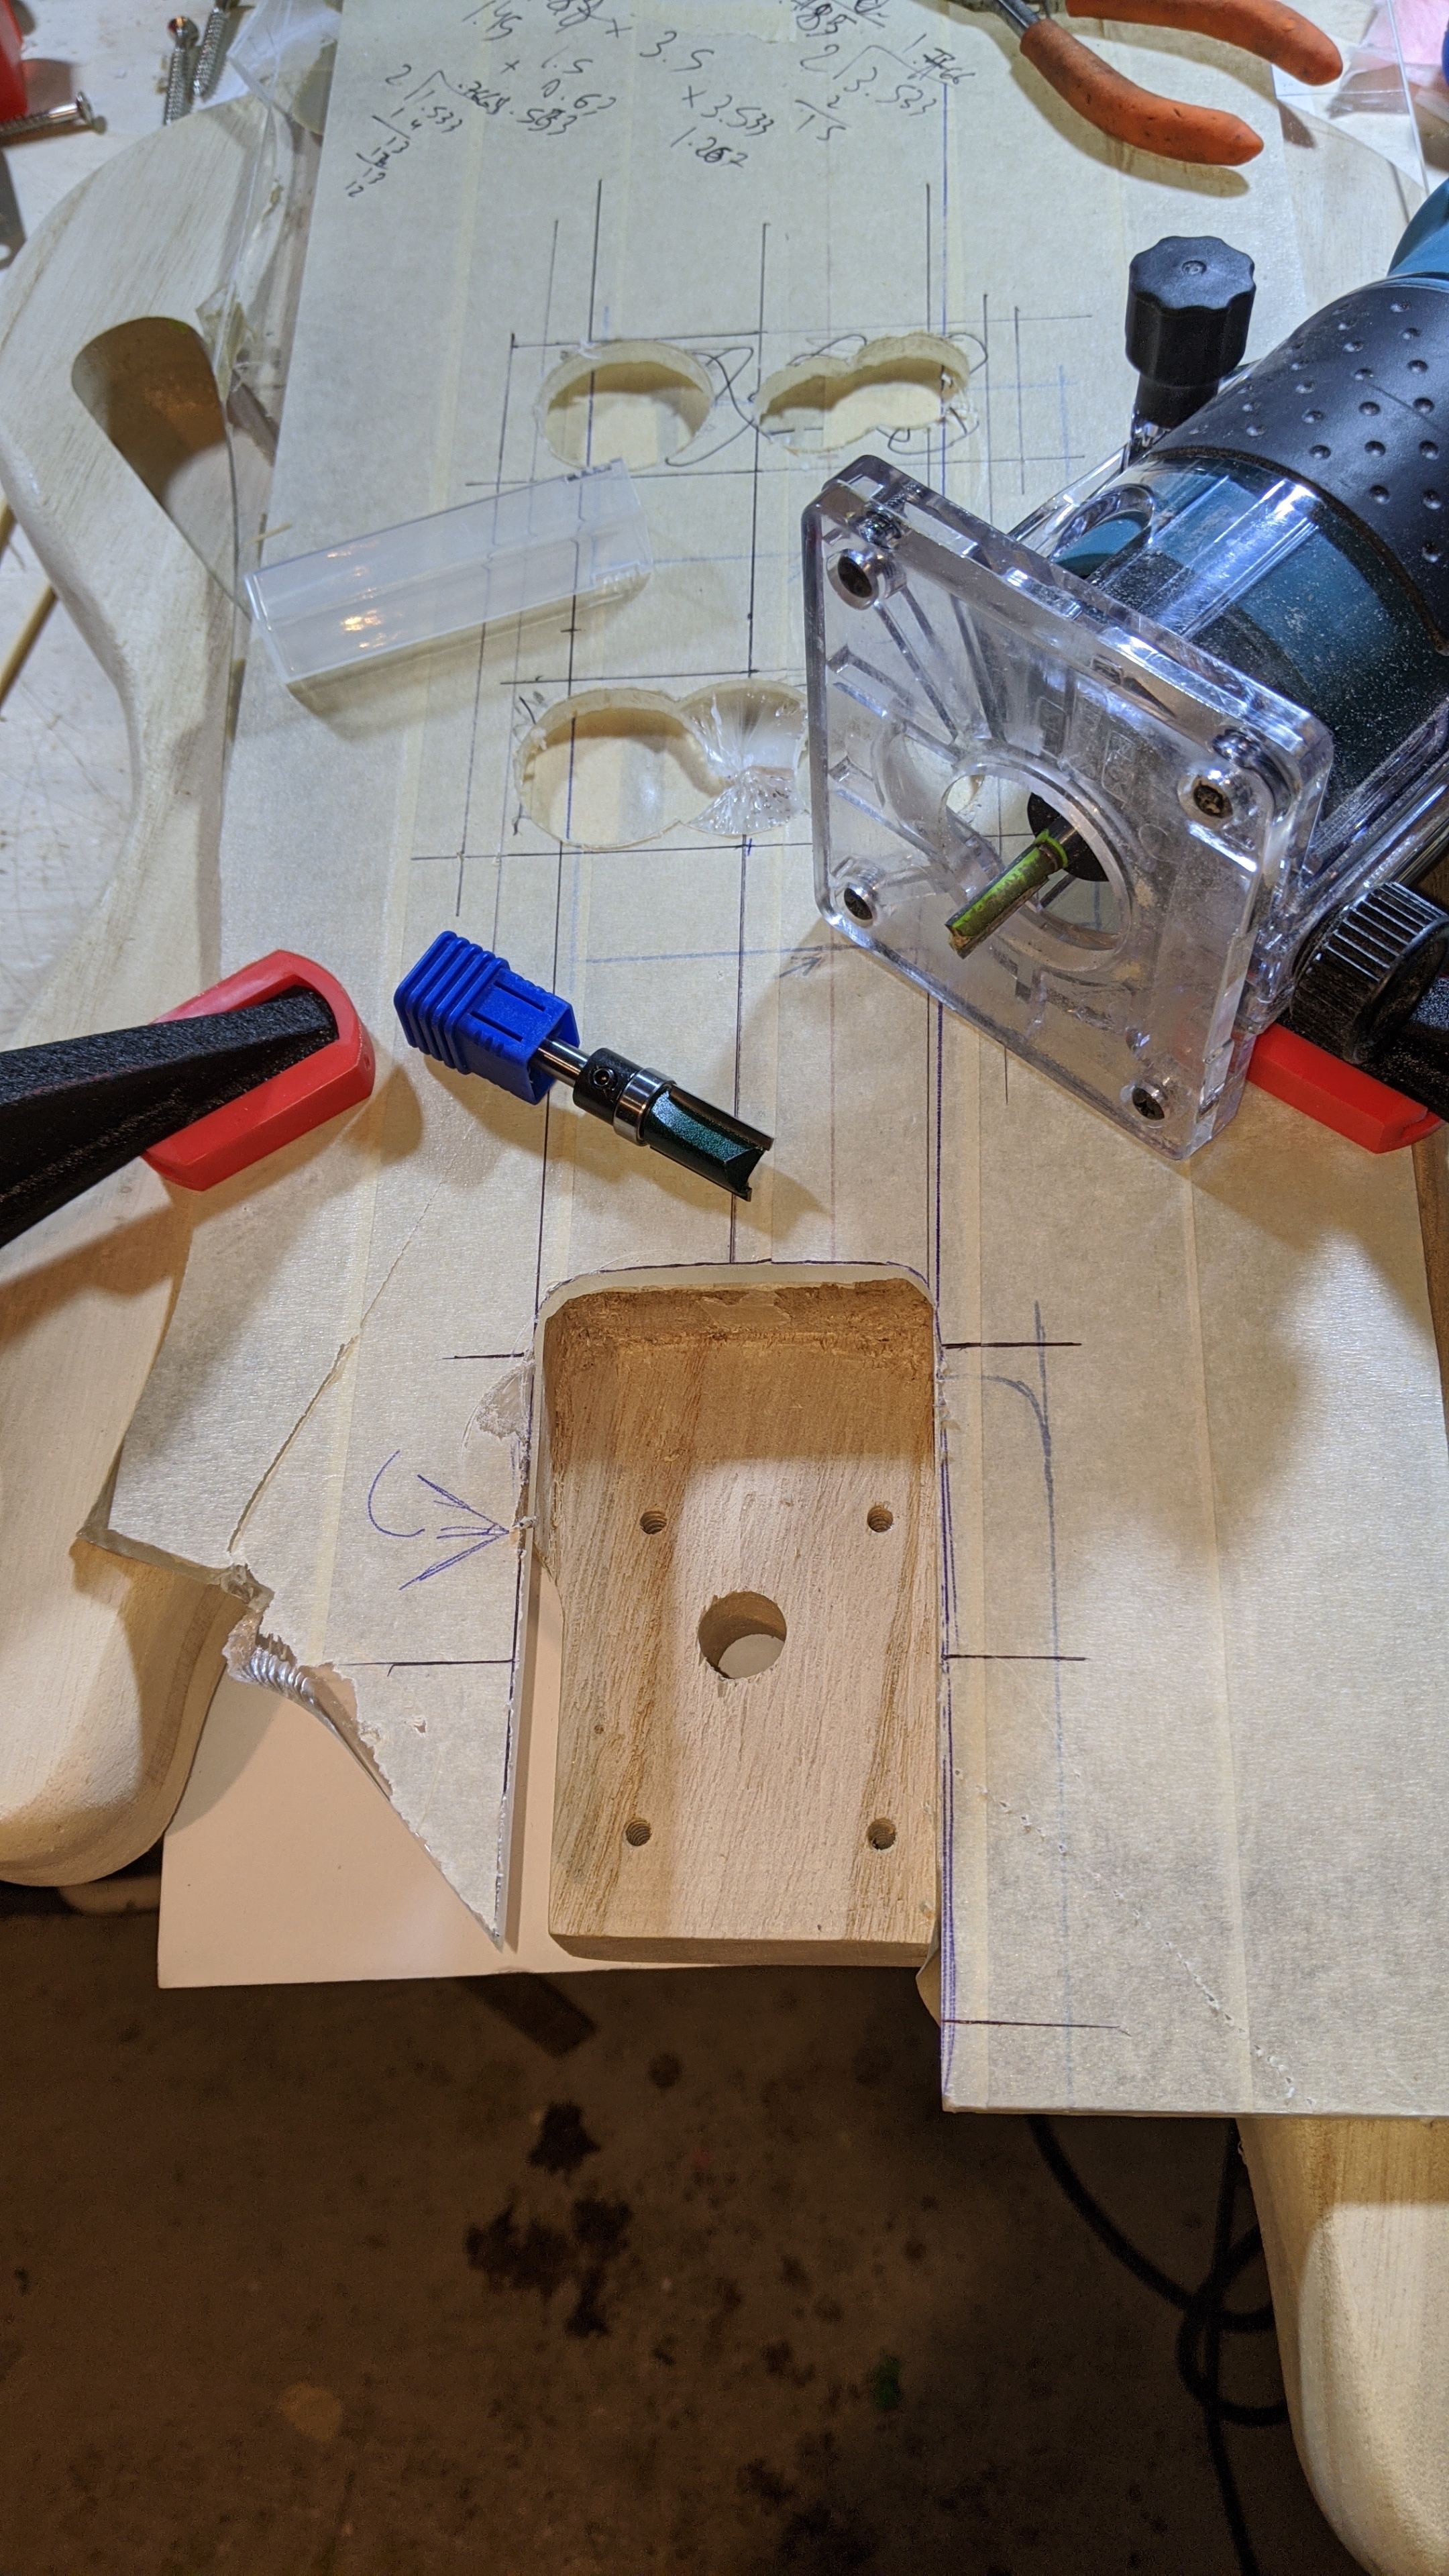
I haven’t really shaped the neck pocket yet, so it looks like I have a bit of routing to do. I made a routing template from some 3/16" cast acrylic, and I will rout it out to shape with the template and mill down the “floor” of the neck pocket so that it’s parallel to the top of the bass body. This will also move the neck 1/16" towards the bridge, where it should be.
I can only do it when it has a CNC attached, or is a full blown manual mill.
I imagine I will do just fine with a router, just haven’t ever had the need or want, yet…